WHITE PAPER
Formlabs Logo

Cleaning and maintaining the Build Platform 2

Cleaning and maintaining the Build Platform 2

Thoroughly clean the Build Platform 2 between prints. When performing consecutive prints using the same resin, you can clean the outside surfaces of the Build Platform 2 without separating the print surface from the build platform body. If you are changing resins between prints, disassemble the Build Platform 2 so you can clean between the print surface and the build platform body. Follow the instructions below to keep the build platform clean and well-maintained.

Warning:

Wear gloves when handling printed parts and surfaces that are contaminated with solvent or liquid resin to prevent skin contact.

Notice:

Unless thoroughly cleaned of any uncured resin, always store the Build Platform 2 in a printer with the cover closed or away from any sources of light when not in use.

Cleaning the Build Platform 2 before printing with the same resin

If you are performing consecutive prints with the same resin, you do not generally need to remove the flexible surface from the build platform body for cleaning.

To prepare your Build Platform 2 for a new print using the same resin:

  1. Use the scraper to remove any cured resin from the print surface.
  2. Wipe the print surface with a clean cloth or dry paper towel to remove any remaining resin.
  3. Ensure the print surface is clean and properly aligned.
    • Over time, resin trapped between the print surface and the build platform body can flex the print surface enough to cause print failures. If the print surface is not flat and properly aligned with the build platform body, clean the build platform more thoroughly.

Cleaning the Build Platform 2 before printing with different resins

If you are changing resins between prints, remove the print surface from the build platform’s body to make sure all surfaces of the Build Platform 2 are thoroughly cleaned.

Caution:

  • Pinch hazard: Keep your fingers away from the seam between the print surface and the build platform body, particularly when reinstalling the print surface.
  • Cutting hazard: The edge of the print surface may be sharp and could present a cutting hazard. Exercise caution when cleaning the print surface.

To prepare your Build Platform 2 for a new print with a different resin:
Step 1: Remove the print surface

  1. Use the scraper to remove any cured resin from the print surface.
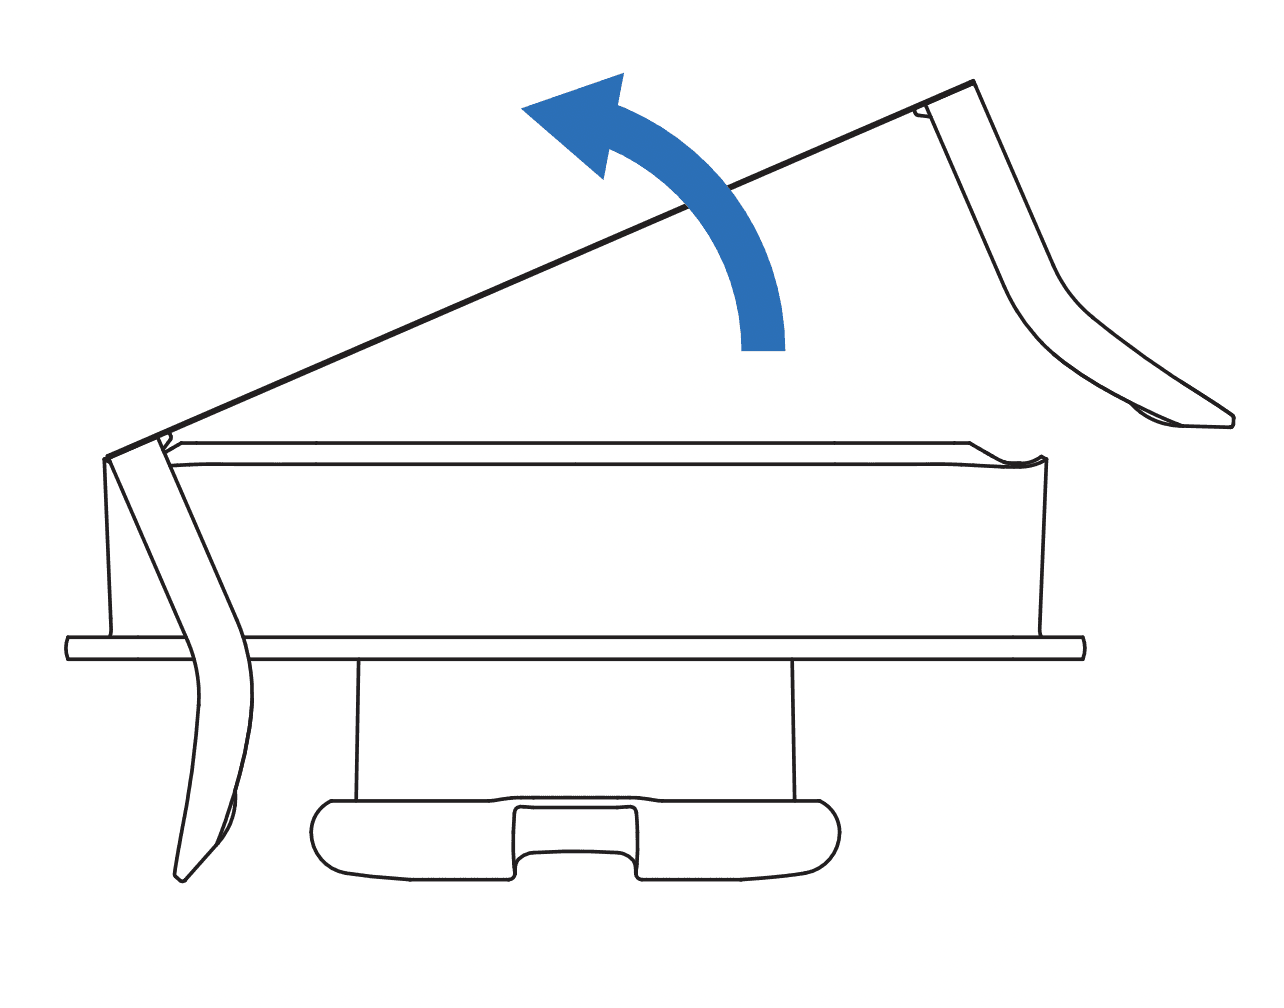
  2. Place the build platform on your work surface. Lift one side of the print surface by the part release paddle.
Lifting one side of the print surface
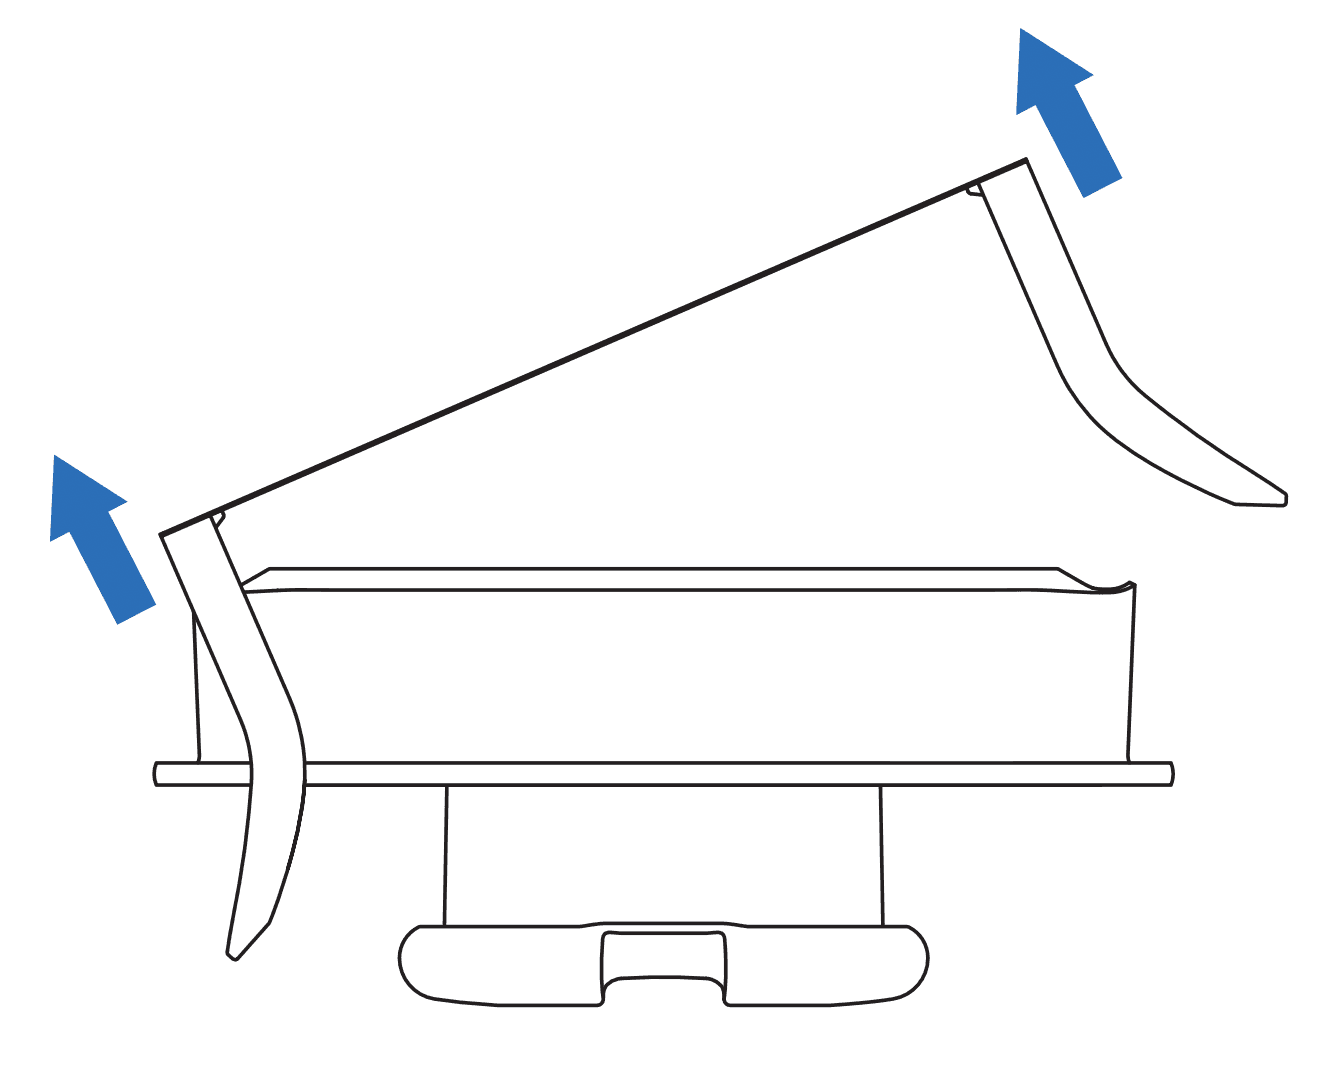
  1. Push up on both part release paddles to disengage the print surface from the build platform body.
Pushing up on paddles to disengage print surface
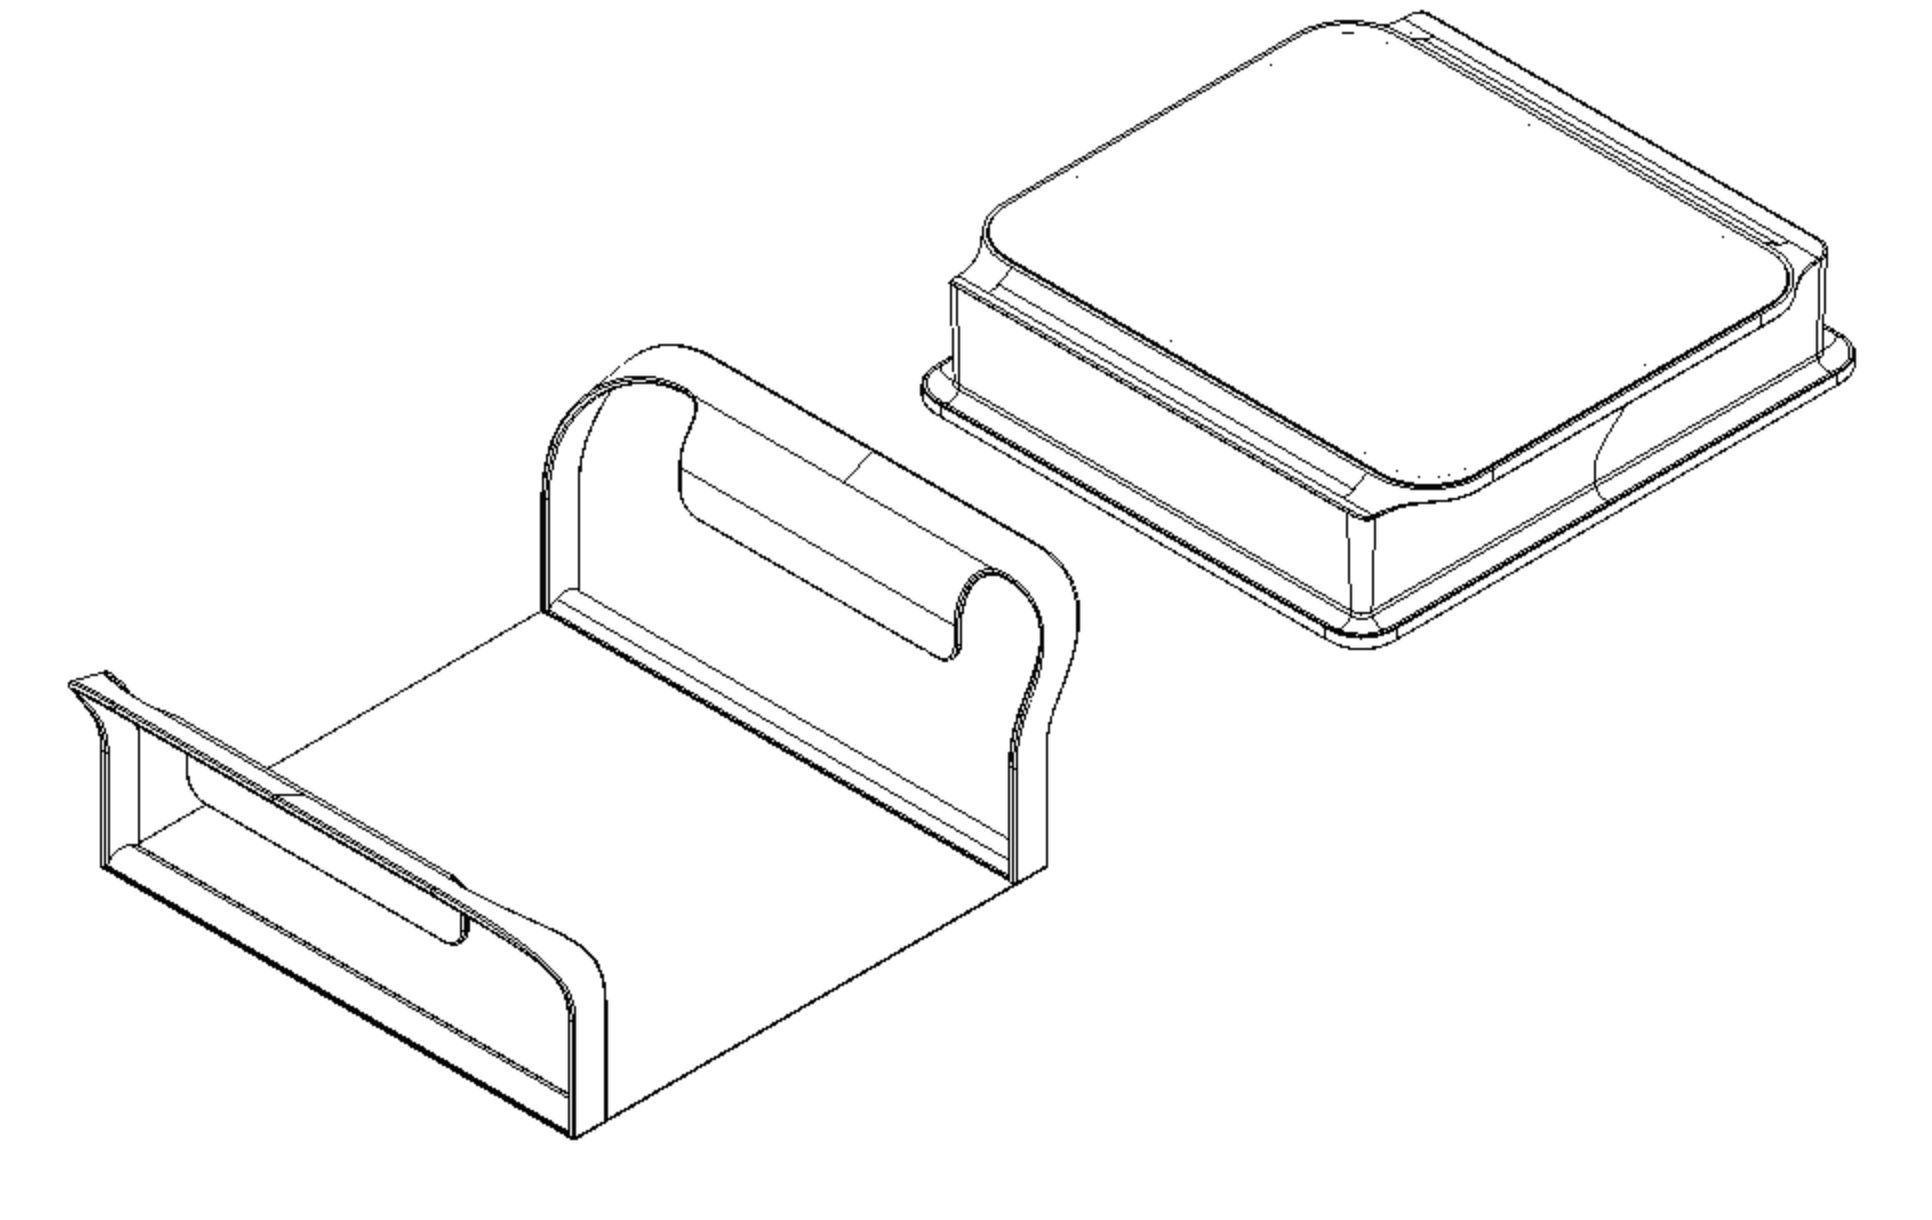
  1. Continue pulling the print surface off of the build platform to fully separate the two components.
Separating print surface from build platform body

Step 2: Clean the Build Platform 2

  1. Place the print surface in a Form Wash or Form Wash L basket.
  2. Insert the build platform body into the build platform mount of the Form Wash or Form Wash L.
  3. Wash the build platform body and the print surface with Isopropyl alcohol (IPA) or tripropylene glycol monomethyl ether (TPM) for 5 minutes.
  4. Make sure the build platform body and print surface are completely dry and clean of any resin or solvent.

Step 3: Reinstall the print surface

Notice:

Unless thoroughly cleaned of any uncured resin, always store the Build Platform 2 in a printer with the cover closed or away from any sources of light when not in use.
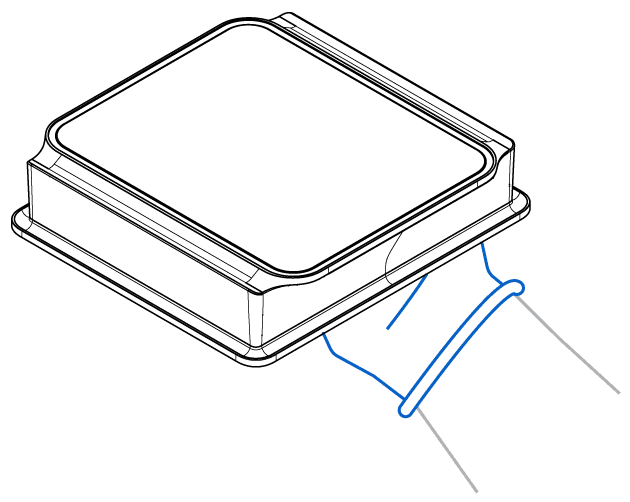
  1. Hold the build platform body by the center handle or secure it on a build platform jig.
Holding build platform body face up
  1. Align the edge of the print surface with the alignment channel. Magnets within the alignment channel help to properly position the print surface’s alignment rod. The alignment rods must sit in the alignment channels for the Build Platform 2 to operate as intended.
Aligning print surface edge with channel
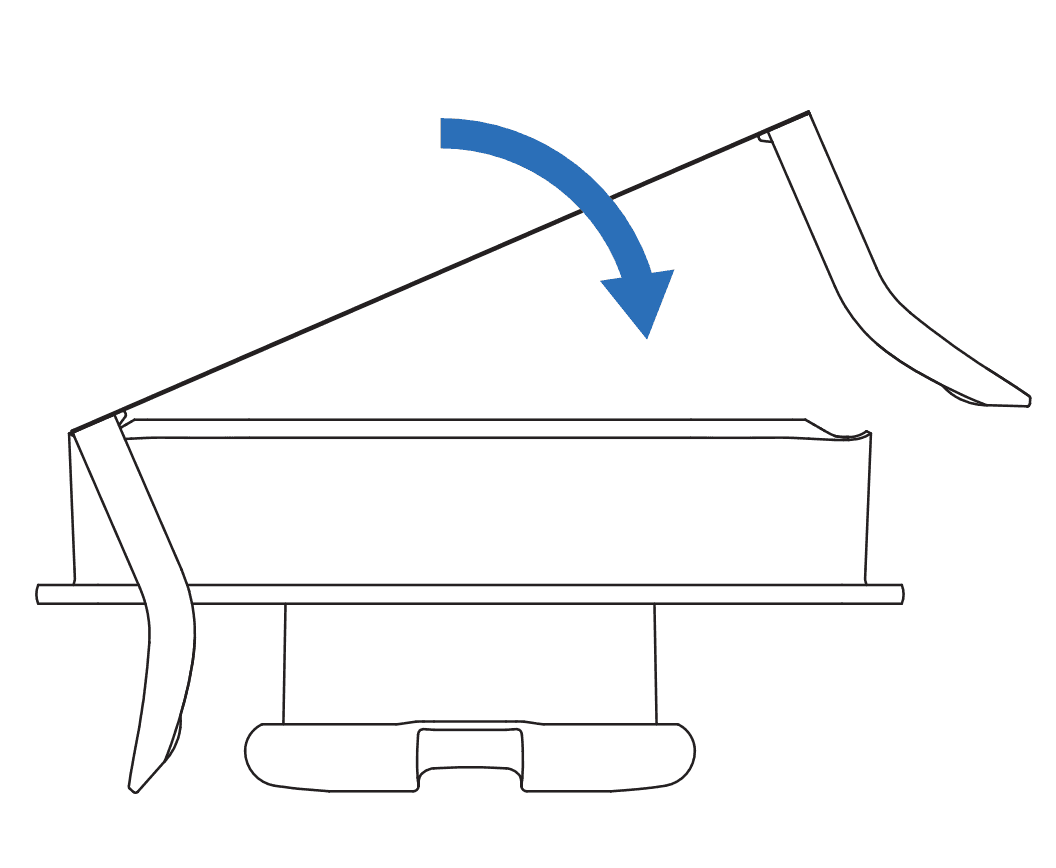
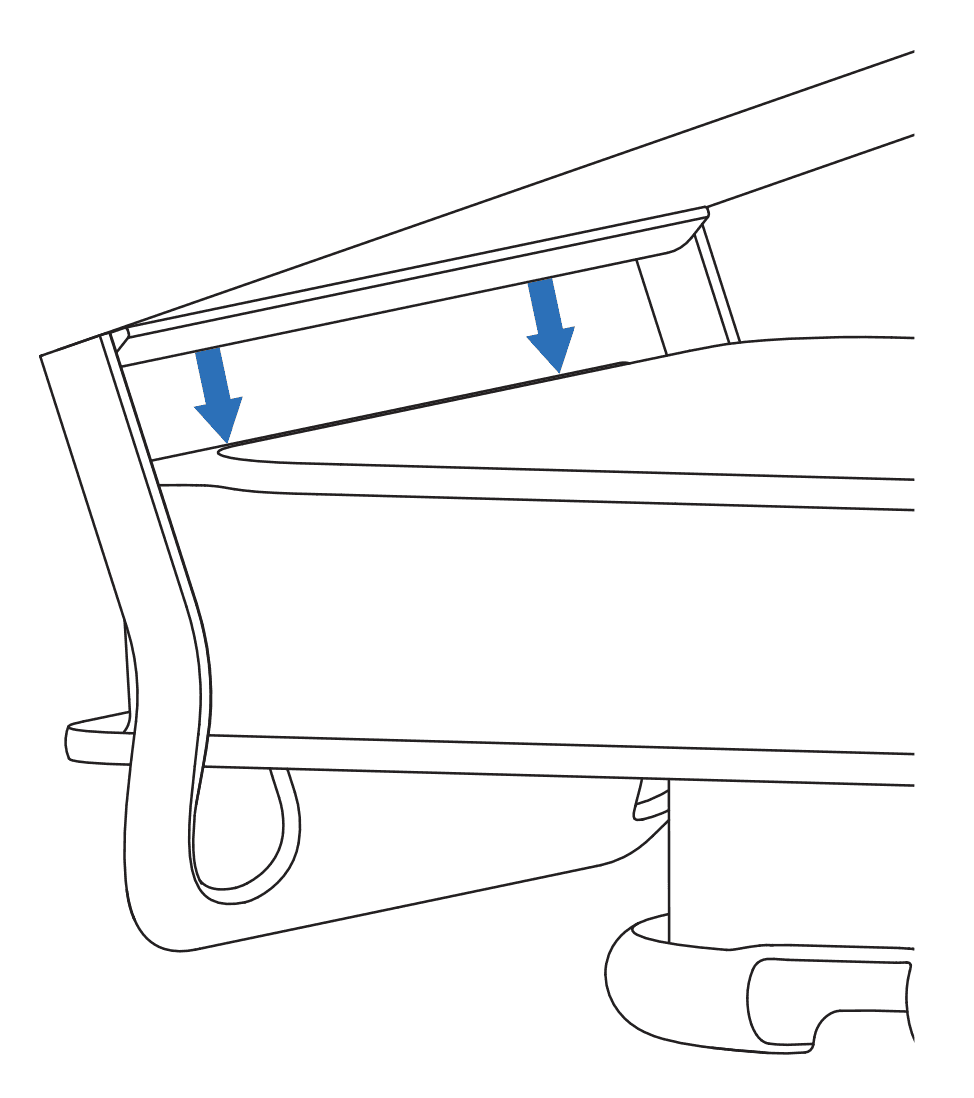
  1. Rotate the print surface downward onto the build platform body.
Rotating print surface downward
  1. Squeeze the part release paddles to fully seat the print surface alignment rods into their respective alignment channels. Ensure the print surface is clean and properly aligned.