

WHITE PAPER
Formlabs Logo

Inserting and removing a build chamber (Fuse 1 generation)

Inserting and removing a build chamber (Fuse 1 generation)

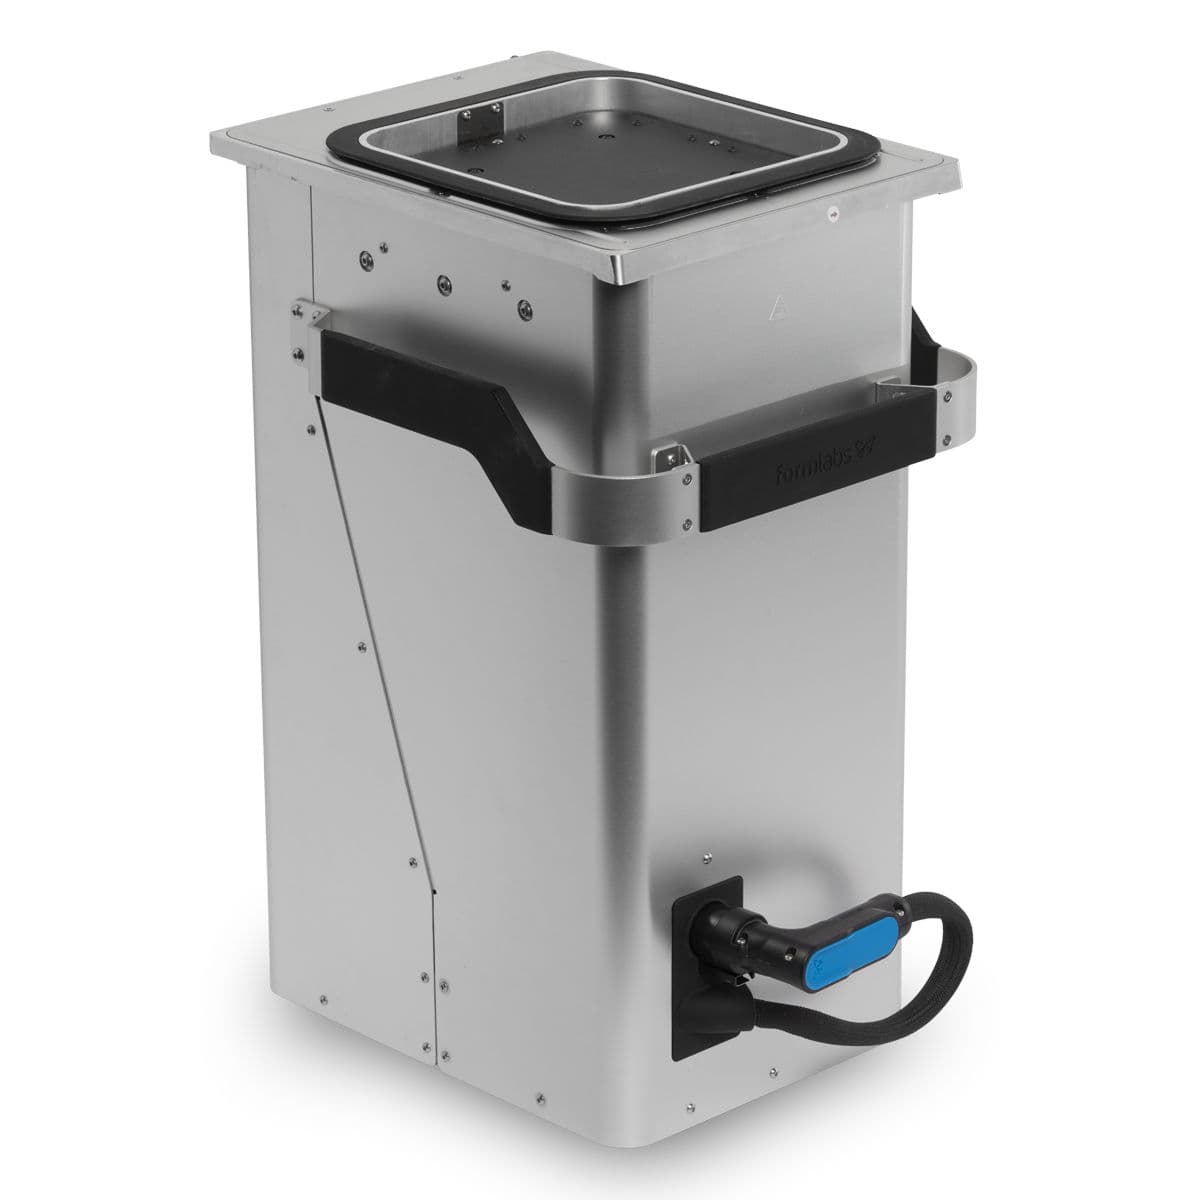
The build chamber is the container into which a Fuse 1 generation printer deposit powder. That powder is then sintered into solid parts or left loose to support parts as they print.

The Fuse 1's build chamber

A build chamber must be inserted into the printer before a print can begin. Over the course of a print, the print bed lowers and the build chamber fills with powder. When the print completes, the build chamber contains a mix of sintered and unsintered powder.

Inserting a build chamber into a Fuse 1 generation printer

To insert a build chamber into the printer:

  1. Drag the Unlock Door slider on the touchscreen. The print enclosure door unlocks.
  2. Open the print enclosure door on the printer.
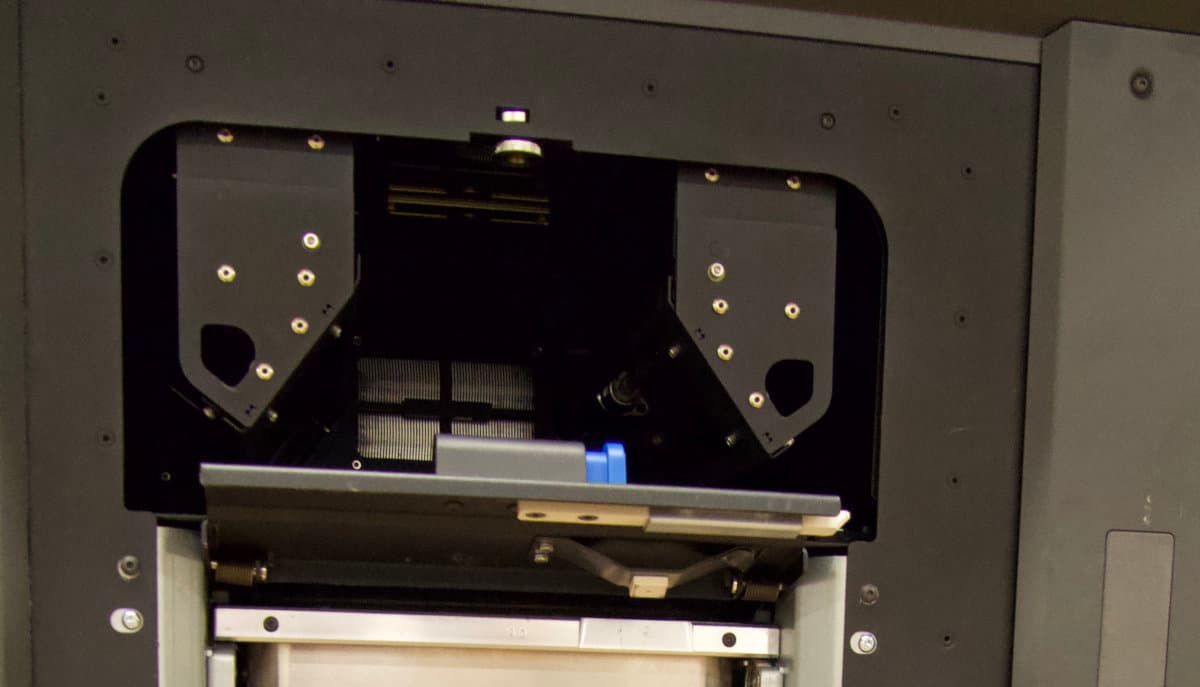
  3. Unlock and open the build chamber latch by pushing the release trigger to the left.
The Fuse 1's build chamber latch, open
  1. Lift the empty build chamber by the side handles, with the front handle facing you.
  2. Rest the upper lip of the build chamber on the rails on the sides of the print enclosure.
  3. Push the build chamber forward until it hits a hard stop at the back of the print enclosure.
  4. Lock the build chamber latch by pushing the release trigger and lowering the latch back into the closed position. Release the trigger once the latch is parallel to the print enclosure. An audible click indicates that the latch is locked.
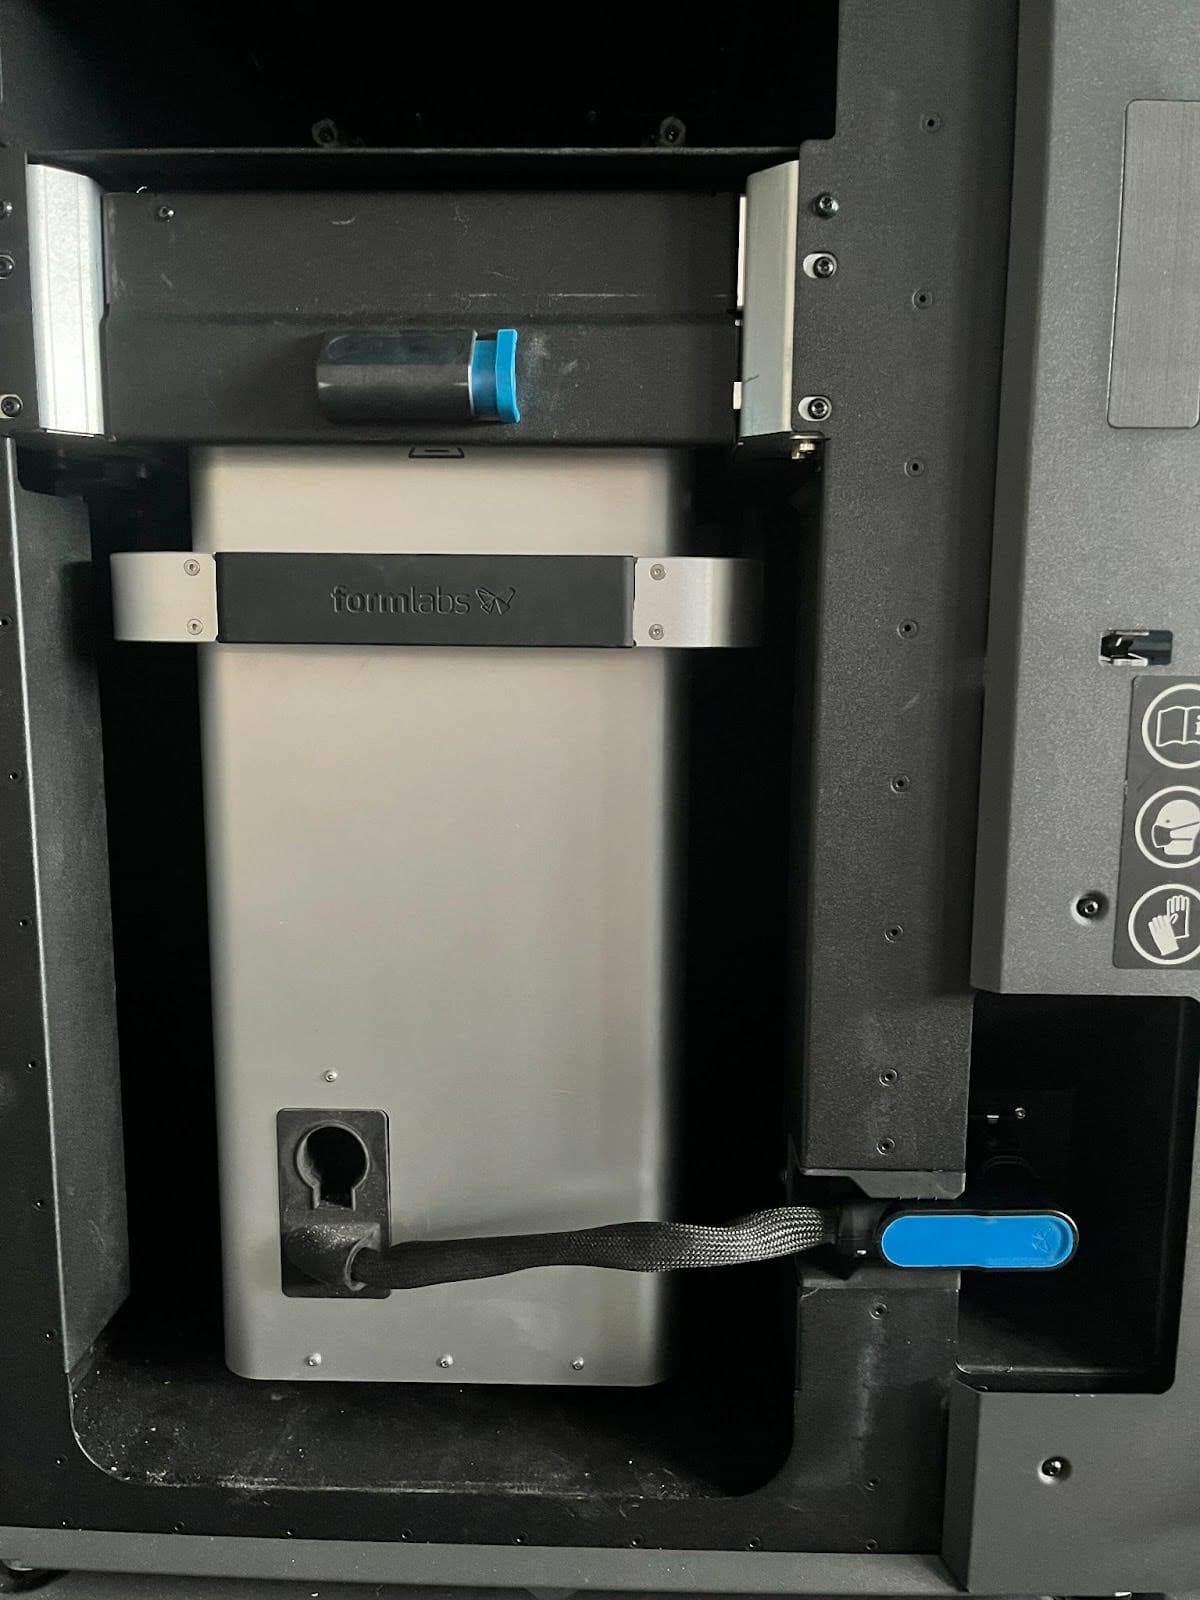
Build chamber plug connected to the Fuse 1
  1. Insert the build chamber plug to the adjacent socket, located in the lower-right hand corner next to the print enclosure. An audible click indicates the plug is properly connected. Ensure that the left side of the plug is flush with the printer frame.

Removing a build chamber from a Fuse 1 generation printer

Once the build chamber has fully cooled, it can be moved to the Fuse Sift to extract and clean the prints.

Warning:

The print enclosure in Fuse 1 generation printers is designed to operate at up to 200 ºC (392 °F), and incorporates high-intensity heaters. Do not open the print enclosure or any other access doors on the printer during or immediately after a print. Do not handle parts from a build chamber without allowing the entire print enclosure to cool for several hours, or until the print bed temperature has reached ≤ 45 ºC (113 °F). Use the provided thermal-insulating silicone gloves when removing a build chamber that has not been allowed to cool down. Failure to follow these procedures will result in serious injuries, including burning and/or scalding of skin.
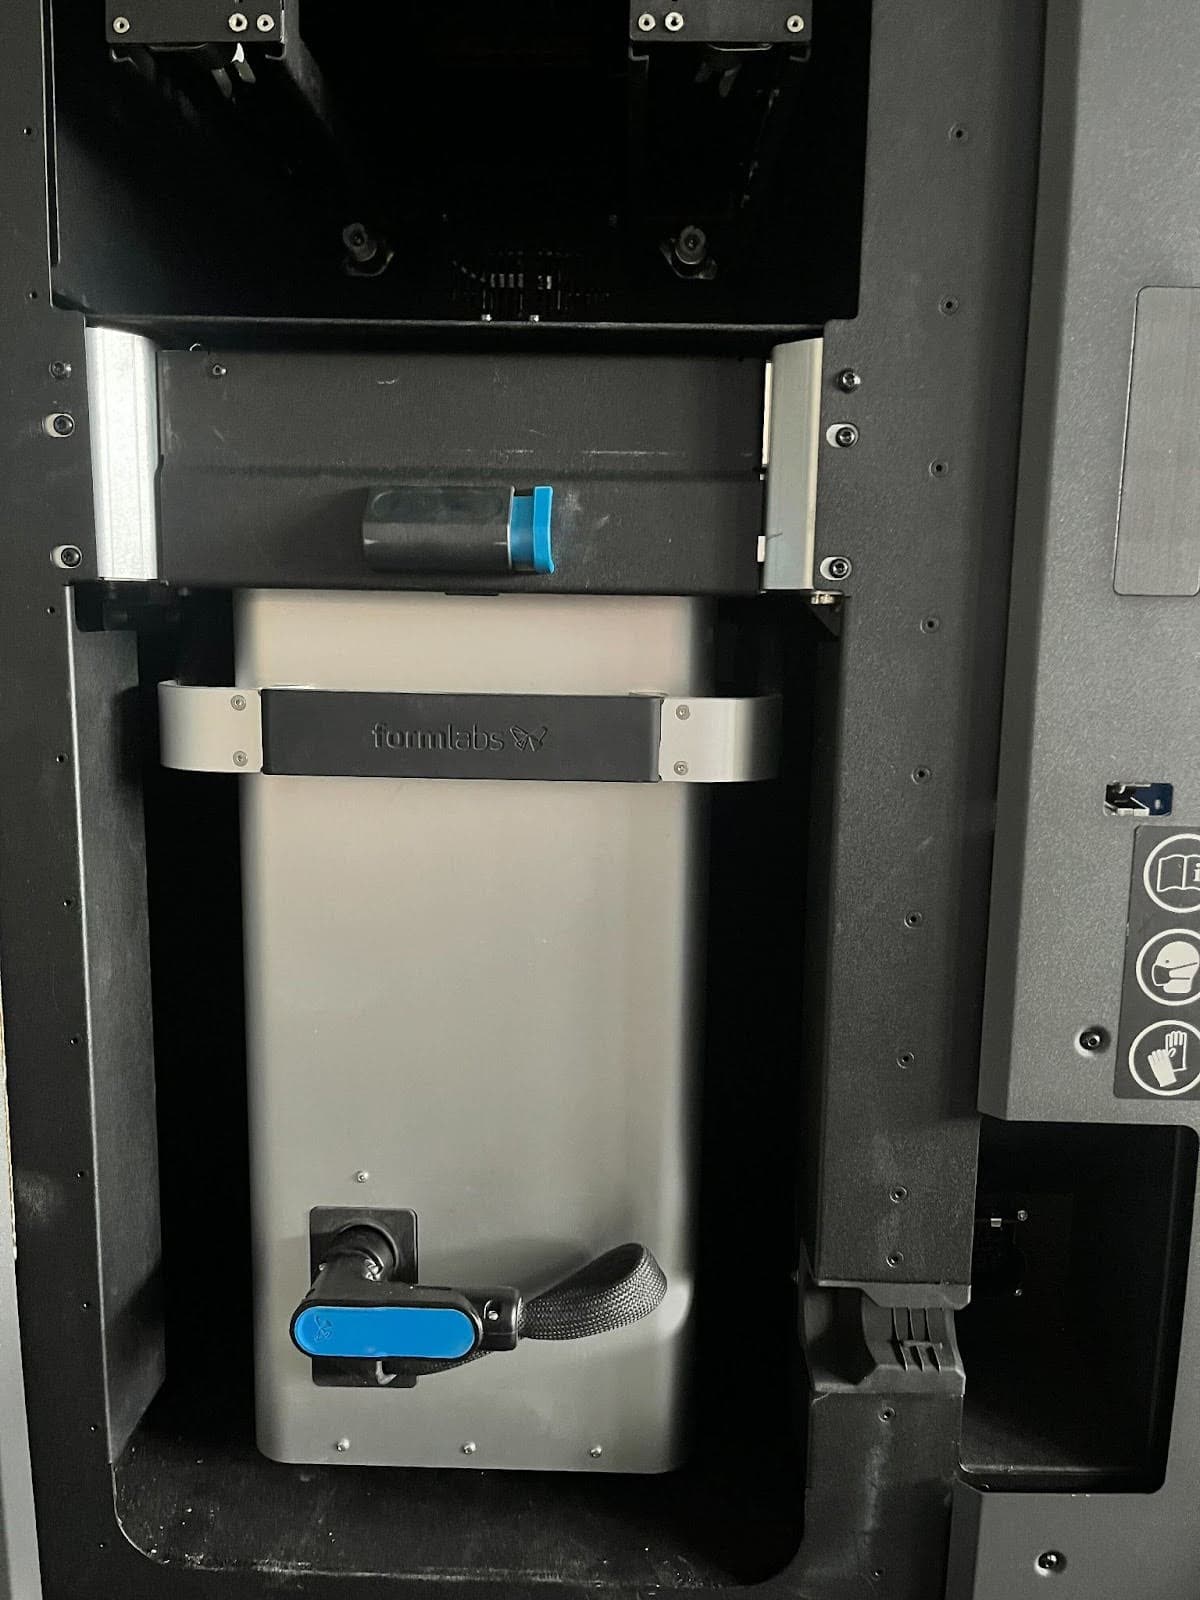
To remove a build chamber from the printer:

  1. Drag the Unlock Door slider on the touchscreen. The print enclosure door unlocks.
  2. Open the print enclosure door on the printer.
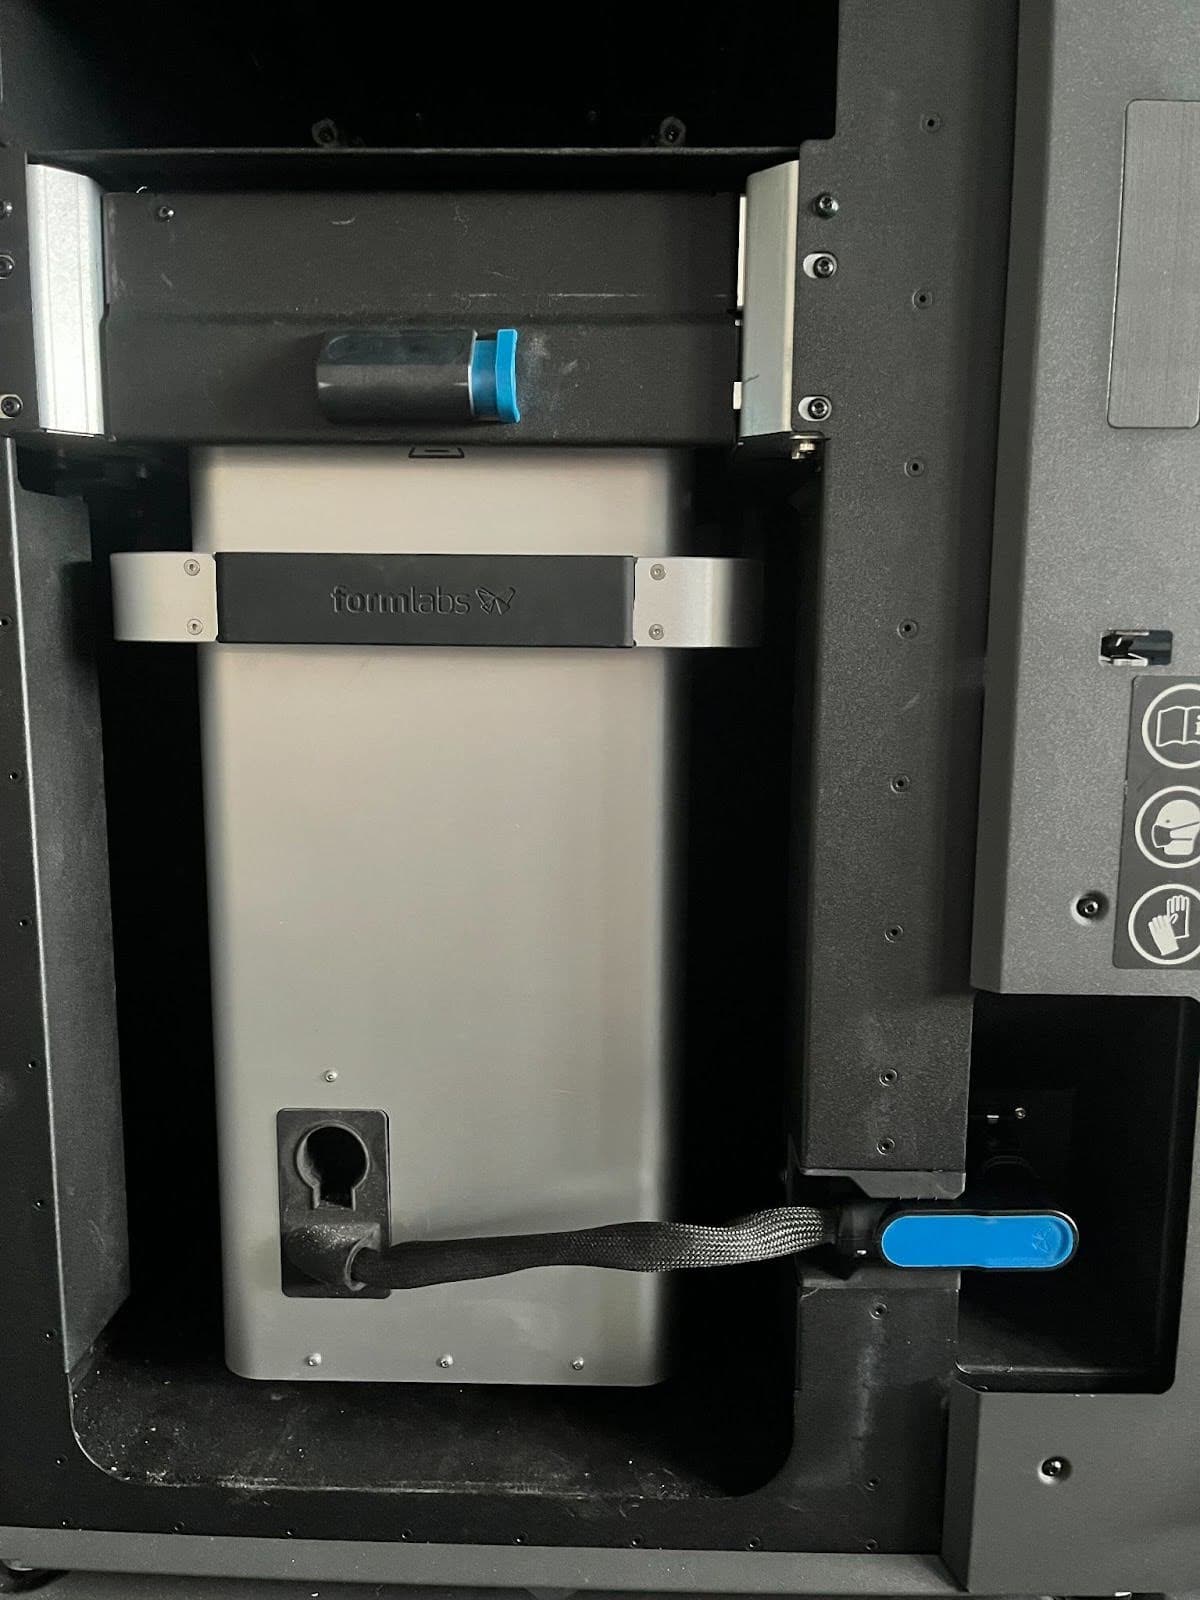
  3. Press the clip on the top of the build chamber plug to unlock and unplug it from the printer. Store the plug in the plug holster on the build chamber body.
Build chamber plug connected to the Fuse 1
Build chamber plug, stowed
  1. Unlock and open the build chamber latch by pushing the release trigger to the left.
  2. Use the front handle on the build chamber to pull it out of the printer.
  3. If you are ready to remove the prints from the build chamber, insert it into the Fuse Sift.
  4. Lock the build chamber latch by pushing the release trigger and lowering the latch back into the closed position. Release the trigger once the latch is parallel to the print enclosure. An audible click indicates that the latch is locked.
  5. Close the print enclosure door.