
Note:
PreForm 3.10.1 or later has a visualization of the seamline when you select a Form 3L/Form 3BL.

The Form 3L/Form 3BL has two Light Processing Units (LPUs), each with its own laser. Parts printed on the Form 3L/Form 3BL show a seamline in the area where these two lasers intersect. Any part, large or small, oriented across this area exhibits a thin line on the final product.
Note:
PreForm 3.10.1 or later has a visualization of the seamline when you select a Form 3L/Form 3BL.
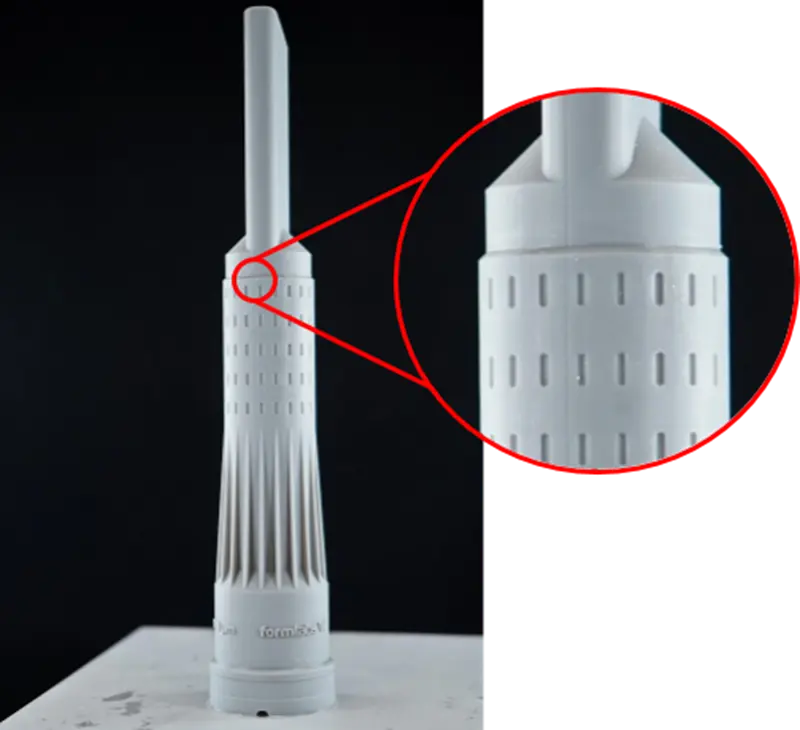
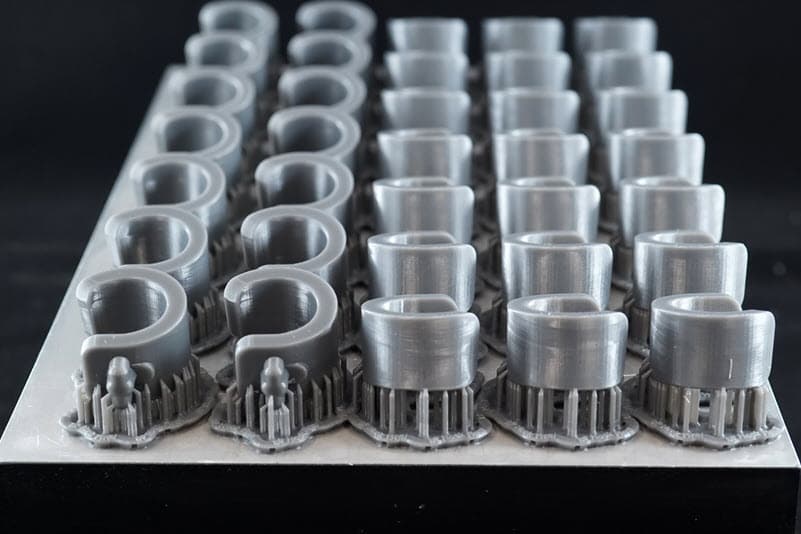
Vacuum nozzle printed in Grey Resin.
What is the laser seamline?
PreForm instructs the rear LPU to print the rear half of the build volume, and instructs the front LPU to print the front half of the build volume. The meeting of these two halves forms a plane running down the center of the build volume. It is represented in PreForm as the Laser Seamline. As a result, all parts crossing the center of the build area have a small artifact that looks like a seamline.
The seamline is caused by an extremely small misalignment between the two lasers that can impact printed parts in a couple of ways:
Note:
If you're printing small parts, avoid placing them across the center of the build area to maximize dimensional accuracy.
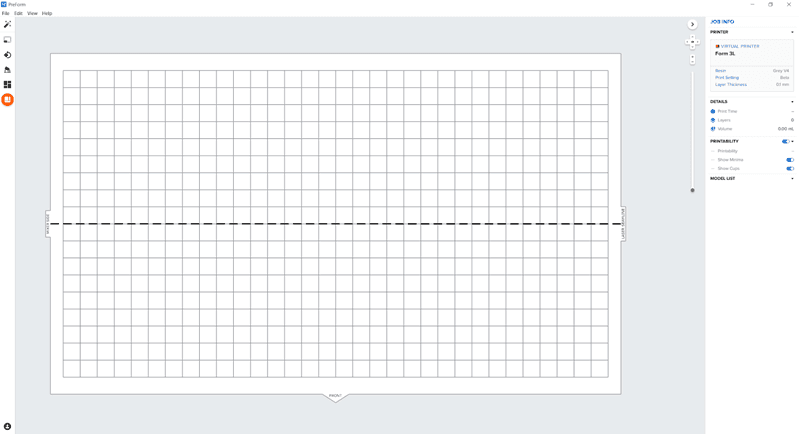
PreForm 3.28 or later also includes a projection of the seamline onto any part that crosses the centerline of the build platform.
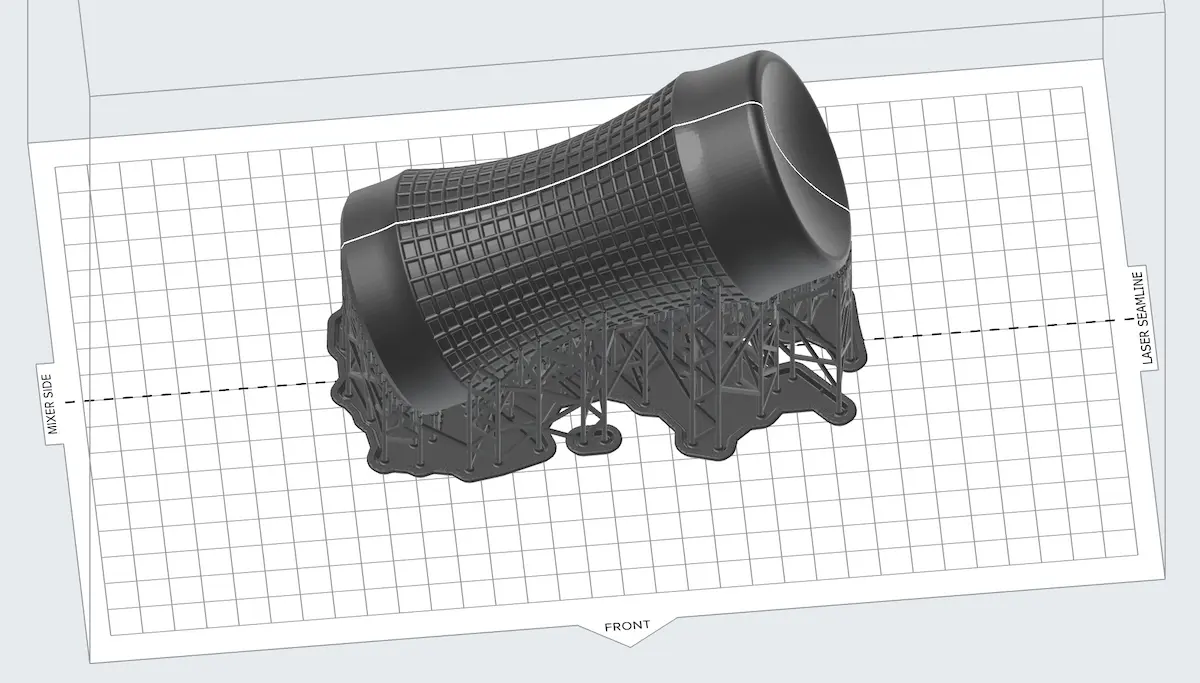
The seamline is visualized in PreForm as a solid line on any part that crosses the centerline of the build platform.
Laser Seamline Mode
The two lasers in the Form 3L/Form 3BL LPUs are both capable of curing parts on roughly three quarters of the build platform. Overlapping LPU lasers create seamline artifacts on printed parts. Preform 3.29 or later gives you greater control over which models have a seamline artifact.
The following seamline modes are available:
Note:
Minimizing seamline artifacts may result in longer print times.
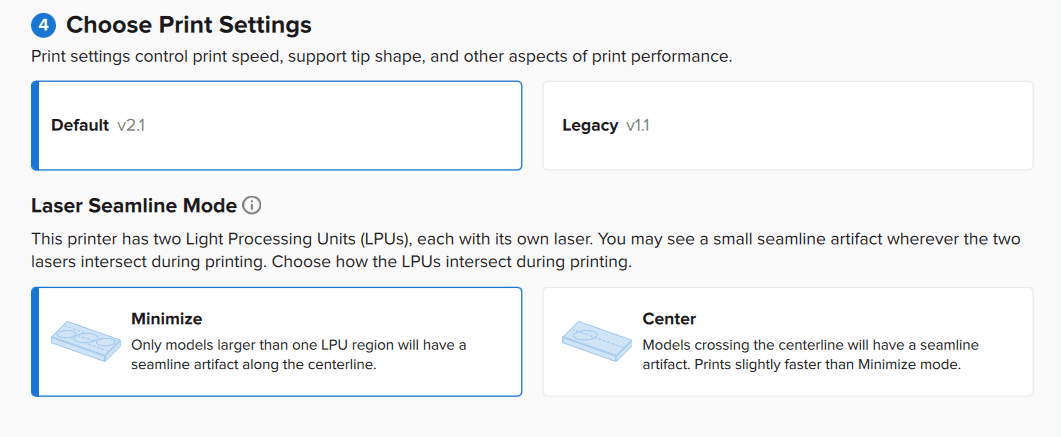
To select a Laser Seamline Mode in PreForm:
If you select Minimize, three dashed lines appear to divide the build platform into four regions. Models that fit inside three of the four regions can be printed using a single LPU and print without a seamline artifact. If an object spans more than 75% of the build platform's Y-axis, a solid line representing the seamline appears in PreForm on the model, and a seamline artifact may appear on the printed part.
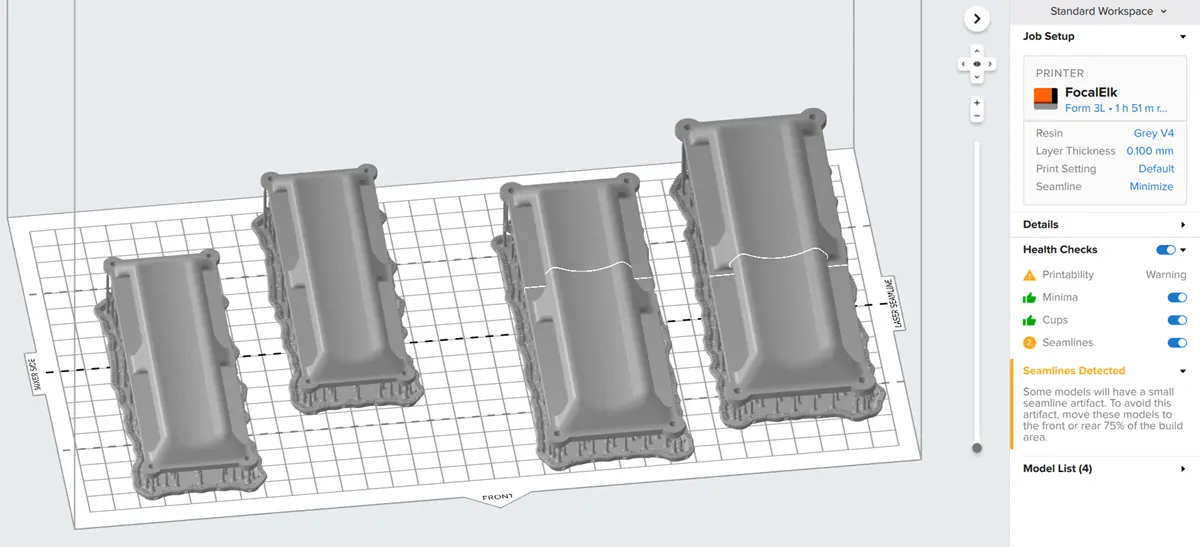
The two models on the left span less than 75% of the build platform's Y-axis, so they can print without a seamline. The two models on the right are larger than 75% of the build platform's Y-axis, so they cannot be printed without a seamline in this orientation.
If surface quality is a priority, you may wish to reorient parts or change their location on the build platform to prevent a seamline.
Adjusting Laser Alignment
The Form 3L/Form 3BL has two lasers that must align properly to produce accurate printed parts with good surface quality, particularly along the seam where these two lasers intersect. The printer performs regular self-tests to correct for most misalignments, but certain types of laser misalignments require additional calibration.
Follow the instructions in the guide Aligning the Form 3L lasers [EN] [DE] [ES] [FR] [IT] [JA] [ZH] to recalibrate the alignment for the printer’s two lasers. Note that improper use of the Laser Alignment tool could further reduce print quality.
If you are experiencing print quality issues relating to the seamline, contact Formlabs Support or your authorized reseller for detailed guidance on adjusting laser alignment.
Differences between resins
Regardless of material, the seamline is present in every print that crosses the displayed line in PreForm.
This line is more obvious in some materials and is barely visible in others:
Printed parts exhibiting a seamline
The seamline passes through the build area lengthwise, affecting all printed parts in its path. A thin artifact runs along the surface of a part in a straight line. This seamline is most obvious in parts printed in resins that are grey in color or glossy in finish.
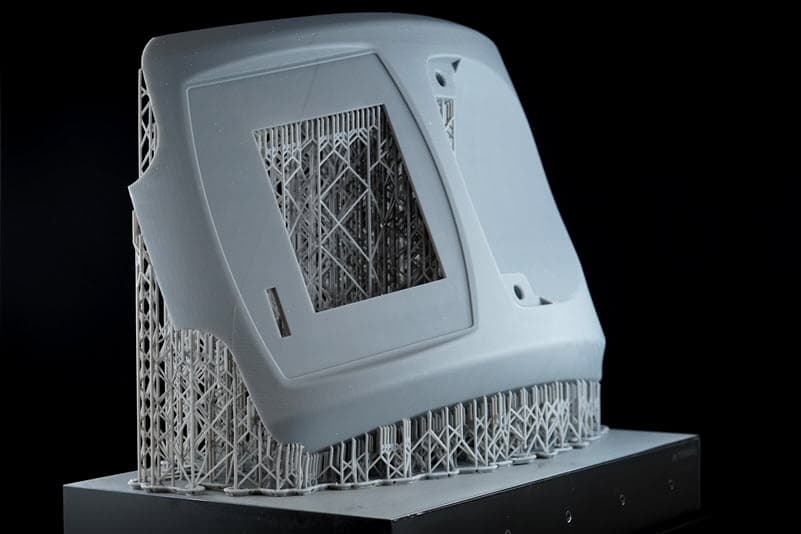
Ventilator enclosure printed in Grey Resin. The seamline runs lengthwise from left-to-right through the printed part.
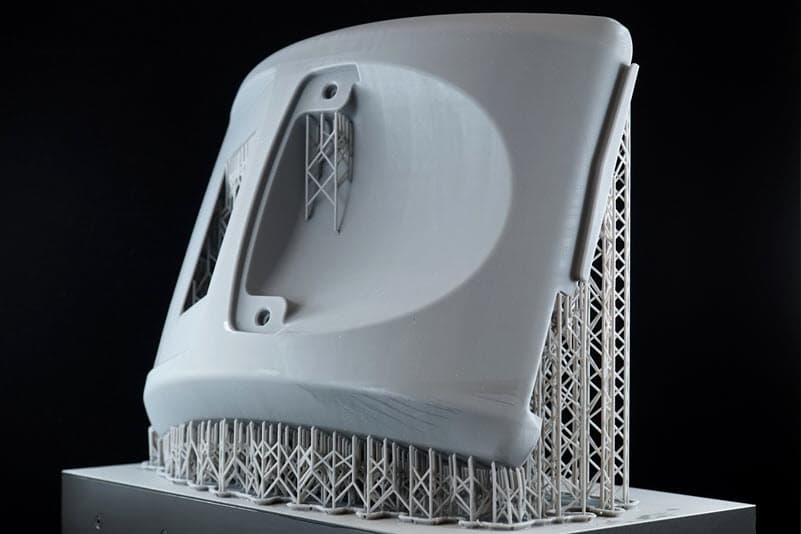
Ventilator enclosure printed in Grey Resin. The shiny section along the bottom of the part is excess solvent that has not yet evaporated from the part.
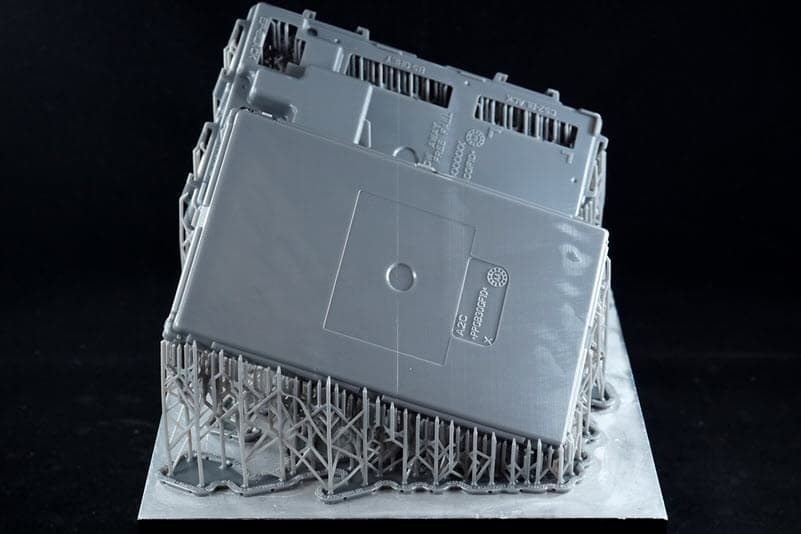
Enclosure printed in Tough 2000 Resin.
Hooks printed in Tough 2000 Resin.