
Note:
Parts printed in Clear Resin develop a yellow tint when fully cured. Polish the outer surface for a highly transparent finish.

Overmolding is a multi-step injection molding process where two or more components are molded over top of one another. First, a base component is molded and allowed to cure. Then, a second layer is molded directly on top of the first to create a single solid piece.
Insert molding is another form of injection molding where a secondary part is formed over a preexisting base or inner component. A prefabricated part – often produced in a completely different facility or procured from another company – is inserted into a mold, and then a secondary layer is formed around it.
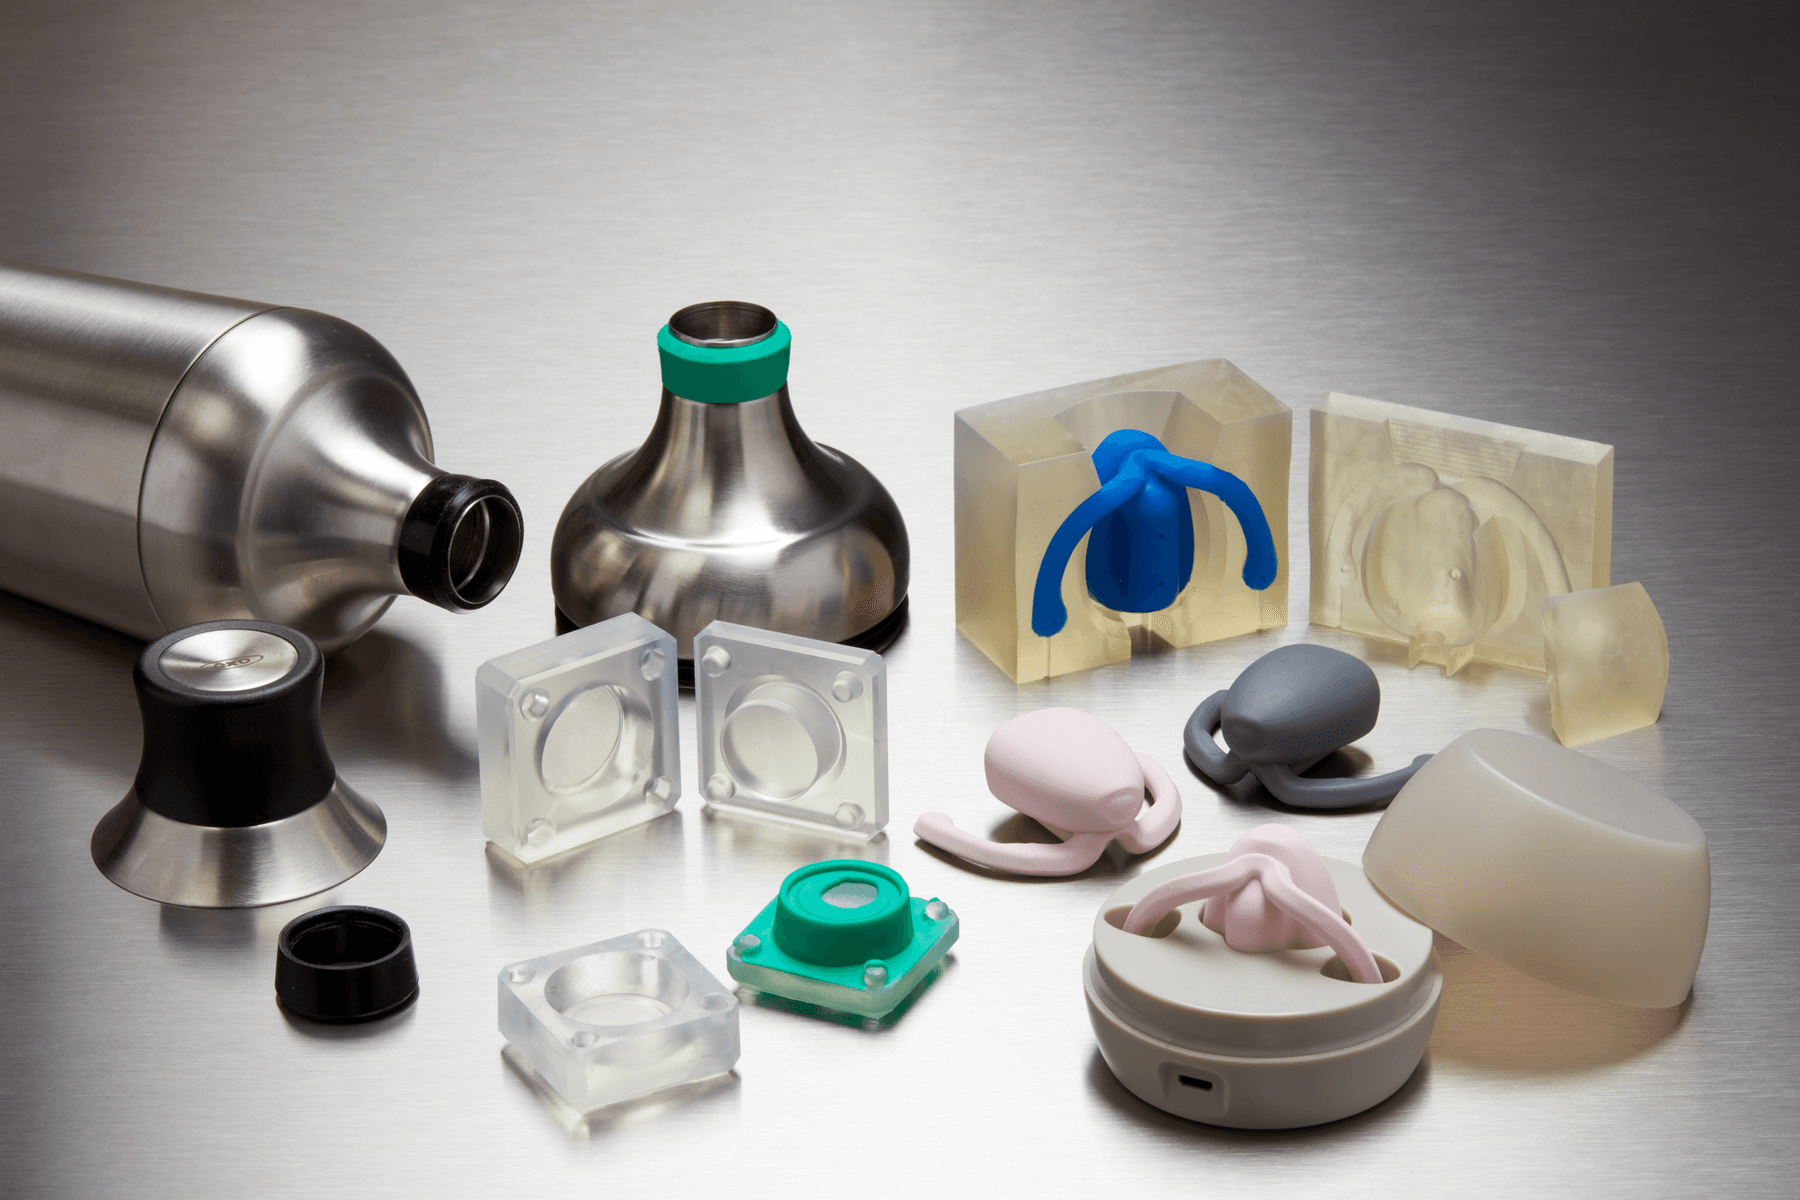
Overmolding and insert molding are used to create multi-material assemblies, improve product durability, and eliminate the need for secondary assembly. By integrating 3D printed parts or molds into these workflows, teams can rapidly prototype and test functional components—reducing iteration costs, timelines, and tooling risk.
Formlabs recommended materials
Formlabs recommends using Clear Resin for creating overmolding and injection molding parts, as its transparent finish provides a visual cue for mold filling and internal hardware alignment.
Design considerations
Use alignment pins to orient and constrain the part and to set the thickness of the silicone shell. Use a pin diameter of 0.2 mm. Try to have all alignment pins pointing in the “direction of draw” or perpendicular to the main parting line of the mold. The farther that the pin angle skews from this position, the more likely they are to break off and make it difficult to open mold.
Formlabs recommends a minimum 1.5 mm silicone layer thickness. Designing for a 2 mm minimum thickness tends to be more reliable, although 1 mm may work in small areas of the coating. Note that alignment pins do tend to leave small holes in the surface. If needed, these can be patched using a small dab of liquid silicone and allowing it to cure.
Place air vents in areas where air is likely to be trapped. Air bubbles can form around sharp turns, corners, or areas where two flow fronts connect. Bubbles will result in voids in the finished cast part.
Printing considerations
Formlabs recommends printing in 25–50 µm layer height for a balance between a smooth surface texture and fast printing time.
Orient your parts on the build plate so that critical interior surfaces are free of support marks. Placing the mold stock flat on the build platform can work in some cases.
Post-processing considerations
Follow Formlabs best practices for washing and post-curing prints. Refer to the individual material articles for specific wash and cure instructions.
Note:
Parts printed in Clear Resin develop a yellow tint when fully cured. Polish the outer surface for a highly transparent finish.
Add mineral oil to the exterior surfaces to fill in surface scratches and provide an extremely clear window into the silicone filling process.
Consider using mold release anytime two different materials come into contact with each other. This includes embedded hardware that you plan to insert and remove from an overmolded silicone sheath. Follow the guidelines on your material packaging, and wait for the coatings to fully cure or dry before moving on to the next step.
Prepare the silicone at least one hour before insert molding. Allow silicone to gently degas for at least one hour or up to one day.
For complex shapes, fill from the highest point of the object, and consider the flow fronts that develop. Wait until silicone is coming out of all air vents before you stop filling. If one area is filling too fast, block it with a finger until the rest of the mold fills.
When reusing a mold, take care to ensure the air vents remain clear. Use a sharp object to remove any blockages.
End-use recommendations and limitations
3D printing is a powerful solution to fabricate molds for overmolding and insert molding rapidly and at a low cost. It is particularly recommended for:
Some limitations include:
Additional resources