
Note:
The sample images below show the elastic layer on Resin Tanks LT as viewed through the underside of the acrylic tank window.

The lifetime of a Resin Tank LT varies depending on print practices, resin type, and layer thickness. To prevent damage to the elastic layer, orient and support models properly in PreForm. Use only the recommended tools and cleaning instructions.
Note:
The sample images below show the elastic layer on Resin Tanks LT as viewed through the underside of the acrylic tank window.
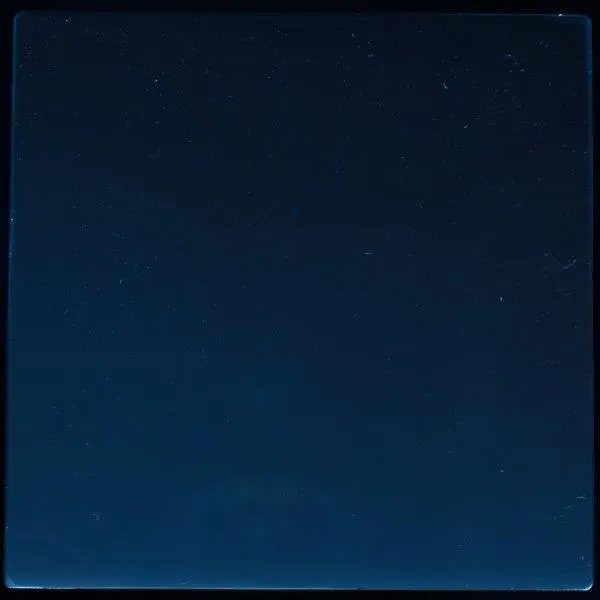
Scratches
Slight scratches in the film-coated layer normally appear after use and should not affect print quality.
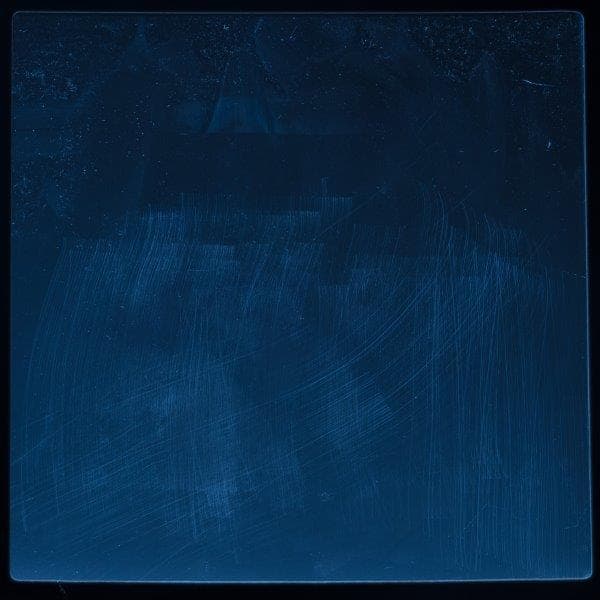
If scratches are heavy or affect print quality, use PreForm to move prints away from the scratched area or replace the tank.
Indentations
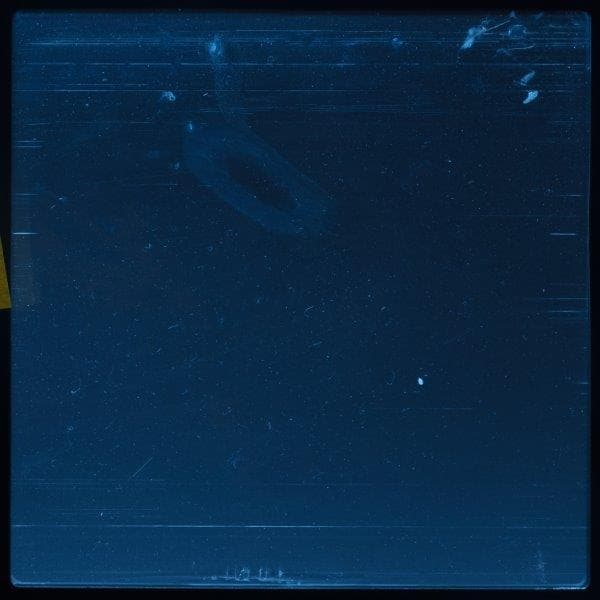
Gouges and punctures
A gouged or punctured tank requires replacement. Gouges and punctures in the film bend light and prevent the laser from curing resin properly. They may also allow resin to leak into and cure under the film, which can lead to further damage.
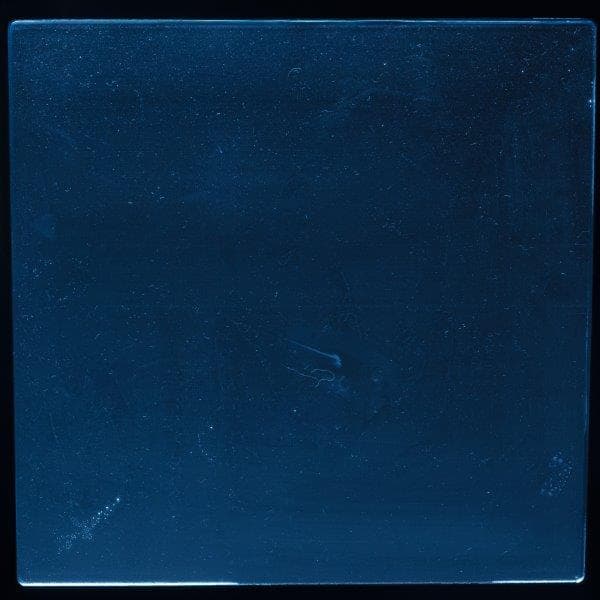
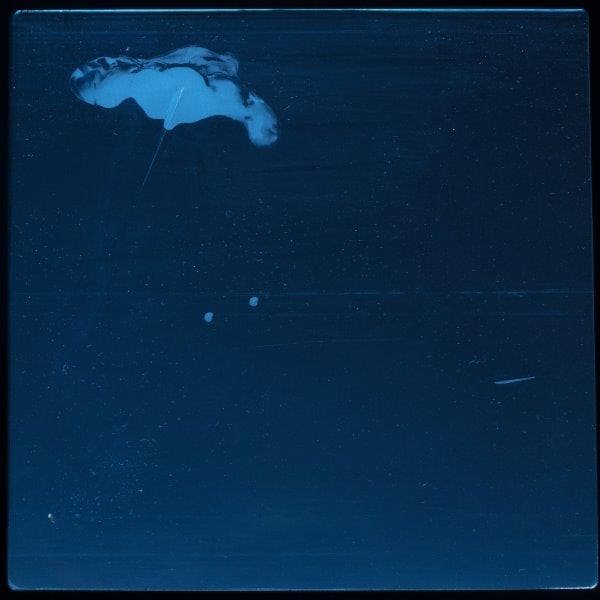
Common causes for gouges and punctures include:
Rippled surface
Rigid Resin and Grey Pro Resin are high performance materials that can accelerate wear on the resin tank. Ripples usually appear in Resin Tanks LT after use with 1–2 L of these two resins.
While the rate of wear depends on a variety of print factors, ripples typically begin to form at the edges of the tank and spread toward the center. Ripples in the film-coated elastic layer may cause parts to print with a wavy or rippled surface on smooth or flat areas.
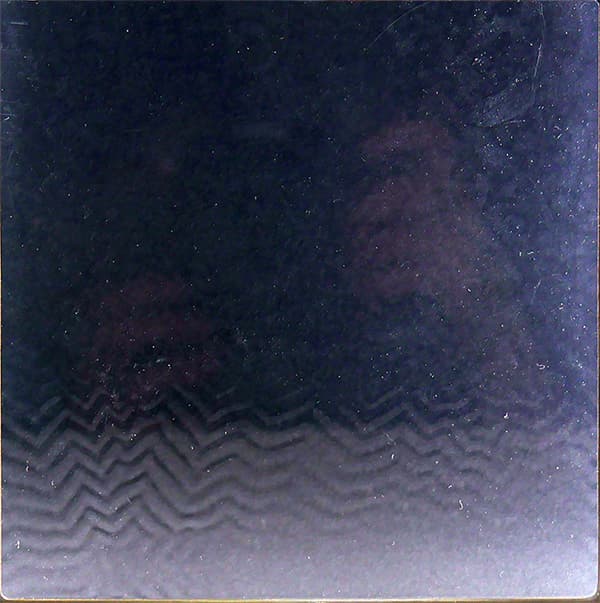
Rippled surface on the film-coated elastic layer on Resin Tank LT.
If ripples on the tank bottom affect print quality, either use the Layout tool in PreForm to print around the affected print area or replace the tank.
Best practices
Follow these best practices to maximize the lifetime of your Resin Tank LT:
For assistance with wear or damage beyond the examples listed above, contact Formlabs Support. Specify the resin type and include clear, well-lit images of the elastic layer.