Required supplies:
Formlabs:
- Replacement impeller (RP-WA2-IMP-01)
Third-party:
- 2 mm hex driver
- Small flat-blade screwdriver
- Nitrile gloves
- Solvent storage container (15 L)


La Form Wash (seconda generazione) contiene una girante che agita il solvente nel recipiente di lavaggio per aiutare a pulire le parti stampate. I danni al girante della Form Wash (seconda generazione) possono causare forti rumori di clic o il malfunzionamento dell'unità.
Usa questa guida per sostituire il girante della Form Wash (seconda generazione).
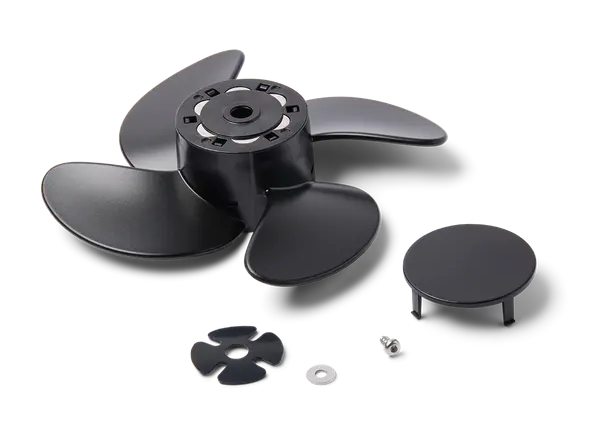
Required supplies:
Formlabs:
Third-party:
Tempo stimato: 30 minuti
Preparazione dell'area di lavoro
Panoramica: prepara la Form Wash e un'area di lavoro livellata per sostituire il girante.
AVVERTENZA:
La resina potrebbe causare irritazioni cutanee o una reazione allergica a livello cutaneo. Indossa sempre i guanti quando maneggi la resina liquida o le superfici rivestite di resina. Lava la pelle con abbondante acqua e sapone.
Step 1: Raise the Form Wash elevator
Turn the Form Wash knob to select Raise on the display. Push the knob to confirm. The Form Wash raises the elevator and basket out of the wash bucket.
Step 2: Remove the wash bucket and inner lid
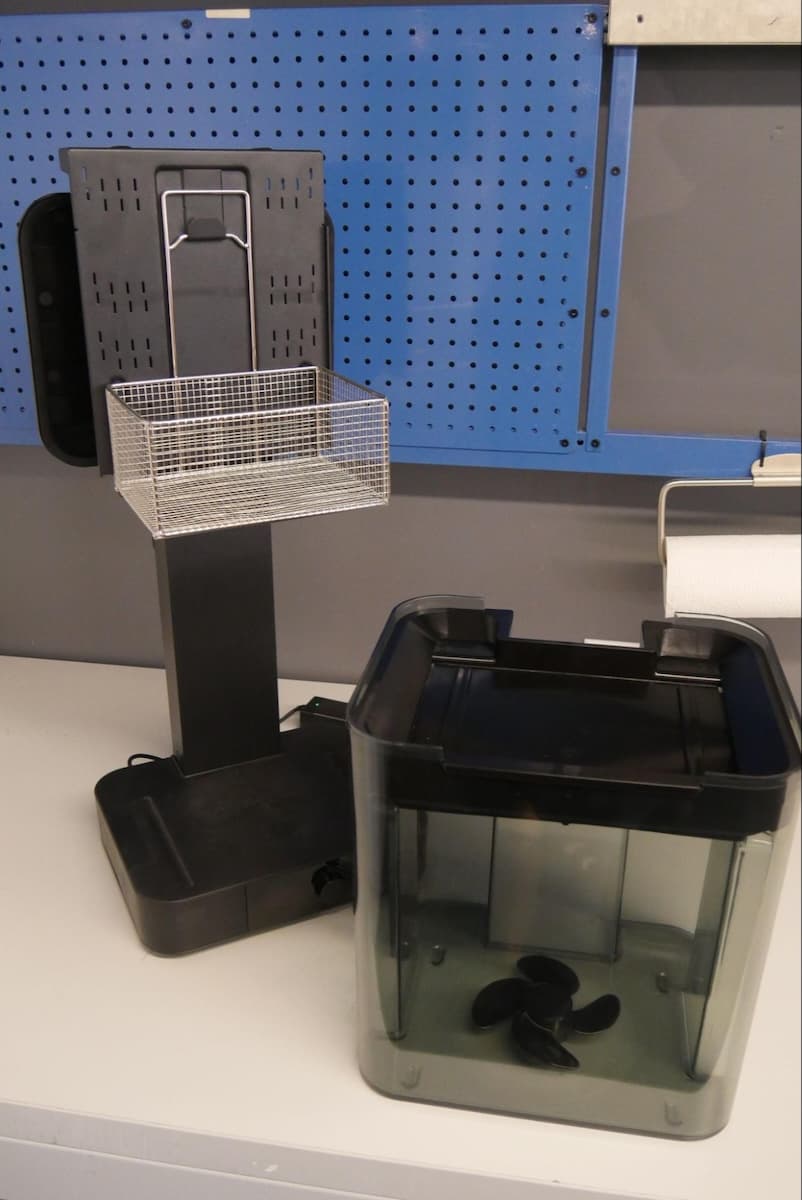
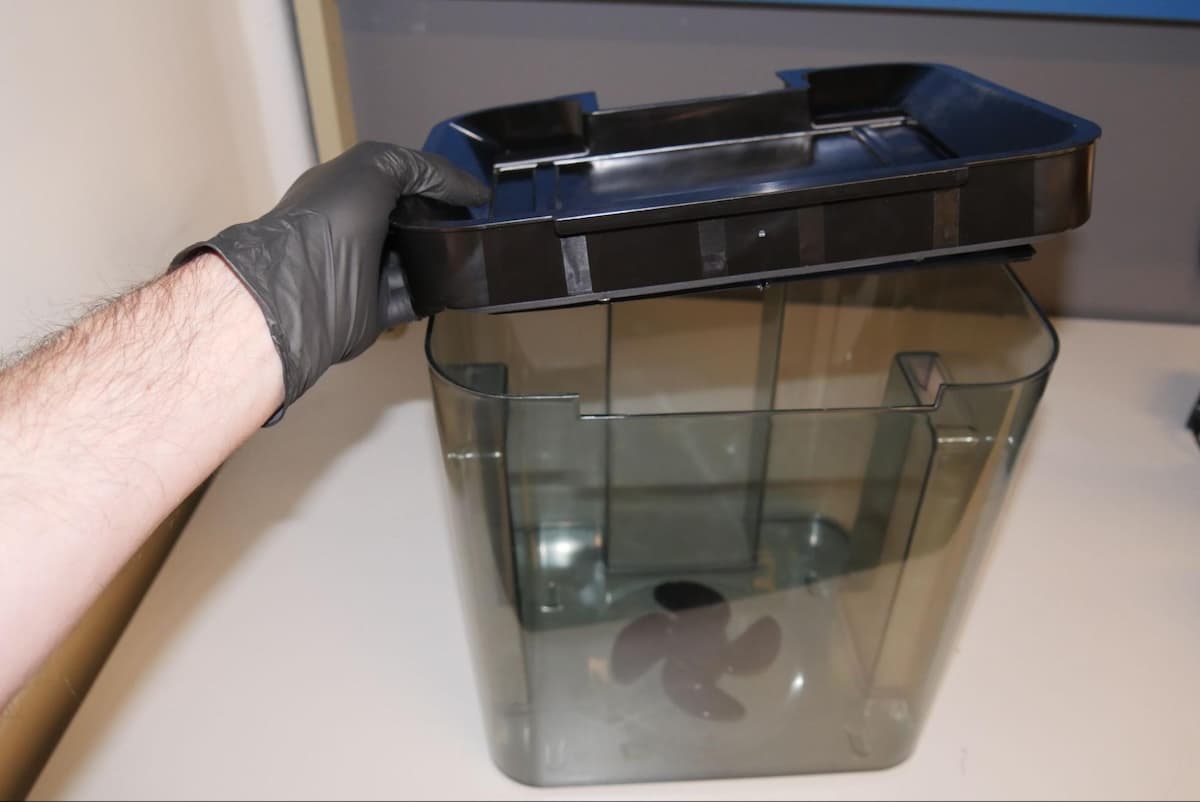
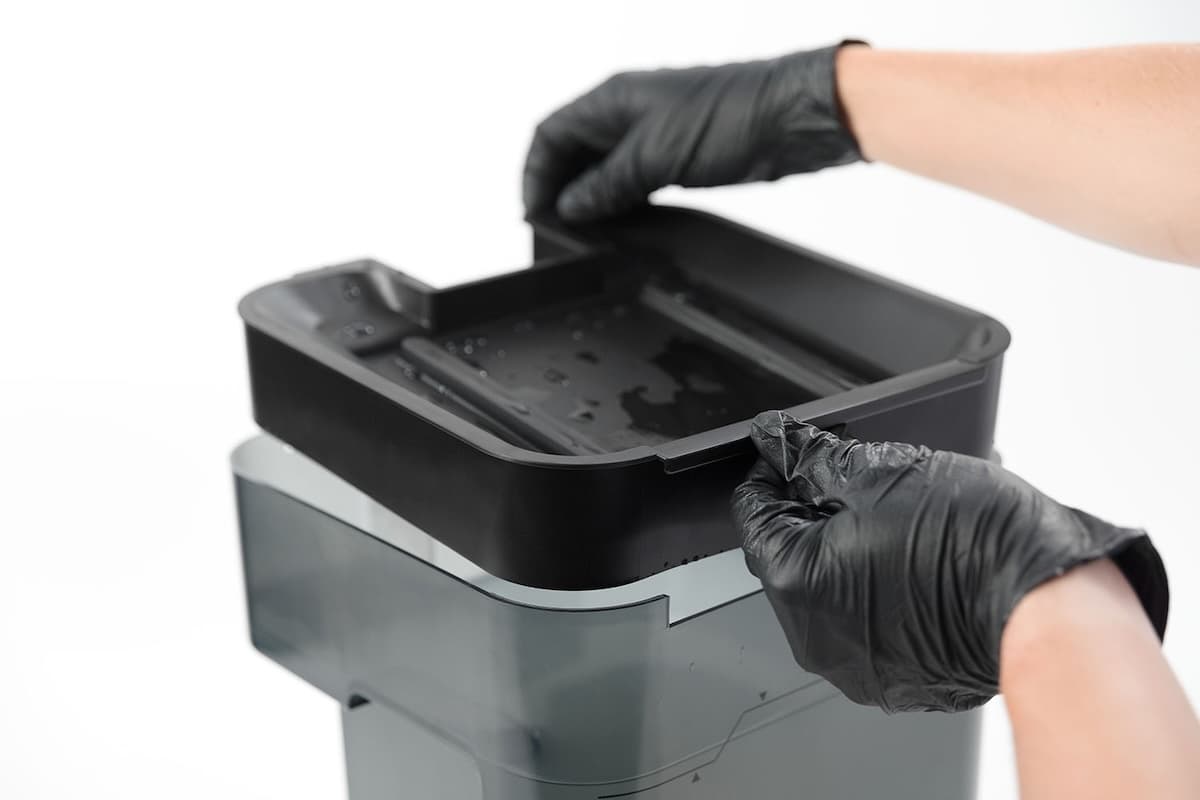
Rimuovi il recipiente di lavaggio dalla base e mettilo da parte su una superficie stabile e piana. Solleva il coperchio interno per rimuoverlo e mettilo da parte.
3° passaggio: trasferimento del solvente usato in un contenitore vuoto
Versa o sifona il solvente dal recipiente di lavaggio in un contenitore vuoto con una capacità di almeno 15 L.
PERICOLO:
L'alcool isopropilico è infiammabile. Tieni i contenitori chiusi e fuori dalla portata dei bambini.
4° passaggio: risciacquo del recipiente di lavaggio
Risciacqua il recipiente di lavaggio con acqua, quindi rimuovi eventuali residui con carta assorbente.
Sostituzione del girante
Overview: Remove the impeller and install the replacement impeller.
Using a small flat-blade screwdriver or other similar tool, pry the cap loose from the impeller.
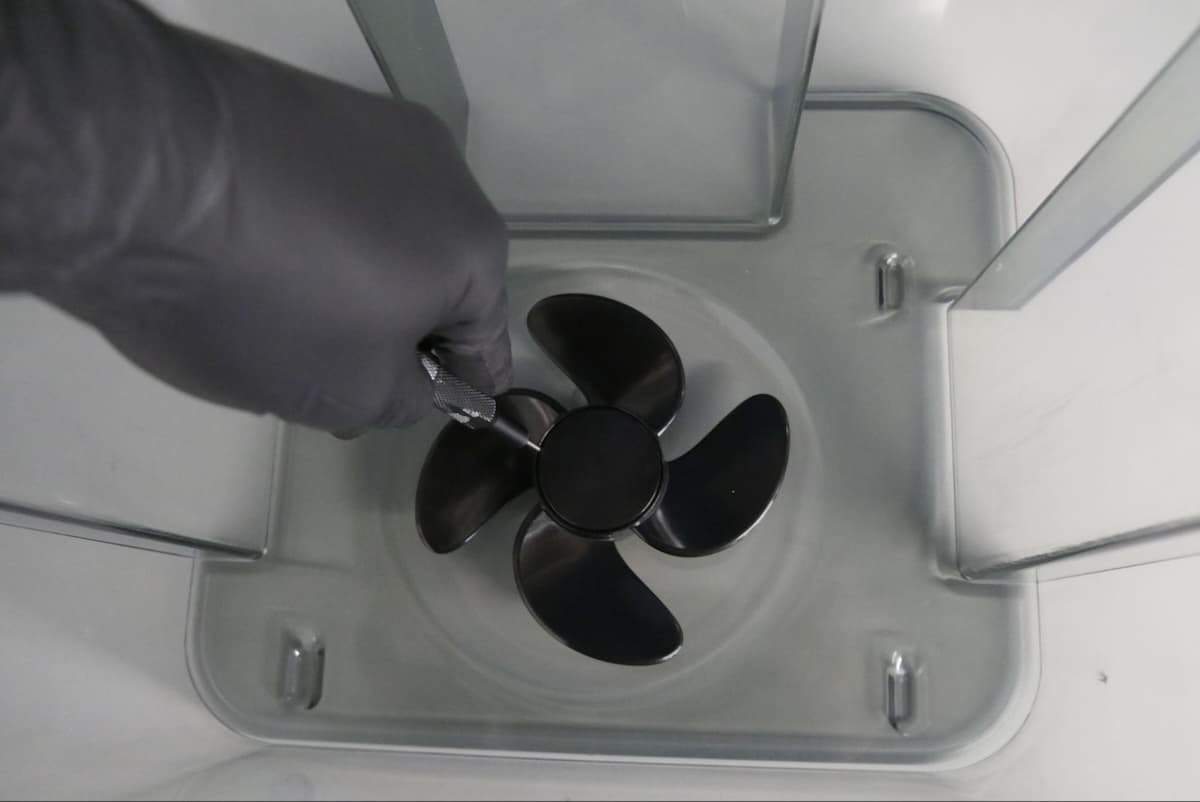
Step 2: Remove the impeller
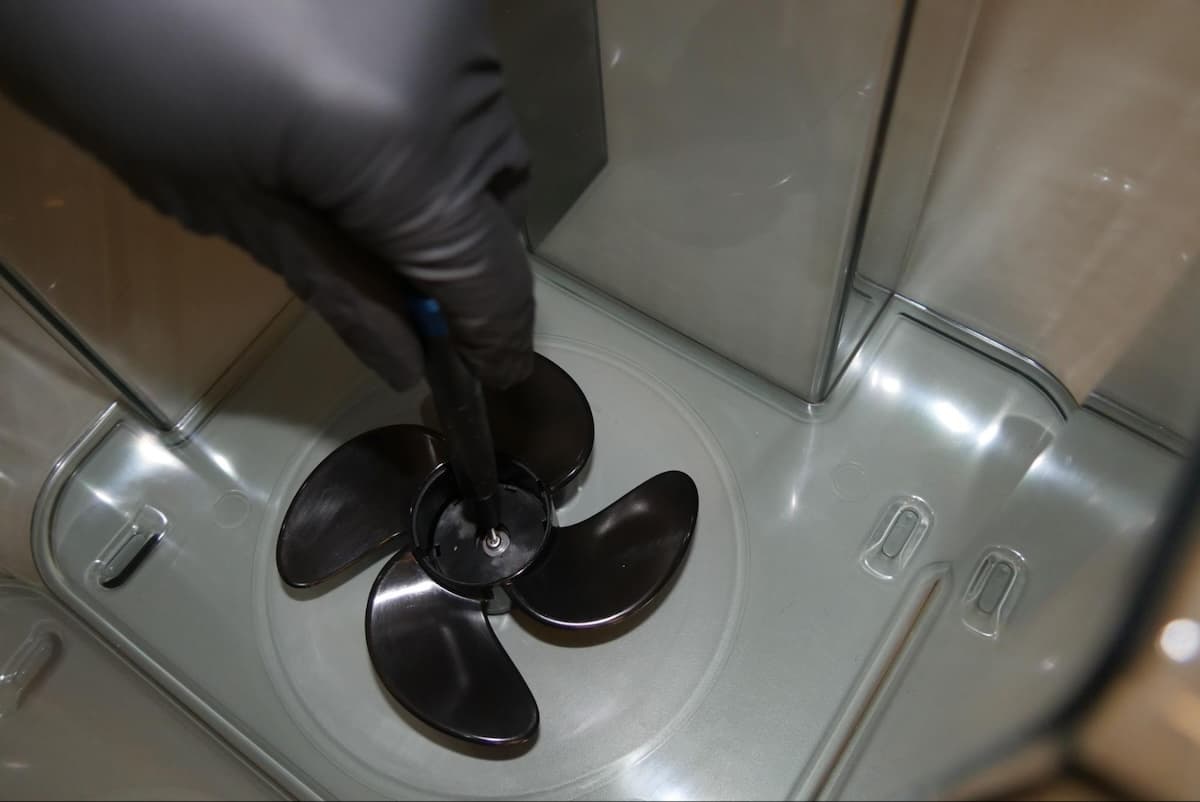
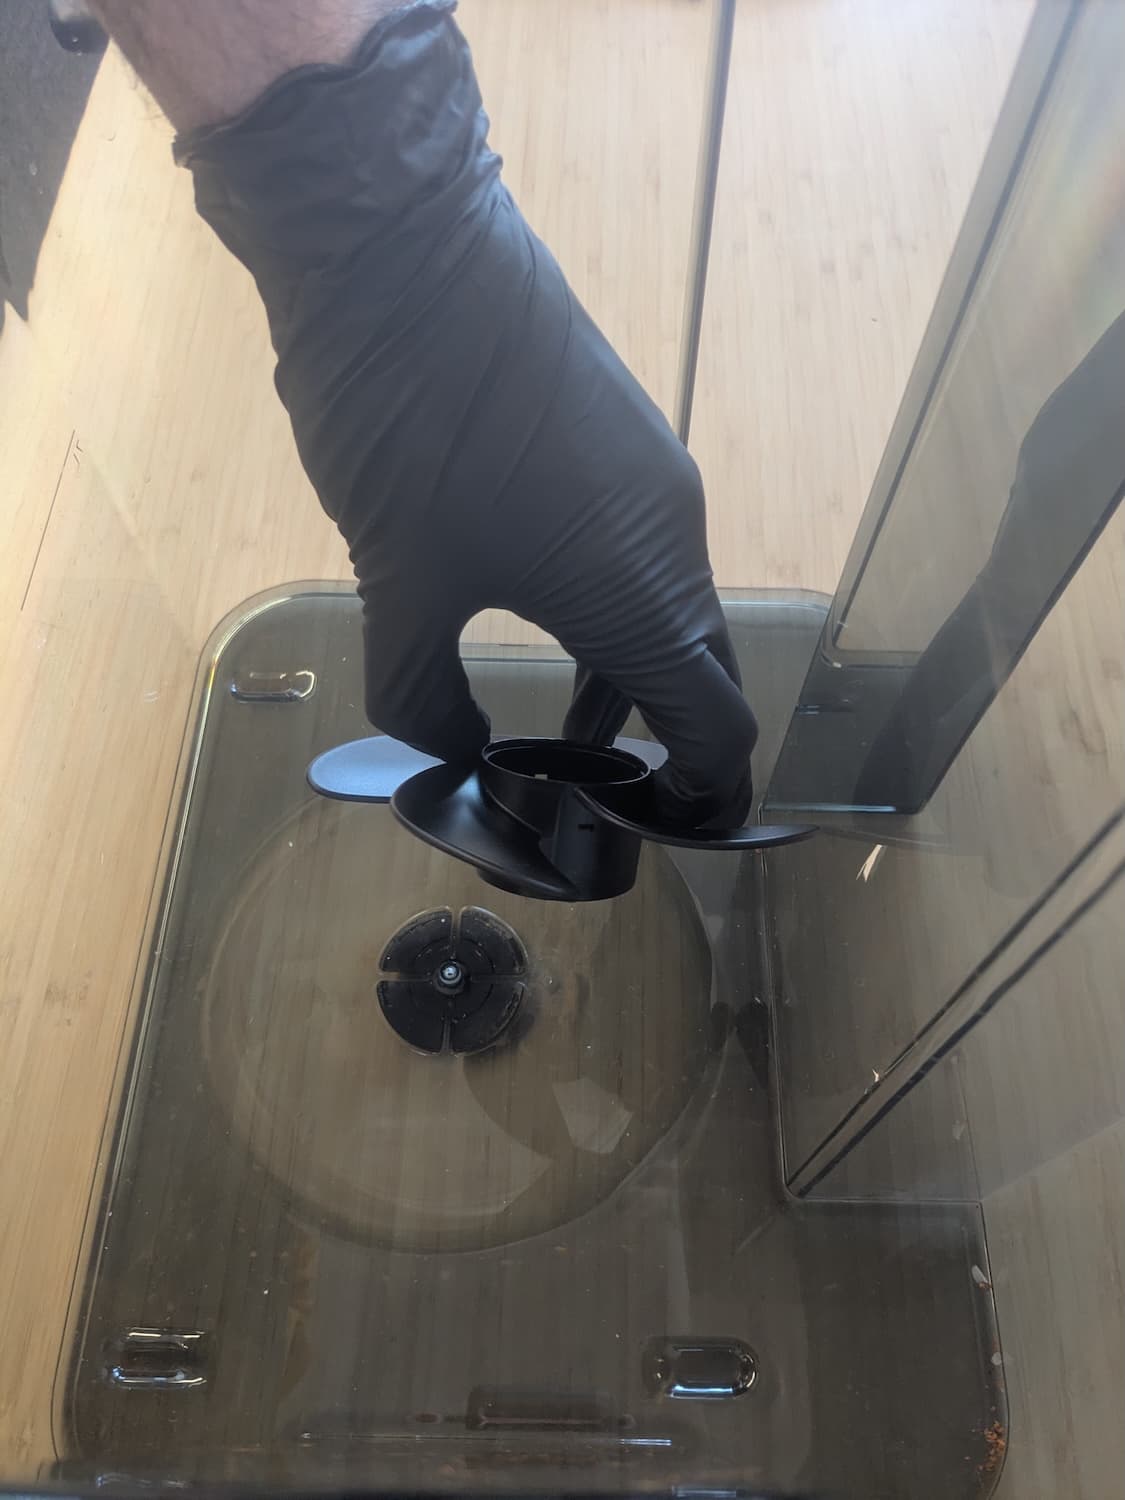
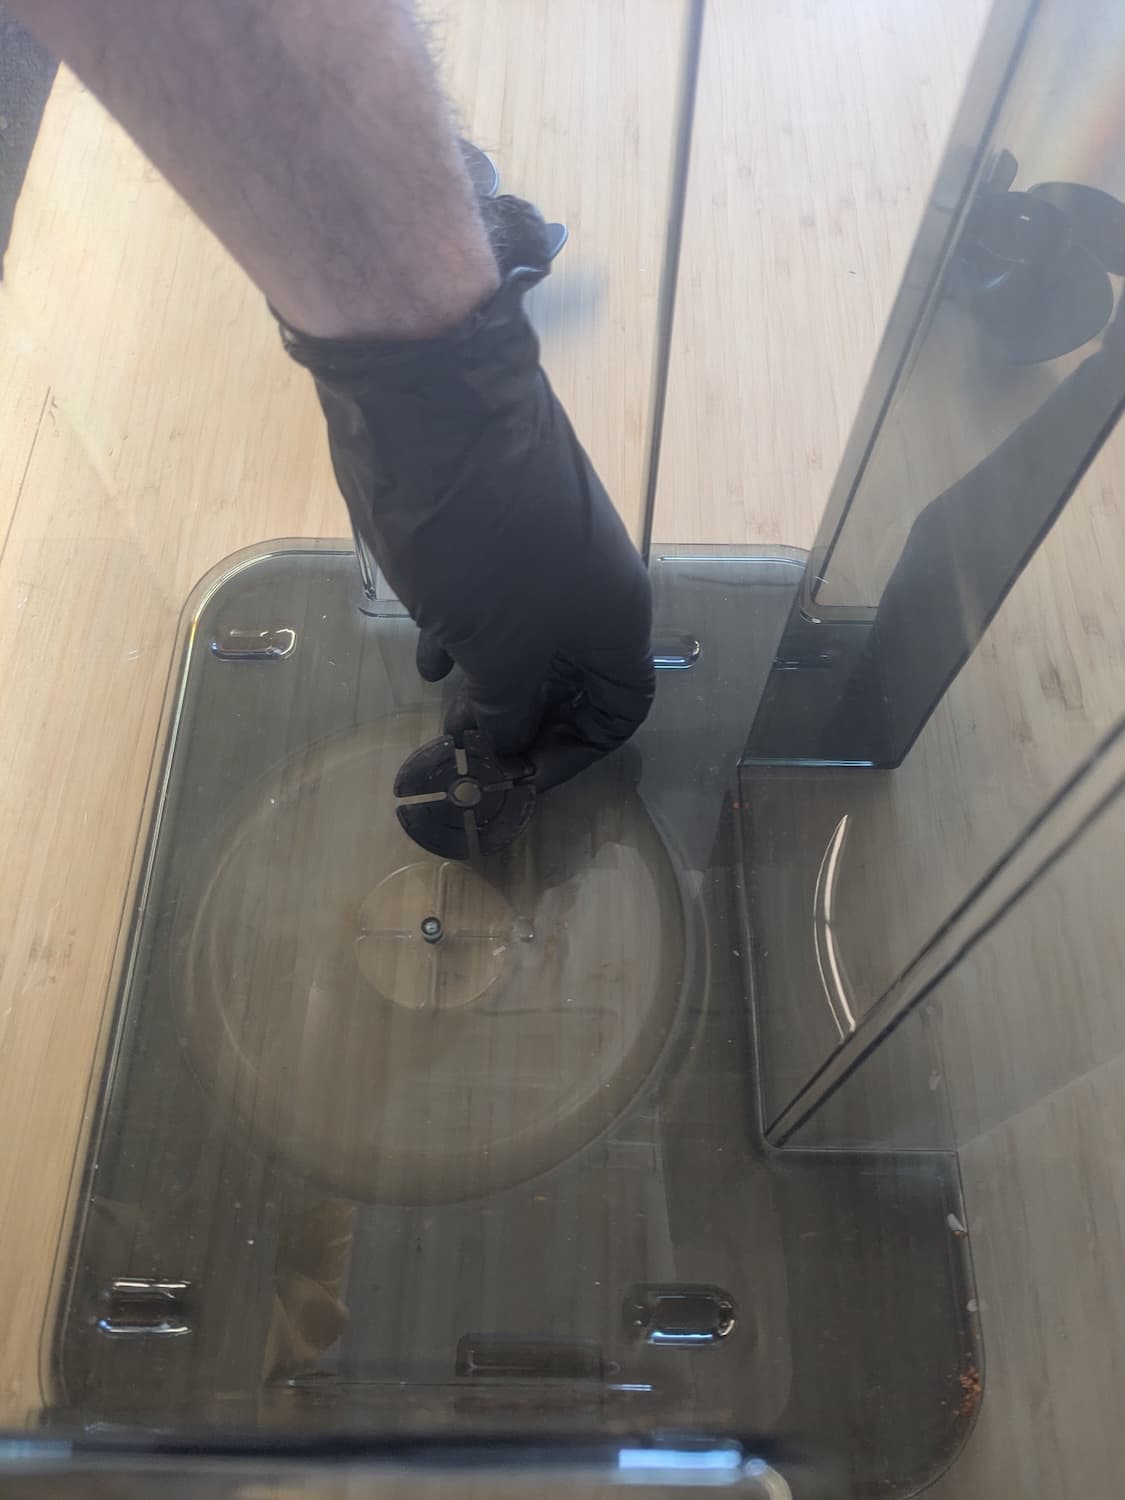
The impeller is secured by one screw with a washer. Use a 2 mm hex driver to remove the screw. Remove the washer, the impeller, and the flat four-lobed bearing below the impeller. Set the components aside for disposal.
Step 3: Install the replacement impeller
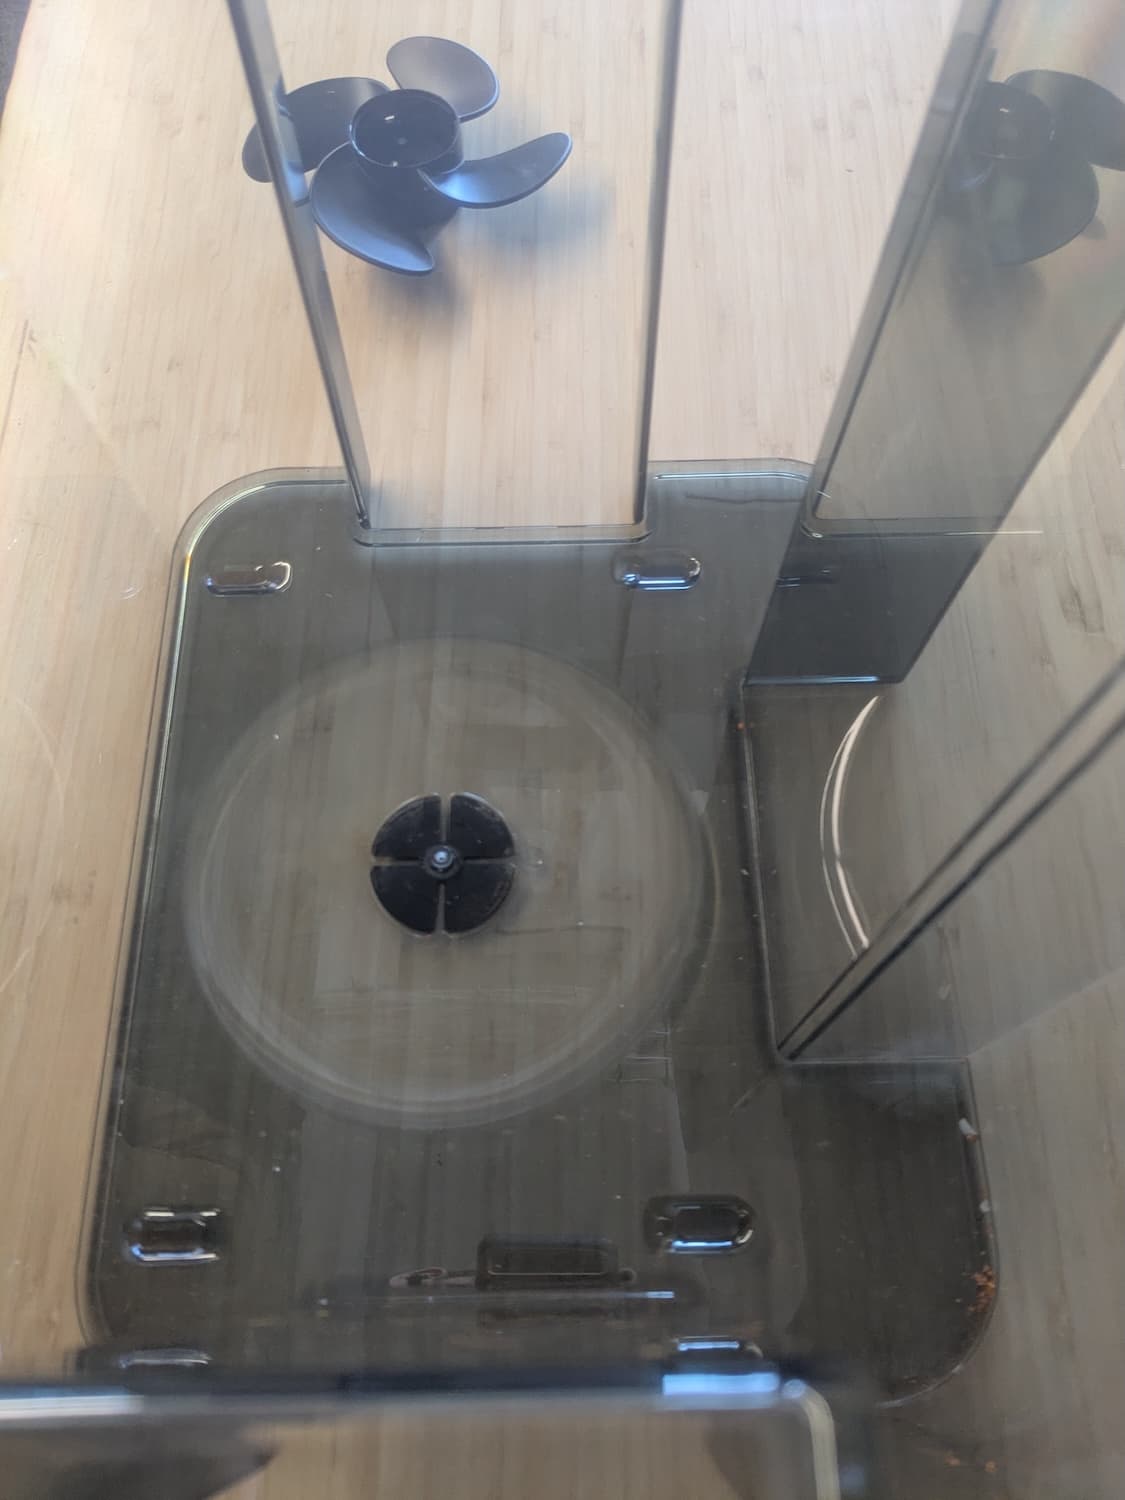
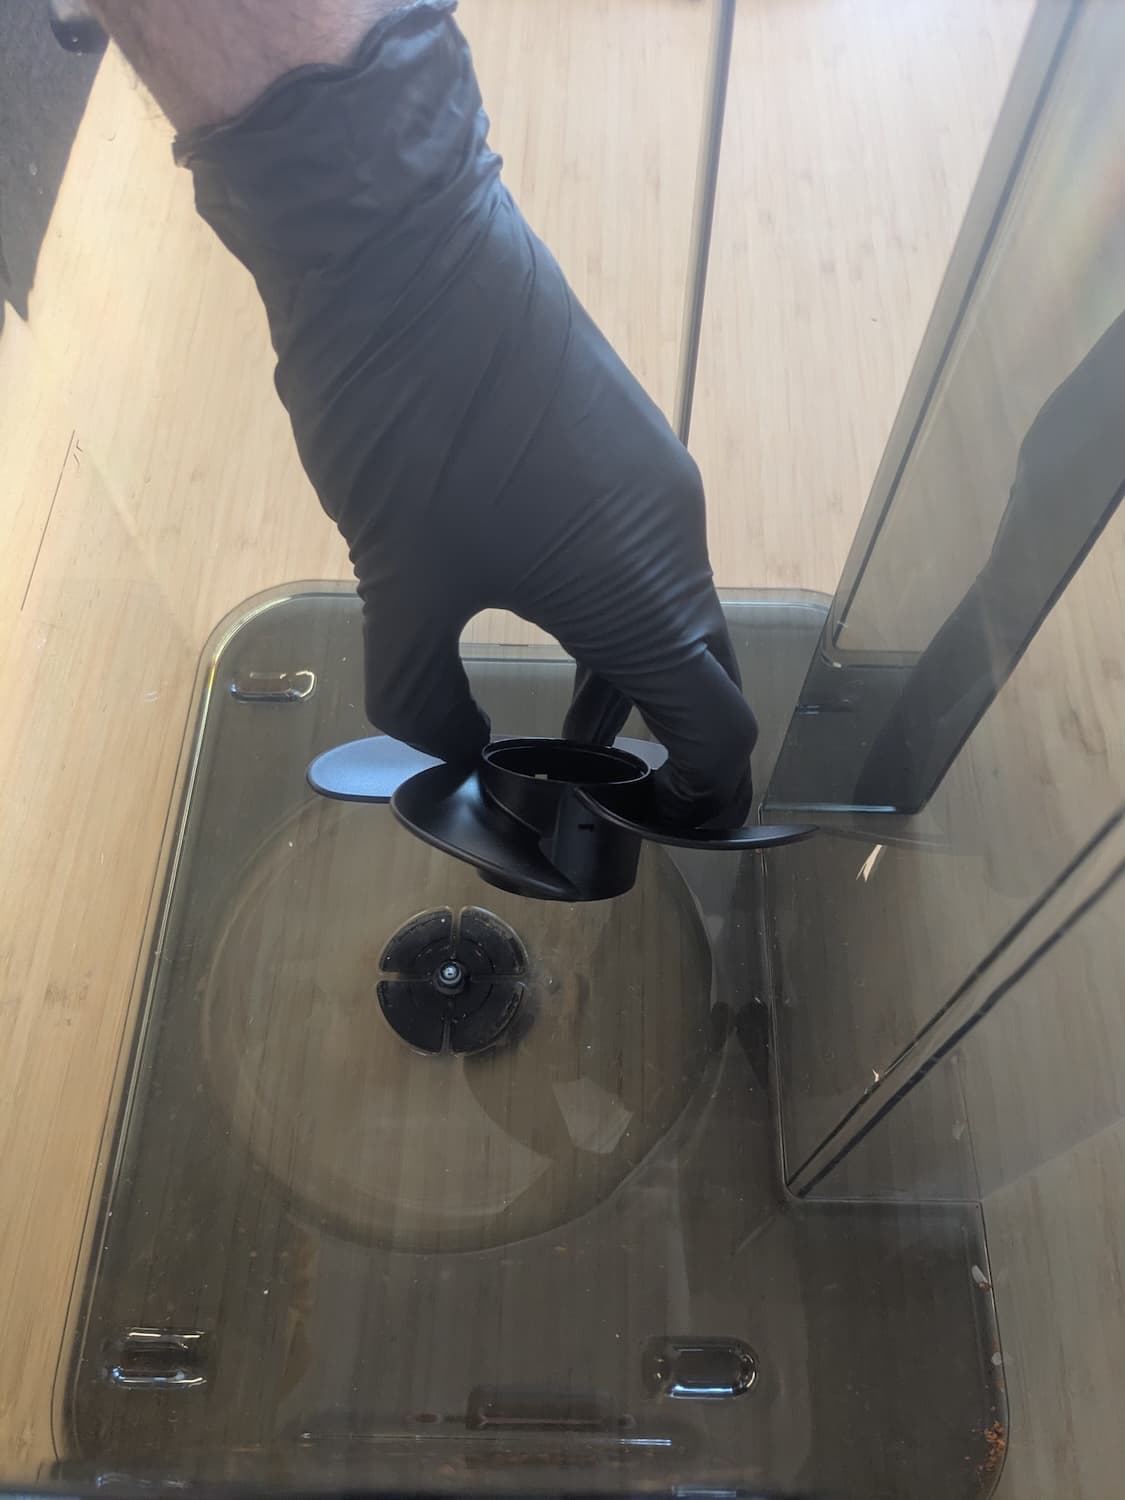
The wash bucket has an engraved depression shaped to hold the flat four-lobed bearing. Place the new bearing into this depression. Insert the new impeller into the wash bucket. Align the impeller’s screw hole with the corresponding screw hole in the wash bucket. The impeller should sit flat against the bottom of the wash bucket.
Step 4: Reinstall the impeller screw
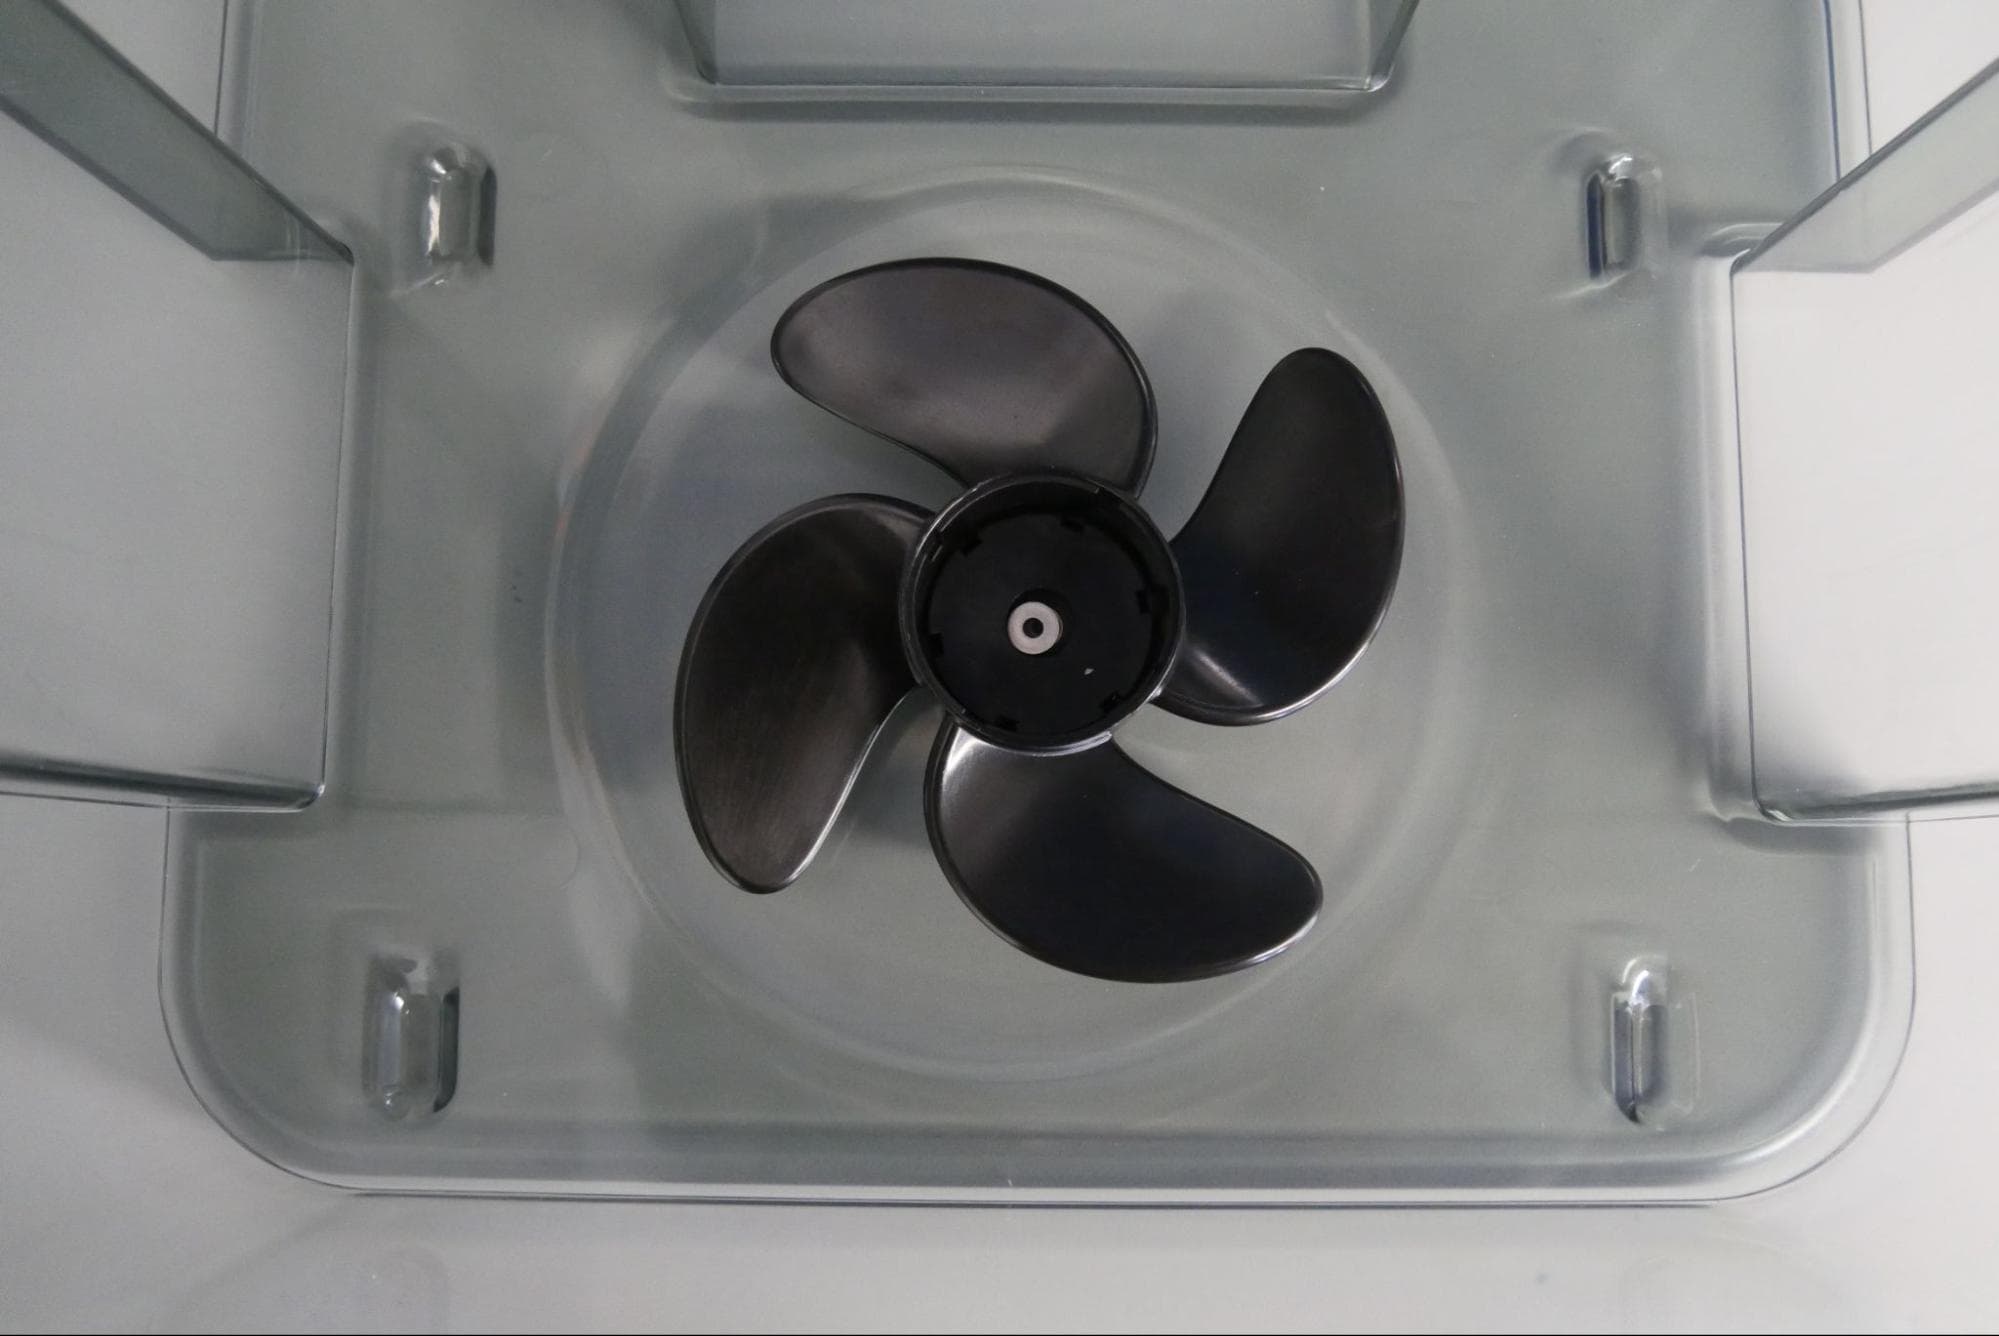
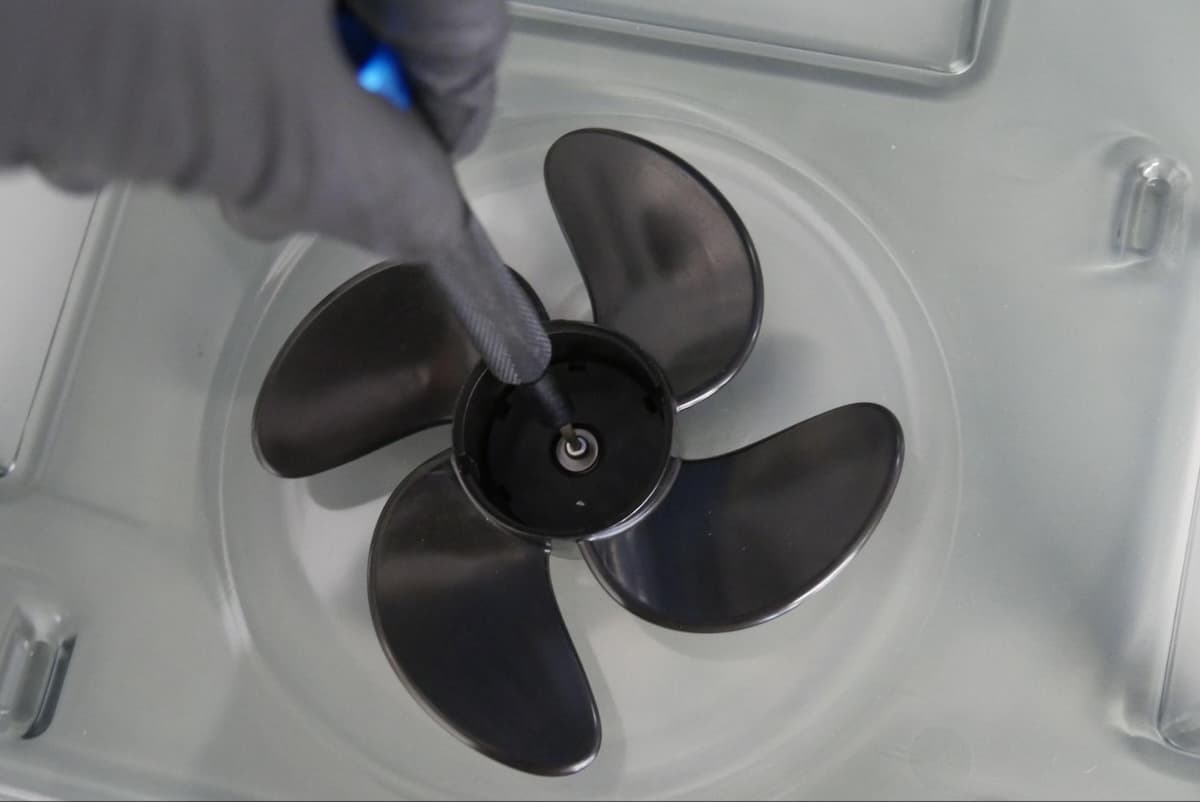
Place the washer onto the impeller’s screw hole. Thread the screw into the Form Wash impeller’s screw hole. Using a 2 mm hex driver, tighten the screw until finger tight. Take care to not overtighten or strip the plastic threads in the wash bucket.
Spin the impeller by hand. It should spin freely. If it does not, loosen the screw half a turn and check again. Repeat as needed.
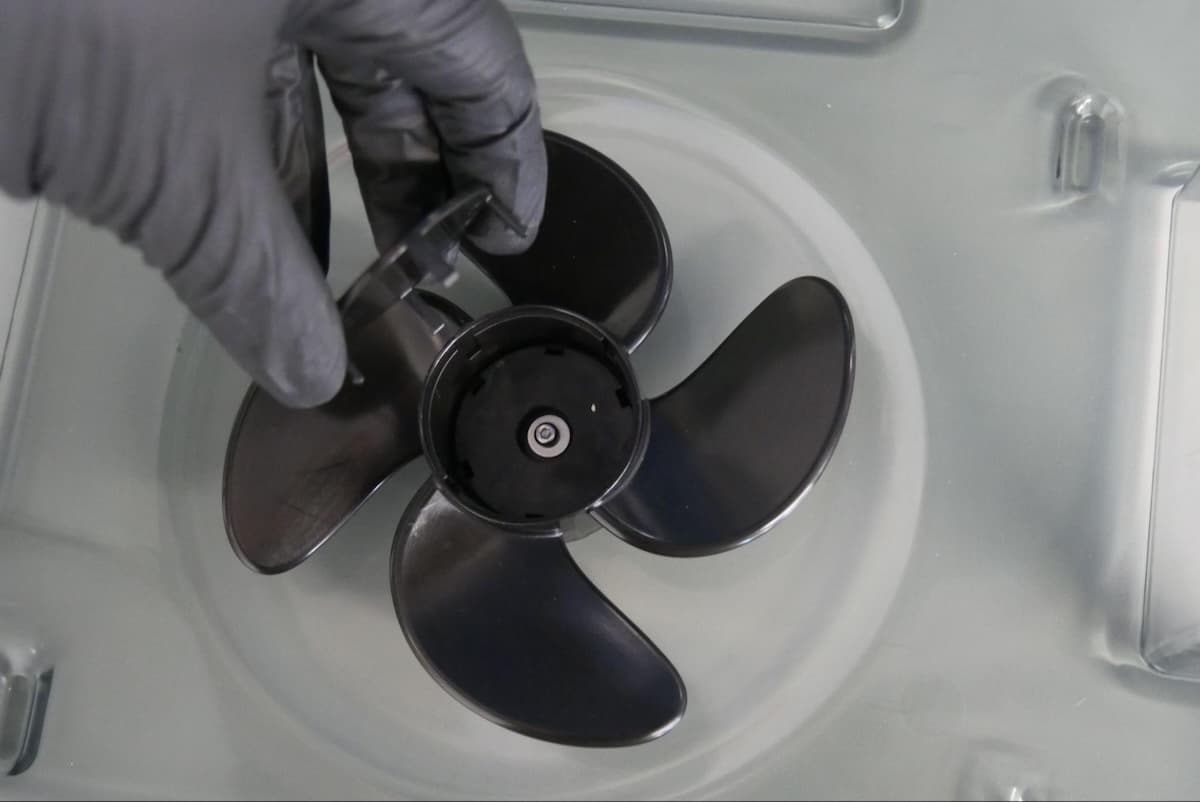
Align the posts on the impeller cap with the grooves of the impeller. Gently press the impeller cap into place.
Conclusione della riparazione
Overview: After installing the new impeller, power on the machine and perform final checks.
Step 1: Refill the wash bucket
Refill the wash bucket to your desired fill level.
Align the front edge of the inner lid with the wash bucket’s edge and lower the inner lid directly into the top of the wash bucket.
Insert the wash bucket into the Form Wash.
Turn the Form Wash knob to select Lower on the display. Push the knob to confirm. The Form Wash lowers the elevator and basket into the wash bucket.
Step 5: Test the repair
Turn the knob to navigate the display menu and set the Time. Push the knob to select or confirm. Select Start. Check to see that the wash cycle starts normally and that the Form Wash does not make any unusual noises and that the impeller is moving properly. Contact Formlabs Support or your authorized reseller to share the results of the procedure.