
As a producer, creative director, and filmmaker by trade, Michael Beim aspired to enable and inspire people to express their passion and share their vision with the world.
He founded birdkids in 2012 as a record label that soon pivoted to hardware and found a niche as a boutique manufacturer of high-quality, modular synthesizers. Their first products received critical acclaim and the small company now boasts a client list that includes some of the biggest names in electronic music, movies, and TV.
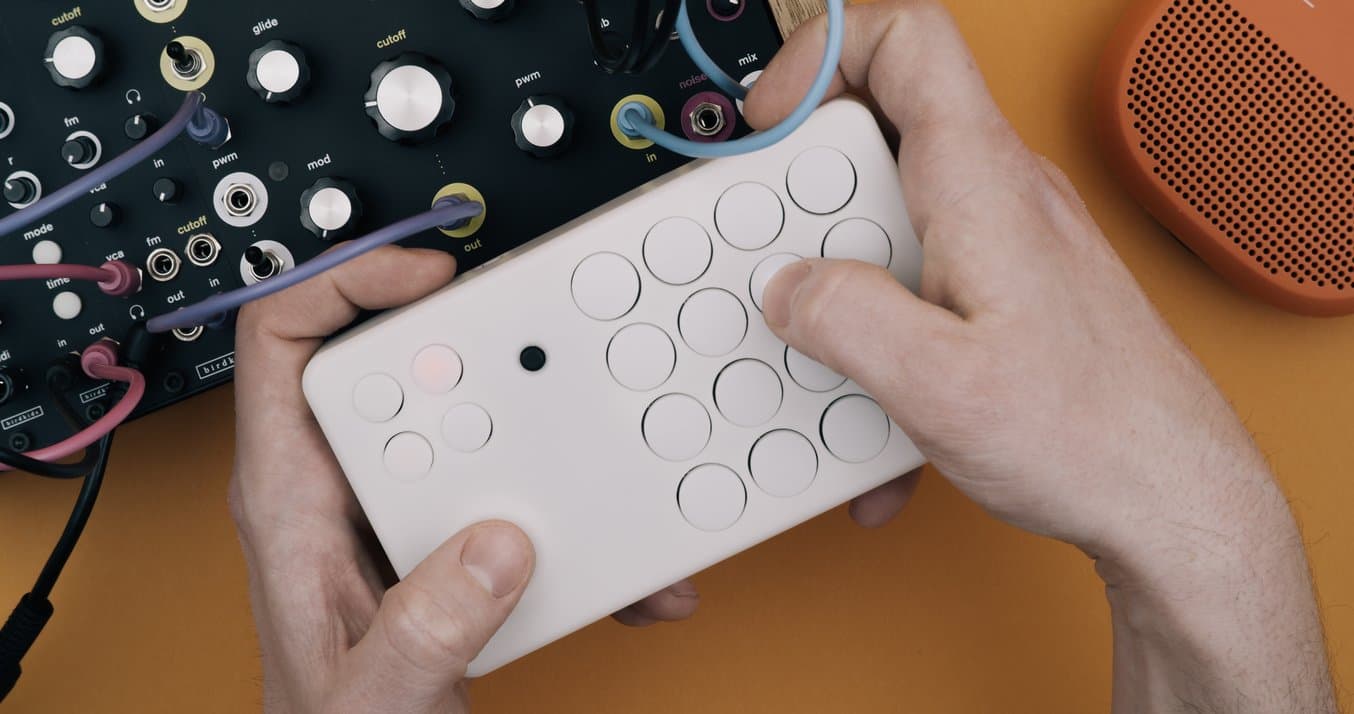
The team’s latest project, °Grid, a handheld, wireless, haptic controller, is a natural evolution of their product line that aims to enable creative applications effortlessly on-the-go. But scaling up from handcrafted products to a compact device that can be manufactured in higher volumes by external partners posed new challenges for the team during the product development process.
Read on to learn how Beim and his five-person team developed °Grid using 3D printing with a wide range of materials, including Color Kit, to prototype the color palette for the new product.
Testing Dozens of Iterations With Different Materials
With °Grid, Beim and his team had a goal to create a very compact and mobile device that can easily fit in the hands of the user. They first started prototyping with FDM 3D printers, but quickly ran into certain limitations, especially when it comes to quality and the availability of specific materials.
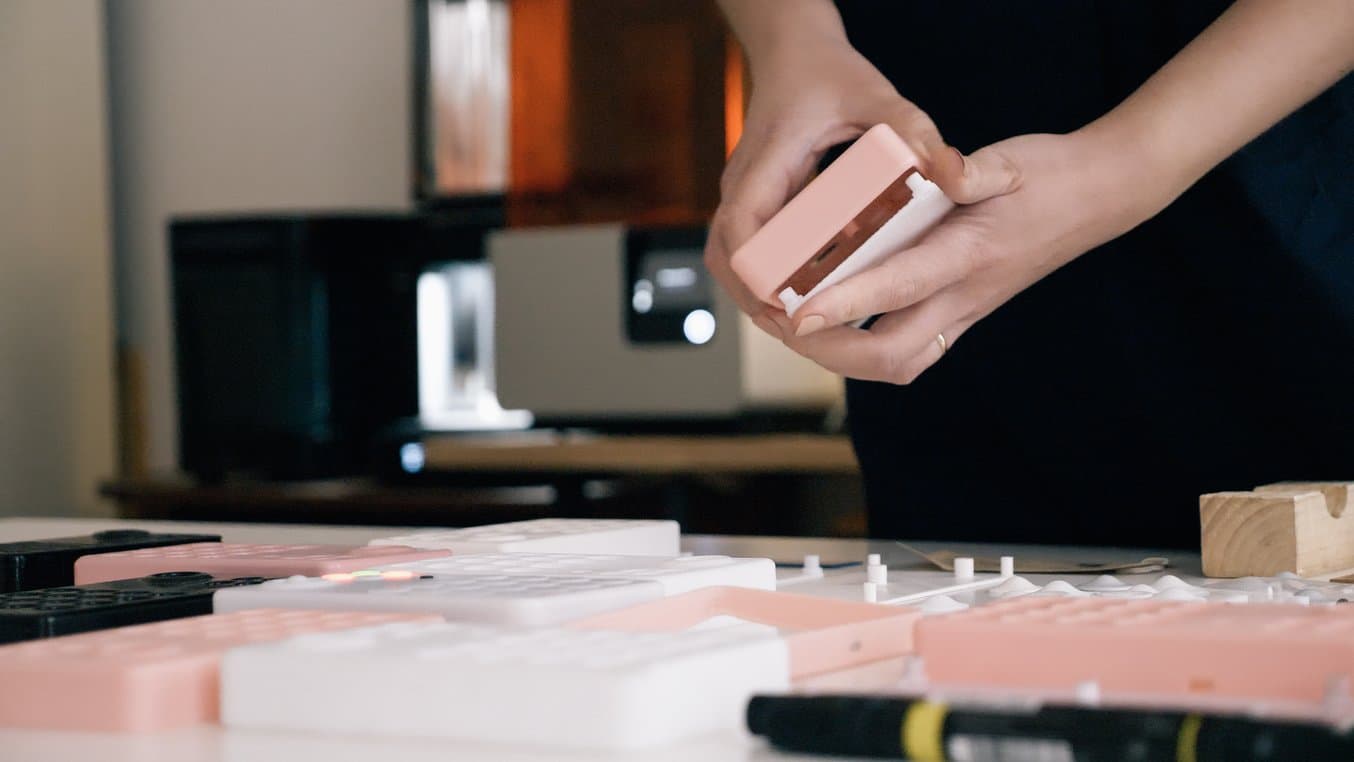
“We wanted to not just prototype for ourselves but show [the prototypes] to people and give it to alpha and beta testers, producers, artists, and performers already in the early stages. It was very important for us to make them feel like they're handling the actual, almost final, product. The smooth surface finish and the stability of the resin materials we were prototyping with were a huge add-on”, said Beim.

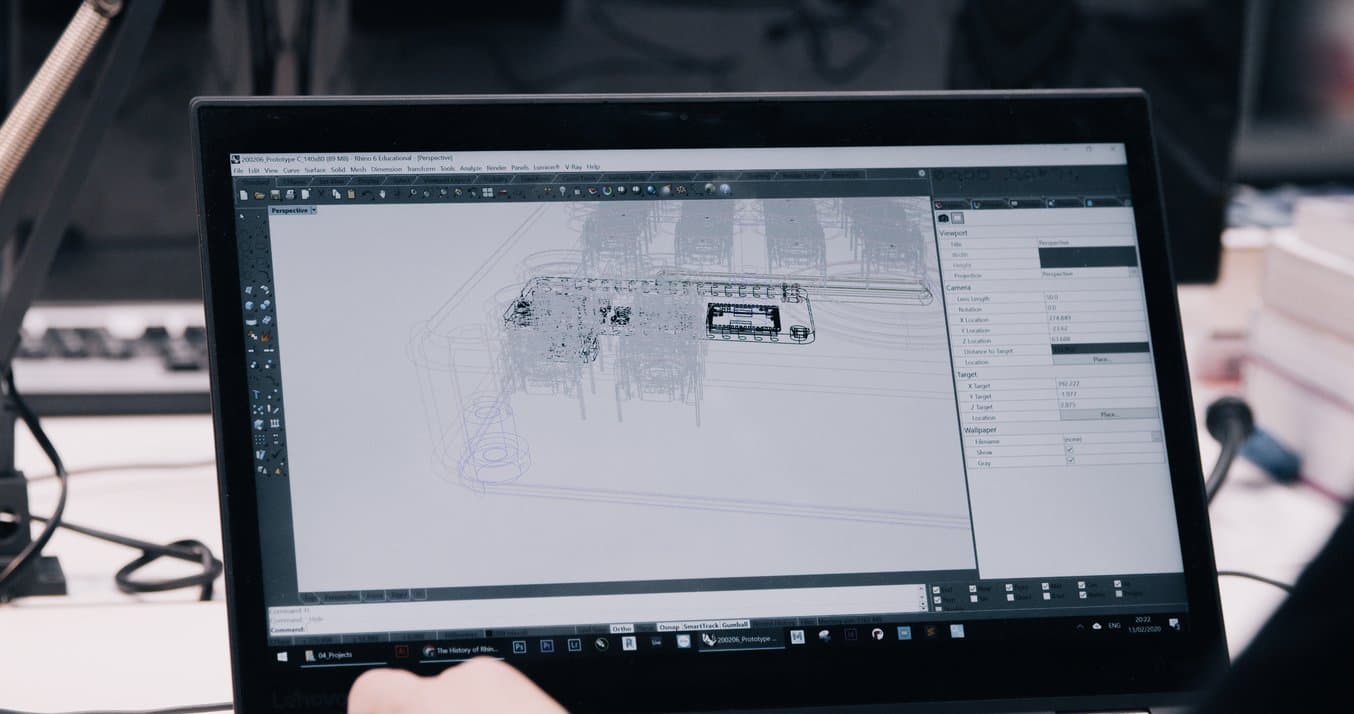
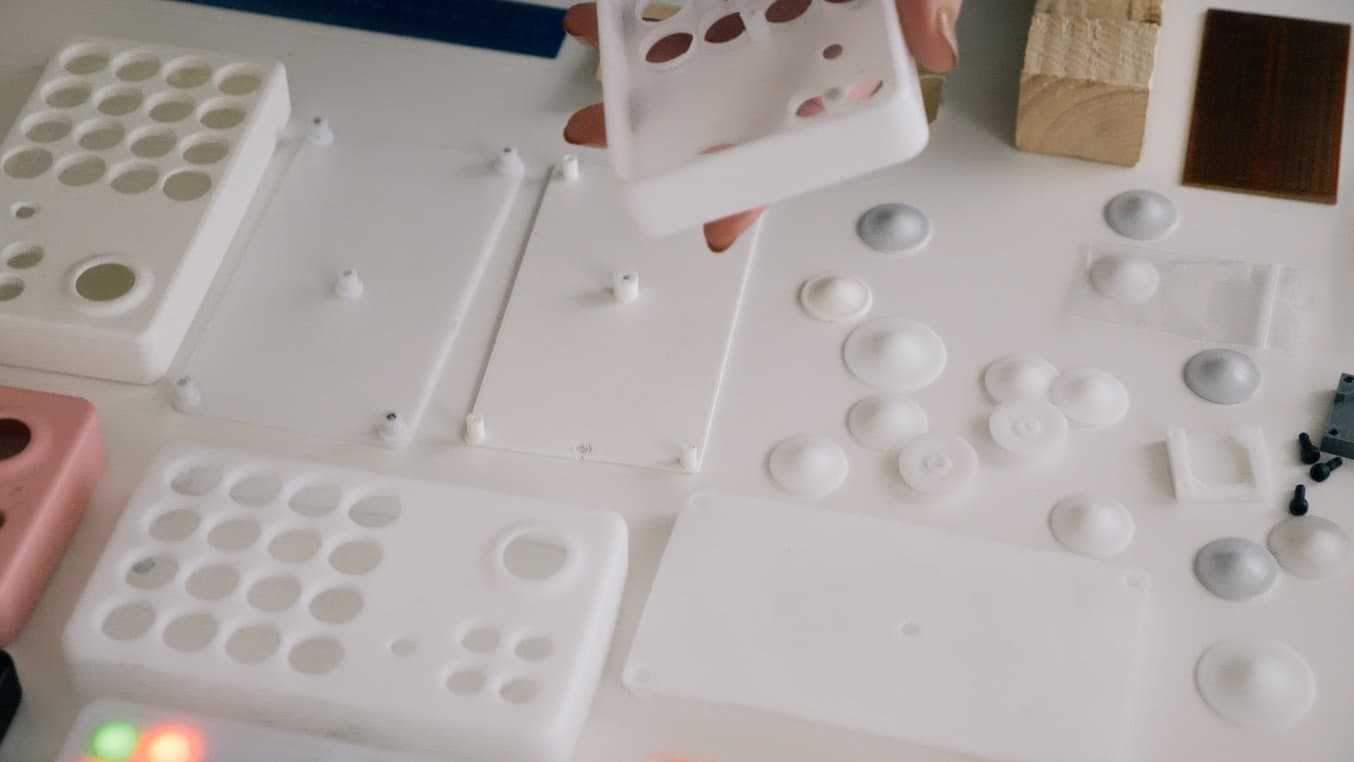
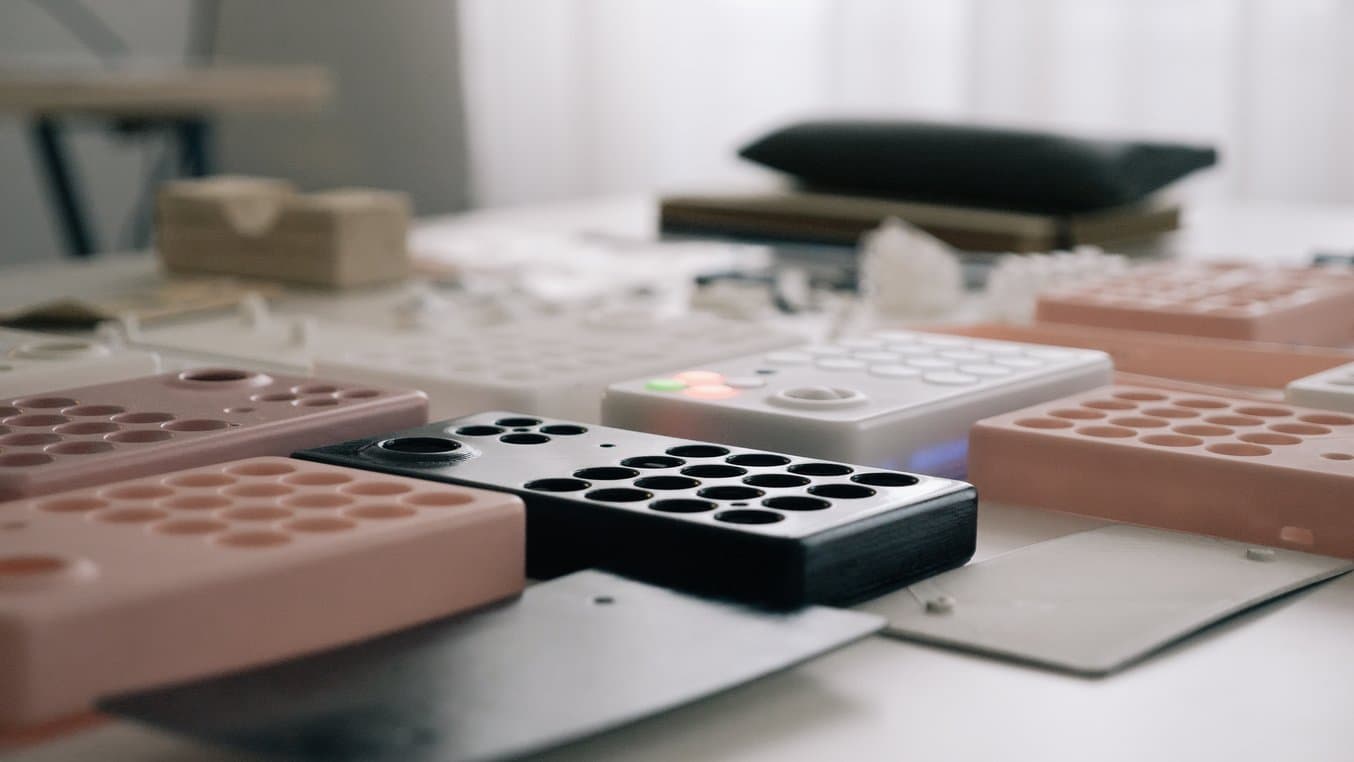
The birdkids team tested 30 to 50 different iterations of the case, refining the look and the functional elements inside as the PCB, sensors, and other electronics evolved.
When they first tried printing a prototype on a friend’s Formlabs SLA 3D printer, they were amazed at the high quality of the parts. “We said, ‘Oh my God, this is so close to the actual thing that we're trying to achieve.’ We realized that using a Formlabs 3D printer and resins will yield a very big benefit when it comes to time to market,” said Beim.
The team then created around 30 to 50 different iterations of the case, refining the look and the functional elements inside as the PCB, sensors, and other electronics evolved below the surface. They tested the prototypes internally and each major revision also passed the hands of testers.
“The first go-to material that impressed us, was the Rigid Resin. The milky quality and the smooth surface finish were exactly what we needed, the very first prints that we did were already leaps and bounds beyond what we were expecting”, said Beim.
One of the team’s favorite materials was the Rigid Resin, thanks to its “milky” quality and smooth surface finish. Rigid Resin is reinforced with glass to offer very high stiffness and high resistance to deformation over time, making it a great choice for printing thin walls and features.
The team also used Draft Resin, Formlabs’ fastest SLA resin for quick iterations. “With the Draft Resin, we were able to test complex positions in the casing and carry out stress testing, run some mechanical calibration and tweak wall thicknesses, where it’s not really about what it looks like, but how it feels and how it holds,” said Beim.
Beim noted that without their in-house Formlabs 3D printer, they would’ve depended heavily on external services to finish the case in the quality that they expected. He estimates that each prototype took them less than one day to finish instead of five working days and cost a quarter of the price of what they would have paid for external services.
“With a resin 3D printer, we are able to get results in under 24 hours. Which is astonishing, because you model it, you test it, you basically just press print, and then a couple of hours later, it's there, and it's working,” said Beim.
Prototyping Color Palette With Color Kit
After settling on the enclosure design, Beim and his team moved on to experimenting with the color palette for the device. SLA 3D prints can easily be spray painted, but they were curious if there was a solution that felt more embedded in the material itself. Formlabs’ Color Kit, the first integrated color mixing solution for stereolithography 3D printing, allowed just that.
“Realizing that there is a possibility to actually approximate color options with the Color Kit has been astonishing. Even though the material properties are slightly different [than with Rigid Resin], it is exactly what we needed to be able to position our mechanics and electronics inside the enclosure”, said Beim.
The team tried to mix colors they had in mind but also looked at the suggestions in the instructions booklet as a starting point.
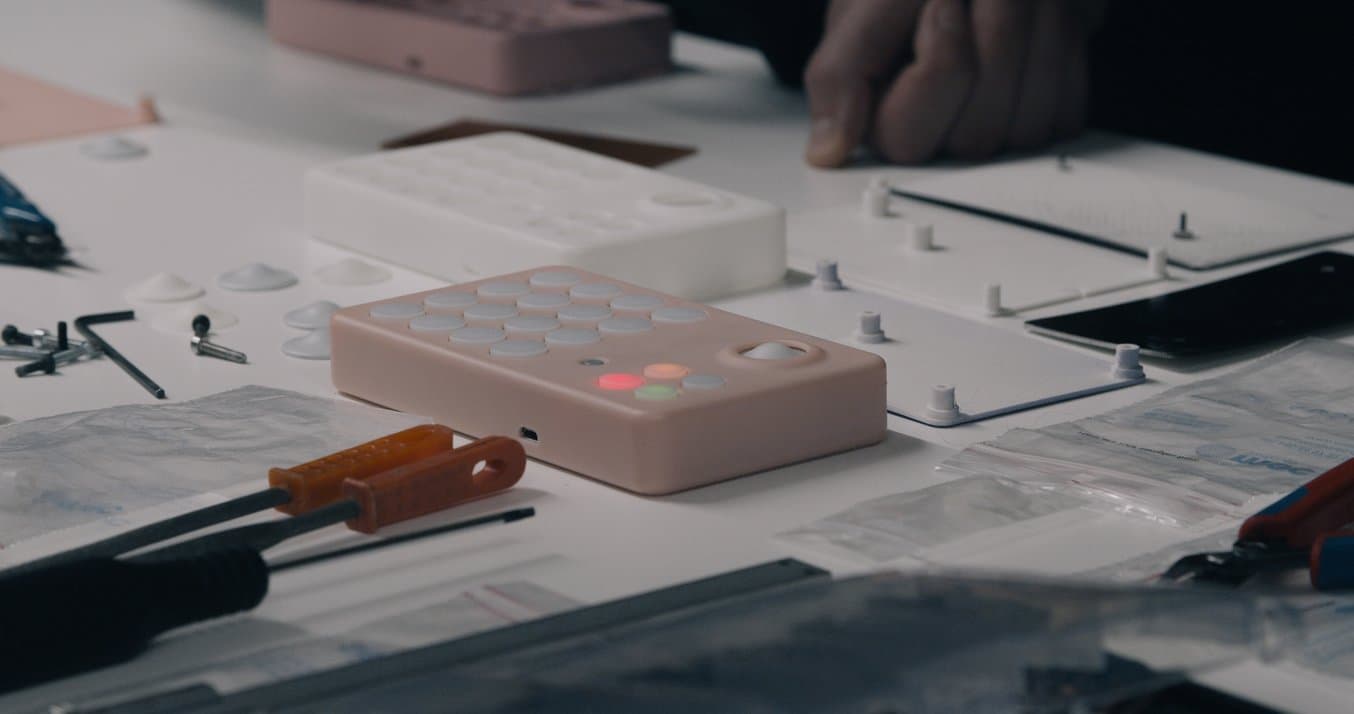
“In the case of the peach color, the starting point was very close to something that we wanted to achieve. We thought that there might be certain qualities that we would like to emphasize, like, for example, a more neutral, pink-flesh look, the yellow color, or increasing saturation. We were able to get really close by just experimenting with a little more red [pigment], or adding a little bit more white into the mix,” said Beim.
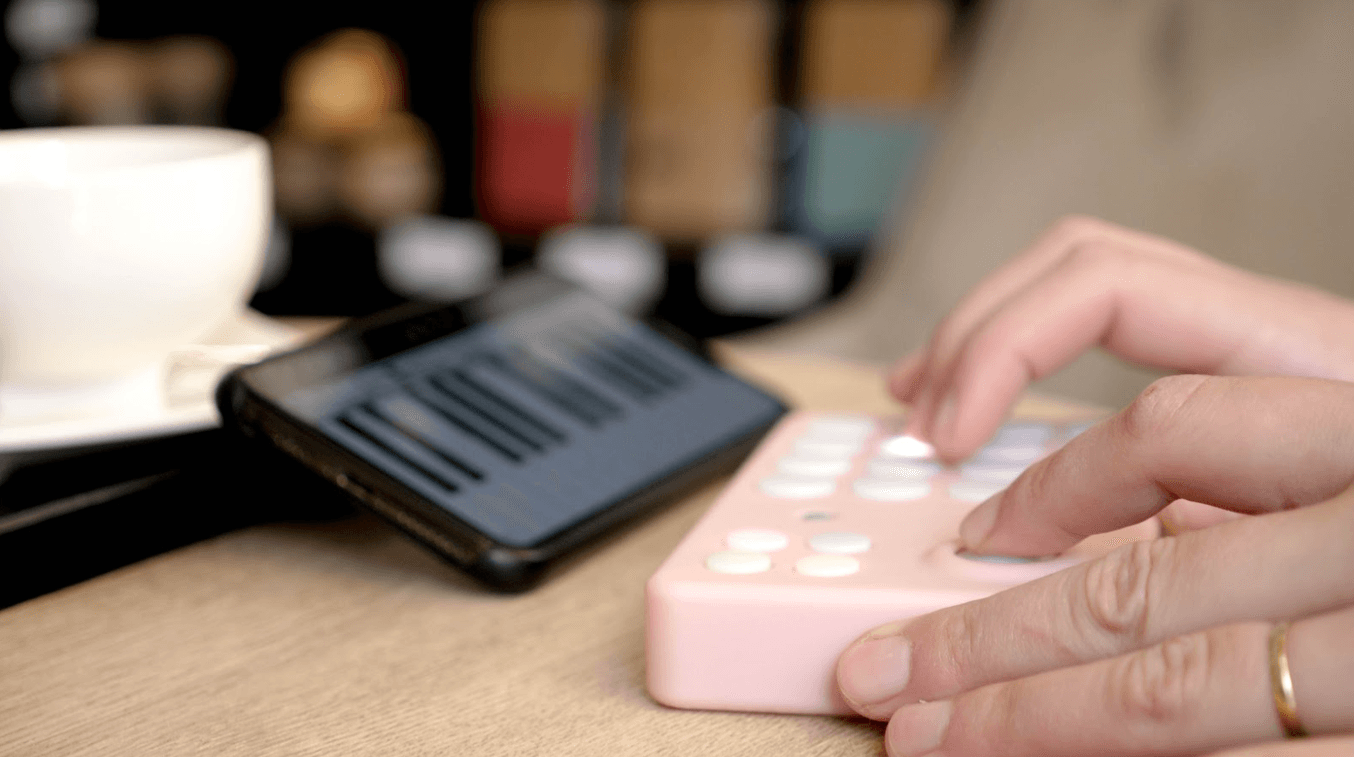
Beim and his team used Color Kit, the first integrated color mixing solution for SLA 3D printing to prototype different colors, such as the “peach” variant.
“It might not be spot on, like let’s say when you are working with a Pantone color palette, but you can get very close—and let’s not forget that actual printed parts look stunningly good and you have the same properties that you would in the final part,” Beim said. “It almost feels like ceramics, like you're handling a piece of ceramic, which is absolutely smooth and beautifully colored. So I’d have no hesitation giving it to an alpha and beta tester and I’d sleep very sound, knowing that what they have is something that is very very close to where we want to get.”
The team also found the tools easier to use than they initially thought. “It looks great on paper and it looks great on the website, but when you actually realize how easy it is to handle the printer, the Wash and Cure, and also coloring and mixing the resin—it looks deeply scientific at first, but it is actually extremely straightforward and shockingly easy to achieve really good results,” said Beim.
Moving to Production
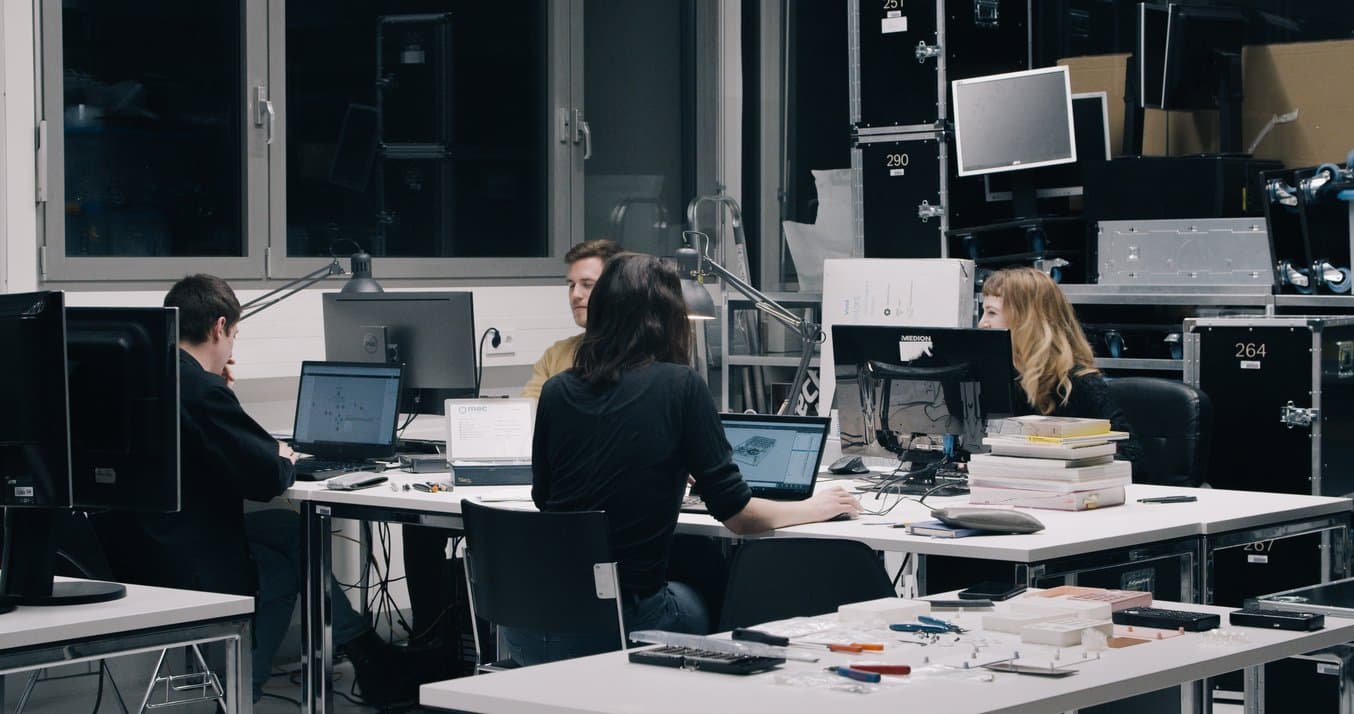
Based in Vienna, Austria, the birdkids team consists of five people. Two engineers, a software developer, and the two co-founders who are also responsible for the design.
With °Grid now ready to showcase to the public, birdkids has launched a crowdfunding campaign to generate interest and fund the cost of moving to production. Over the spring and the summer, the team will continue developing the software and acquire the certificates required to sell the device worldwide.
While the form and final functionality are defined by now, they will inevitably continue prototyping until the last decisions around outsourcing are answered and the final components are locked down. Beim’s goal is to find partners who can produce °Grid with the lowest environmental footprint, from biodegradable plastics for the casing to recyclable packaging.
As Beim and his team continued experimenting with different designs and materials, they often relied on Formlabs’ support team to optimize their prototyping workflow. “The entire team of customer success is always there in the shortest time possible to help us in whatever we need,” Beim said. “Having people who are willing to support you in getting better at what you do—it’s something that I think is just even greater than the technical benefits of the product.”