

Checking the optics of your Fuse 1+ 30W printer
Checking the optics of your Fuse 1+ 30W printer
Laser light in a Fuse 1+ 30W printer passes through multiple windows before reaching and sintering the powder in the build chamber. If these windows are not clean or the laser has grown weaker over time, the printer will not function as expected. Your parts may have defects or may fail to print at all.
Formlabs recommends cleaning the printer’s various optical components on a regular basis. Starting with firmware version 1.24.1, you can also print a diagnostic tool and review the results on the printer’s touchscreen to check optical cleanliness and predicated laser power.
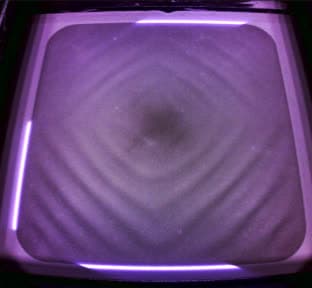
Running the optics check print
- Update PreForm to the latest version.
- Update your printer’s firmware to the latest version. The on-screen diagnostic print review tool was introduced in firmware version 1.24.1. Prints run on earlier firmware versions will not be available for review, even if you subsequently update the printer.
- Check that your printer’s hopper is not empty. The optics check is a one-layer print, so it does not require much powder.
- Download the appropriate FLZ file for your material from the links below.
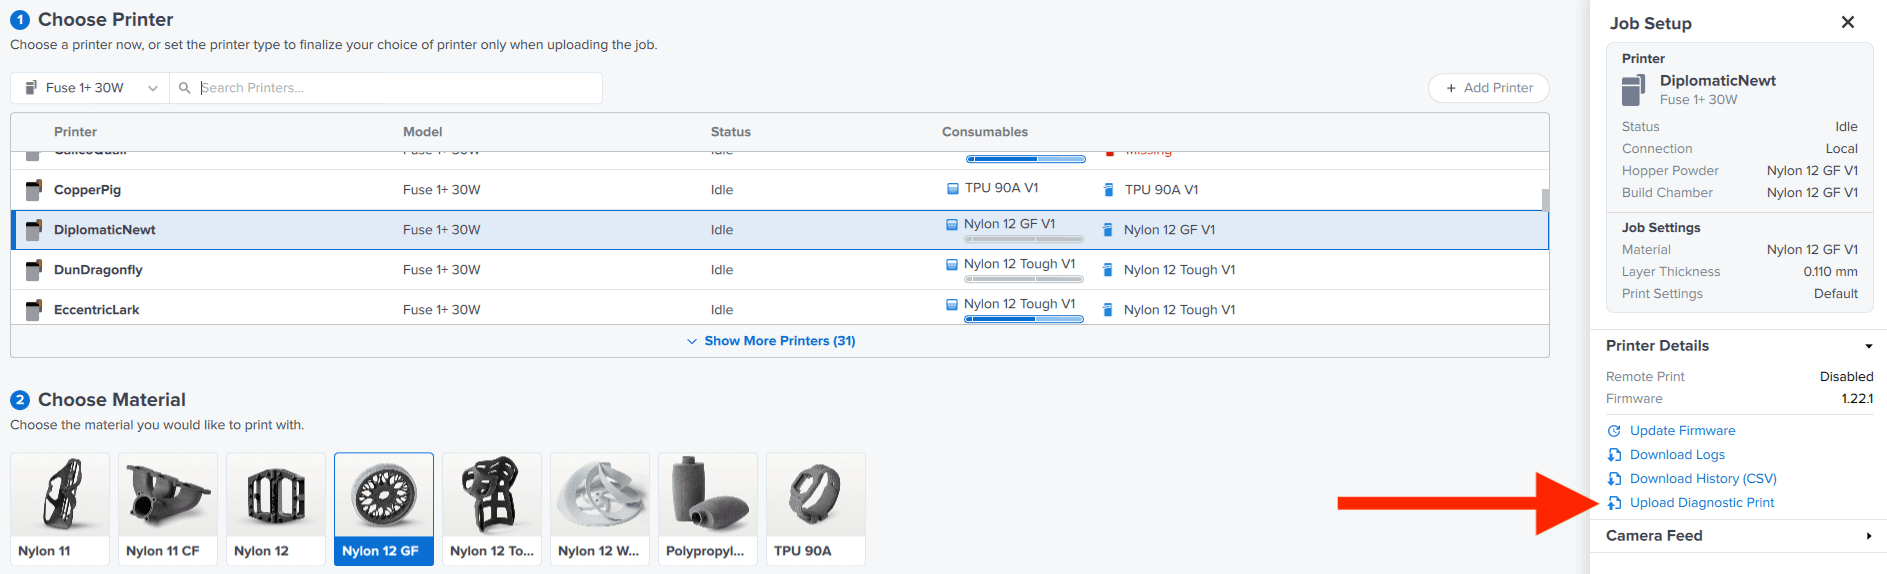
- Open PreForm and select Job Settings.
- In the Job Setup window, make sure the correct printer is selected.
- Select Upload Diagnostic Print.
- Upload the file from your computer and start the print.
- Allow the build chamber to fully cool per Formlabs recommendations, then clean the single layer of powder on the print bed before your next print.
Checking the results
After the print is complete, use the Diagnostic Prints tool to evaluate the results:
- Tap the gear icon. The Settings screen appears.
- Tap Tools > Diagnostic Prints. The Diagnostic Prints screen appears, showing a list of completed diagnostic test prints.
- Tap the name of the diagnostic print you previously ran. A results window appears showing a photo of the Optical Cleanliness Scan. Compare the photo to the examples below to evaluate the cleanliness of your printer’s optics and determine what you should clean.
- Tap Next. A second screen appears showing the calculated Laser Power based off of the test print. If this laser power is under 80% after cleaning and repeating the test print, contact Formlabs Support for additional analysis.
- Tap Done to close the results window.
If the scan results do not appear:
- Perform a factory reset on your machine.
- Enable Print Image Collection. Tap Settings > System > Print Image Collection > Enable.
- Update or reflash your printer’s firmware.
- Rerun the test print and check if the results are available.
- If the results are still unavailable, upload your printer’s diagnostic logs and contact Formlabs Support. Formlabs Support can check the optics test print images in the printer logs and help you analyze the result.
Cleaning your printer’s optics
Based on the results of the optics check, clean your printer’s optics before your next print:
Light spots visible on the print image
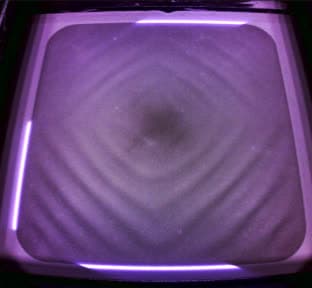
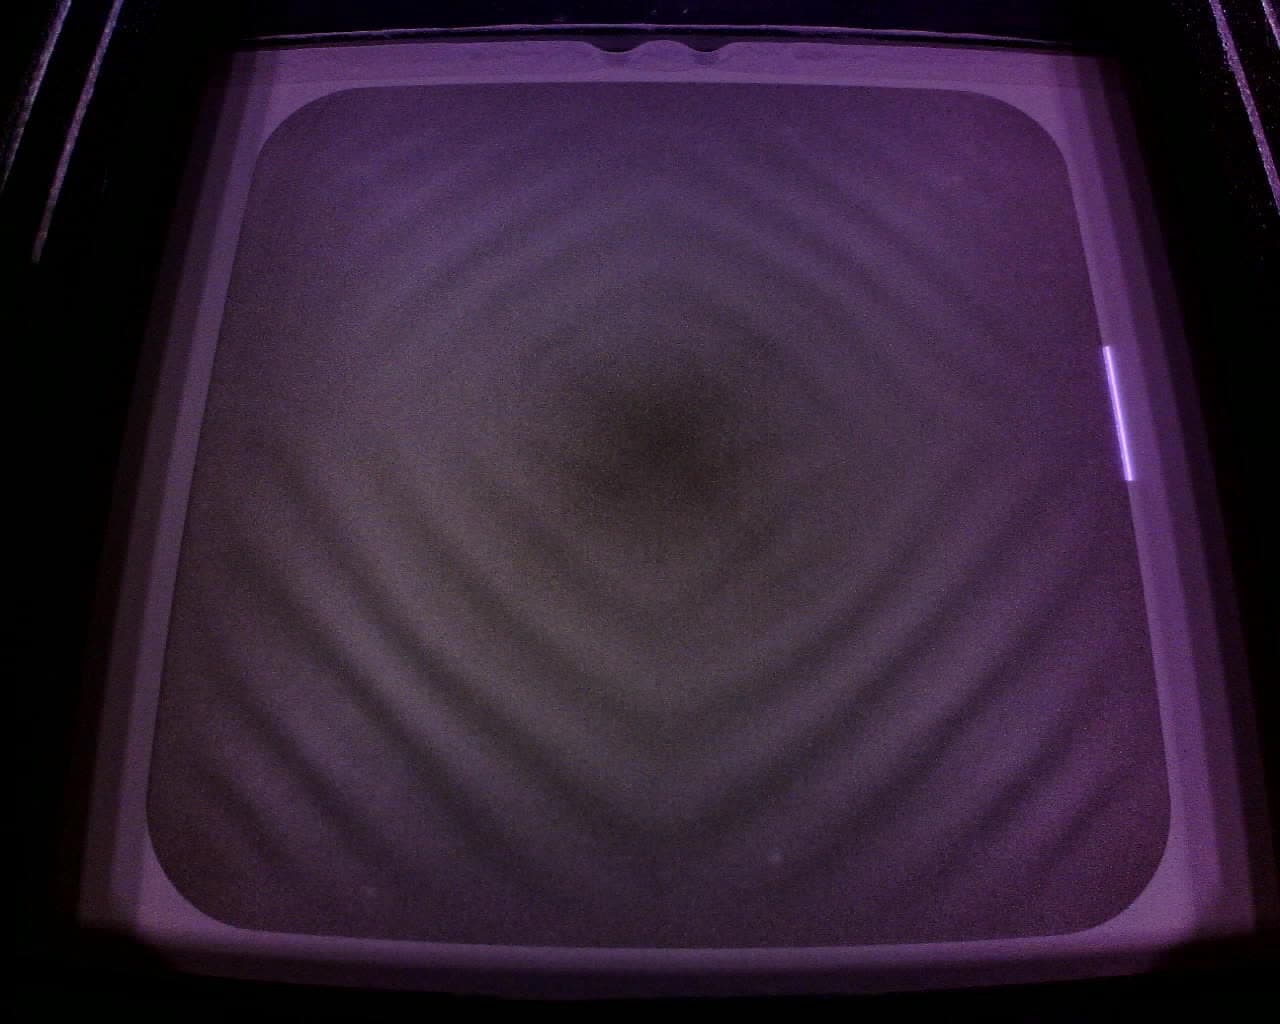
Light spots around the image indicate relatively minor optical contamination, most likely on the optical cassette. Thoroughly clean the optical cassette.
Unsintered regions
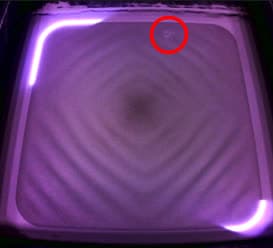
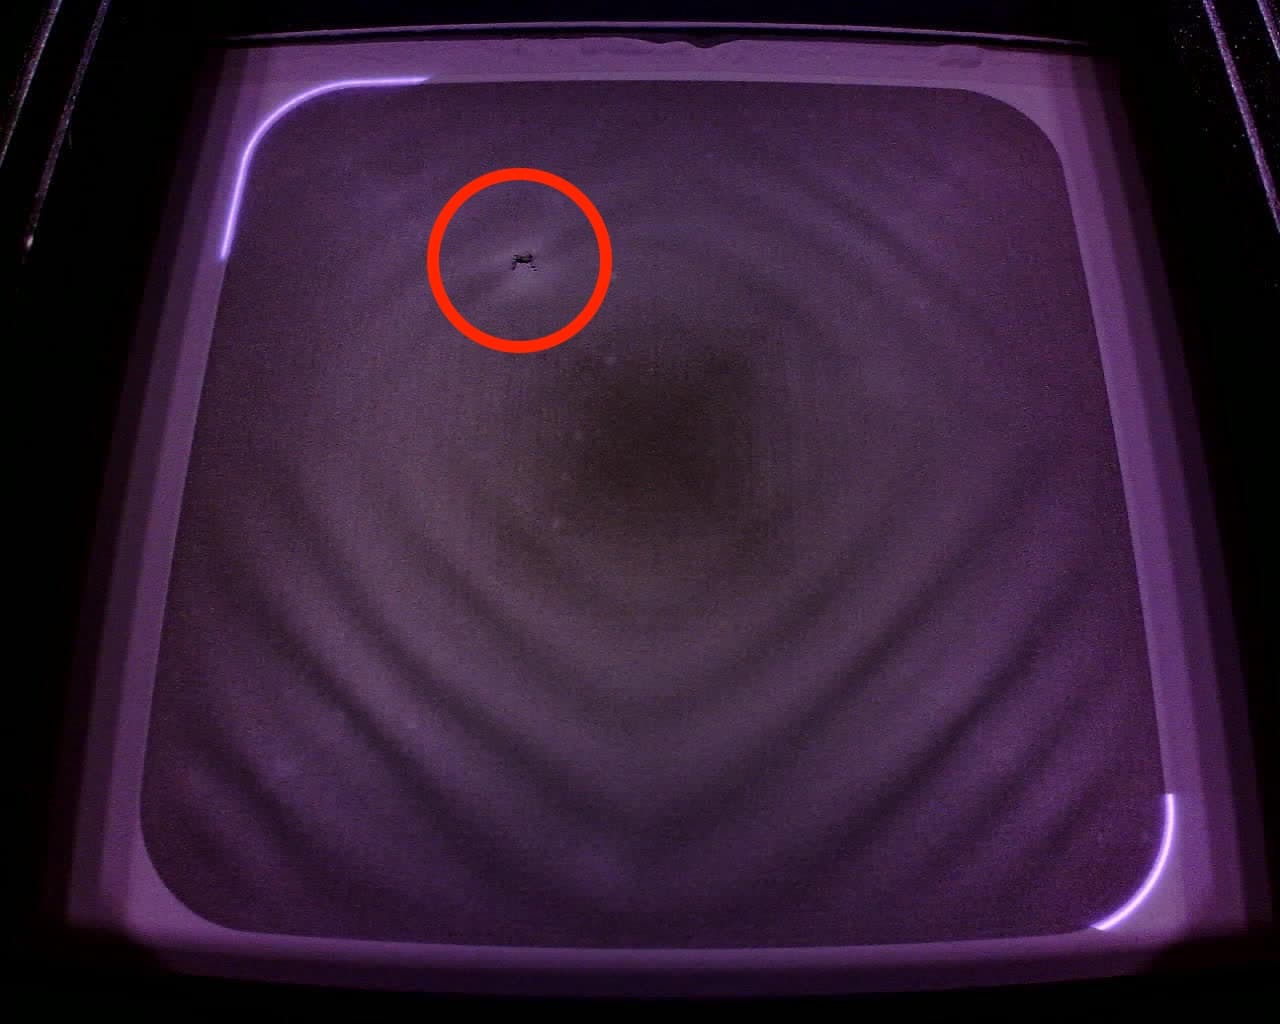
Larger areas of contamination can lead to chunks of the optics check print pattern not sintering. Thoroughly clean the optical cassette, as you would for more minor contamination. Heavier contamination may also impact laser power calculations, so run the test print again if the calculated laser power was previously low.
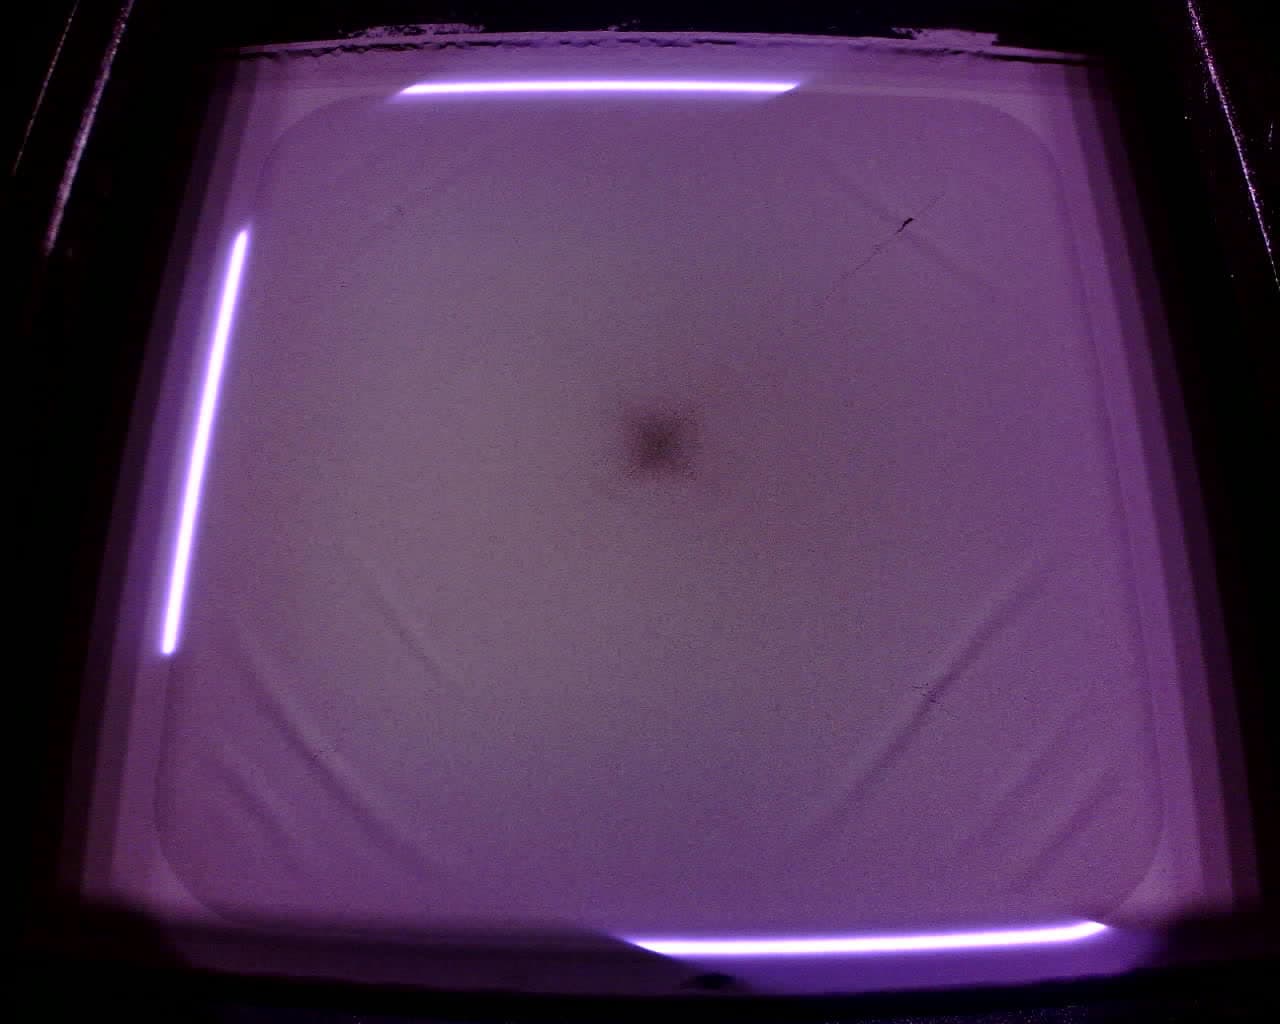
Diffuse laser spot and minimal sintering
A diffuse central laser spot and minimal sintering of the test pattern indicates that there is contamination closer to the laser (i.e., above the optical cassette) diffusing the laser light. Clean both the optical cassette and the upper laser window. Heavier contamination may also impact laser power calculations, so run the test print again if the calculated laser power was previously low.
Low laser power
If the tool showed a calculated laser power under 92.5%, clean both the optical cassette and the upper laser window and rerun the test print. If the laser power is still low, contact Formlabs Support for additional analysis.