WHITE PAPER
Formlabs Logo

Cleaning after a failed print (Form 3/Form 3B)

Cleaning after a failed print (Form 3/Form 3B)

Failed prints often leave small, partially cured pieces of resin floating in the tank or cured resin stuck to the flexible film at the bottom of the tank. For best results, inspect and clean the tank after every print.

Warning:

Resin may cause skin irritation or an allergic skin reaction. Wear gloves when handling liquid resin or resin-coated surfaces. Wash skin with plenty of soap and water. Do not wash skin with products containing alcohol, like hand sanitizer, or any other solvents.
Removing cured resin with the cleaning mesh

For many resins, the Form 3 features a printable cleaning mesh function that can be used to remove a failed print. The cleaning mesh prints as a thin layer across the resin tank, binding cured and partially cured resin into a single piece. The cleaning mesh can then be removed from the tank along with the failed print. For more information about cleaning a failed print with the cleaning mesh, see Cleaning a failed print with the cleaning mesh (Form 3/Form 3B).

Removing cured resin manually

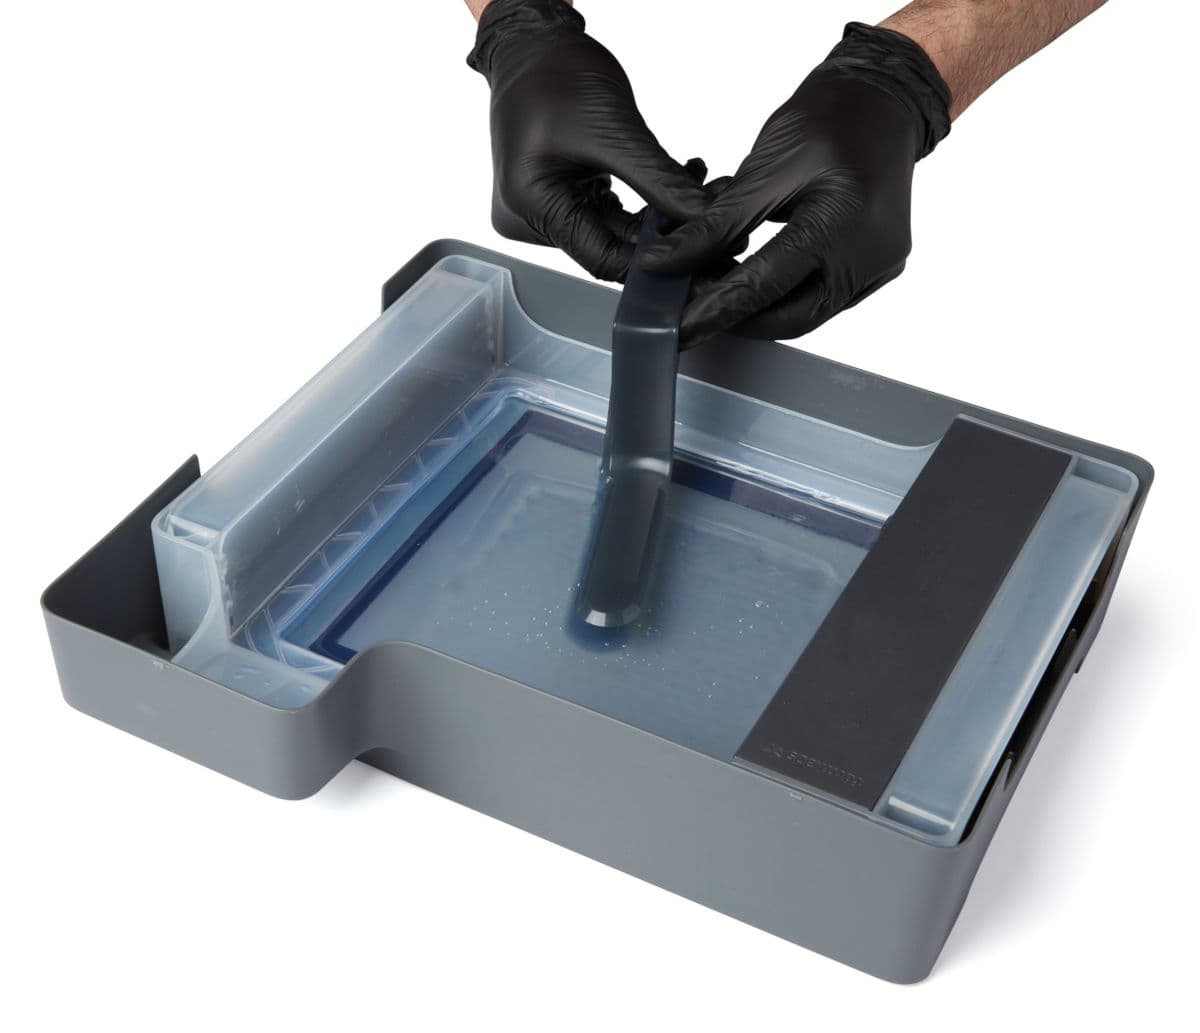
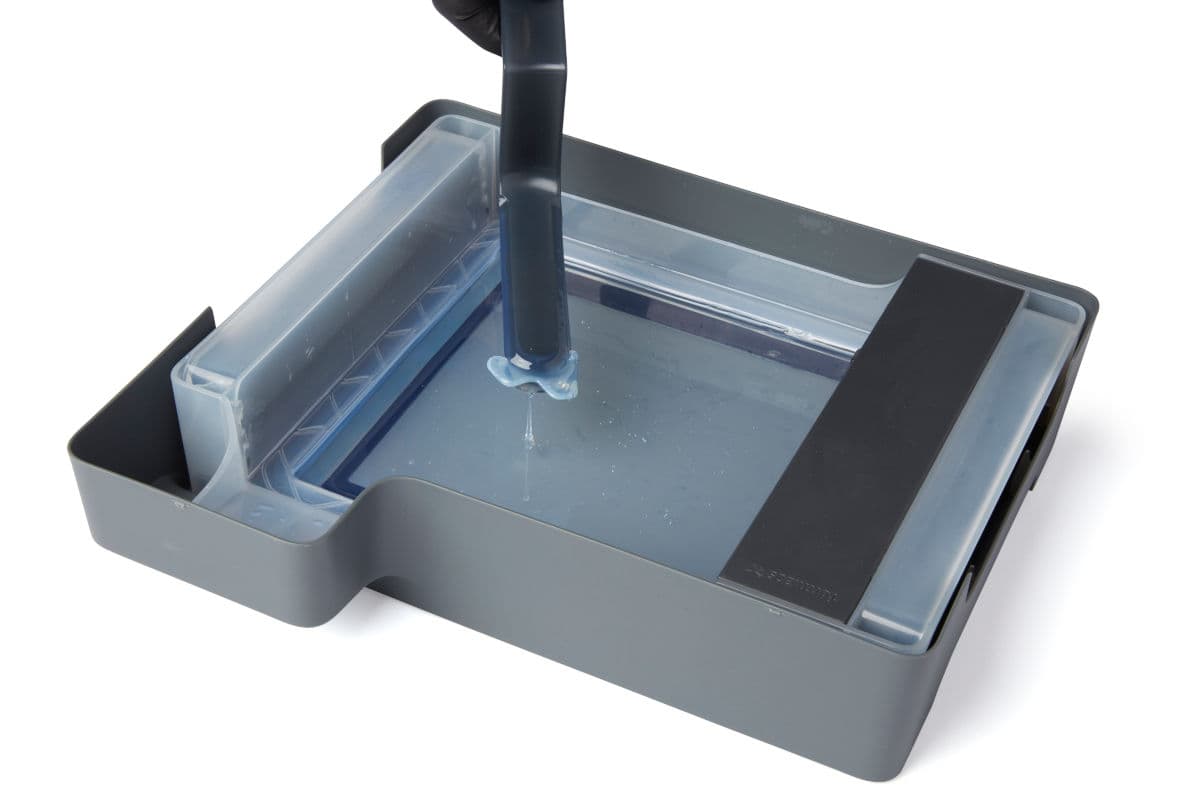
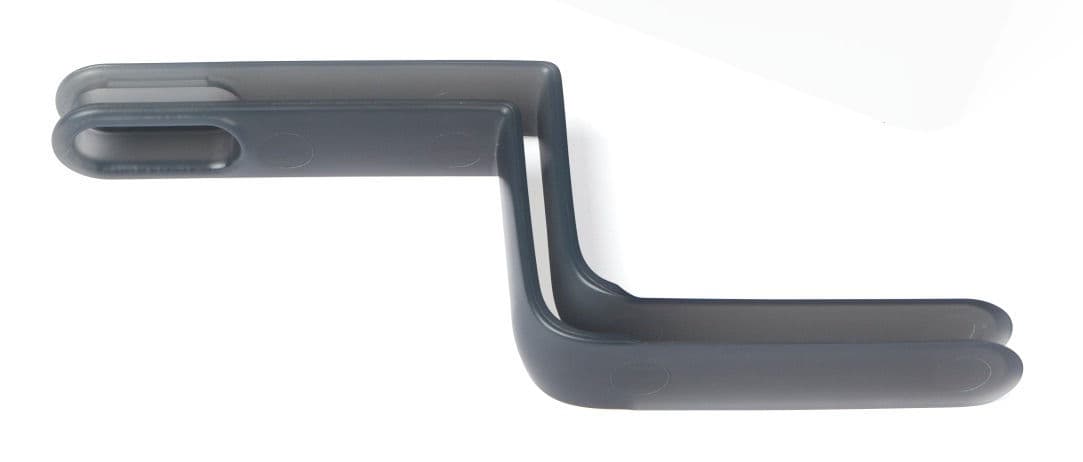
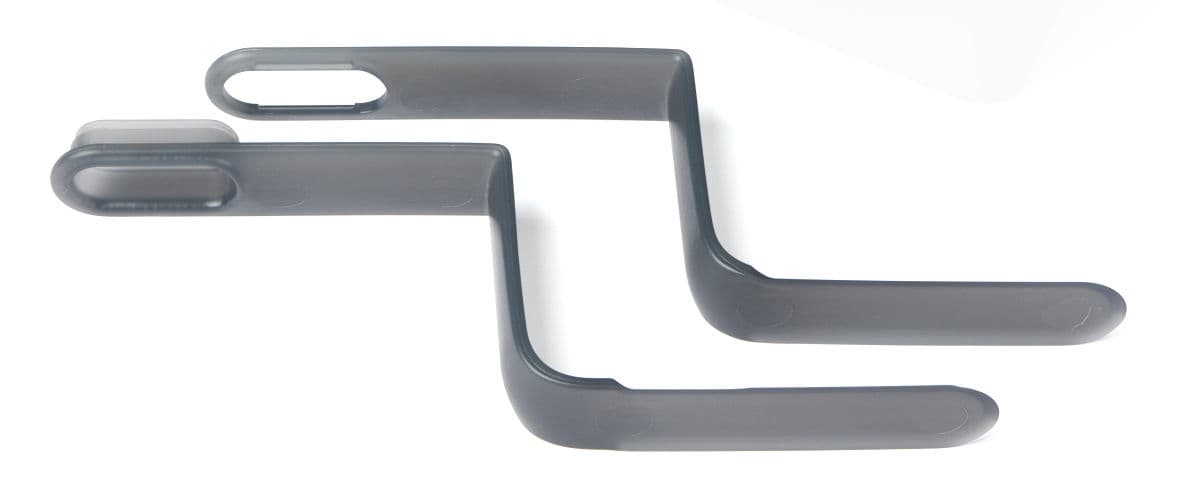
The Form 3/Form 3B comes with a tank tool, which is a custom two-part scraper and tweezers. The tank tool is made of plastic and has rounded edges to protect the film at the bottom of the tank. Remove individual pieces of cured resin from the tank with the tank tool.

Notice:

Do not use the part removal tool, scraper, flush cutters, or any other metal tool to inspect the Form 3/Form 3B resin tank or remove cured resin from the tank. Such tools may damage the tank film, leading to failed prints and/or a resin spill.

  1. Remove the build platform and resin cartridge first to avoid dripping uncured resin into the printer cavity.
  2. Remove the resin tank and place it in its case on a clean, flat surface. For newer resin tanks, the shipping box also acts as the tank case. This allows for better visibility and more space to work than leaving the tank in the printer.
  3. Separate the two halves of the tank tool.
Form 3/Form 3B tank tool
Form 3/Form 3B tank tool, split
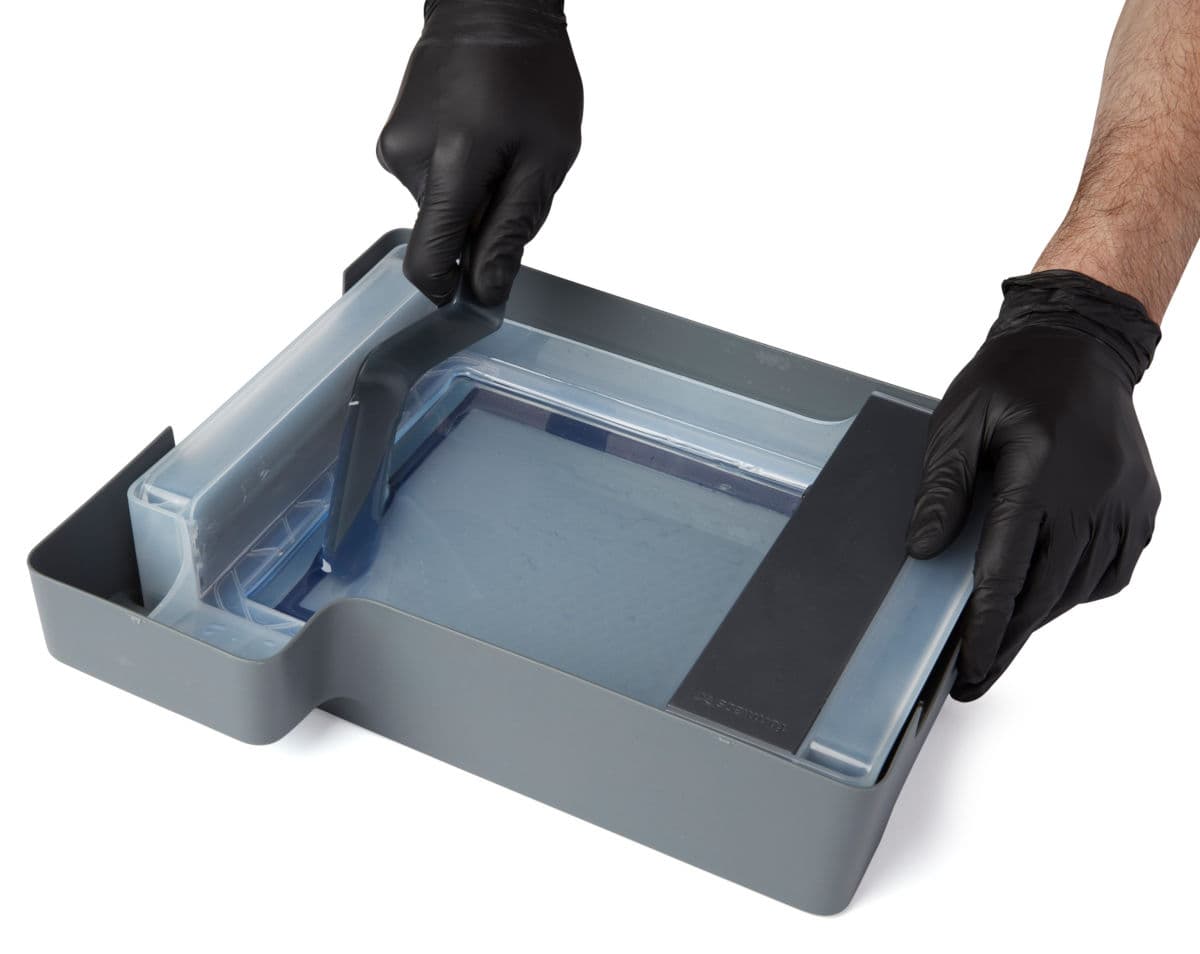
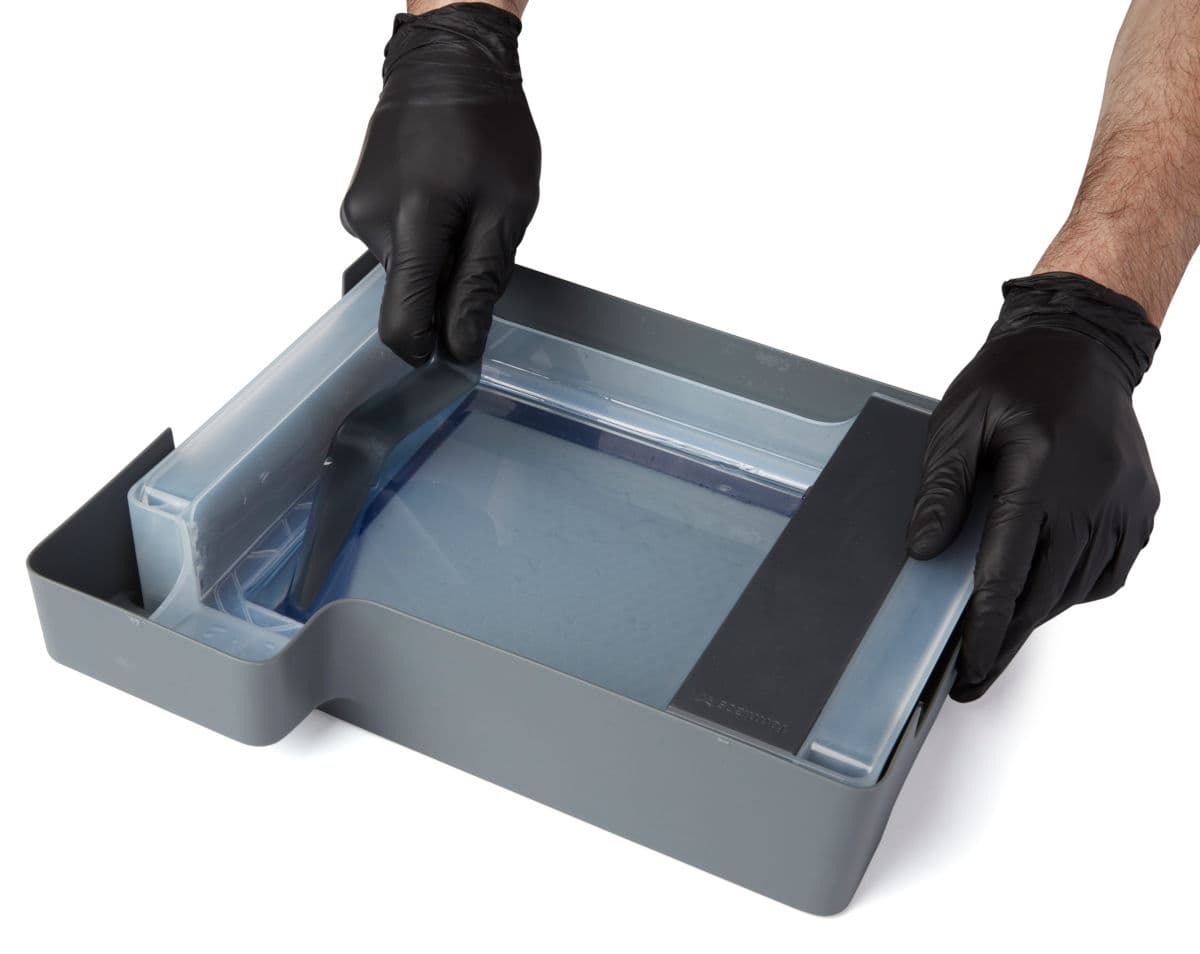
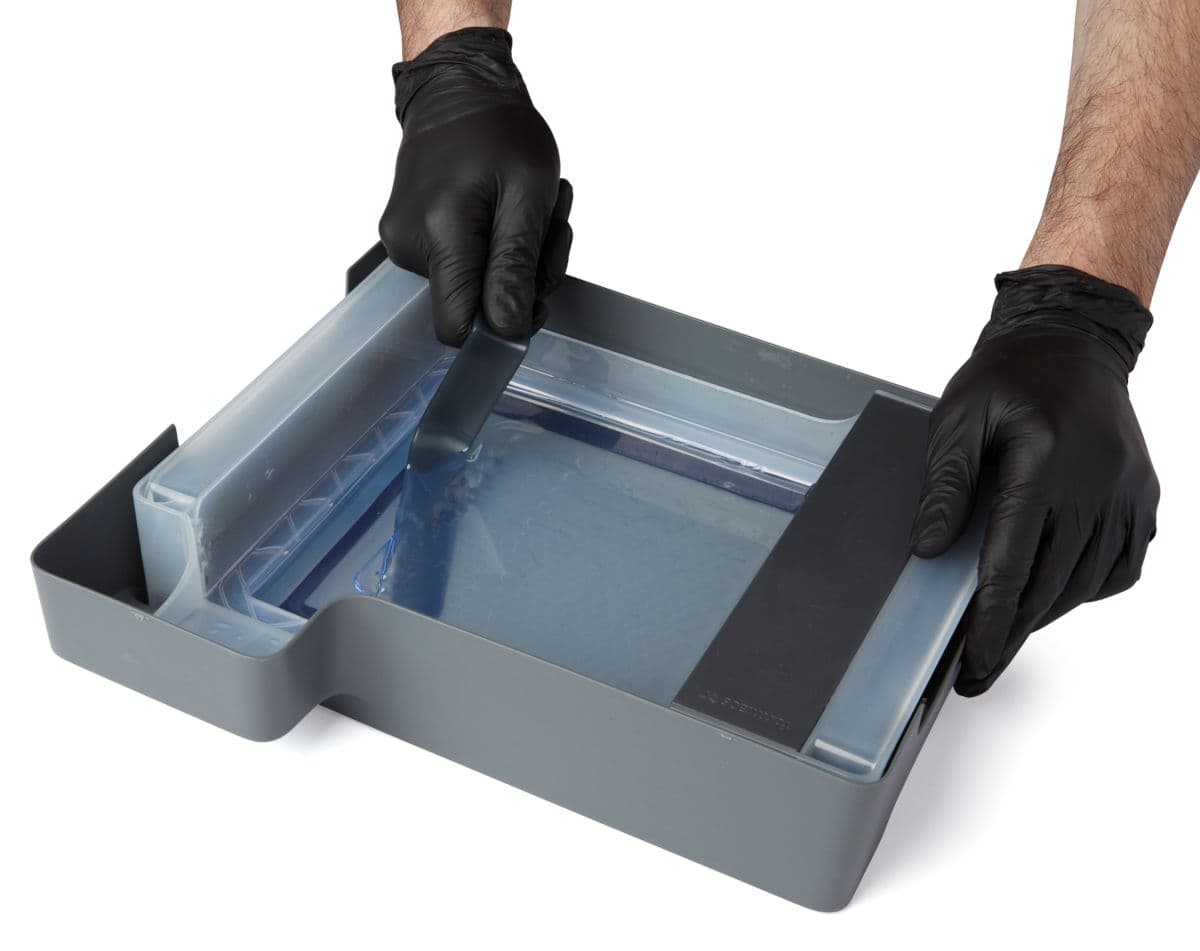
  1. Use the lower piece of the tank tool to scrape cured resin off of the film.
    • Scrape laterally using the long side of the tool to get its edge under the cured resin.
    • Continue scraping or twist the tool to lift the resin off of the film.
Scraping cured resin with the tank tool
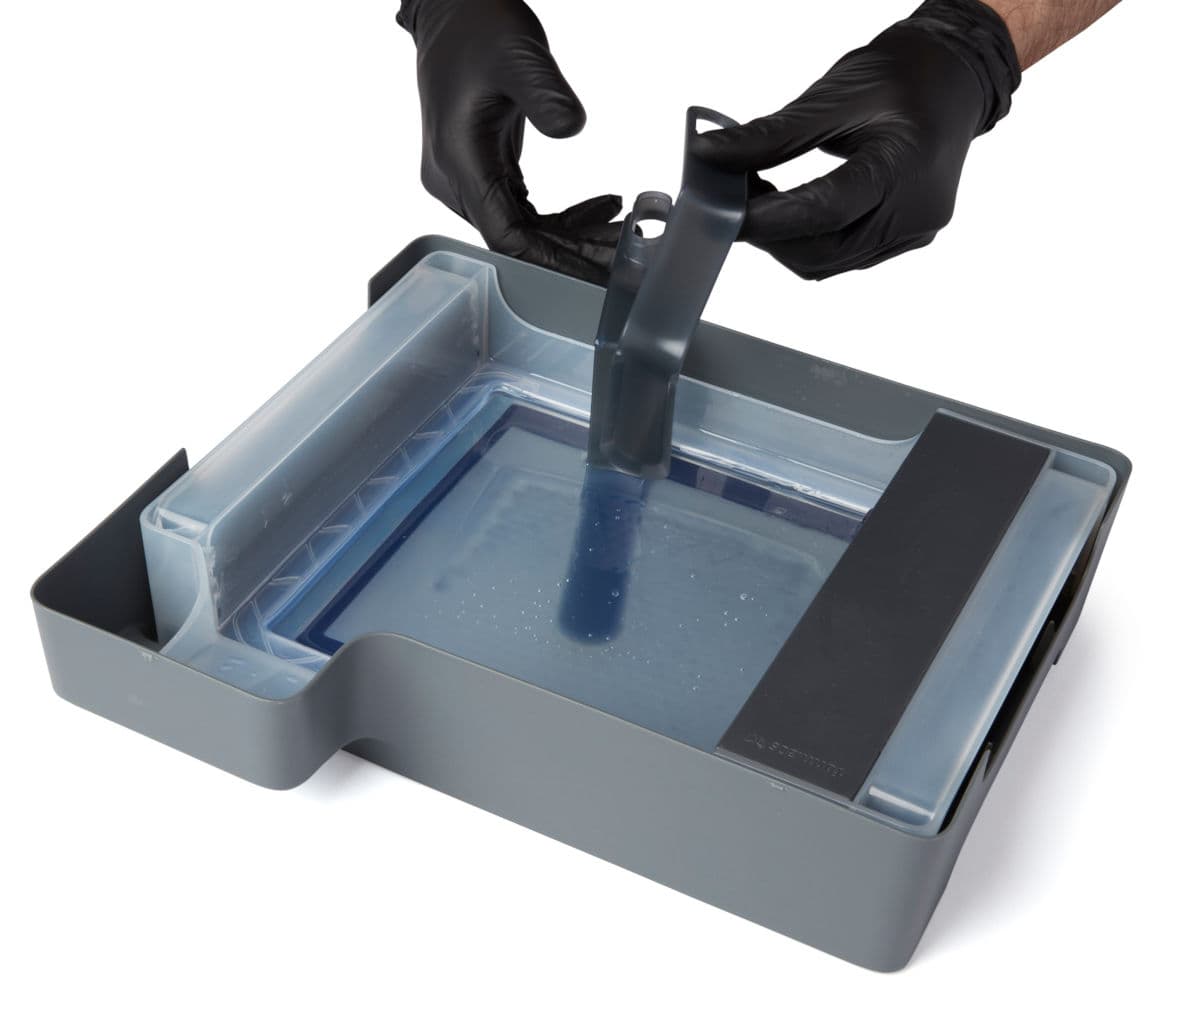
  1. If the cured resin is difficult to remove with one half of the tank tool, snap the two halves of the tank tool back together and use it as a pair of tweezers to grab floating pieces of cured resin.
    • Scrape the film using the edge of the lower half of the tool, then press the top half down onto the cured resin to lift it out of the tank.
Tweezing cured resin with the tank tool

Cleaning the tank tool

Clean the tank tool after each use to remove excess liquid resin and prevent contamination.

To clean the tank tool by hand:

  1. Apply clean IPA to a clean paper towel.
  2. Wipe the surface of the tank tool to remove resin.
  3. Allow the tank tool to air dry.

To clean the tank tool using the Form Wash:

  1. Rest the tank tool in the Form Wash basket.
  2. Set Form Wash to clean for 5 minutes. Increase the wash time for heavily-used solvent.
  3. Allow the tank tool to air dry after washing.

Filtering the resin (optional)

After removing the primary print failure, inspect the resin and tank for other small fragments. While the mixer will help keep the print area clear during printing, clean resin and optical transparency in the bottom of the resin tank are always the best way to ensure quality prints.

Notice:

If you see or feel any resin cured in your tank, it's essential to remove debris by cleaning the tank or the next print will fail. Use a paint filter with a "Fine" or 190 micron mesh size to thoroughly strain liquid resin.

Reseating the mixer

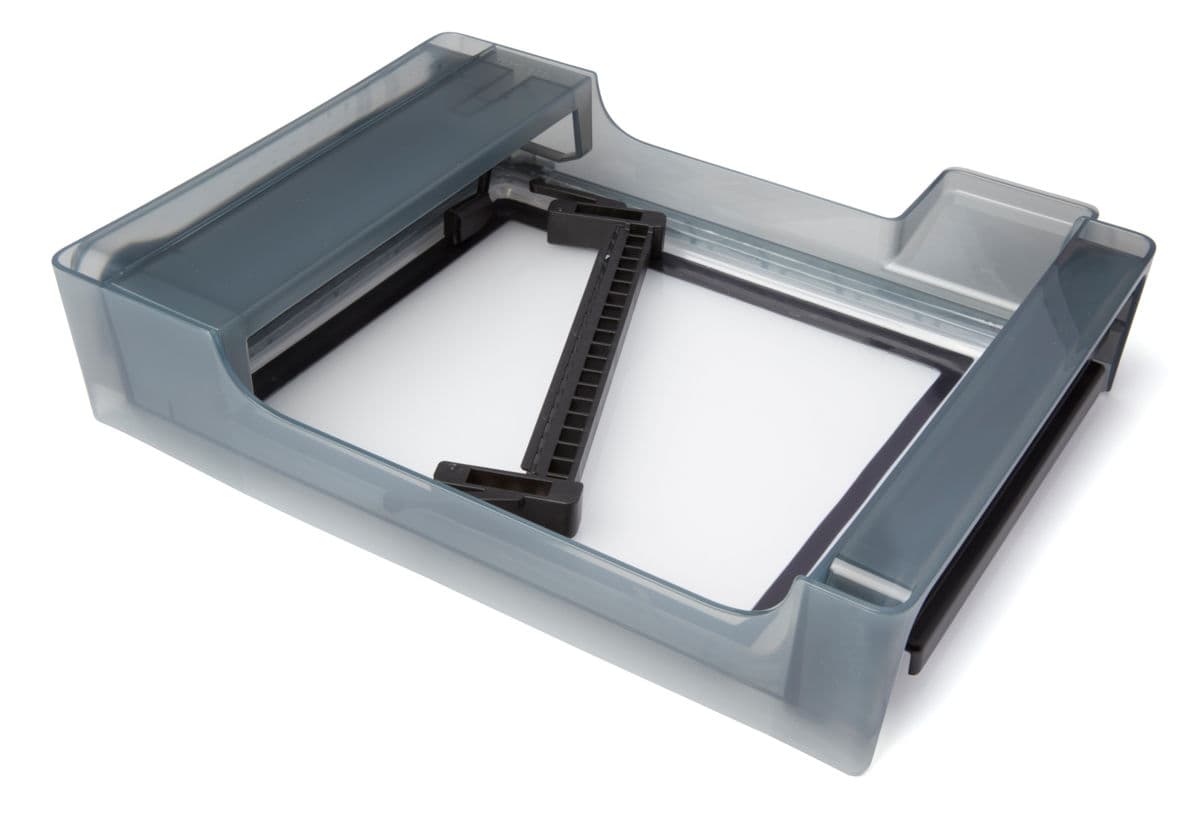
At the start of each print, the LPU housing pulls the tank mixer back and forth across the tank film several times. This motion mixes the resin in the tank while also checking for cured resin on the film and on the build platform. If the mixer encounters cured resin blocking its path, its magnets will decouple from the magnets in the LPU housing and the printer will pause the print. This is the designed behavior of the mixer and is intended to protect the tank film and prevent further print failures.

Dislodged Form 3/Form 3B resin tank mixer
  1. Open the printer cover.
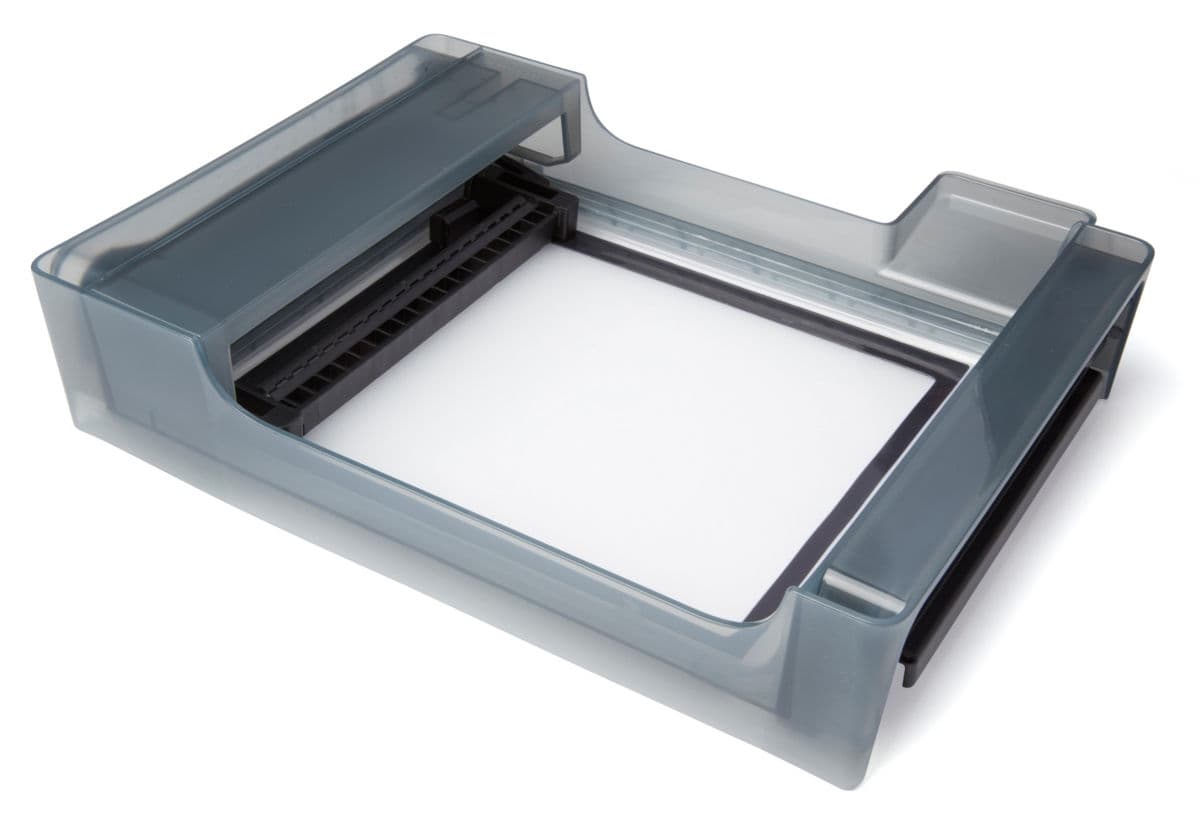
  2. Push the mixer back into its home position on the left of the tank.
    • Orient the mixer with the arms facing left.
    • Slide the mixer left until the arms click into place.
Form 3/Form 3B resin tank mixer in mixer case