

Fuse 1 generation error messages: Interlock sensor errors
Fuse 1 generation error messages: Interlock sensor errors
Fuse 1 generation printers contain several interlocks that must be closed in order for the printer to run. If the interlocks are not closed at the beginning of the print or if the interlock opens during the print, the print fails.
Prior to firmware version 1.16, interlock issues resulted in the error messages PR_ERROR_SENSOR_GPIO_STATE or PR_ERROR_INTERLOCK_CHECK_ GENERAL. Since the release of 1.16, interlock errors now result in Error 174, Error 175, Error 176, Error 247, Error 263, Error 366, Error 367, Error 369, or Error 394.
The printer cannot always determine which interlock is open. For this reason, the printer may throw the error code PR_ERROR_INTERLOCK_CHECK_IR_SENSOR_OR_DOOR to indicate that either the IR sensor interlock or the enclosure door interlock was open at the time of the error.
In all firmware versions except for 1.15, the filter door interlock can be opened mid-print as long as the printer is in air mode. If the printer is printing with nitrogen or if the printer is running firmware version 1.15, the print aborts if the filter door interlock is opened mid print.
Causes
- Open printer enclosure or filter cabinet door
- Unseated IR sensor
- Obstructed sensors
- IR sensor malfunction
- IR sensor ethernet cable malfunction
- Filter door switch malfunction
- Enclosure door misalignment
- Defective/malfunctioning control board
- Electrical noise
- Software bug
Symptoms
- The print job stops early in preprint checks or aborts mid-print
- Printer touchscreen displays an error message:
- Error 174 PR_ERROR_INTERLOCK_CHECK_IR
- Error 175 PR_ERROR_INTERLOCK_CHECK_ DOOR
- Error 176 PR_ERROR_INTERLOCK_CHECK_ GENERAL
- Error 247 PR_ERROR_WHIPPET_ERROR_INTERLOCK
- Error 263 PR_ERROR_SENSOR_GPIO_STATE
- Error 366 PR_ERROR_INTERLOCK_CHECK_FILTER_DOOR
- Error 367 PR_ERROR_INTERLOCK_CHECK_IR_SENSOR_OR_DOOR
- Error 369 PR_ERROR_INTERLOCK_CHECK_STALE
- Error 394 PR_ERROR_INTERLOCK_CHECK_UNEXPECTED
Troubleshooting steps
| Error | Troubleshooting steps |
|---|---|
| Error 174 PR_ERROR_INTERLOCK_CHECK_IR | Reseat the IR sensor. When the IR sensor is seated properly, the indicator light on the top of the sensor turns green. |
| Error 175 PR_ERROR_INTERLOCK_CHECK_ DOOR | Close the print enclosure door. Press firmly to ensure that the door is fully latched. If necessary, squeeze the door shut using the cutout on the right side of the printer for leverage. |
| Error 176 PR_ERROR_INTERLOCK_CHECK_ GENERAL | Update the firmware to version 1.16 or later. |
| Error 247 PR_ERROR_WHIPPET_ERROR_INTERLOCK |
|
| Error 263 PR_ERROR_SENSOR_GPIO_STATE | Update the firmware to version 1.16 or later. |
| Error 366 PR_ERROR_INTERLOCK_CHECK_FILTER_DOOR | Follow the troubleshooting steps for Error 366 in the support article Fuse 1 generation error messages. |
| Error 367 PR_ERROR_INTERLOCK_CHECK_IR_SENSOR_OR_DOOR |
|
| Error 369 PR_ERROR_INTERLOCK_CHECK_STALE |
|
| Error 394 PR_ERROR_INTERLOCK_CHECK_UNEXPECTED | Error 394 indicates that an unexpected error occurred when trying to read from the interlocks. If the issue persists, escalate. |
If the IR sensor is the source of the error message:
The LED in the center of the IR sensor cap turns green when it is properly mounted.
- Clean the IR sensor.
- Push the IR sensor cap into the mount. Confirm the LED turns green when it is fully connected.
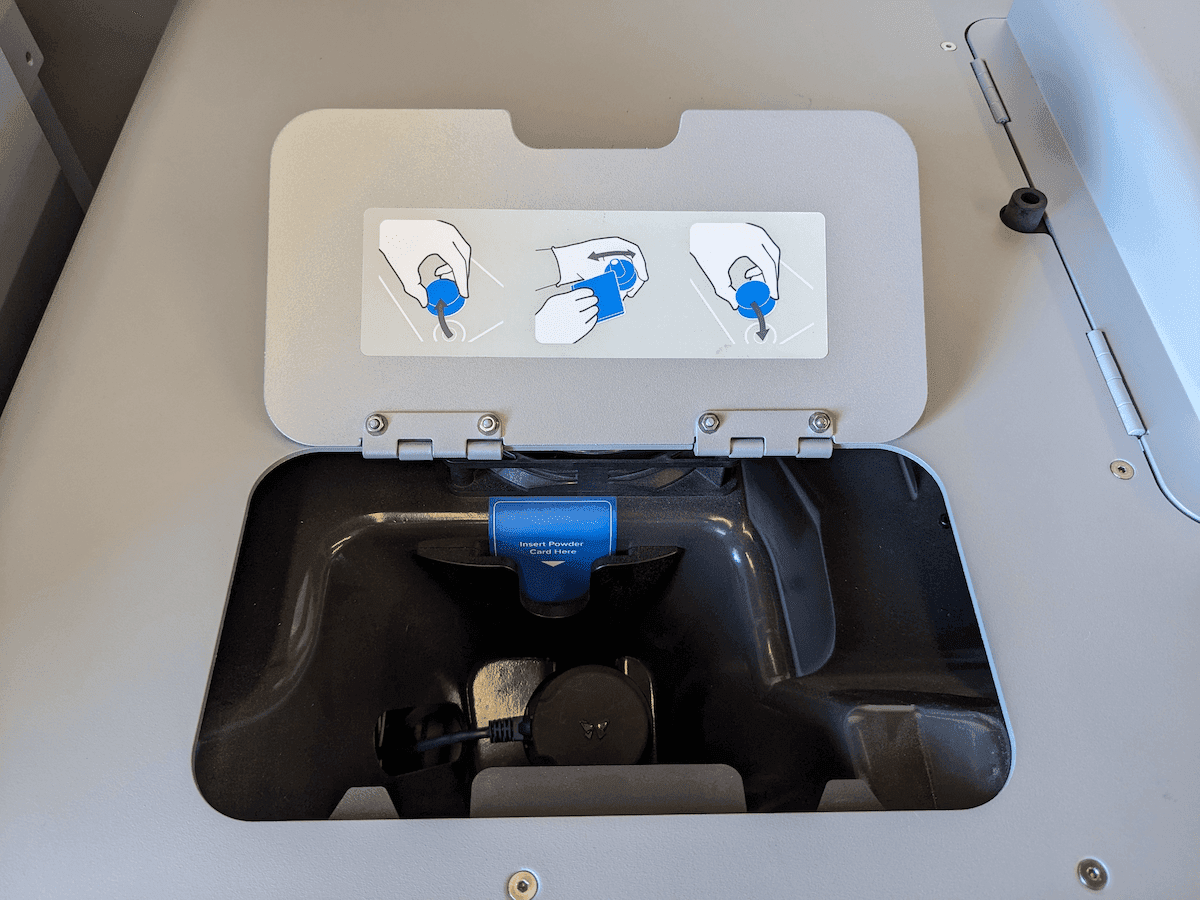
The LED in the center of the IR sensor cap turns green when it is properly mounted.
- Reseat the IR sensor ethernet cable. If the ethernet cable connection is loose or not stable, purchase a Fuse IR Sensor Kit and replace the IR sensor and Ethernet cable.
- If the issue persists after replacing the IR sensor and Ethernet cable, there may be an issue with a control board. Contact Formlabs Support or a certified service provider for additional guidance.
If the enclosure door is the source of the error message:
- Close the print enclosure door. Press firmly to ensure that the door is fully latched. If necessary, squeeze the door shut using the cutout on the right side of the printer for leverage.
- If the printer UI does not register the door closing when it latches, or if it registers this unreliably, the door latch may need to be replaced. Contact Formlabs Support or a certified service provider for additional guidance.
- If the printer registers the door opening and closing properly, but the printer still displays error messages about an open enclosure door, there may be an issue with a control board. Contact Formlabs Support or a certified service provider for additional guidance.
If the filter door is the source of the error message:
- Close the filter door. Press firmly to ensure that the door is firmly latched.
- Check that the door registers as shut when the print starts.
- If the printer does not register when the door is shut, push the door latch switch. If the printer still does not register that the door is shut, the door latch switch may need to be replaced. Contact Formlabs Support or a certified service provider for additional guidance.
- Inspect the filter door and the side panel for any gaps that may prevent the limit switch from engaging.
- If there is a gap, add a spacer such as a piece of cardboard to the black component that contacts the limit switch to increase the door’s weight and ensure it latches properly.
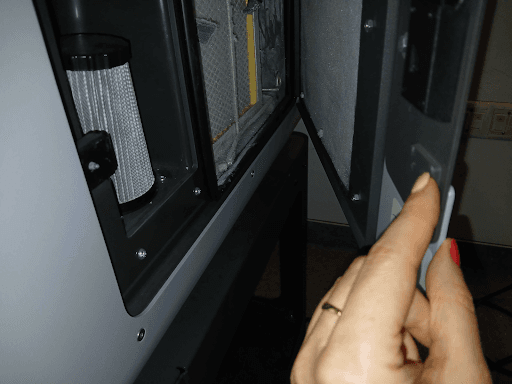
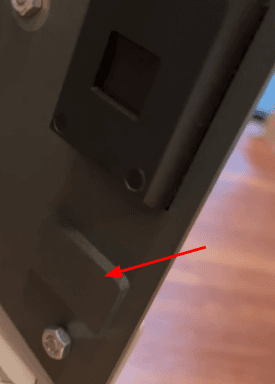
- Ensure your printer is following the power requirements for the Fuse 1 generation ecosystem and is on a dedicated AC circuit with reliable grounding. Install a line conditioner to filter out electrical noise.
- If the issue persists, upload diagnostic logs and contact Formlabs Support or a certified service provider.