WHITE PAPER
Formlabs Logo

Managing materials with Dashboard

Managing materials with Dashboard

In addition to tracking prints and print data, Dashboard tracks the resin cartridges, resin tanks, and build chambers that have been used with each printer. Click Materials to view the types of resin used, number of prints, and quantity of resin used for all printers associated with your account.

Note:

Material usage is only tracked for printers registered to a user’s Formlabs account.

Updating the library

The Materials management tools in Dashboard allow users to individually name resin tanks, resin cartridges, and build chambers as well as remove inactive tanks and cartridges from the library.

Note:

By default, tanks, cartridges, and build chambers are named using the resin or powder formulation number.
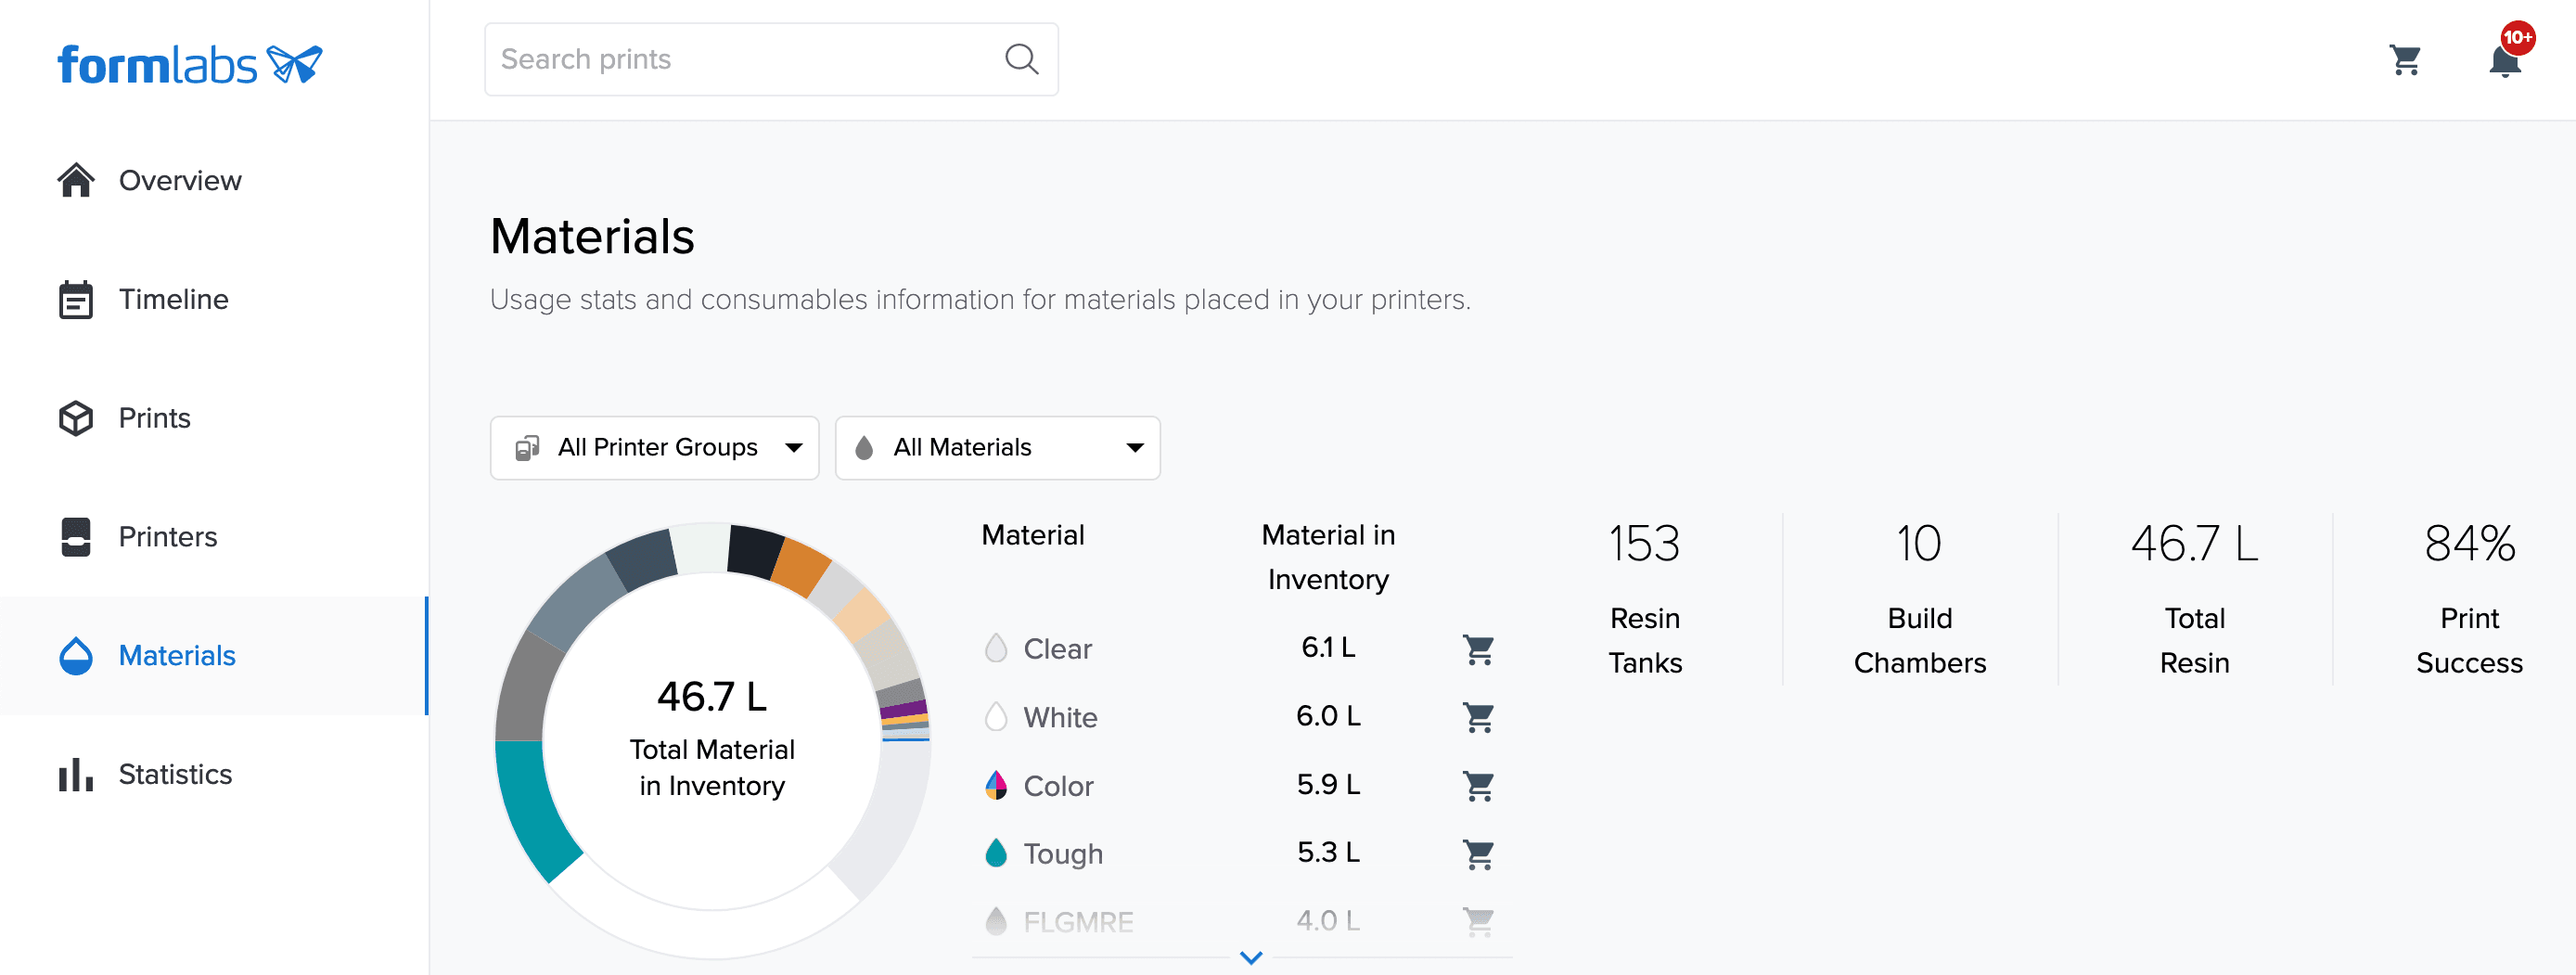
The <strong>Materials</strong> page is open in Dashboard.


Rename a tank, cartridge, or build chamber in the library

For each resin or powder type, Dashboard displays cartridges, tanks, and build chambers as separate lists. Organize and track your consumption by assigning each accessory a unique name, or stay ahead of expired materials by using the date of purchase as a name.

  1. Log in to your Dashboard account.
  2. Click Materials. A list of material types and consumables appears.
  3. To filter for a specific material, click the name in the Materials list at the top of the screen. The consumable library for the selected material appears.
  4. Click the consumable that you wish to rename. The Details page for the selected consumable appears.
  5. Click the nickname of the selected consumable. The nickname becomes available to edit.
  6. Enter a nickname for the selected consumable.
  7. Click Save. The selected consumable appears with the entered name.

Note:

Consumables that are currently inserted in a printer are marked with a printer icon in the library.
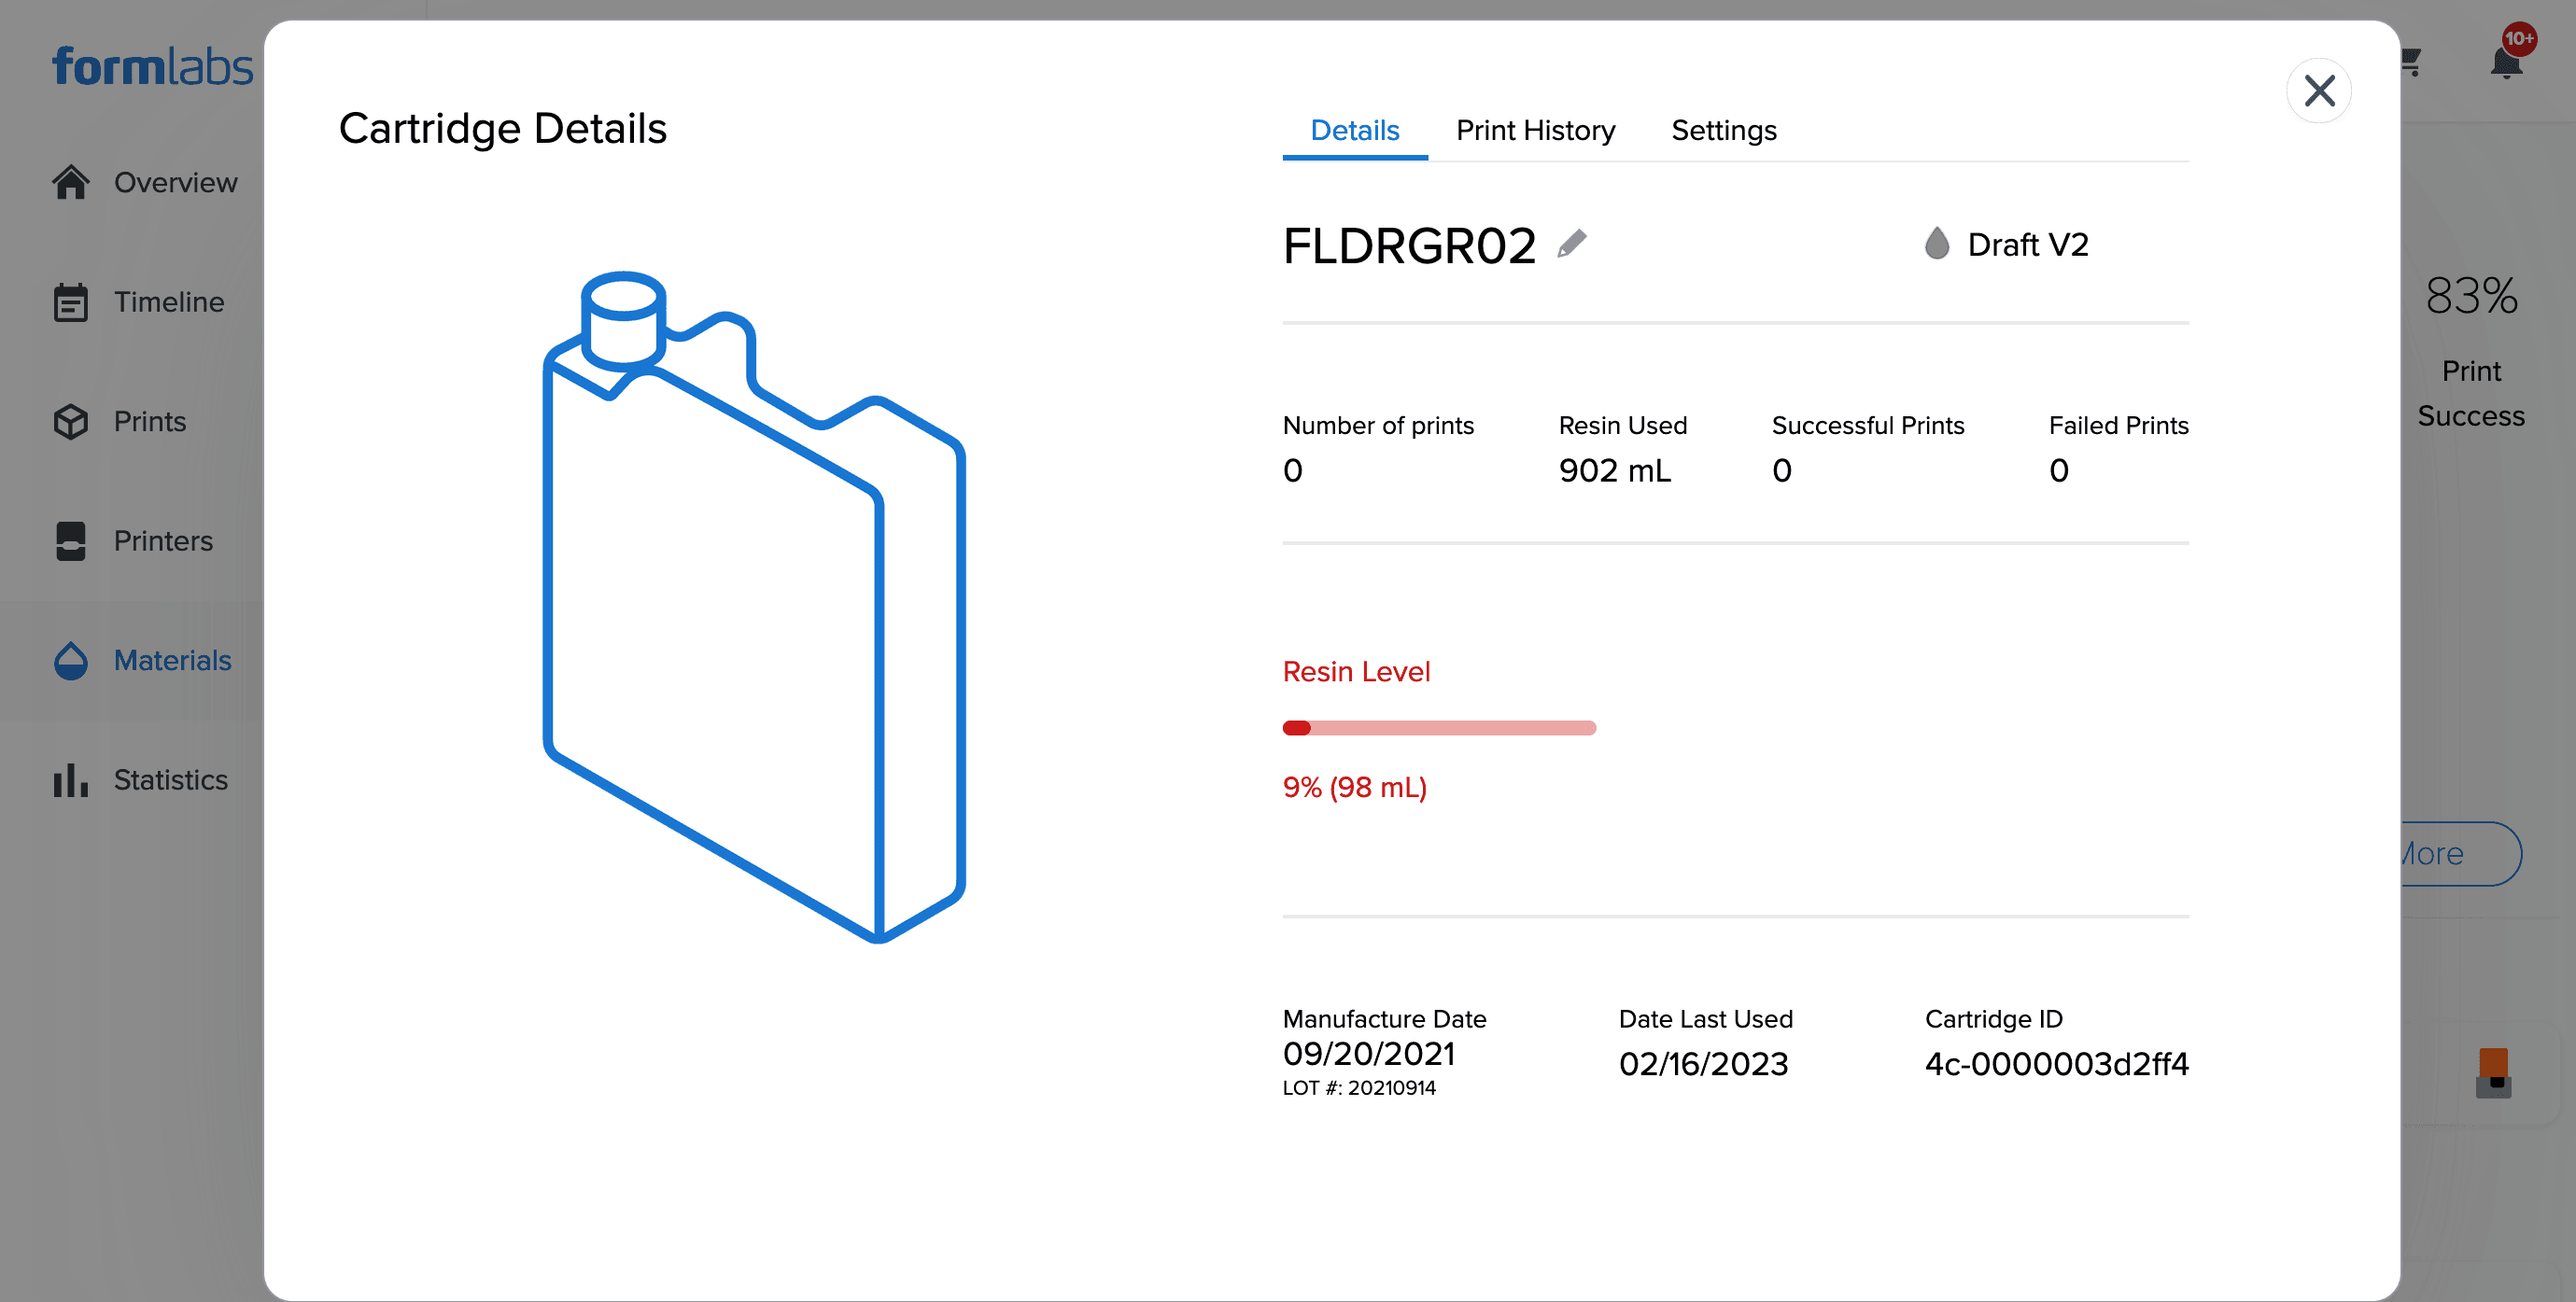
The Cartridge Details screen is displayed with the nickname editing option open.
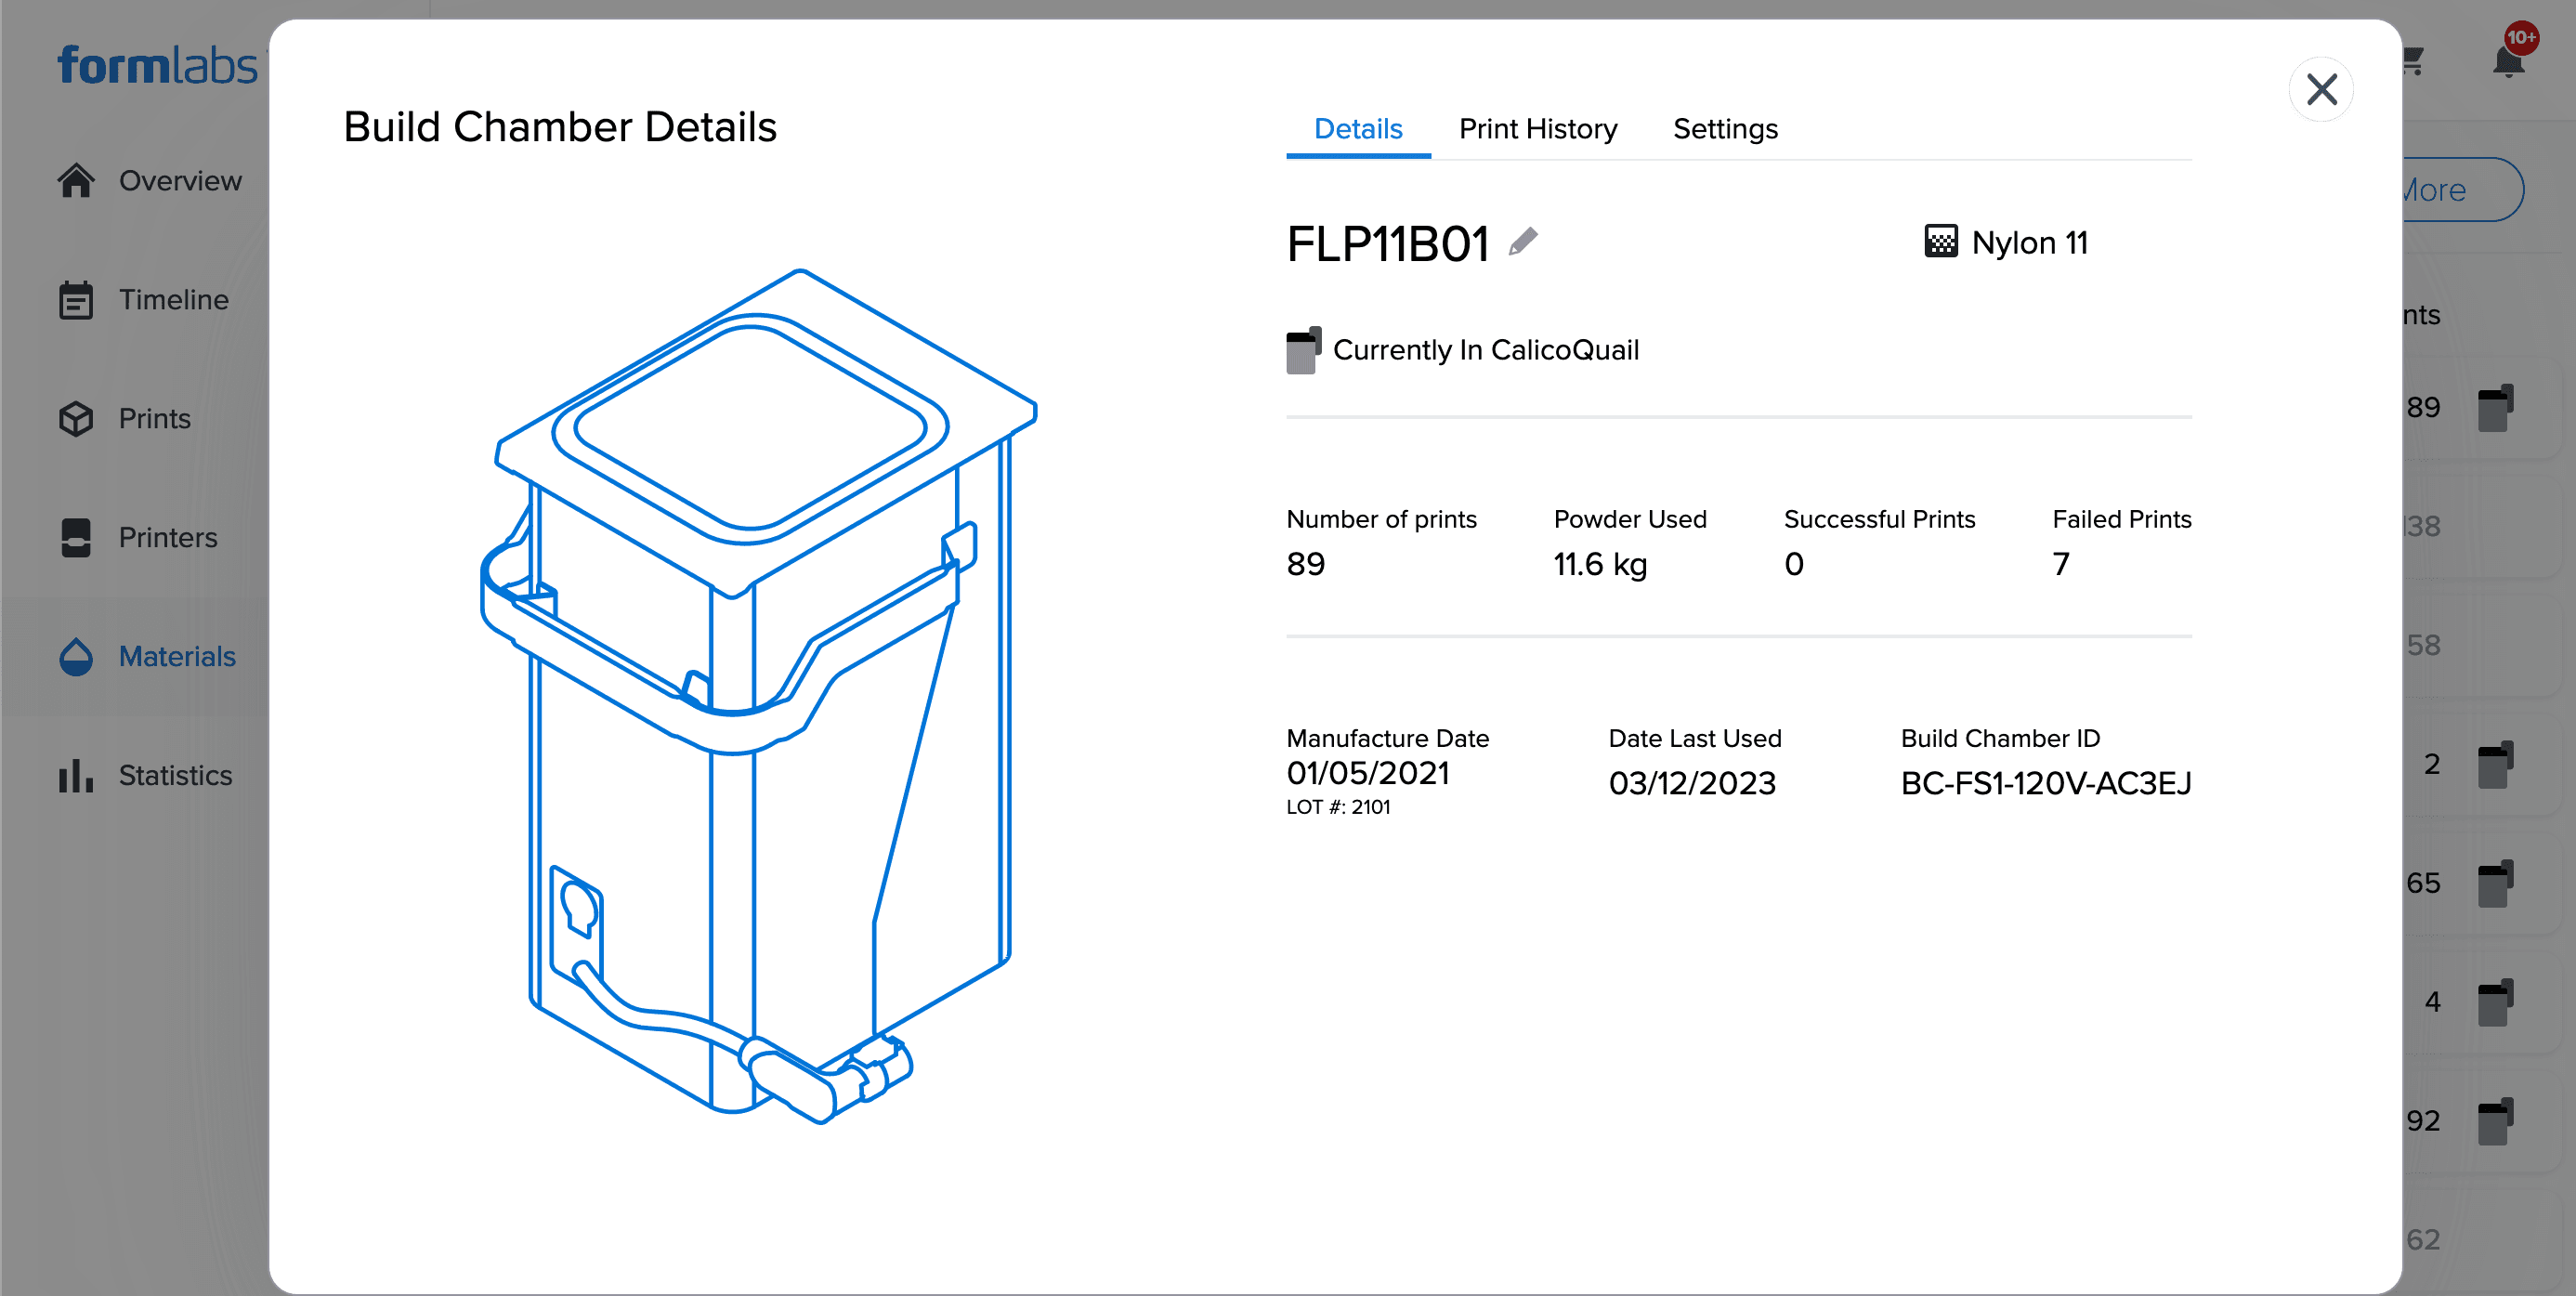
The Build Chamber Details screen is displayed.


Remove a tank, cartridge, or build chamber from the library

To keep a well-organized materials library, delete empty or inactive consumables from Dashboard.
  1. Log in to your Dashboard account.
  2. Click Materials. A list of resin types and consumables appears.
  3. Click the nickname name of the consumable you wish to delete. The Cartridge Details or Build Chamber Details screen appears
  4. Click the consumable that you wish to delete. The Details page for the selected consumable appears.
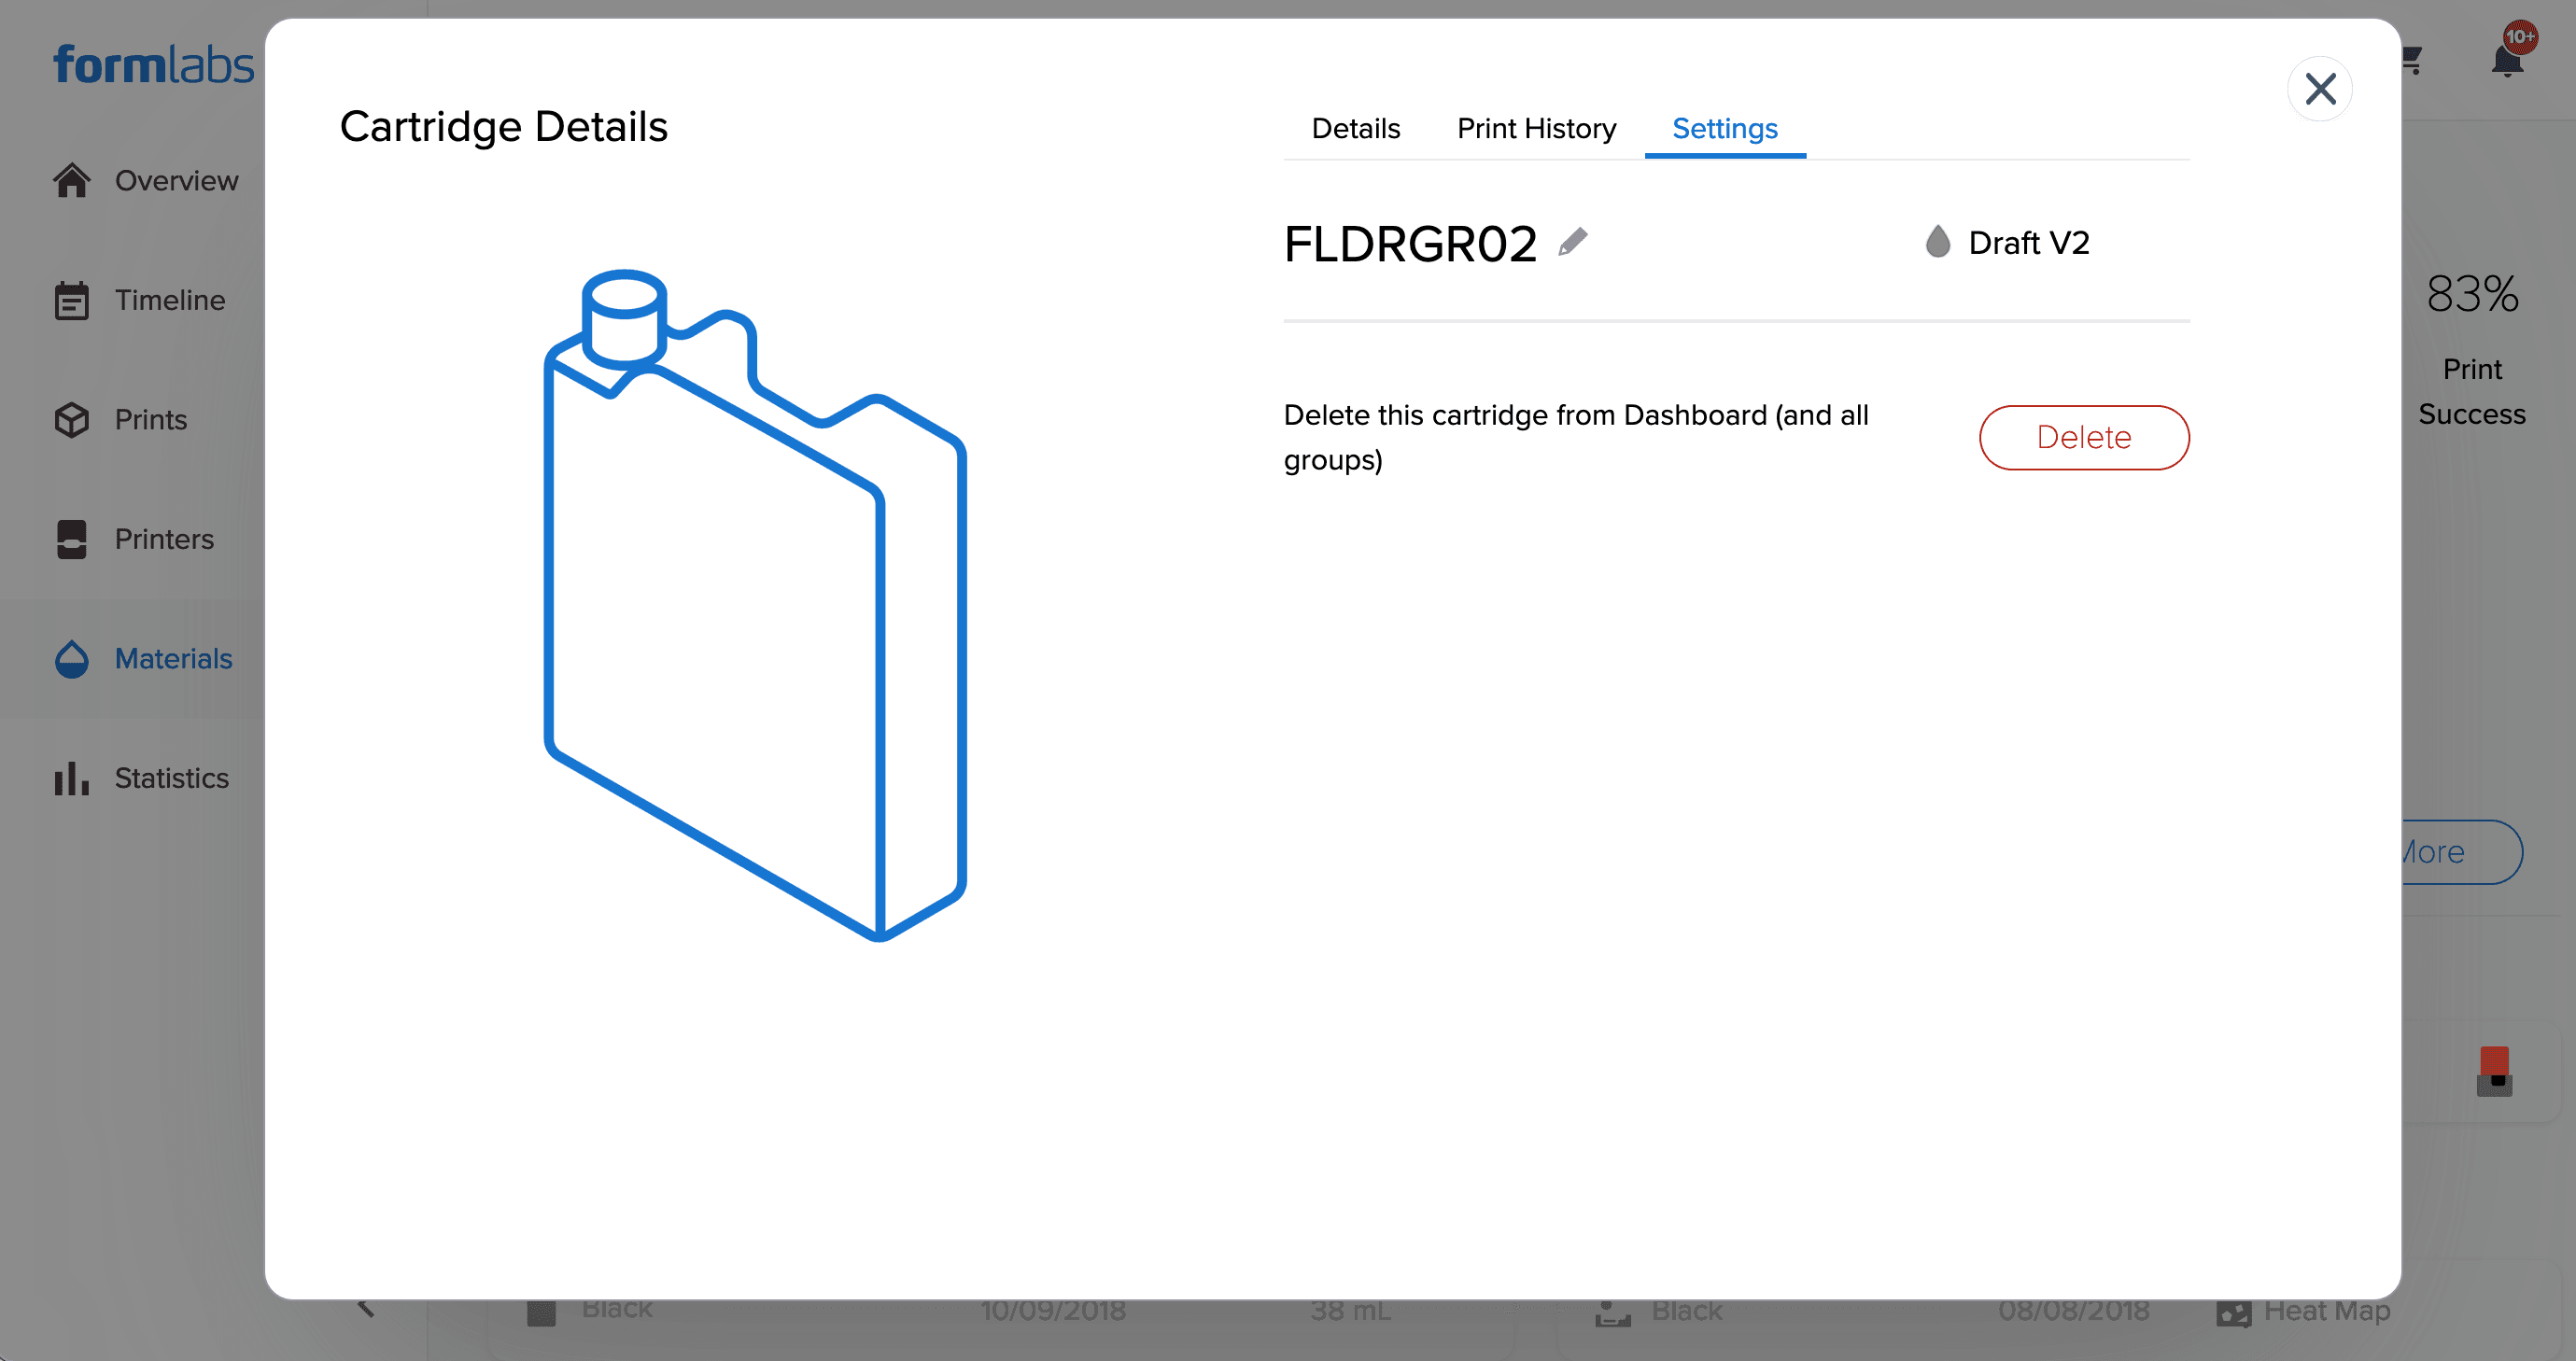
  5. Click Settings. The Settings page for the selected consumable appears.
  6. Click Delete. A confirmation window appears.
  7. Click OK. The selected consumable is deleted from Dashboard.
The Settings tab of the Cartridge Details screen is displayed, showing the option to delete the tank from Dashboard.
The Settings tab of the Build Chamber Details screen is displayed, showing the option to delete the tank from Dashboard.

Note:

Insert a previously deleted tank, cartridge, or build chamber into a registered printer to add it back to the Materials library in Dashboard.

Analyzing resin tank heat maps (Form 2)

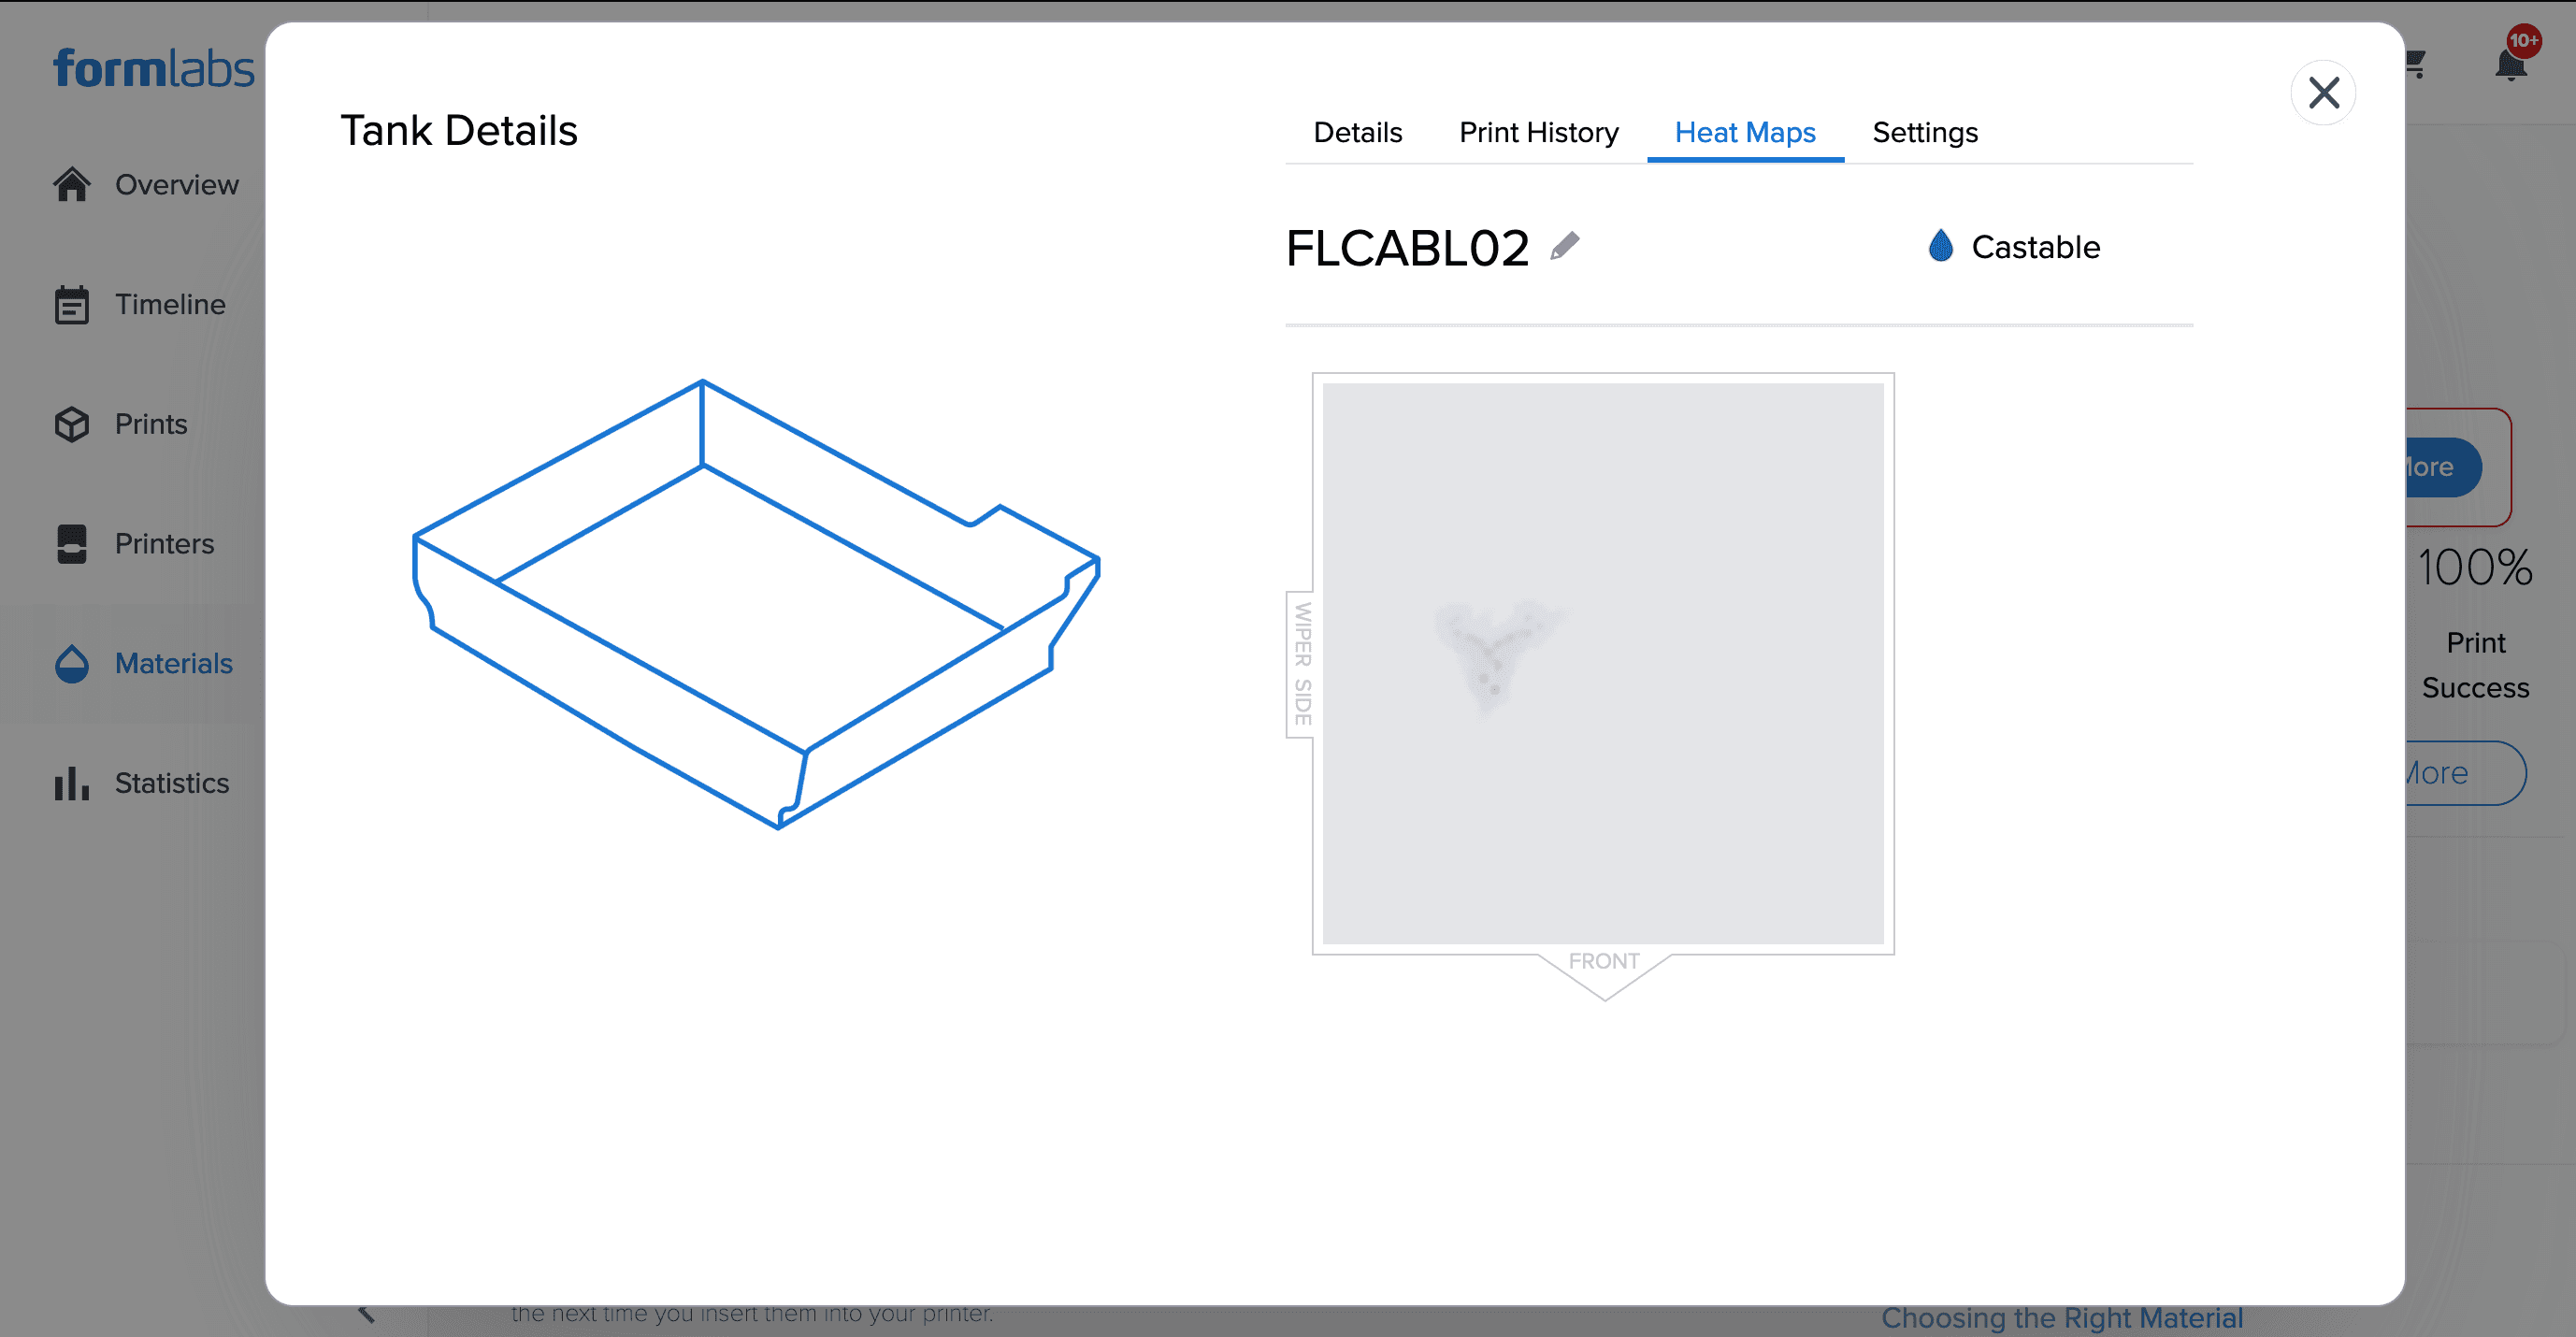
Dashboard shows a heat map for each resin tank associated with a registered Form 2 printer. The resin tank’s heat map visually represents the areas of the tank and their levels of laser exposure. Darker shading on the heat map means relatively more print layers for parts printed at that point than other places on the tank. The shading is not an absolute scale.

Resin tanks for the Form 2 are consumables that typically last for 1–2 L of resin, depending on the material type and print settings. Certain areas of the tank’s silicone can wear down more quickly than others, depending on part orientation and laser exposure. Printing in less frequently used areas of the tank can extend its lifetime.

Note:

Heatmaps are only available for Form 2 resin tanks.


View a resin tank heat map

A tank’s heat map is updated after every print. To see the heat map for a resin tank:
  1. Log in to your Dashboard account.
  2. Click Materials. A list of resin types and consumables appears.
  3. To filter for a specific material, click the name in the Materials list at the top of the screen. The consumable library for the selected material appears.
  4. Click the resin tank that you wish to check. The Details page for the selected consumable appears.
  5. Click Heat Maps. The Heat Maps page appears with an image of where models have been printed on the selected resin tank.
A screenshot of a resin tank followed by its associated <strong>Heat Maps</strong>.

Viewing material usage for printers

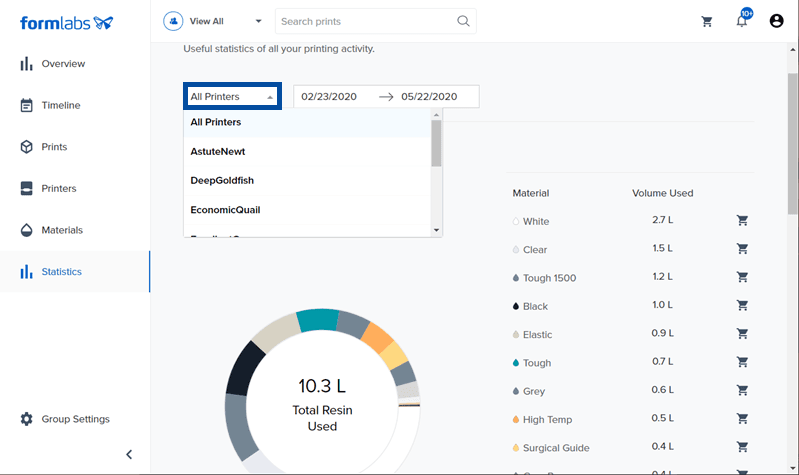
Once registered, Dashboard shows how much of each material is used on a printer. Click Statistics to find a breakdown of how much material is used across all printers, or just one printer in particular, over a select period of time.
  1. Log in to your Dashboard account.
  2. Click Statistics. A breakdown of material usage across all printers appears.
  3. Click All Printers to select a specific printer and view that single printer’s material usage.
  4. Click a Date field to select and change the time range.