
Note:
Remote printing requires a Formlabs account and that your printer be connected to the internet.

Print on-the-go with just your computer. You can insert consumables, send a print job, and start the print from anywhere.
Note:
Remote printing requires a Formlabs account and that your printer be connected to the internet.
Readying a printer for a print
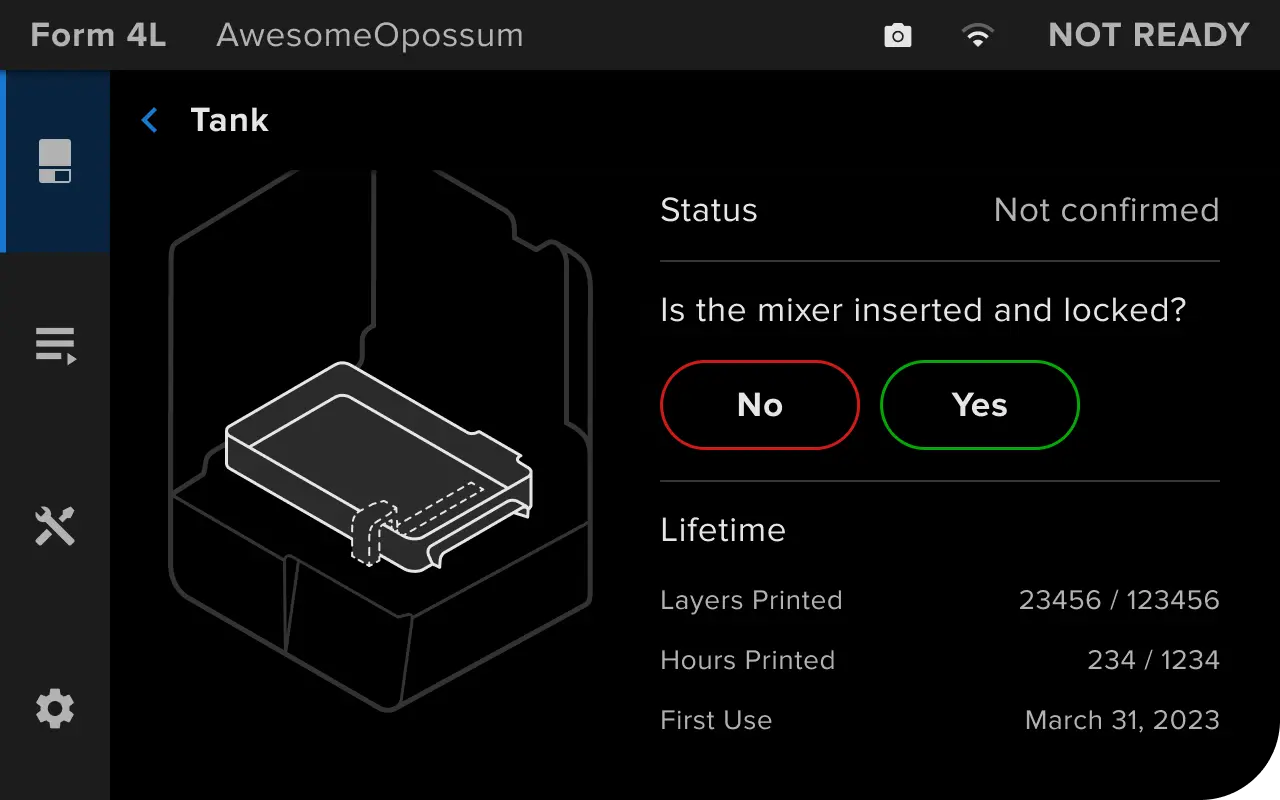
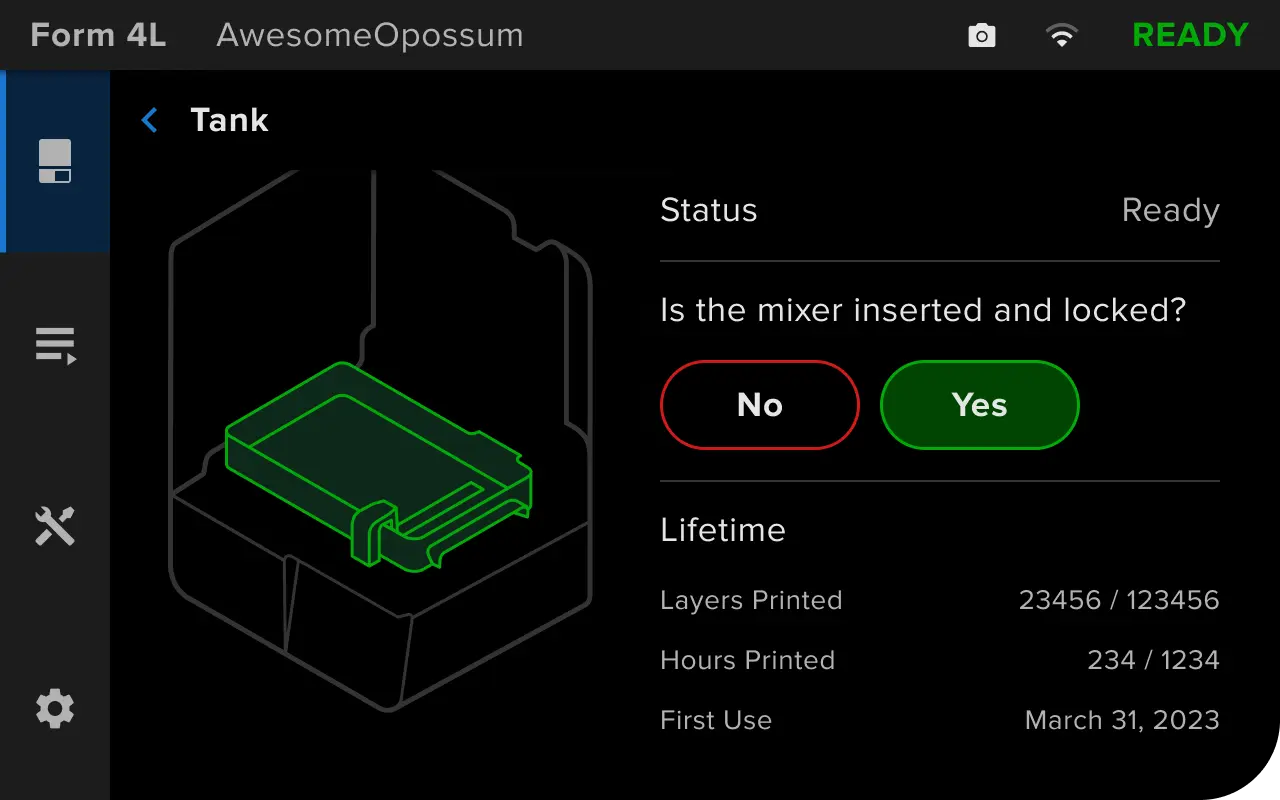
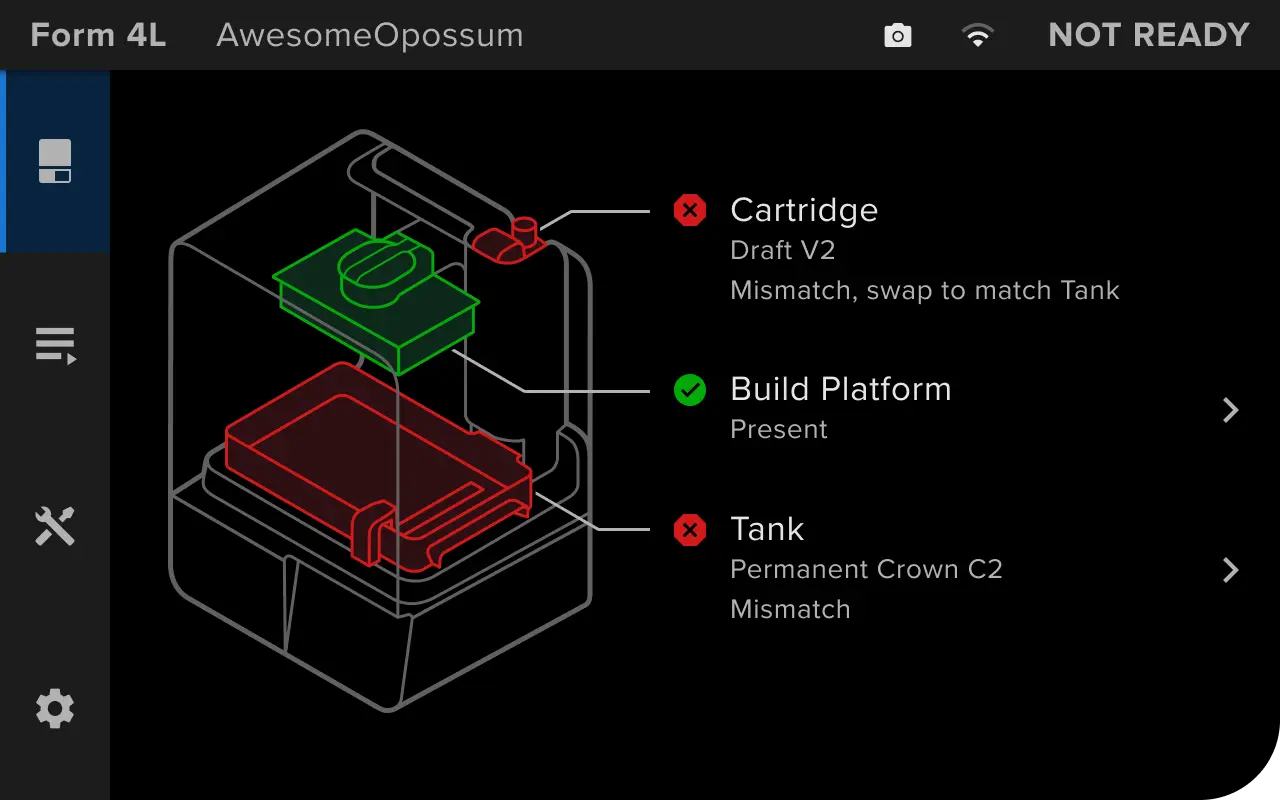
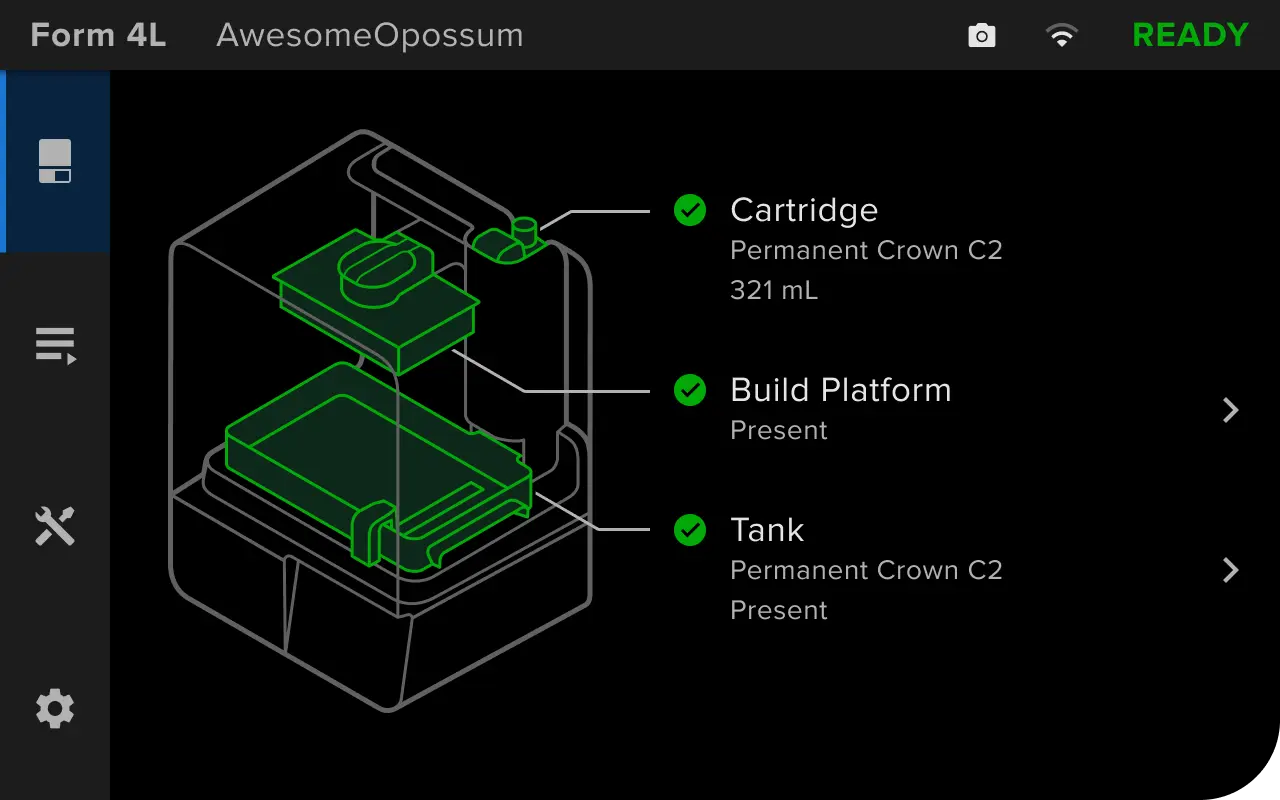
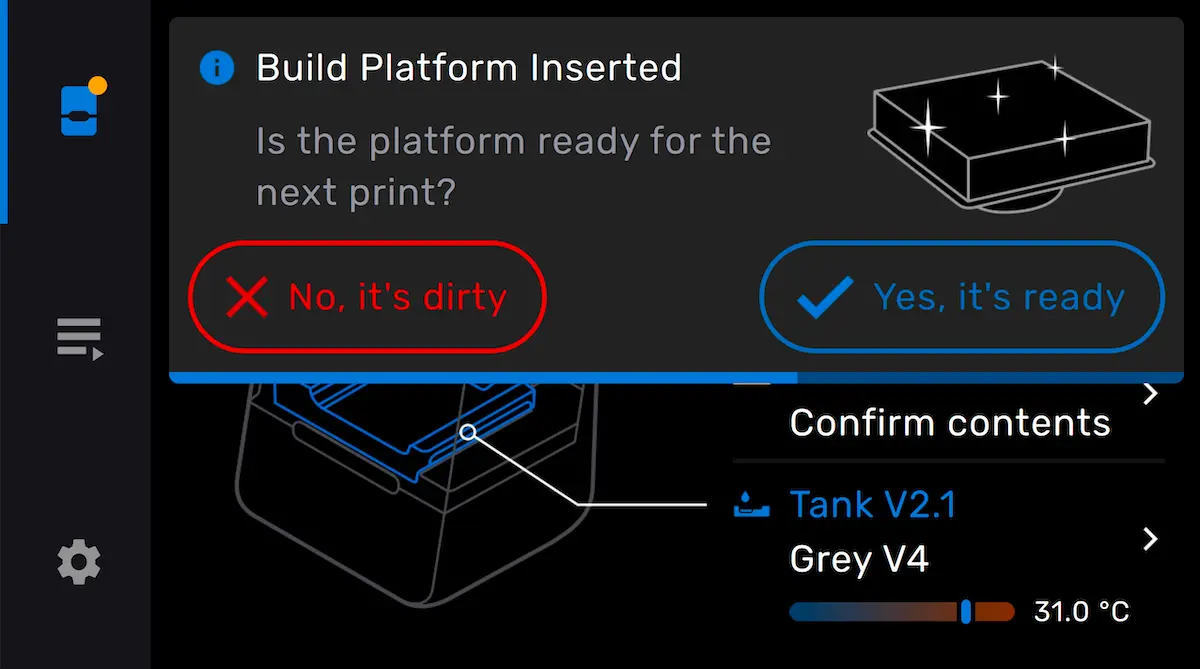
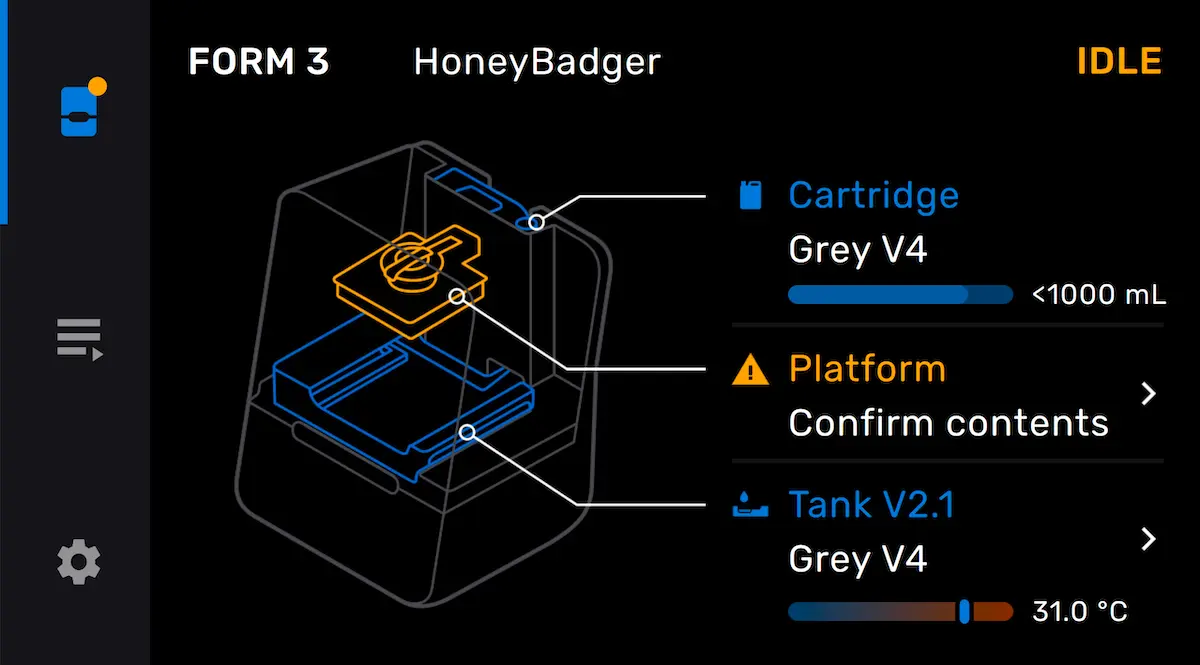
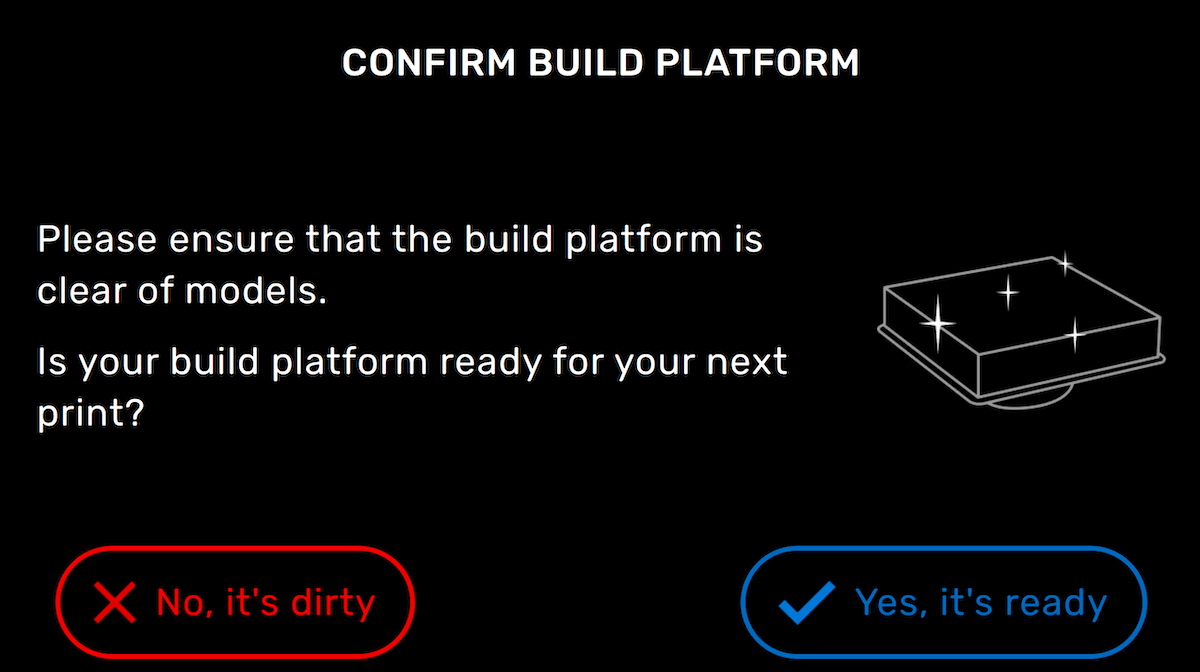
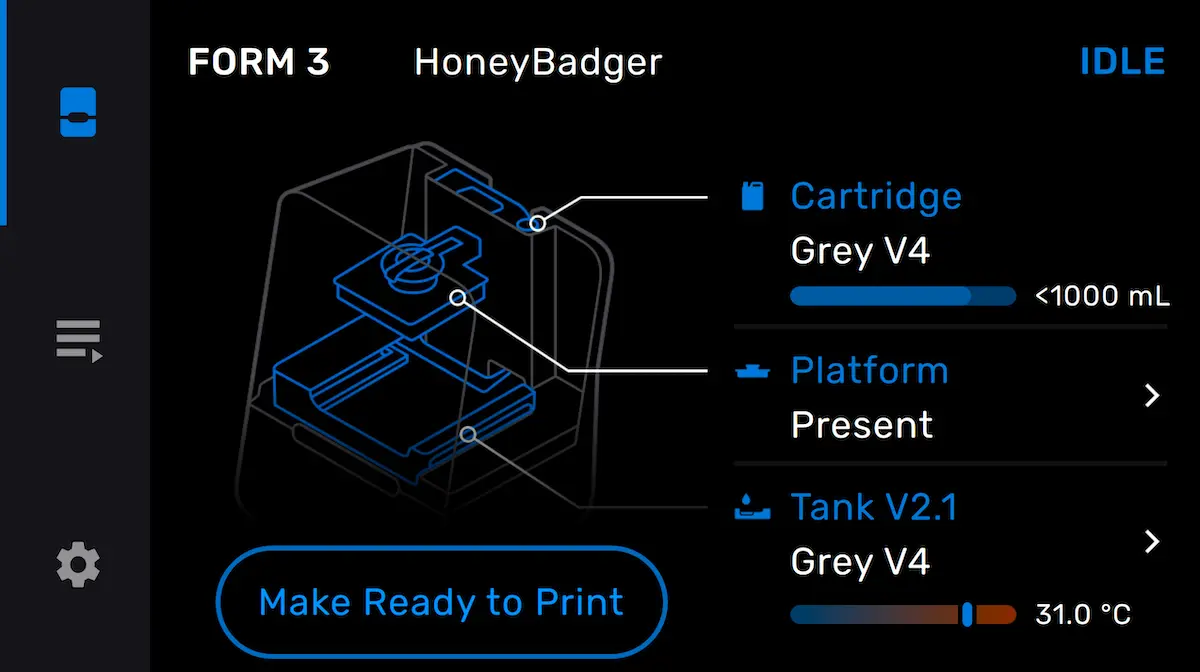
A printer is ready to print once you insert the required consumables, including a resin cartridge, a resin tank, and a build platform. The resin tank must be unused, or its resin type must match that in the resin cartridge.
Form 4 and Form 4L generation


Form 3 and Form 3L generation
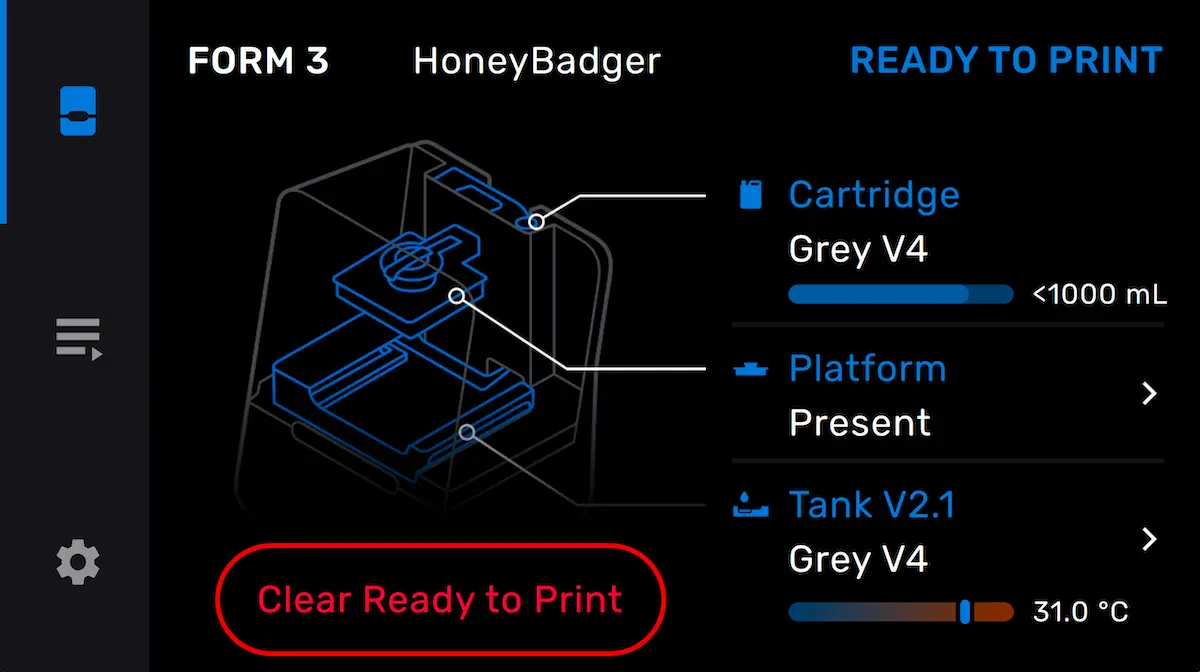
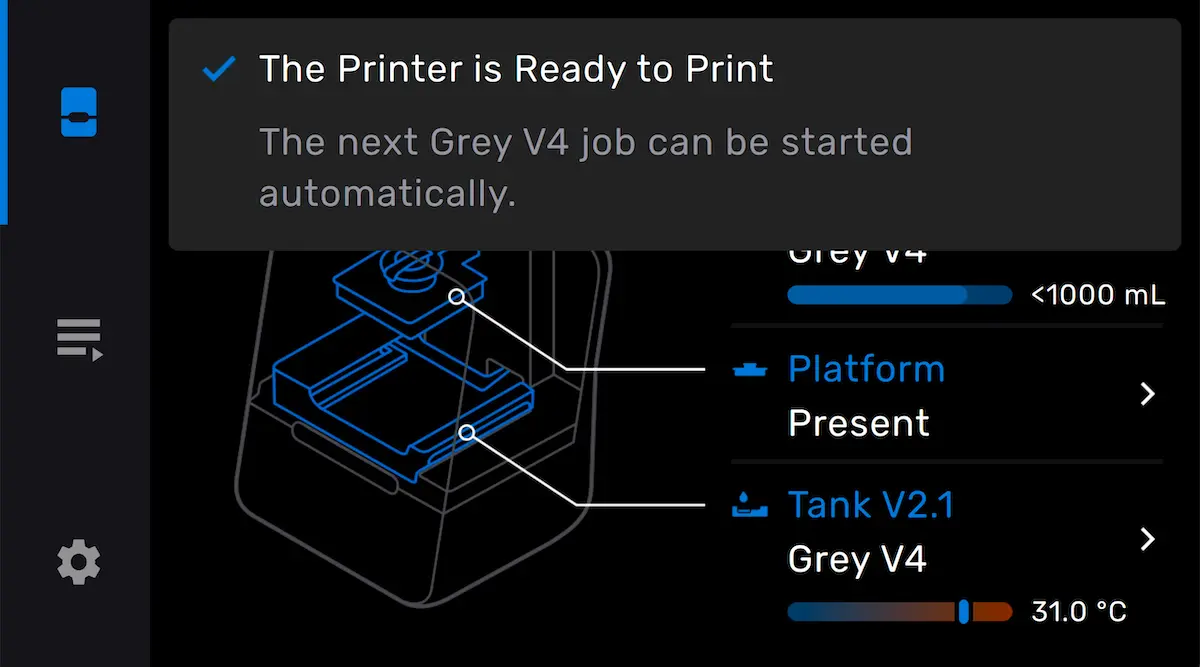
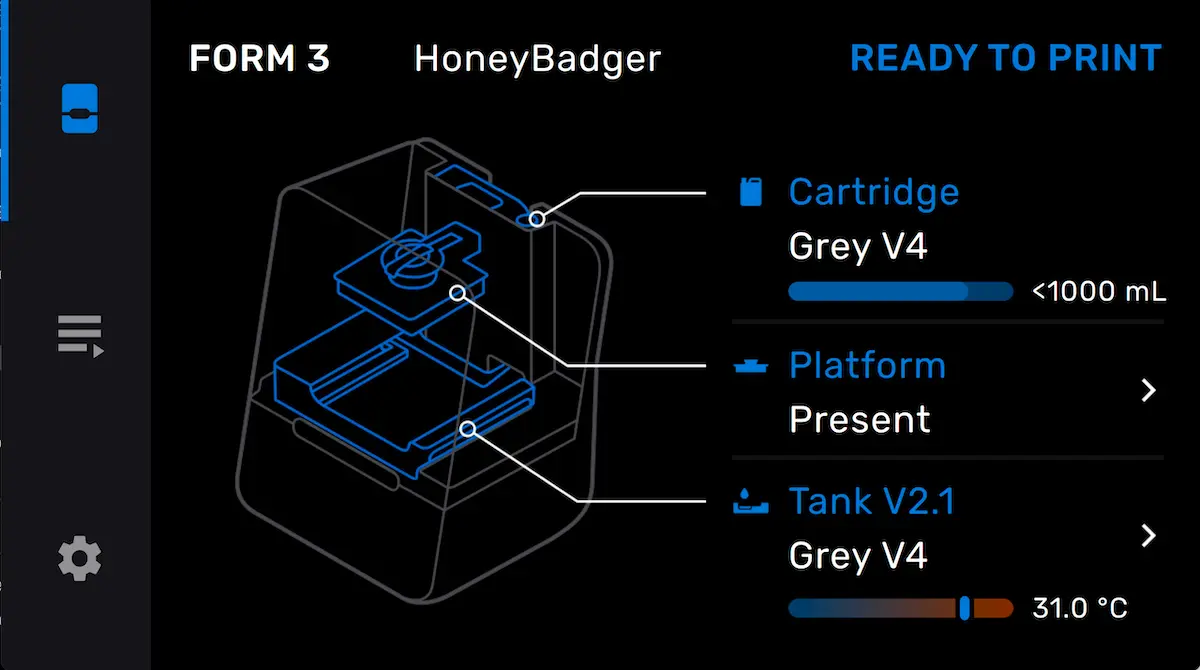
Priming a local printer (deprecated)
Note:
Priming a printer is a deprecated feature for Form 3, Form 3B, Form 3L, and Form 3BL printers. It is only available for Form 3/Form 3B printers running firmware versions 1.20.33 or earlier and Form 3L/Form 3BL printers running firmware 1.11.14 or earlier. The feature has been replaced with automatic printer readying.
Prime a printer without enabling Remote Printing to automatically start a print when your computer is on the same network. As long as a printer is Primed beforehand, you can send a print job to the queue and have it automatically begin printing from several rooms away.
Note:
If you are away from your printer or connected to a different network, then the primed printer is disabled in PreForm and the print job does not upload to the printer queue. Enable Remote Printing to print from a different network than your printer.
Setting up remote printing
When remote printing is active, the printer does not communicate with PreForm directly. Instead, both PreForm and the printer pass information to Dashboard and Dashboard shares information between the two.
Ensure you’re all set up and ready to go before sending a print job to the printer:
Starting a print
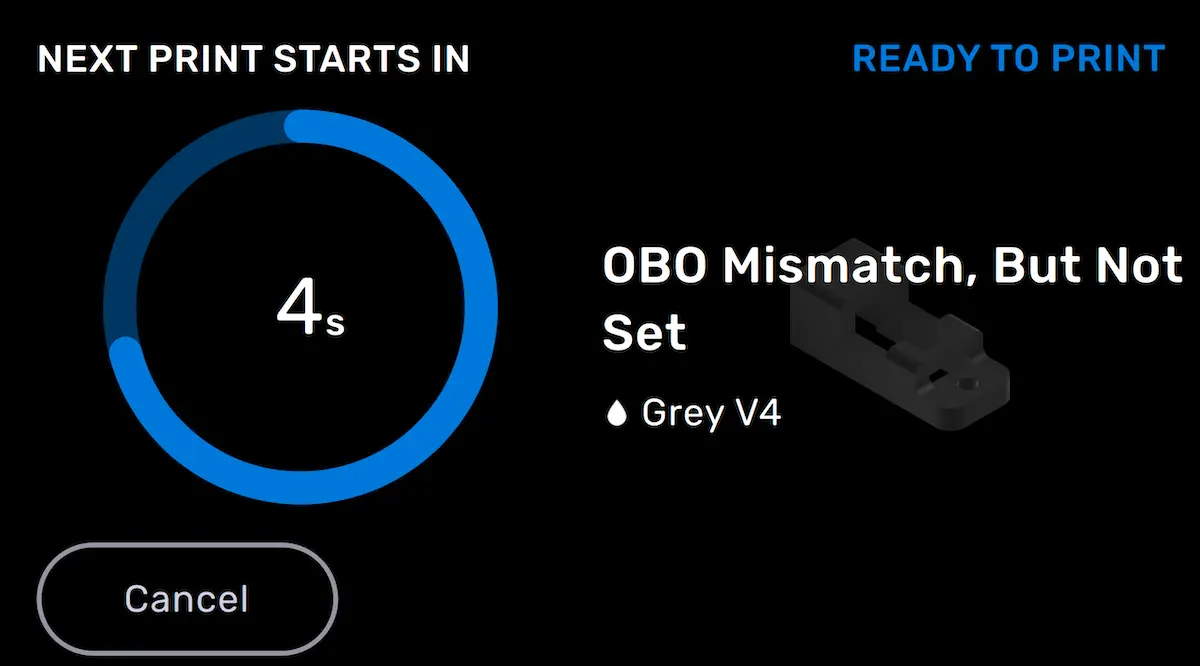
Note:
You must be logged in to the same Formlabs account within PreForm to see your remote printer in PreForm.
After a print
After a print completes, the printer status changes to Idle. The build platform status on the printer screen changes to Remove parts.
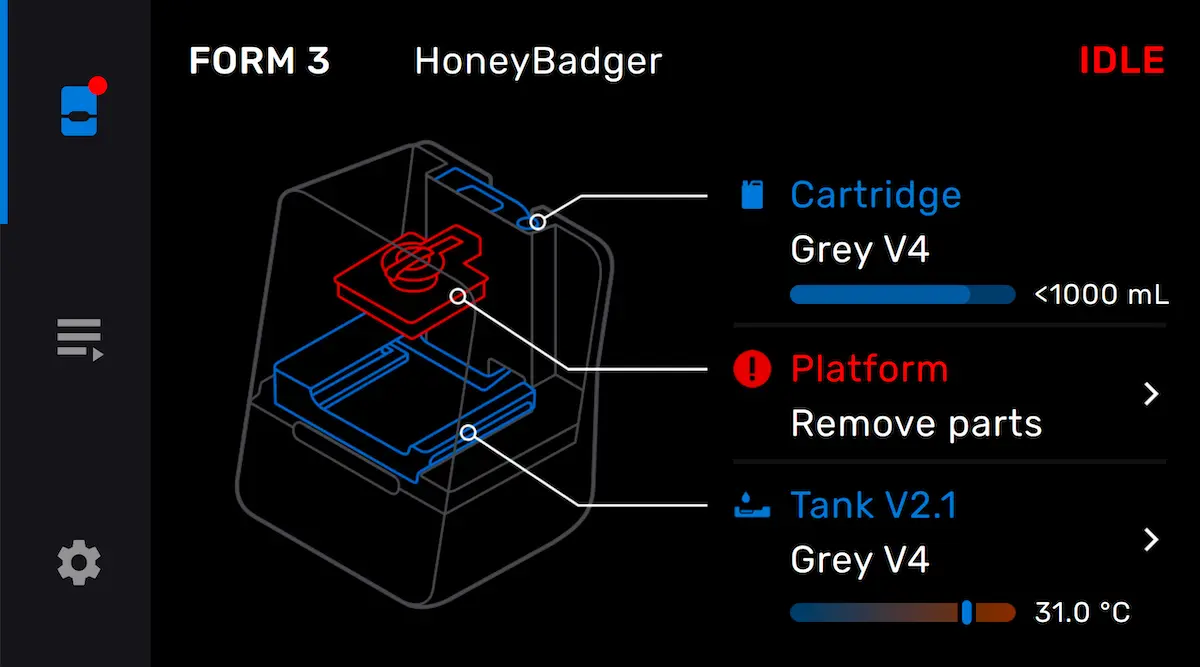
Remove the build platform and retrieve your printed parts. To ready your printer again, insert the necessary consumables and confirm that they are ready to print.
Disabling automatic readying (Form 3 and Form 3L generation only)
You may want to disable automatic readying, for example if you want to leave your consumables in your printer without it automatically starting a print or if you are in a multi-user environment and want more control over printing. To disable automatic readying: