Conseil :
La valeur de l'épaisseur de couche dépend de l'imprimante et de la résine sélectionnées dans PreForm. Sélectionnez une imprimante, puis suivez les étapes ci-dessous pour sélectionner une résine et définir l'épaisseur de couche.


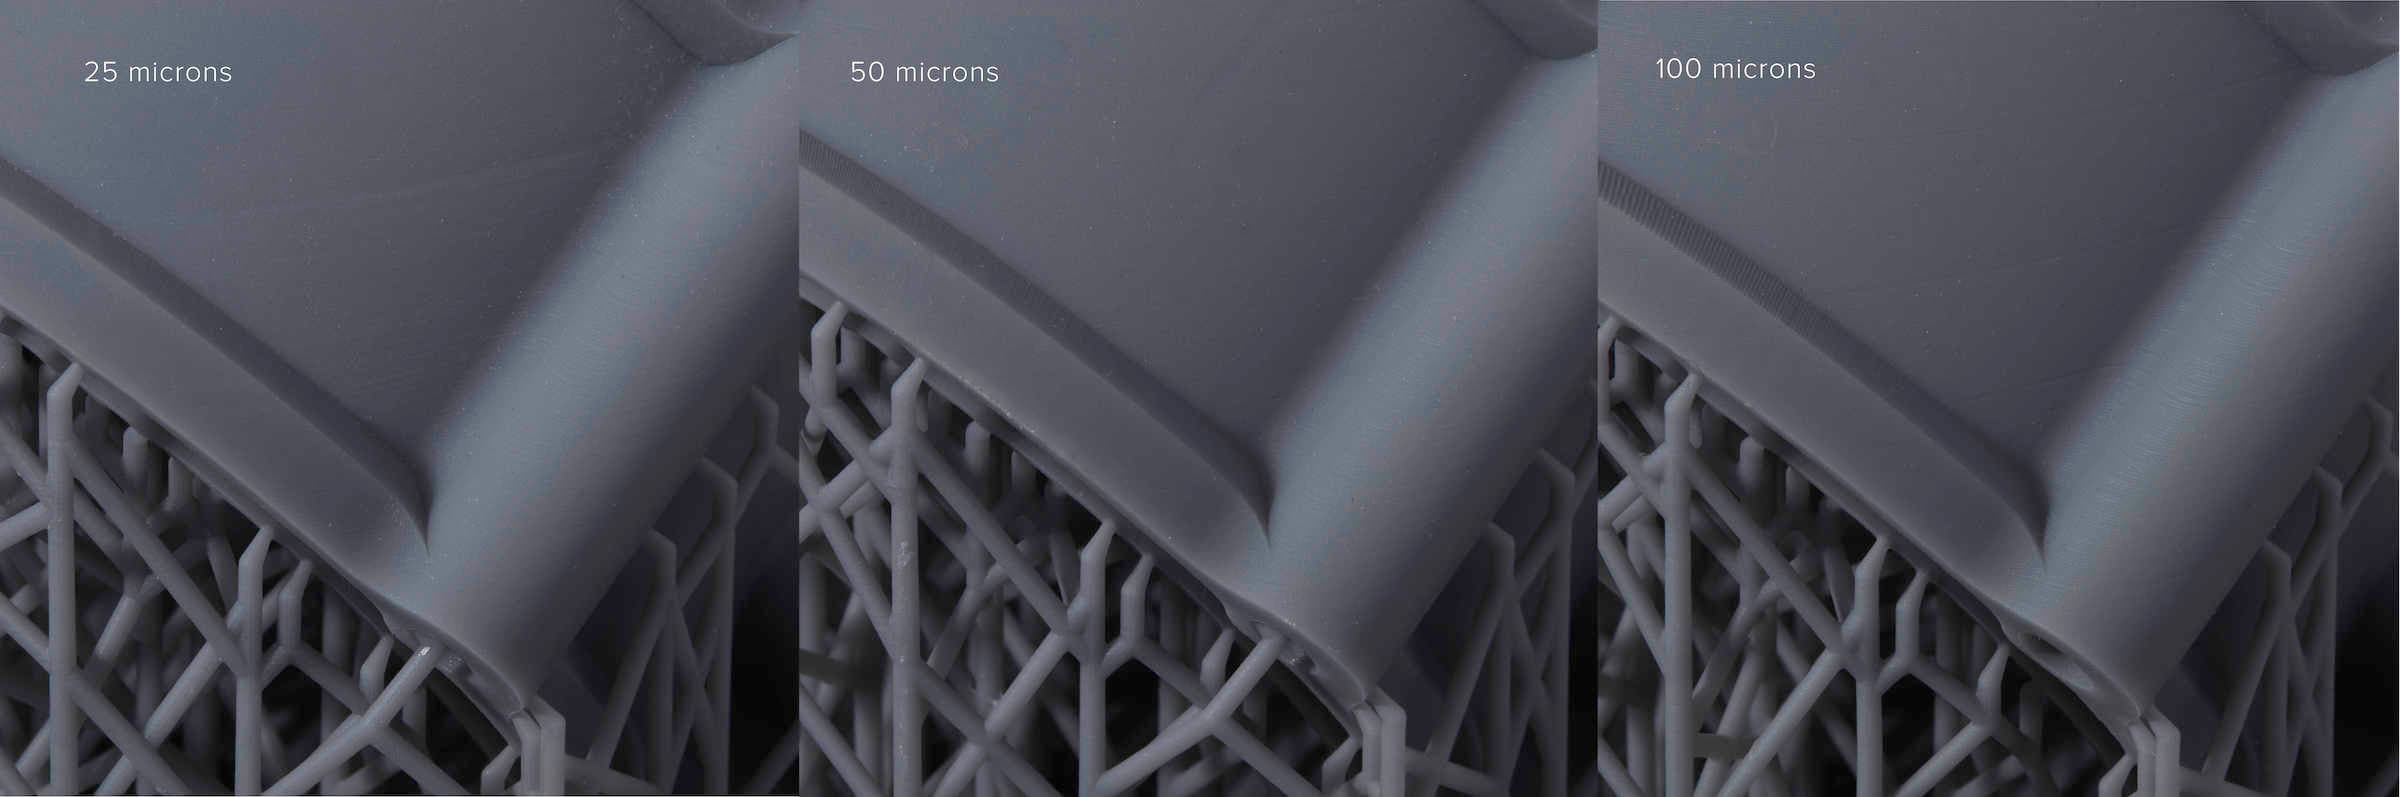
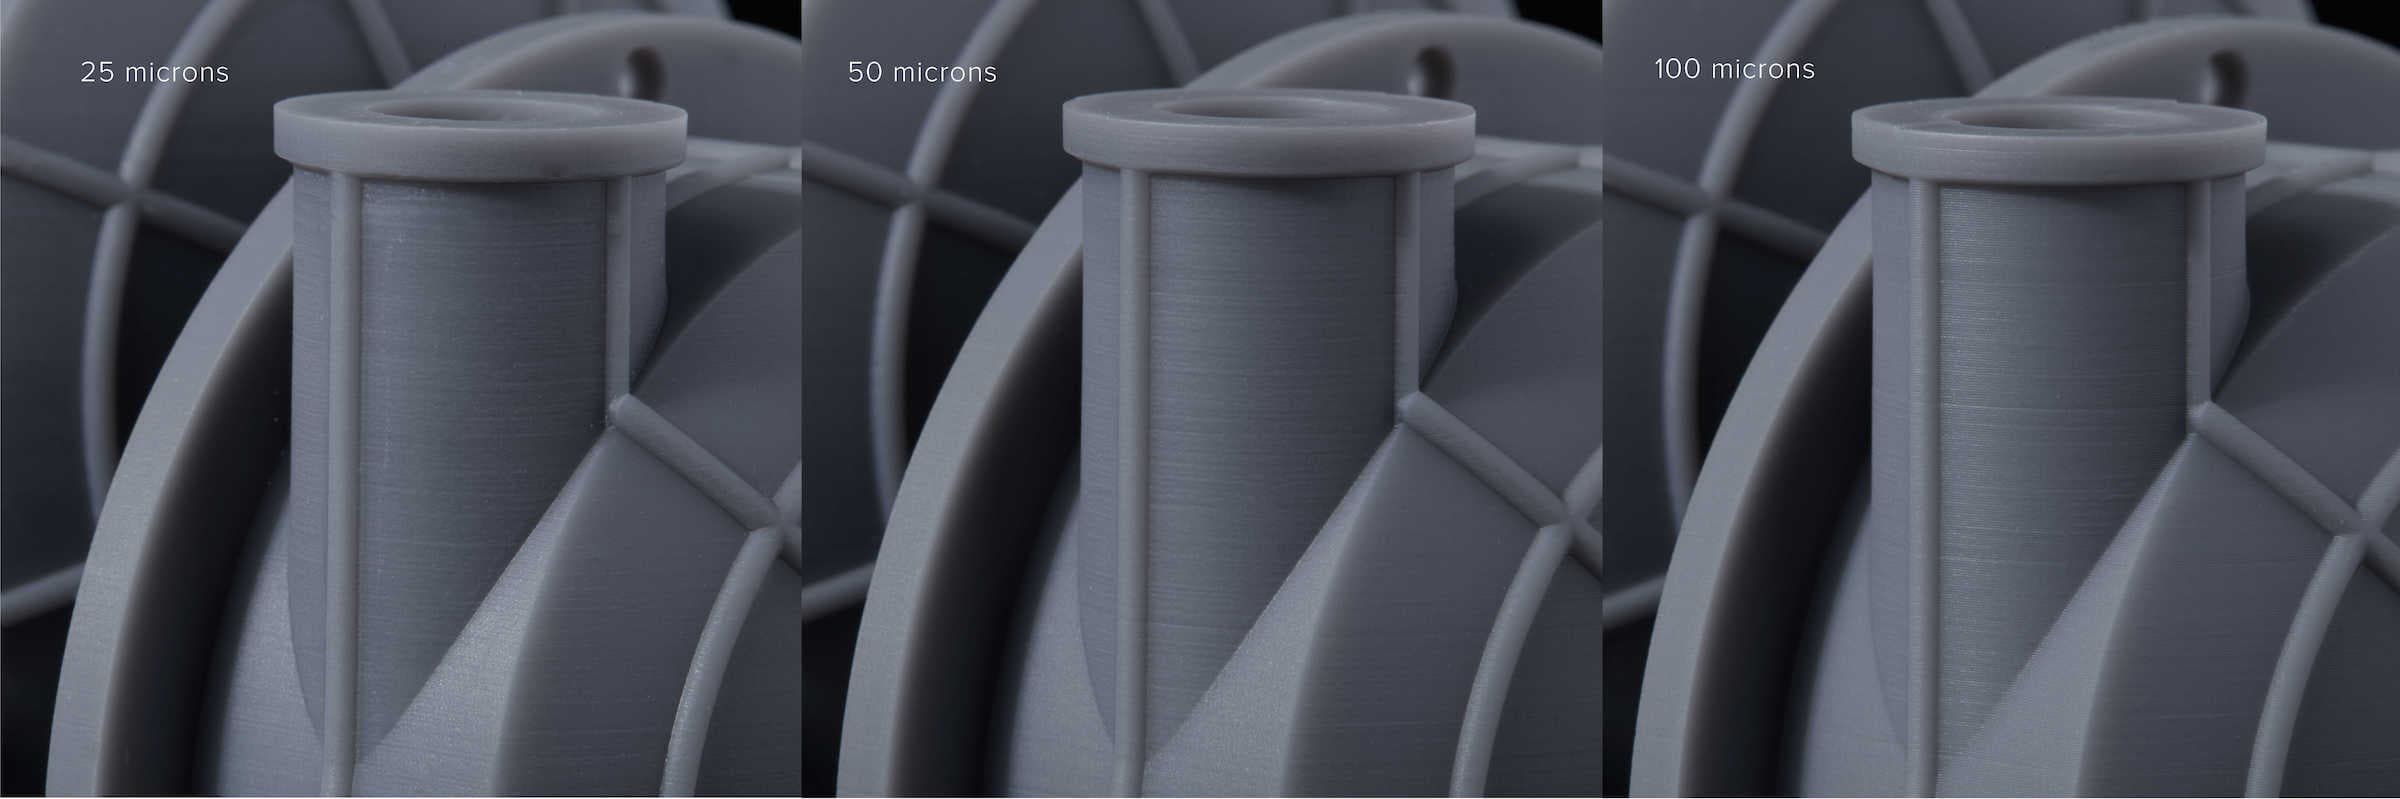
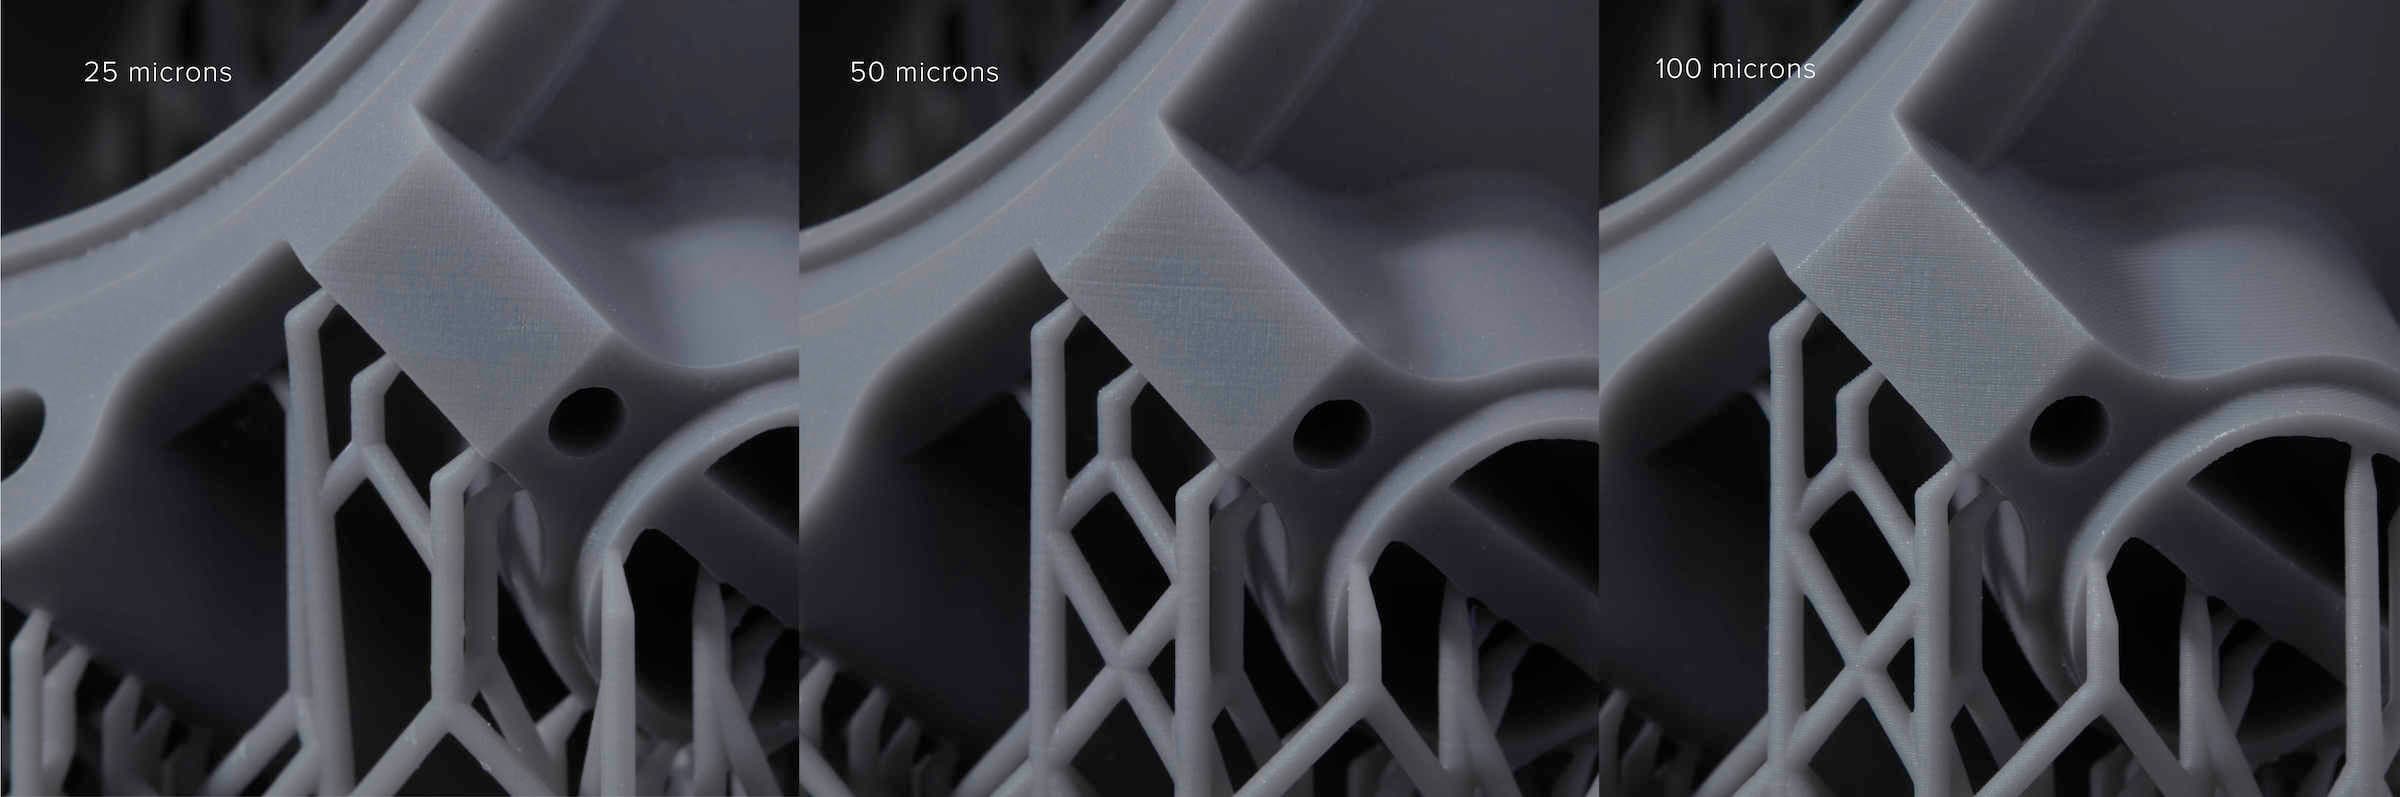
L'épaisseur de couche a un impact sur la vitesse et la qualité d'impression. Les couches plus épaisses s'impriment plus rapidement, mais présentent moins de détails. Les couches plus fines s'impriment plus lentement, mais permettent de reproduire des détails plus fins. De nombreux paramètres d'épaisseur de couche sont disponibles pour la plupart des matériaux, si bien que vous trouverez toujours une option adaptée à vos besoins.
Dans PreForm, il faut ouvrir un modèle, sélectionner une imprimante ou ajouter une imprimante manuellement, puis sélectionnez le matériau (type et version de la résine) et l'épaisseur de couche pour la tâche d'impression suivante. L'ajustement des paramètres de l'épaisseur de couche permet d'améliorer la vitesse d'impression ou d'optimiser la qualité d'impression.
Sélection de la résine et de l'épaisseur de couche
L'épaisseur de couche est mesurée en fractions de millimètre, souvent exprimée en microns. 1 micron (µm) est égal à 0,001 millimètre (mm). Pour donner une idée de ce que représentent 100 microns, c'est l'épaisseur d'une feuille de papier ou d'un cheveu humain.
Conseil :
La valeur de l'épaisseur de couche dépend de l'imprimante et de la résine sélectionnées dans PreForm. Sélectionnez une imprimante, puis suivez les étapes ci-dessous pour sélectionner une résine et définir l'épaisseur de couche.
Pour régler l’épaisseur de couche :
Remarque :
Les supports sont générés différemment en fonction du matériau utilisé et de l'épaisseur de couche.
Sélection de l’épaisseur de couche réglable
adaptative est un paramètre qui équilibre la vitesse et la qualité pour vous offrir le meilleur des deux. Lorsque PreForm détecte des courbes, des pentes ou d’autres caractéristiques qui seraient affectées négativement par l’épaisseur de la couche, il les traite en couches plus fines. Lorsque PreForm détecte des parois, des colonnes et d’autres formes verticales qui peuvent être imprimées comme une seule grande pièce, il augmente automatiquement l’épaisseur de la couche. PreForm peut passer sans problème d’un paramètre de couche à l’autre, de sorte que vous ne créez pas de grandes différences d’épaisseur de couche.
Layer Thickness (Épaisseur de couche) est réglé sur Fixed (Fixe) par défaut. Le paramètre Adaptive (Adaptatif) modifie automatiquement l’épaisseur de couche pendant l’impression en fonction des géométries entre les couches. Pour sélectionner l’épaisseur de couche Adaptive :
Remarque :
Le bouton permettant de choisir l’épaisseur de couche adaptive peut ne pas s’afficher pour tous les matériaux ou pour toutes les imprimantes. Si le bouton Adaptive n'est pas disponible pour la résine ou l'imprimante que vous avez sélectionnée, sélectionnez une épaisseur de couche fixe pour imprimer la pièce entière avec une seule épaisseur.
Réglage de l'épaisseur de couche pour gagner en vitesse
Imprimer avec une épaisseur supérieure réduit la durée de l'impression. Paramétrer la valeur Layer Thickness (Épaisseur de couche) à 100 microns (0,1 mm) ou plus diminuera le nombre de couches totales à imprimer.
Pour régler l’épaisseur de couche pour le temps d’impression le plus court :
Réglez l'épaisseur de couche pour optimiser la qualité
Des couches plus fines permettent une reproduction plus précise des détails. Régler la valeur Layer Thickness (Épaisseur de couche) à 25 microns (0,025 mm) diminuera la distance entre chaque couche. Comme chaque élément est constitué de plusieurs couches, la pièce ainsi obtenue présente une finition de surface lisse et des détails fins.
Pour régler l’épaisseur de couche pour des détails plus fins :
Conseil :
N'oubliez pas de prendre la durée de l'impression en compte. L'impression avec une épaisseur de couche de 25 microns prendra en moyenne quatre fois plus de temps qu'une impression à 100 microns.