Conseil :
Le réglage de la valeur de Correction de la compression Z dans PreForm permet de corriger l’inexactitude dimensionnelle le long de l’axe Z pour un modèle donné.


Les réglages avancés sont une fonction avancée de dépannage sur la Form 2. Réglez les paramètres Réglages avancés pour corriger les erreurs dimensionnelles cohérentes à petite échelle ou pour atténuer les problèmes d’adhérence du modèle.
Conseil :
Le réglage de la valeur de Correction de la compression Z dans PreForm permet de corriger l’inexactitude dimensionnelle le long de l’axe Z pour un modèle donné.
Accès aux menus de Paramètres avancés
Les axes X, Y et Z peuvent tous être ajustés sur une Form 2 pour corriger toute inexactitude dimensionnelle de votre pièce imprimée.
Accéder et régler les paramètres avancés
Conseil :
Lorsque vous réglez l’axe X, l’axe Y ou l’axe Z Fine Tuning, vos paramètres PreForm ne changent pas.
Correction des impressions étirées ou comprimées
Si les pièces imprimées semblent étirées ou comprimées sur la plateforme de fabrication, modifiez les valeurs de X Scale (Échelle X) ou Y Scale (Échelle Y) pour ajuster la trajectoire du laser et compenser la distorsion des pièces. L'augmentation de l'échelle augmente la trajectoire du laser, tandis que la diminution de l'échelle la restreint.
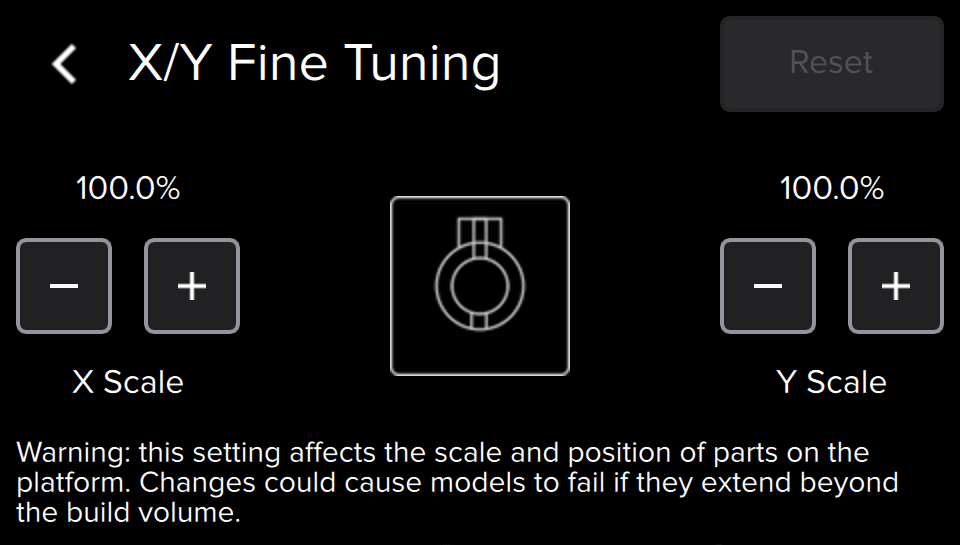
Corriger les pièces comprimées
Étirement de la trajectoire du laser le long d'un axe
Correction des parties étirées
Comprimer la trajectoire du laser le long d'un axe
Correction de la surcompression
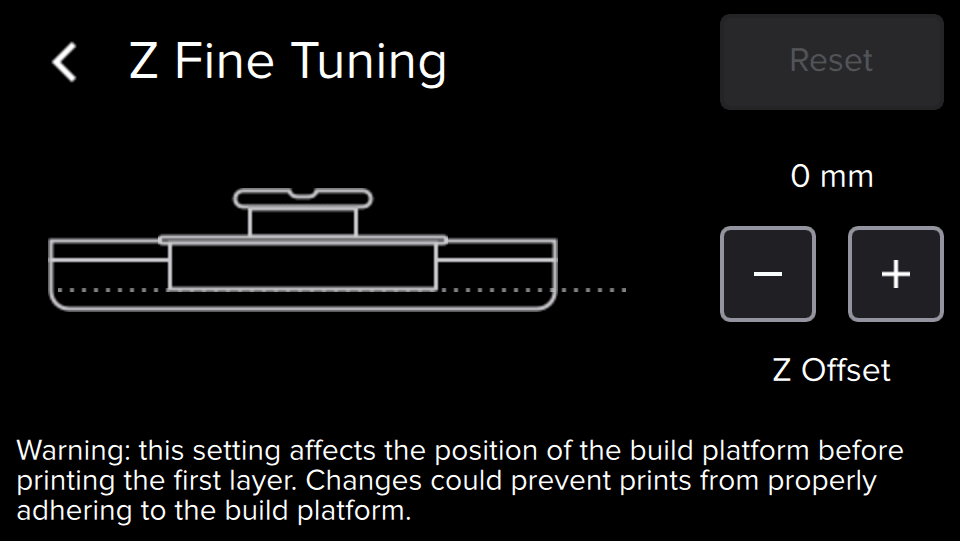
Les pièces imprimées sont parfois plus courtes que prévu. Le paramètre Z Fine Tuning (Réglage précis de l’axe Z) modifie la hauteur de la plateforme de fabrication au-dessus de la couche élastique du bac avant que la première couche n’adhère à la plateforme de fabrication. Cette imprécision dimensionnelle est appelée compression en Z et peut être ajustée en surélevant la plateforme de fabrication.
Conseil :
Ajustez la hauteur de la plateforme de fabrication par incréments de 1,00 mm, puis imprimez de petits modèles pour tester le changement et continuez à ajuster la valeur jusqu’à ce que les modèles s’impriment avec des supports et des bases cohérents.
Élever la plateforme de fabrication
Assurez-vous que la Form 2 n’exécute pas de tâche d’impression et qu’elle est actuellement
Correction de la non-adhérence
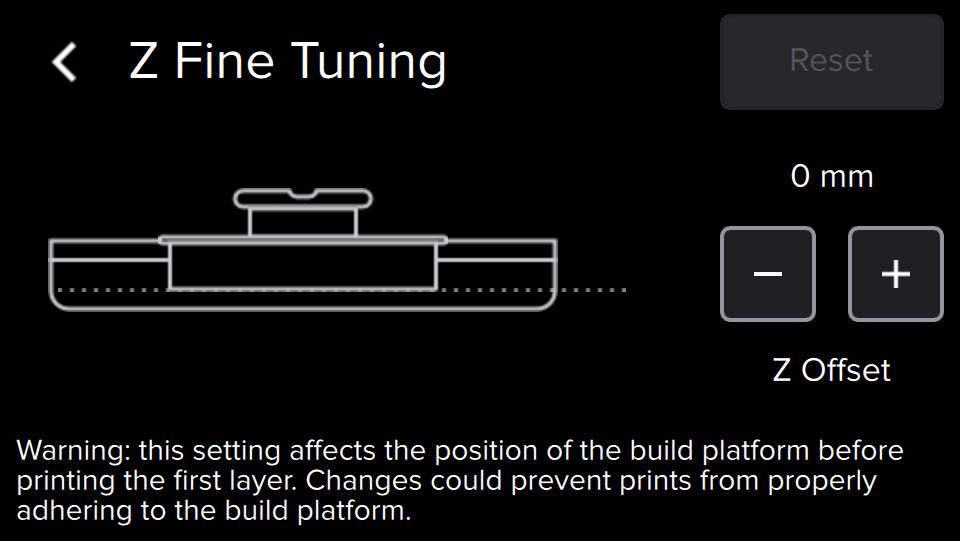
Les impressions bien terminées mais qui se séparent de la plateforme de fabrication résultent d’une mauvaise adhérence. Le paramètre Z Fine Tuning (Réglage précis de l’axe Z) modifie la hauteur de la plateforme de fabrication au-dessus de la couche élastique du bac avant que la première couche n’adhère à la plateforme de fabrication. Des réglages fins de la hauteur de la plateforme de fabrication peuvent améliorer l'adhérence et la fabrication des pièces.
Conseil :
Ajustez la hauteur de la plateforme de fabrication par incréments de 1,00 mm, puis imprimez de petits modèles pour tester le changement et continuez à ajuster la valeur jusqu’à ce que les modèles s’impriment avec des supports et des bases cohérents.
Abaisser la plateforme de fabrication
Assurez-vous que la Form 2 n’exécute pas de tâche d’impression et qu’elle est actuellement
Contacter l’assistance Formlabs
Réinitialisez tous les paramètres Fine Tuning (Paramètres avancés) à leurs valeurs par défaut et contactez l’assistance Formlabs ou votre revendeur agréé si :