Required supplies:
Formlabs:
- Replacement impeller (RP-WA2-IMP-01)
Third-party:
- 2 mm hex driver
- Small flat-blade screwdriver
- Nitrile gloves
- Solvent storage container (15 L)


La Form Wash (2e génération) contient un mélangeur qui agite le solvant dans la cuve de lavage pour aider à nettoyer les pièces imprimées. Des dommages sur le mélangeur de la Form Wash (2e génération) peuvent entraîner des bruits de cliquetis forts ou un mauvais fonctionnement de l’appareil.
Utilisez ce guide pour remplacer le mélangeur de la Form Wash (2e génération).
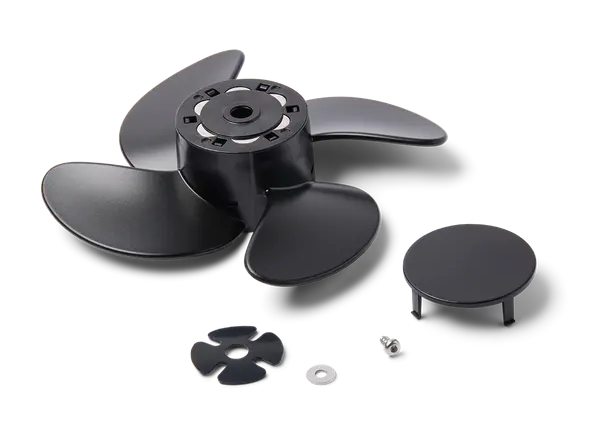
Required supplies:
Formlabs:
Third-party:
Durée estimée : 30 minutes
Préparation de l’espace de travail
Aperçu : préparez la Form Wash et un espace de travail plat pour remplacer le mélangeur.
AVERTISSEMENT :
La résine peut provoquer une irritation ou une réaction allergique cutanée. Portez des gants pour manipuler de la résine liquide ou des surfaces recouvertes de résine. Se laver abondamment les mains à l’eau et au savon.
Step 1: Raise the Form Wash elevator
Turn the Form Wash knob to select Raise on the display. Push the knob to confirm. The Form Wash raises the elevator and basket out of the wash bucket.
Step 2: Remove the wash bucket and inner lid
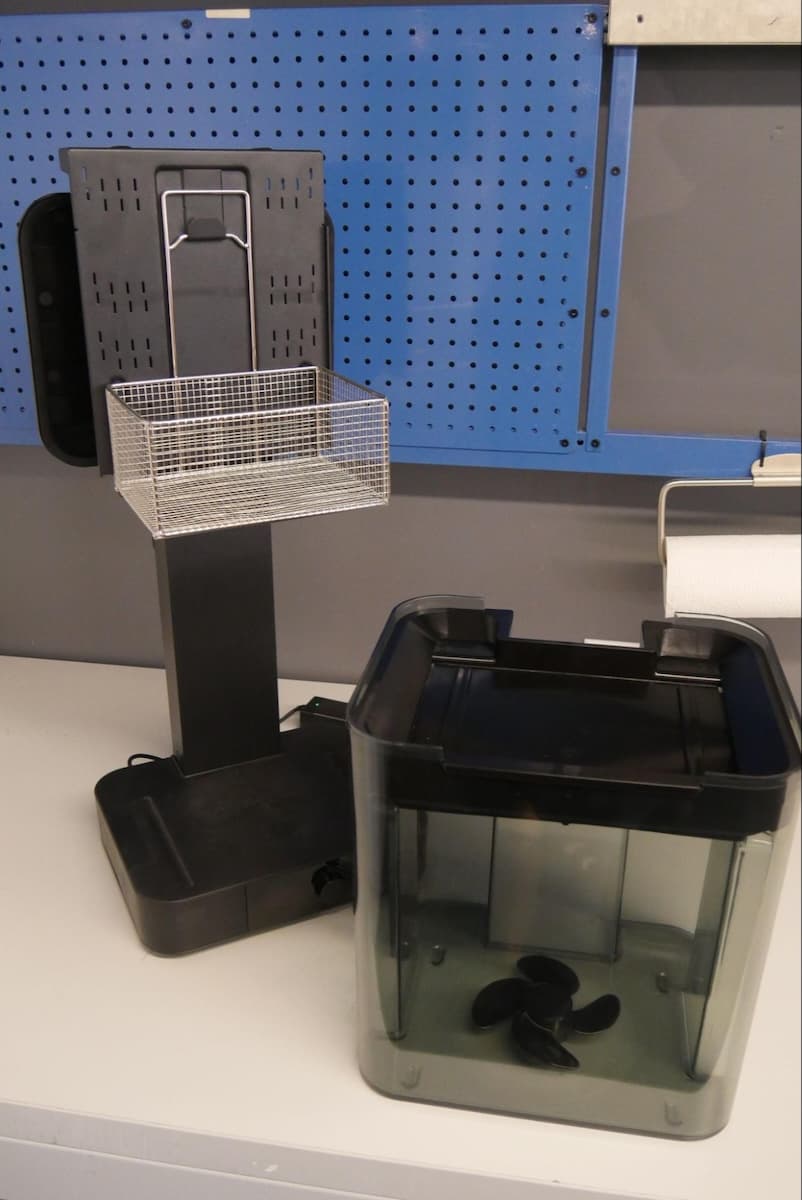
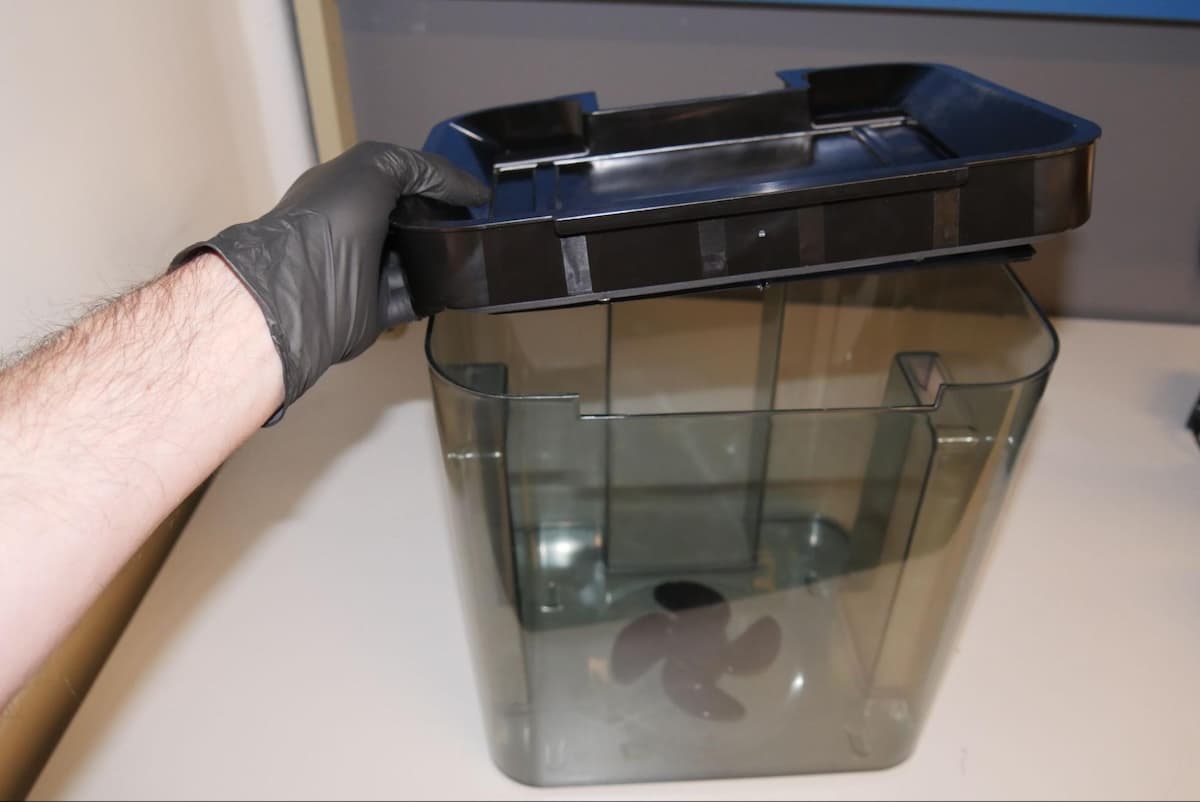
Retirez la cuve de lavage de la base et mettez-la de côté sur une surface stable et plane. Soulevez le couvercle interne pour le retirer et le mettre de côté.
Étape 3 : Transférer le solvant usagé dans un récipient vide
Verser ou siphonner le solvant de la cuve de lavage dans un récipient vide d’une capacité d’au moins 15 L.
DANGER :
L’alcool isopropylique est inflammable. Fermez les récipients et maintenez-les hors de portée des enfants.
Étape 4 : rincer la cuve de lavage
Rincer la cuve de lavage à l’eau, puis essuyer les résidus restants avec du papier essuie-tout.
Remplacement du mélangeur
Overview: Remove the impeller and install the replacement impeller.
Using a small flat-blade screwdriver or other similar tool, pry the cap loose from the impeller.
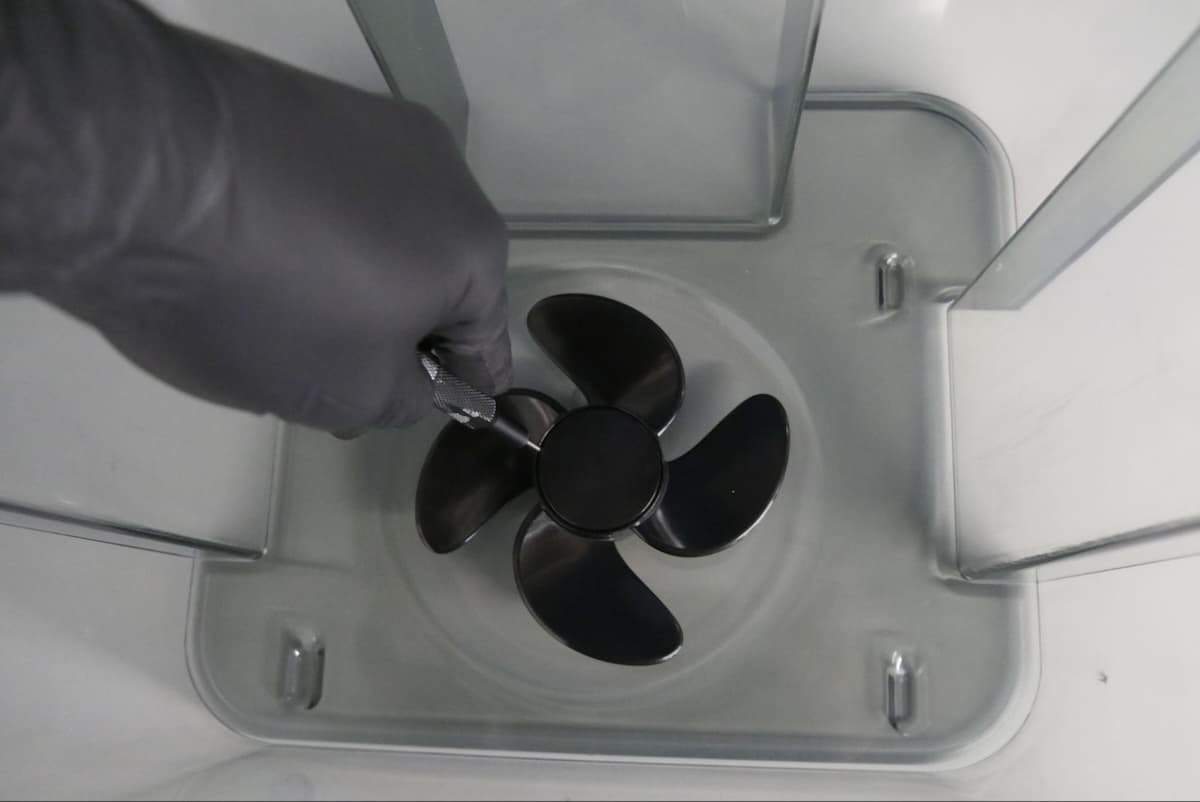
Step 2: Remove the impeller
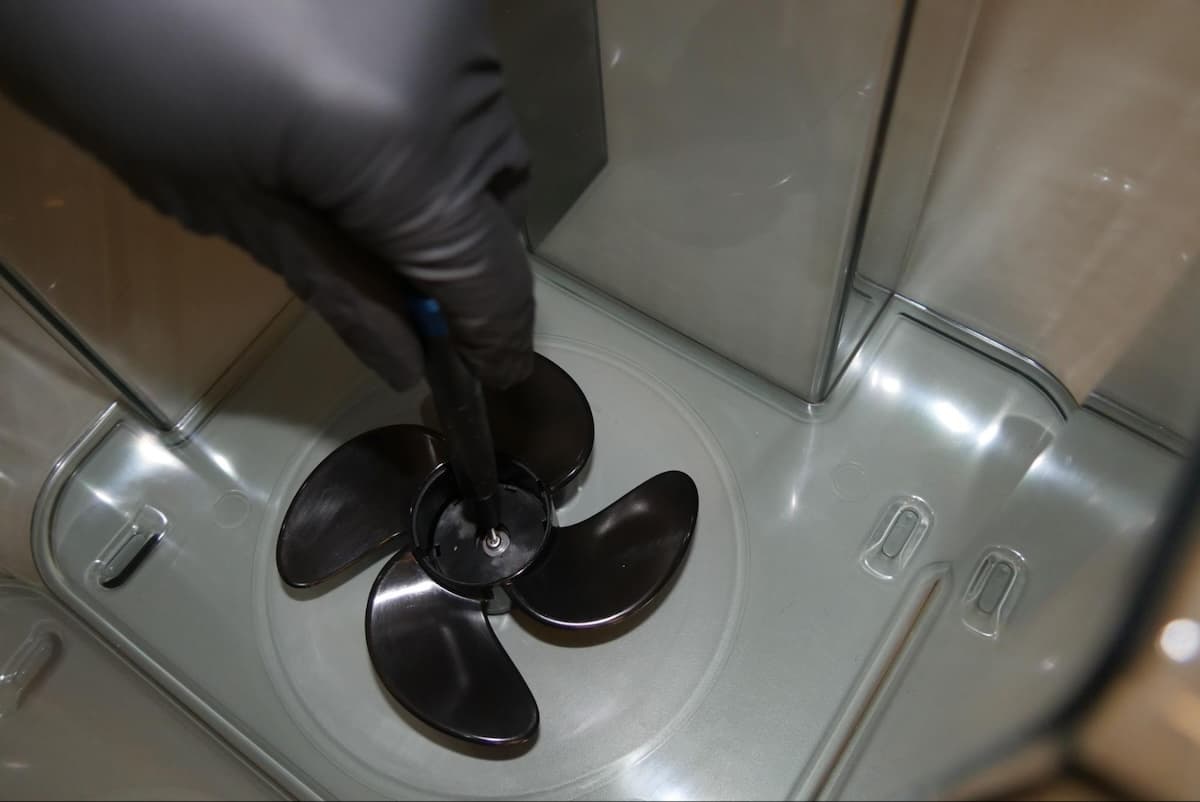
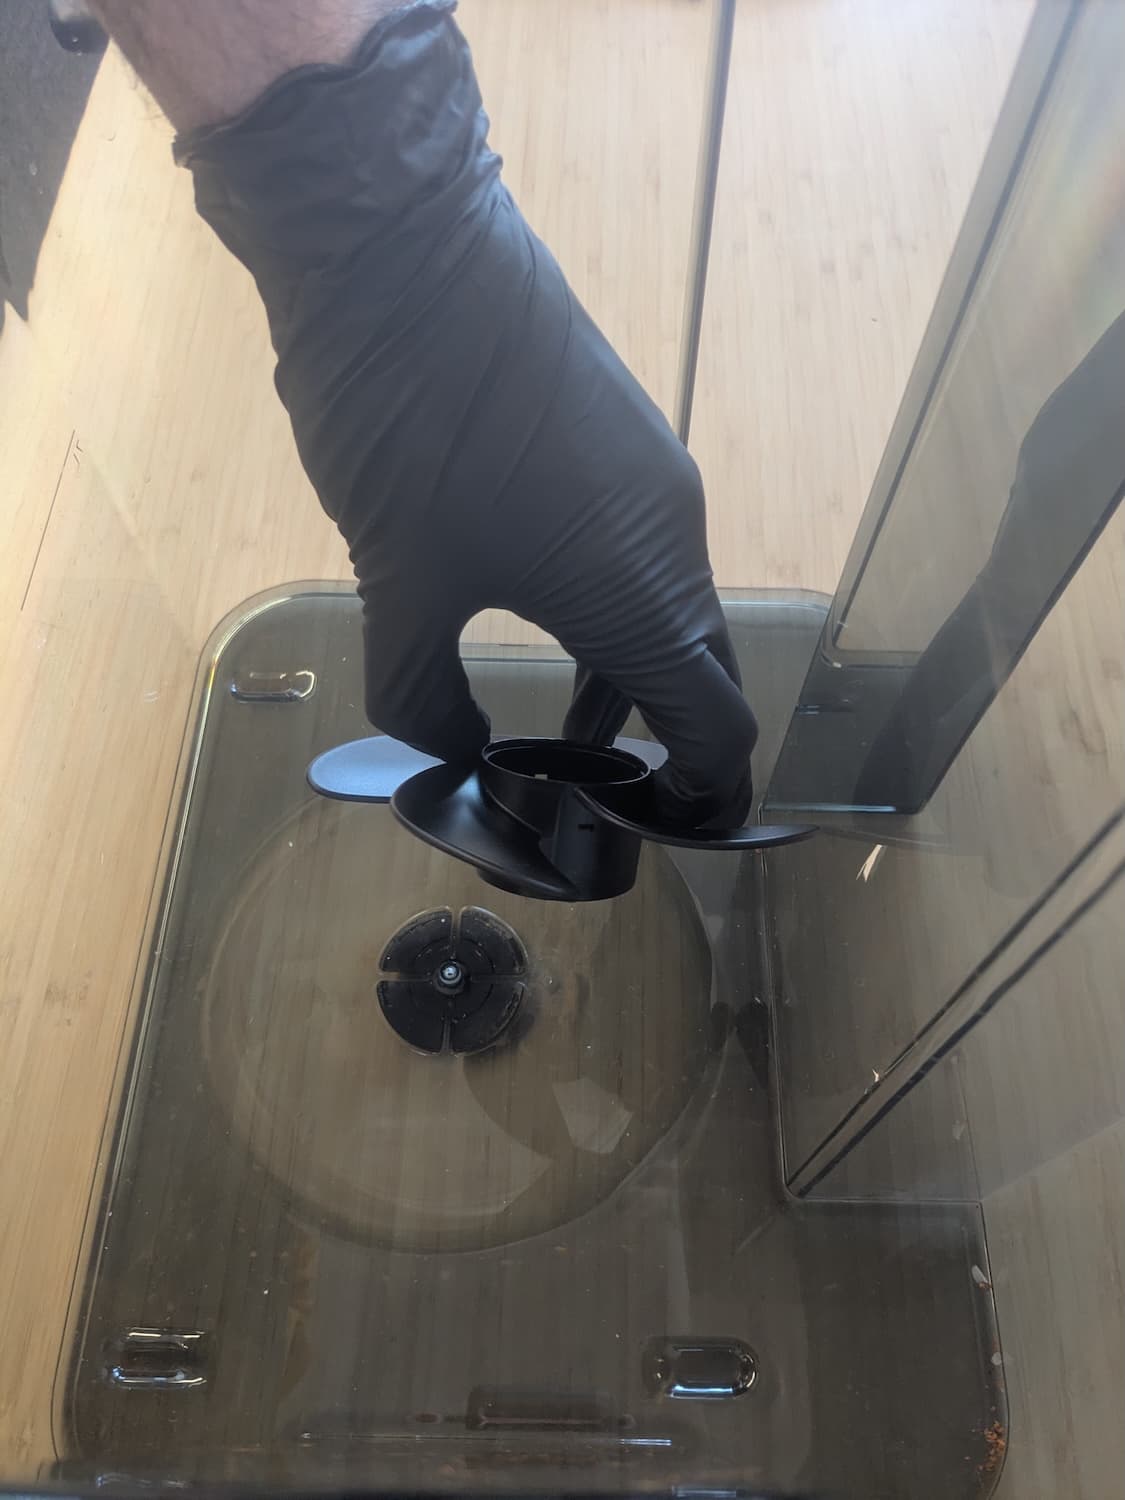
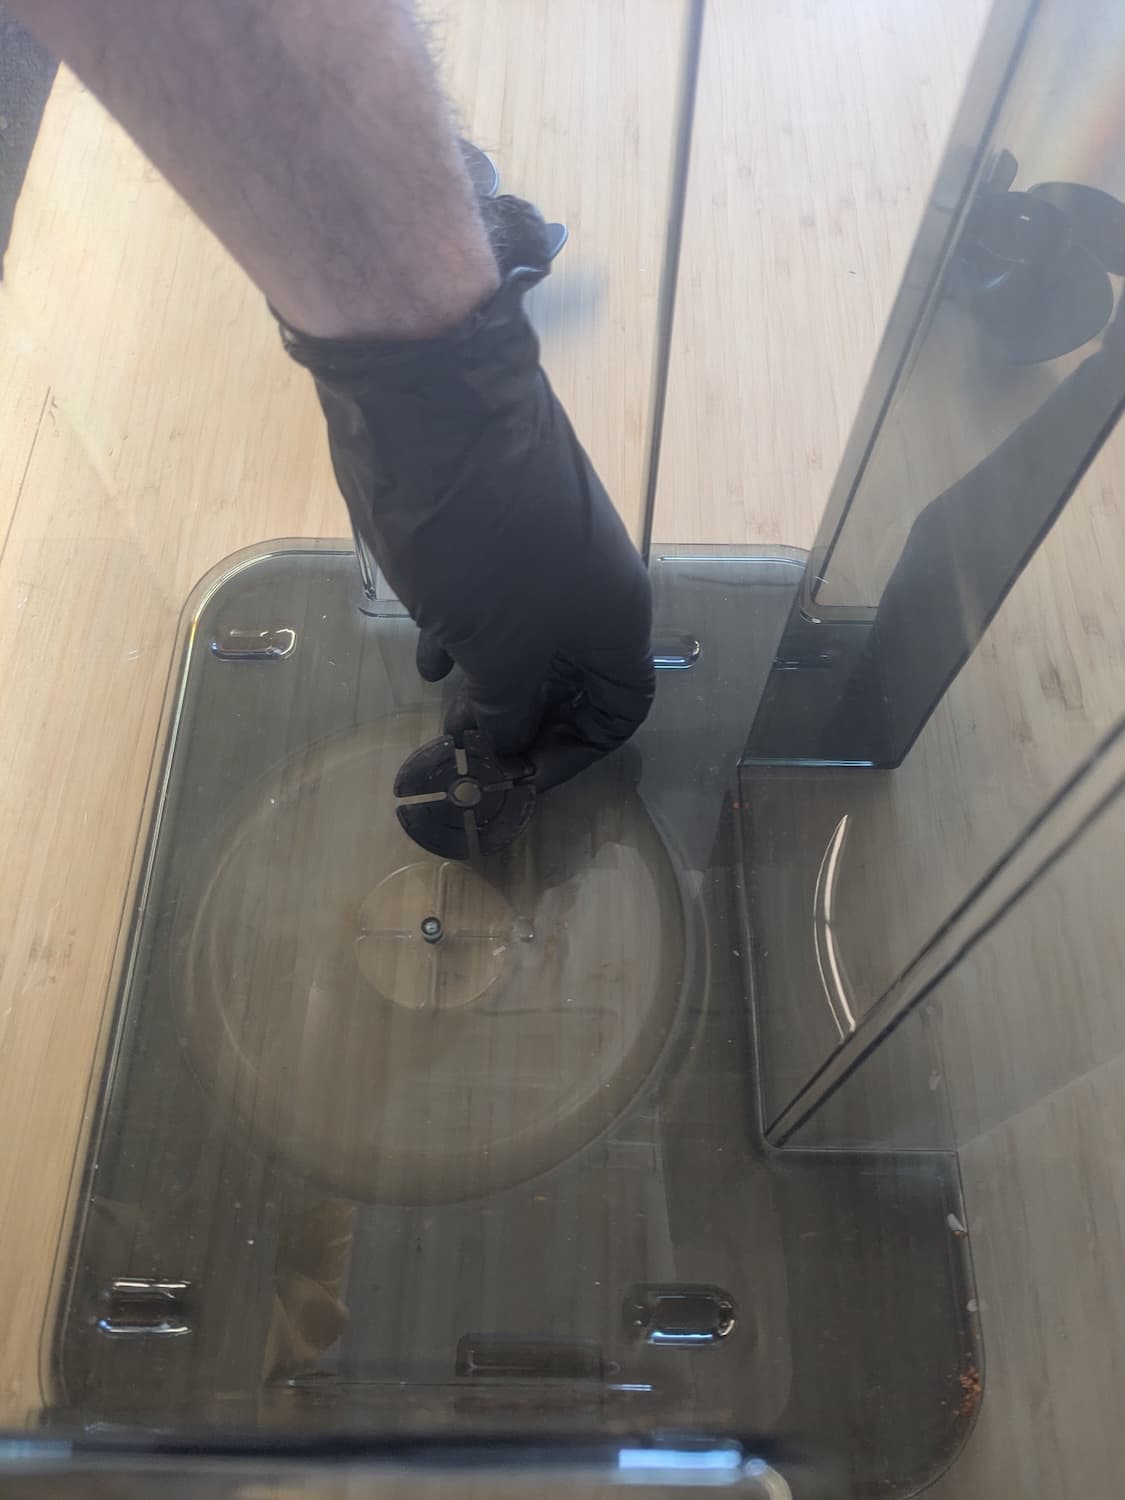
The impeller is secured by one screw with a washer. Use a 2 mm hex driver to remove the screw. Remove the washer, the impeller, and the flat four-lobed bearing below the impeller. Set the components aside for disposal.
Step 3: Install the replacement impeller
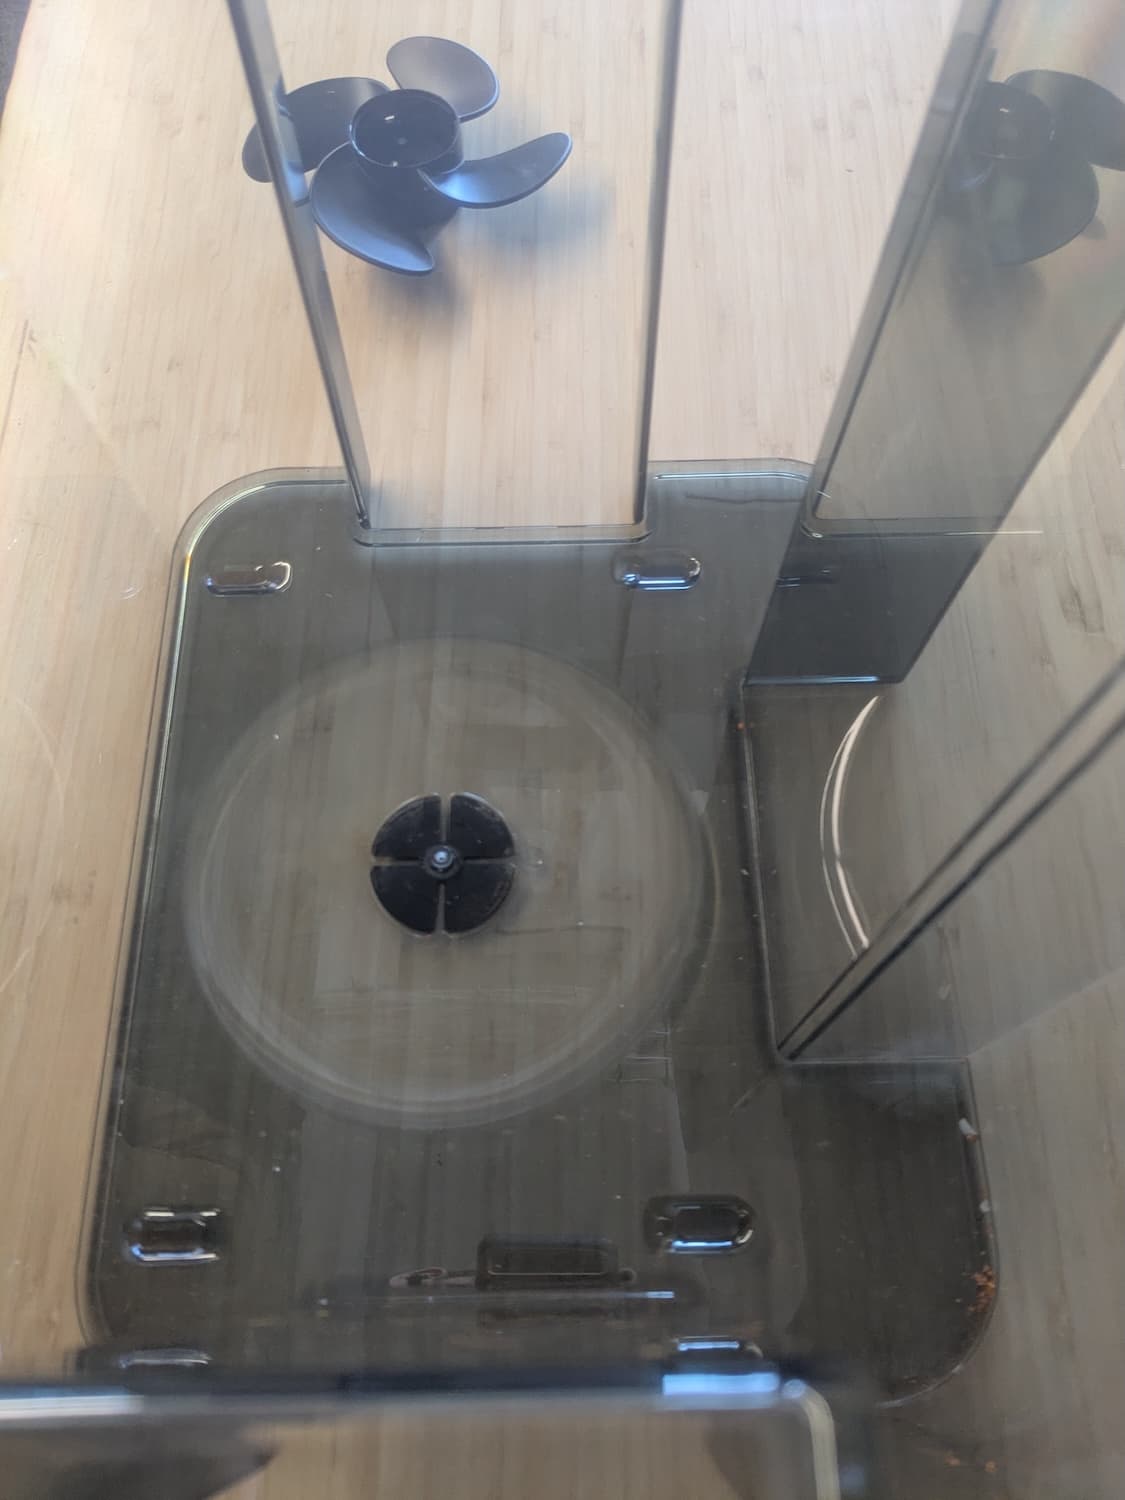
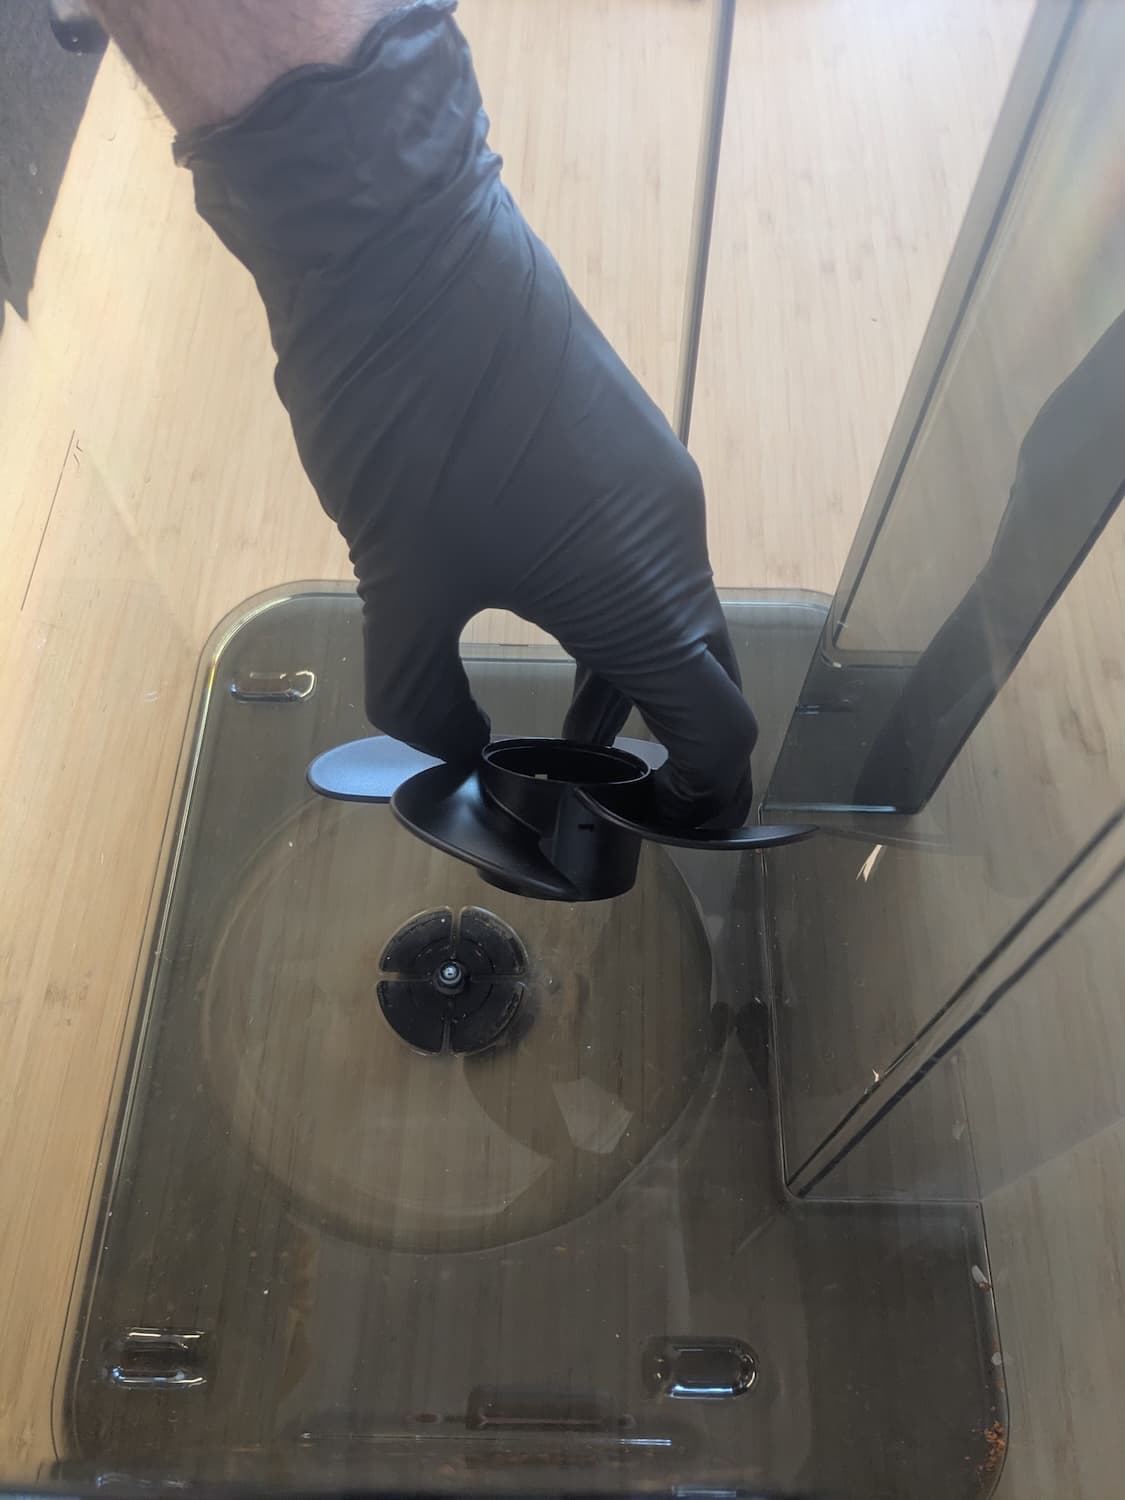
The wash bucket has an engraved depression shaped to hold the flat four-lobed bearing. Place the new bearing into this depression. Insert the new impeller into the wash bucket. Align the impeller’s screw hole with the corresponding screw hole in the wash bucket. The impeller should sit flat against the bottom of the wash bucket.
Step 4: Reinstall the impeller screw
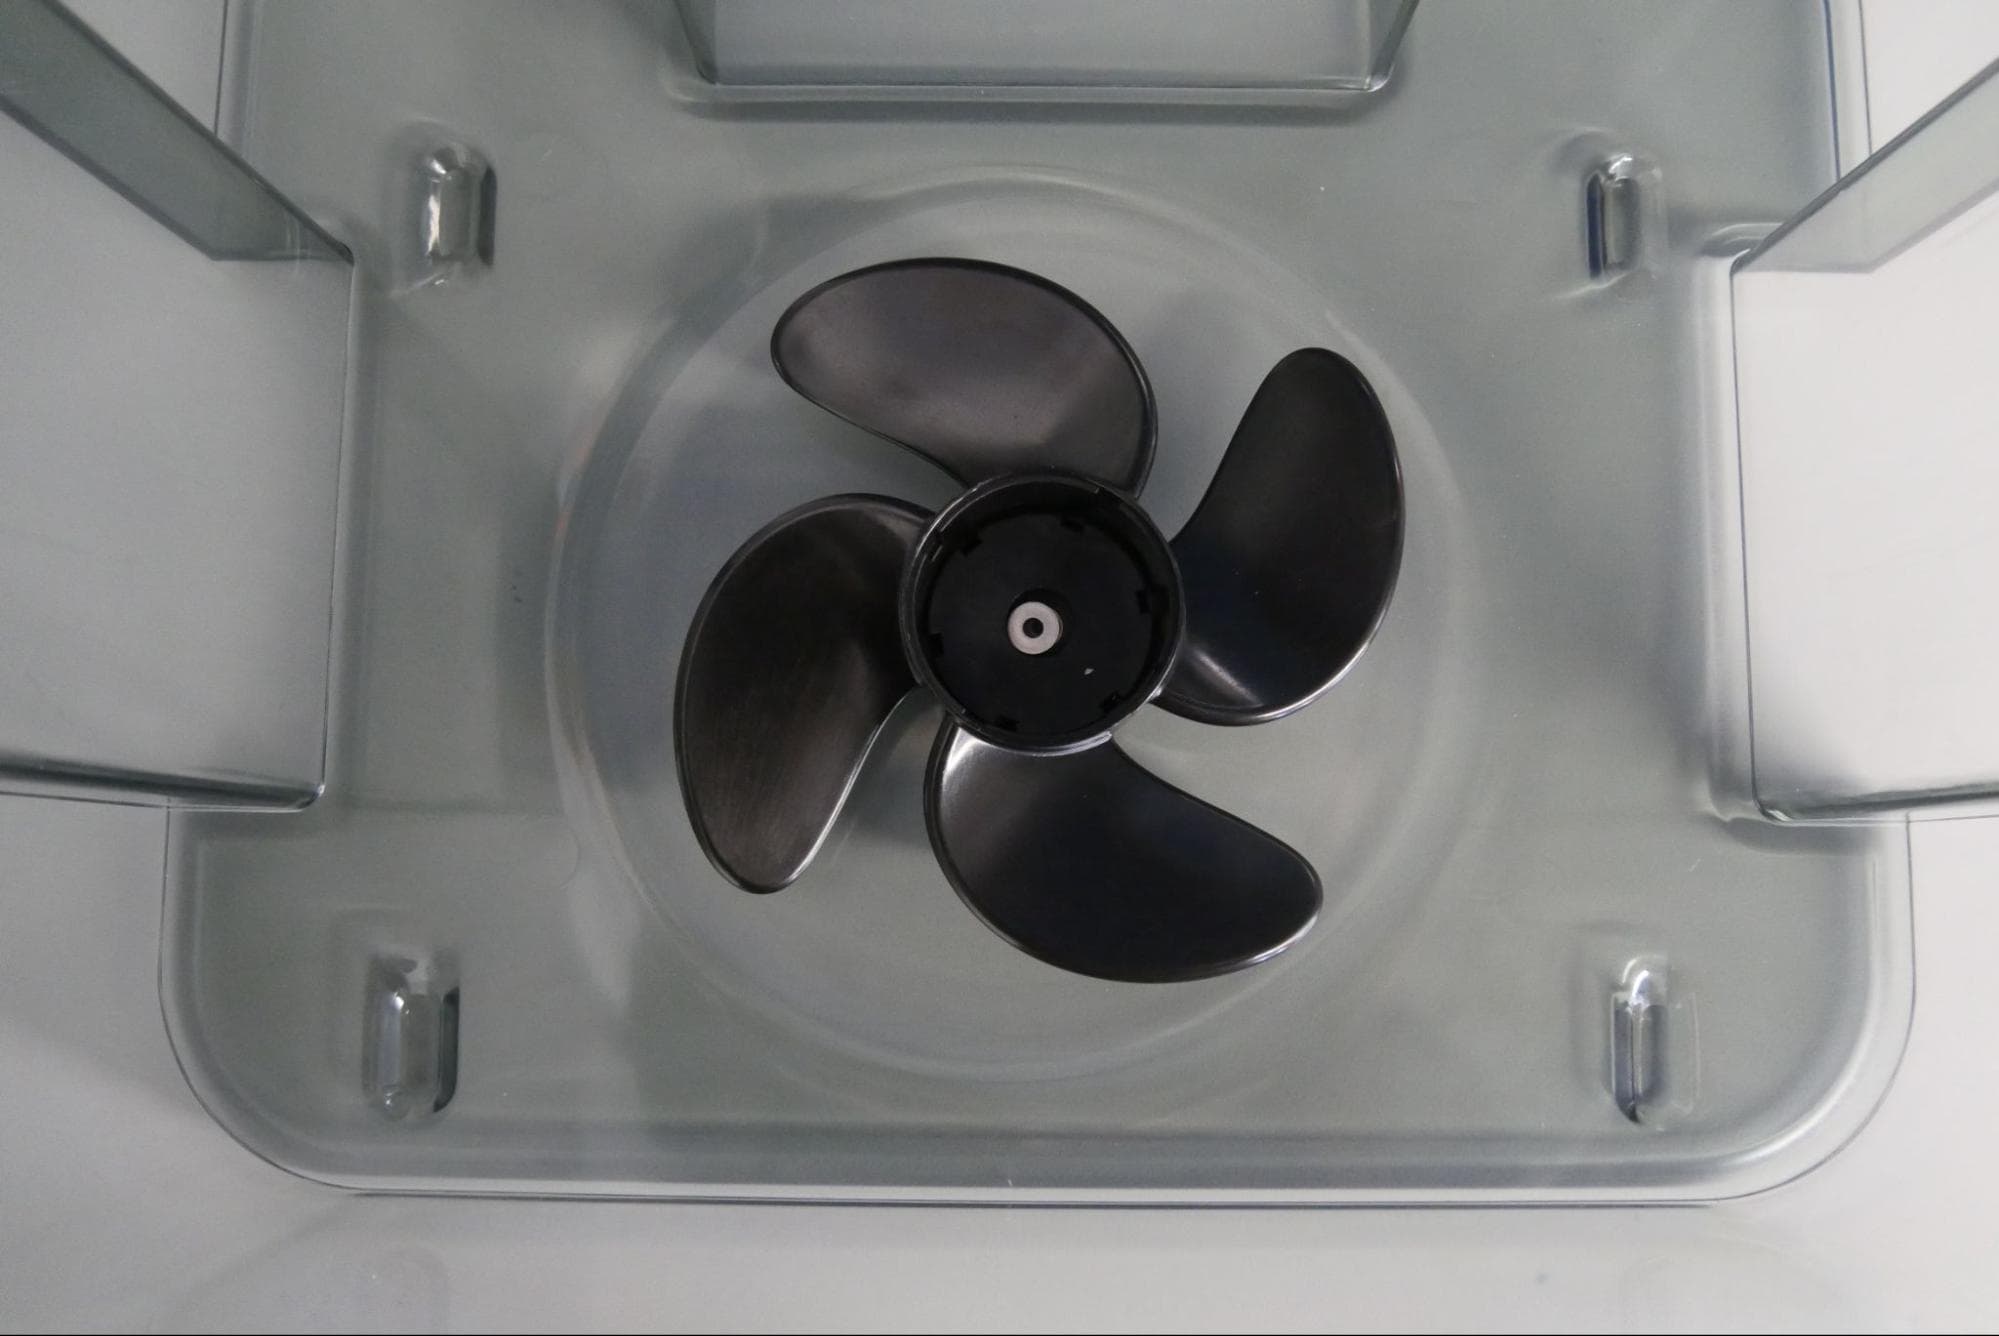
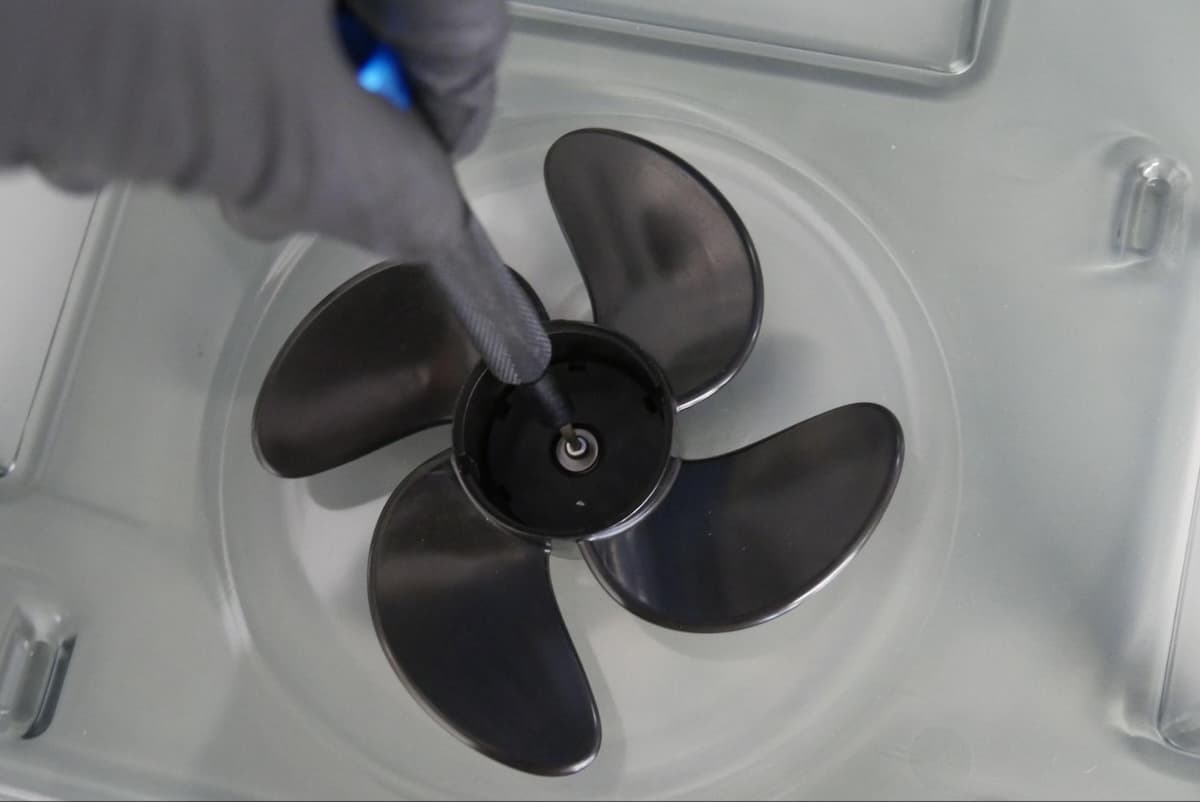
Place the washer onto the impeller’s screw hole. Thread the screw into the Form Wash impeller’s screw hole. Using a 2 mm hex driver, tighten the screw until finger tight. Take care to not overtighten or strip the plastic threads in the wash bucket.
Spin the impeller by hand. It should spin freely. If it does not, loosen the screw half a turn and check again. Repeat as needed.
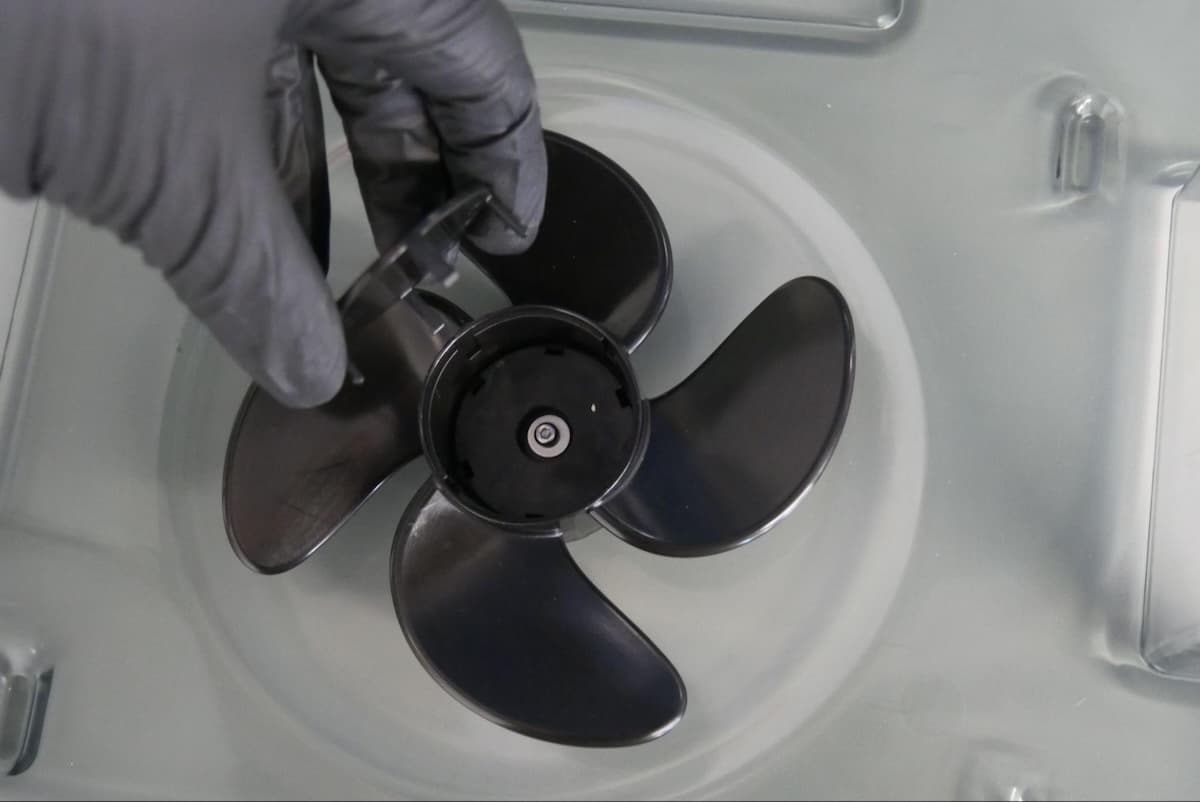
Align the posts on the impeller cap with the grooves of the impeller. Gently press the impeller cap into place.
Finalisation de la réparation
Overview: After installing the new impeller, power on the machine and perform final checks.
Step 1: Refill the wash bucket
Refill the wash bucket to your desired fill level.
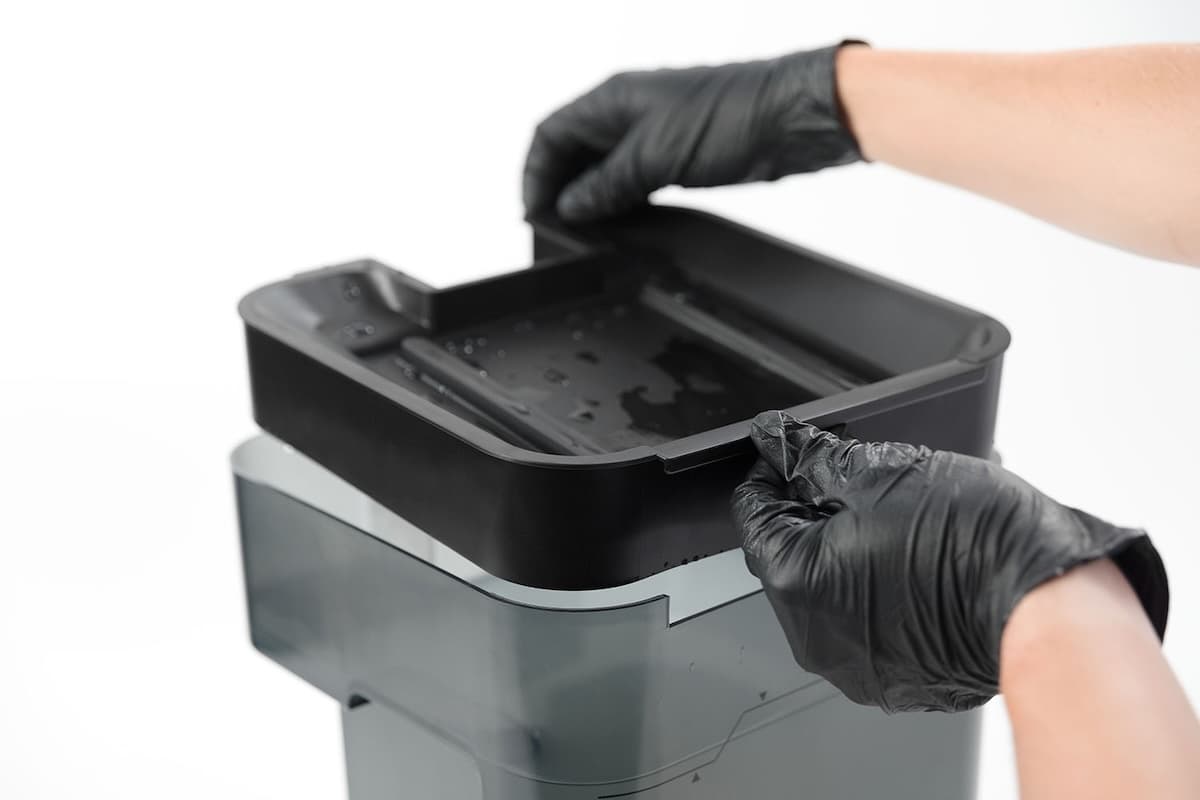
Align the front edge of the inner lid with the wash bucket’s edge and lower the inner lid directly into the top of the wash bucket.
Insert the wash bucket into the Form Wash.
Turn the Form Wash knob to select Lower on the display. Push the knob to confirm. The Form Wash lowers the elevator and basket into the wash bucket.
Step 5: Test the repair
Turn the knob to navigate the display menu and set the Time. Push the knob to select or confirm. Select Start. Check to see that the wash cycle starts normally and that the Form Wash does not make any unusual noises and that the impeller is moving properly. Contact Formlabs Support or your authorized reseller to share the results of the procedure.