
WHITE PAPER
Evaluating diagnostic print results (Fuse 1 generation)
Evaluating diagnostic print results (Fuse 1 generation)
Formlabs has developed a variety of diagnostic test prints to help calibrate and troubleshoot your Fuse 1 generation printer. Starting with firmware version 1.24.1, you can review the results of these prints on the printer’s touchscreen.
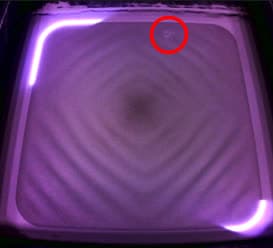
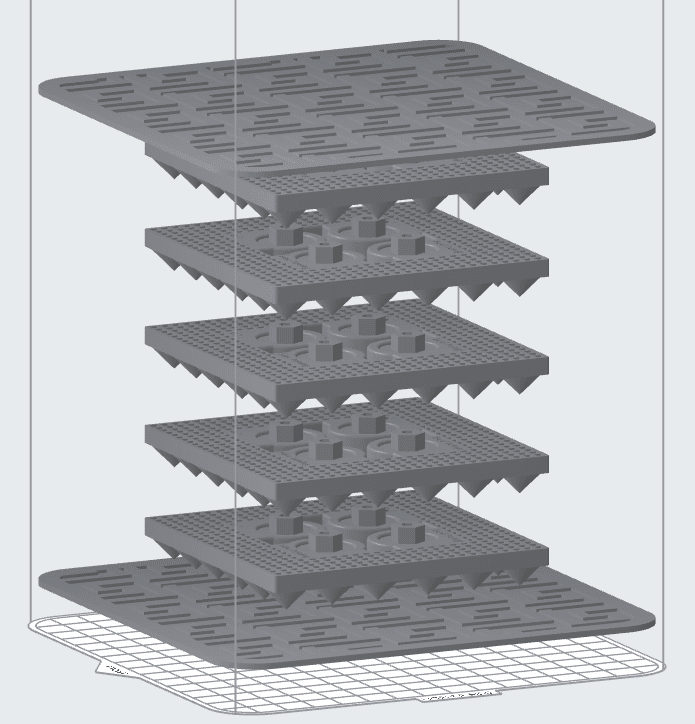
Completed optics check print
Bed Temperature Tuning print in PreForm
Running a diagnostic print
- Update PreForm to the latest version.
- Update your printer’s firmware to the latest version. The on-screen diagnostic print review tool was introduced in firmware version 1.24.1. Prints run on earlier firmware versions will not be available for review, even if you subsequently update the printer.
- Check that your printer’s hopper has enough powder for the print you are running.
- Optics check prints: The optics check is a one-layer print, so it does not require much powder.
- Bed Temperature Tuning prints: Load the hopper with 3 kg of powder, filling it to the hopper to the 7 L mark.
- Download the appropriate FLZ file for your material from the links below.
| Bed Temperature Tuning | Optics check (Fuse 1+ 30W only) |
|---|---|
|
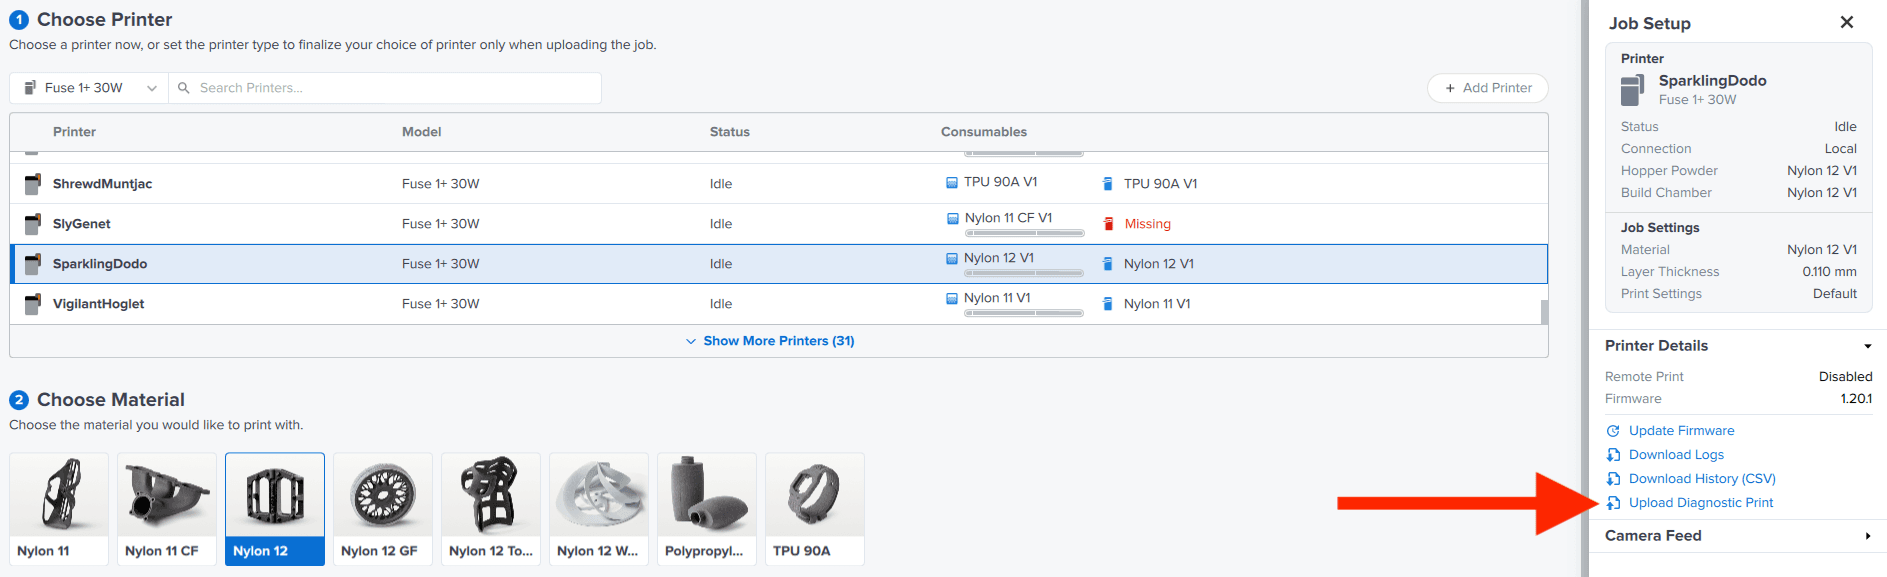
- Open PreForm and select Job Settings.
- In the Job Setup window, make sure the correct printer is selected.
- Select Upload Diagnostic Print.
- Upload the file from your computer and start the print.
Checking the results
After the print is complete, use the Diagnostic Prints tool to evaluate the results:
- Tap the gear icon. The Settings screen appears.
- Tap Tools > Diagnostic Prints. The Diagnostic Prints screen appears, showing a list of completed diagnostic test prints.
- Tap the name of the diagnostic print you previously ran. A results window appears.
| Bed Temperature Tuning | Optics check |
|---|---|
|
|
- Tap Done to close the results window.