
Tip:
Check that the resin tank is in good condition between prints and before storing the resin tank in the tank case.

Maintain and clean each resin tank using Formlabs instructions to maximize tank performance and to ensure consistent, high-quality prints over a tank’s lifetime. Only use approved materials and processes to clean the resin tank and film.
Tip:
Check that the resin tank is in good condition between prints and before storing the resin tank in the tank case.
Warning:
Resin may cause skin irritation or an allergic skin reaction. Wear gloves when handling liquid resin or resin-coated surfaces. Wash skin with plenty of soap and water.
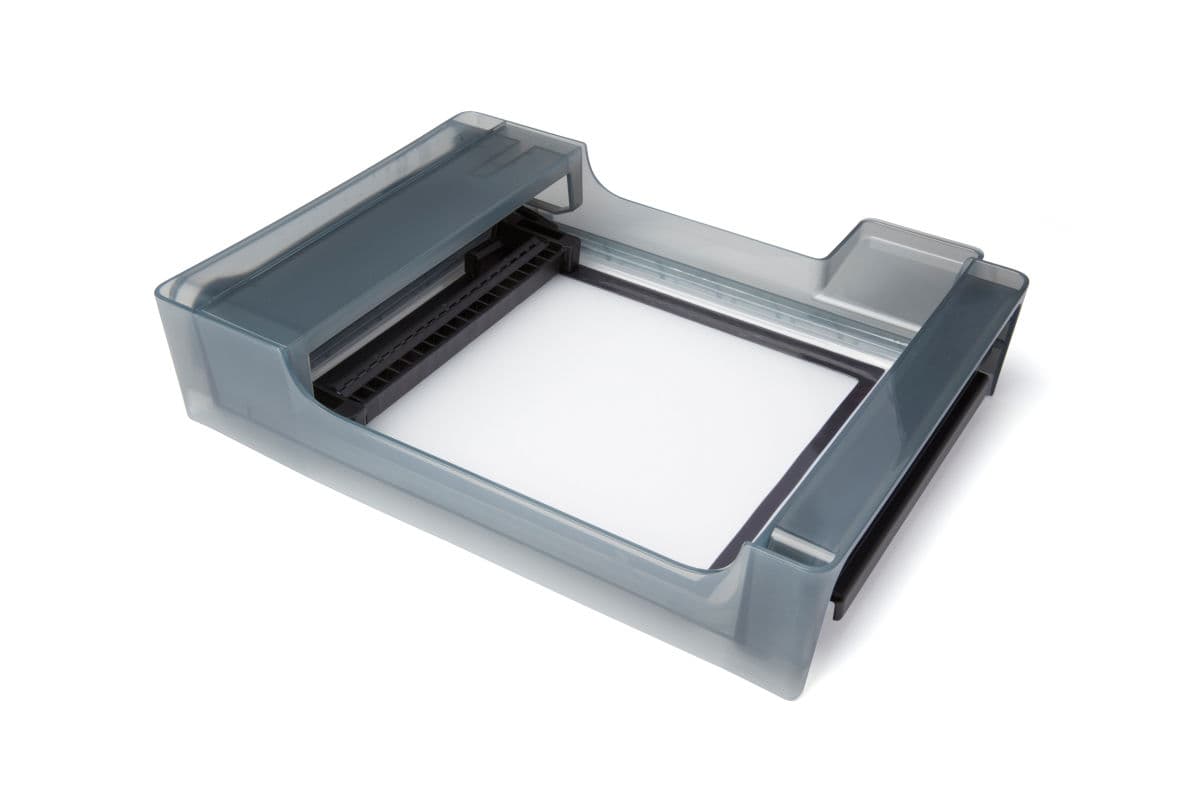
Inspecting resin tanks
Place the resin tank on a clean and even surface before inspecting the film with the tank tool. Keep the resin tank—especially the top and underside surfaces of the film—clean and free of cured resin and other debris to ensure print quality and extend the lifetime of the printer.
Notice:
Tank interior
To inspect the resin tank interior:
Tank exterior
To inspect the resin tank exterior:
Protecting the ID chips on the resin tank and resin cartridge
The printer uses an identification (ID) chip on the resin tank to detect, track, and match the resin type in the tank with the proper resin cartridge. The ID chip is on the underside of each tank frame.
Protect the ID chips, the tank carrier, and the tank spring fingers from resin contamination or damage. Cured resin or contamination prevents the printer from properly identifying a resin tank during insertion or use. Avoid exposing the resin tank ID chip, the tank carrier, and the tank spring fingers to liquid resin.
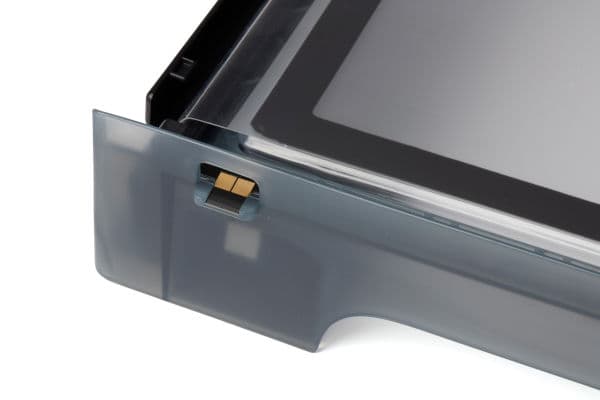
Notice:
Do not bend the spring fingers when cleaning.
To remove resin from the ID chip or spring fingers:
Cleaning after a failed print
Printing with clean resin that is free of debris helps avoid print failures, which may damage the tank. A failed print may leave small, partially-cured pieces of resin floating in the tank or hard cured resin stuck to the film in the base of the tank.
Tip:
Inspect the tank after every print. Remove debris and clean the tank after a failed print.
Cleaning the resin tank
Keep the resin tank—especially the top and underside surfaces of the film—clean and free of cured resin and other debris to ensure print quality and extend the lifetime of the printer.
Warning:
Resin may cause skin irritation or an allergic skin reaction. Wear gloves when handling liquid resin or resin-coated surfaces. Wash skin with plenty of soap and water.
Cleaning the resin tank exterior
The resin tank exterior includes the film’s underside and the tank frame exterior.
Notice:
Do not clean the inner surface of the flexible film (inside the resin tank) with IPA or any other solvent.
Do not allow liquid resin to become caught or to cure between the two layers of the tank film. Resin trapped between the film layers renders the resin tank unusable.
Clean the film underside
To clean the underside of the protective film:
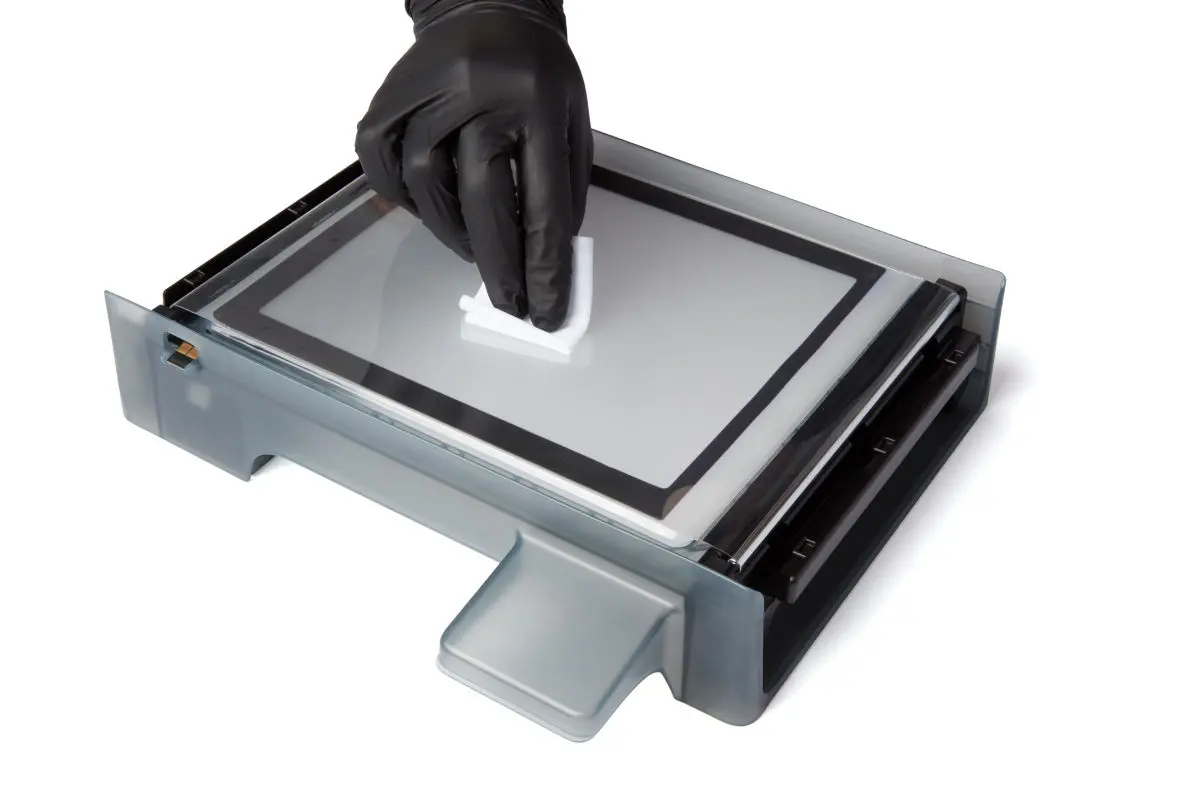
Clean the frame exterior
To clean the resin tank frame exterior: