WHITE PAPER
Formlabs Logo

Resin filtration

Resin filtration

Filter resin to remove contamination and very small particulates of partially cured resin.

Filter the resin in a tank if:

  • A print has failed, either completely or partially
  • Layers or pieces of cured resin stick to the bottom of the tank
  • Particles are visible in the tank
  • Replacing the resin tank

Note:

When testing resins for biocompatible applications, Formlabs did not include filtering resin through off-the-shelf nylon paint filters. Given the short time of contact and the relatively inert nature of the paint filter, we do not expect the biocompatibility of finished printed parts to be affected by filtering.

Required resources

Made by third parties:

  • Paint or oil filter with a fine or 190 micron mesh size
  • Plastic spatula with rounded corners
  • Opaque plastic container
  • Nitrile gloves
  • Ring stand
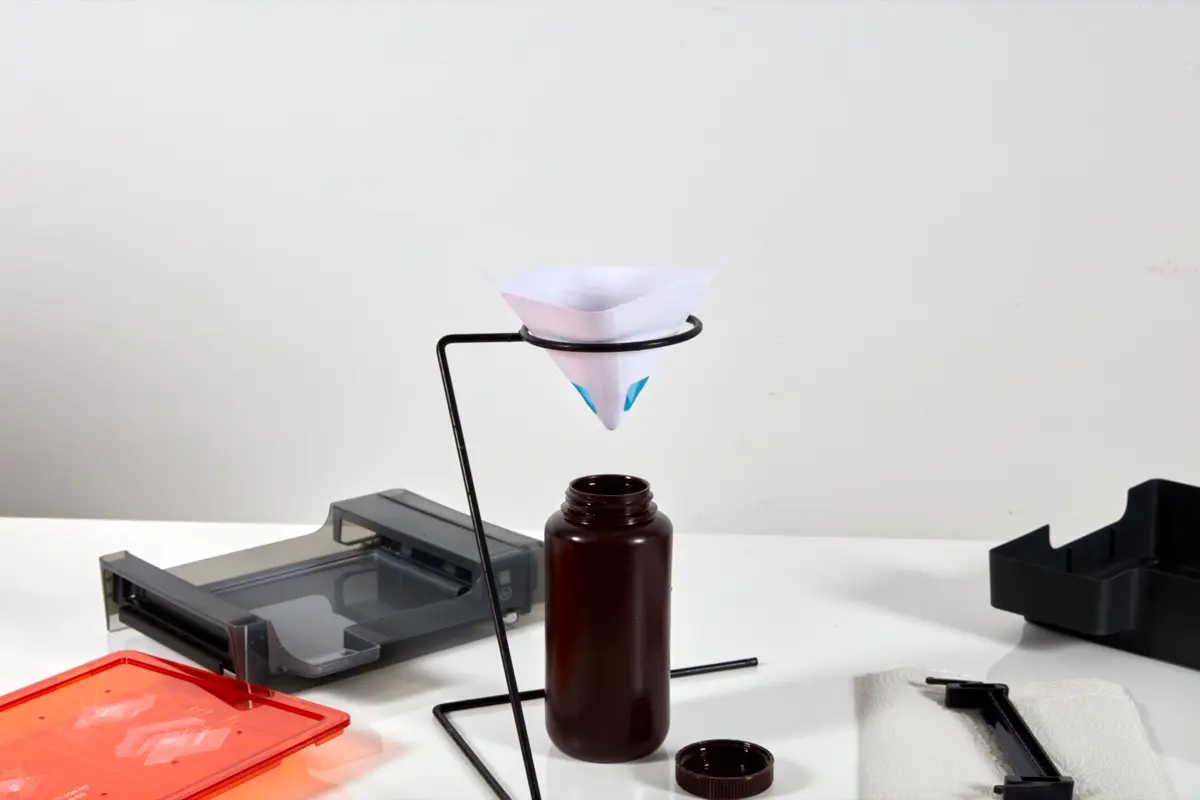
The required supplies on a work surface: an opaque plastic container with the ring stand and an unused paint filter suspended above it, paper towels, wiper, and a spatula with rounded corners.
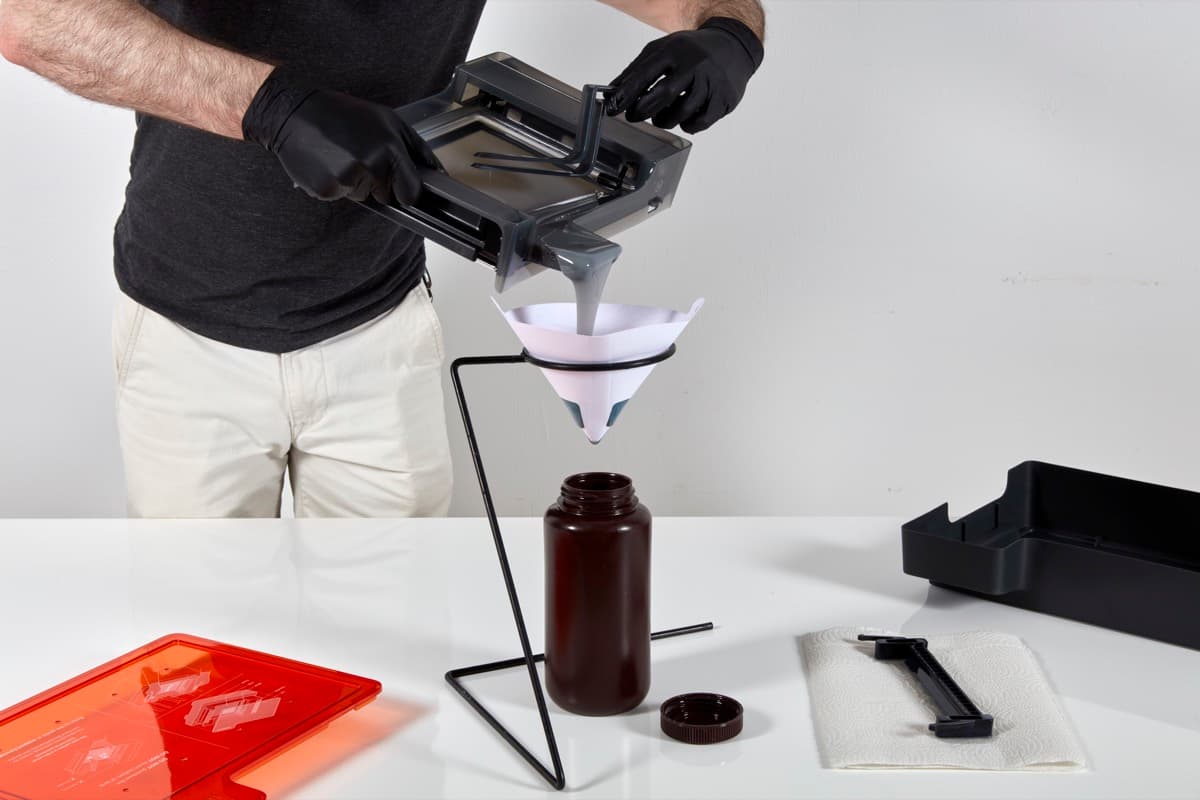
An opaque plastic container with the ring stand and a paint filter containing resin suspended above it, and a Form 3 resin tank.

Filtering resin

Warning:

Resin and solvent may cause skin irritation or an allergic skin reaction. Wear gloves when handling liquid resin, resin-coated surfaces, or solvent. Wash skin with plenty of soap and water.

To filter resin:

  1. Suspend the filter above the plastic container on a ring stand. Use a ring stand to reduce the risk of spilling resin.
  2. Wear gloves to remove the resin tank from the printer. Remove the wiper (Form 2) or mixer (Formlabs LFS printers) from the resin tank and set it aside on a protected surface.
  3. Hold the edge of the tank, taking care not to touch the tank’s optical window or tank film.
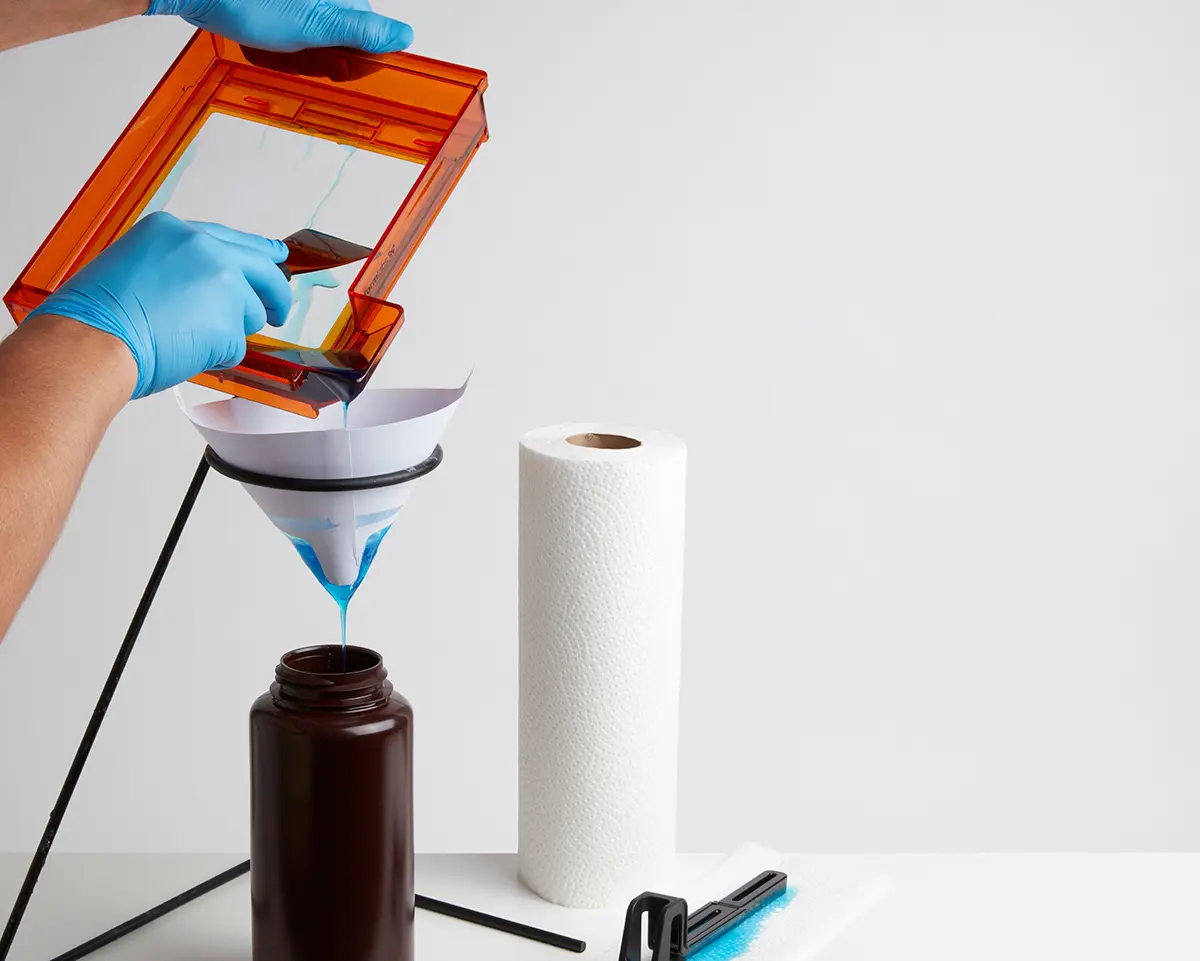
  4. Tilt the resin tank with the spout aligned directly above the filter.
  5. Pour the resin through the filter into the opaque container.
The resin in a Form 2 resin tank is scraped with the spatula into the paint filter suspended above the opaque plastic container.
The resin in a Form 3 resin tank is scraped with the wiper into the paint filter suspended above the opaque plastic container.
  1. Gently scrape the surface of the resin tank to pull resin toward the spout.

Notice:

On Form 3, Form 3L, Form 4, and Form 4L generation resin tanks, take extreme care not to damage the tank film with the scraper. Using a tool can scratch, puncture, or deform the film. Damaged tanks may impact print quality or cause resin spills.

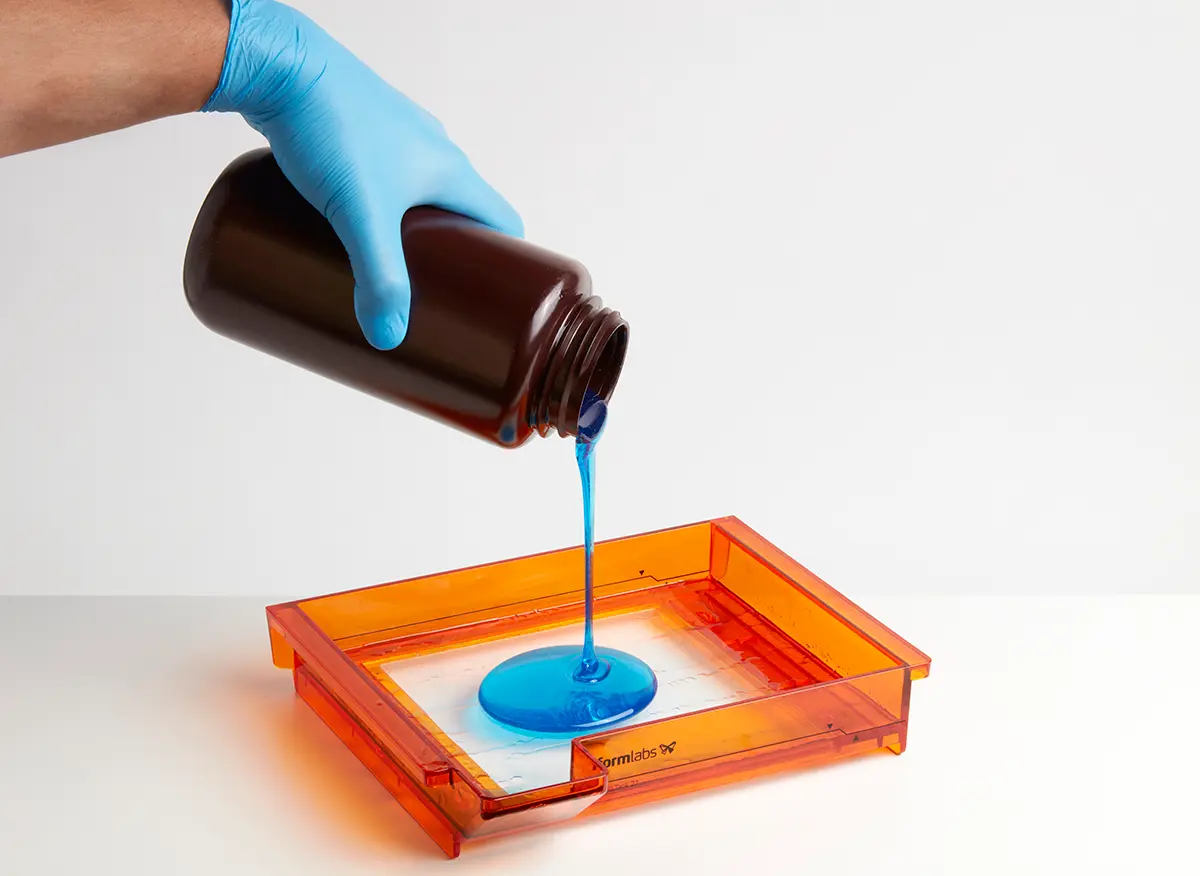
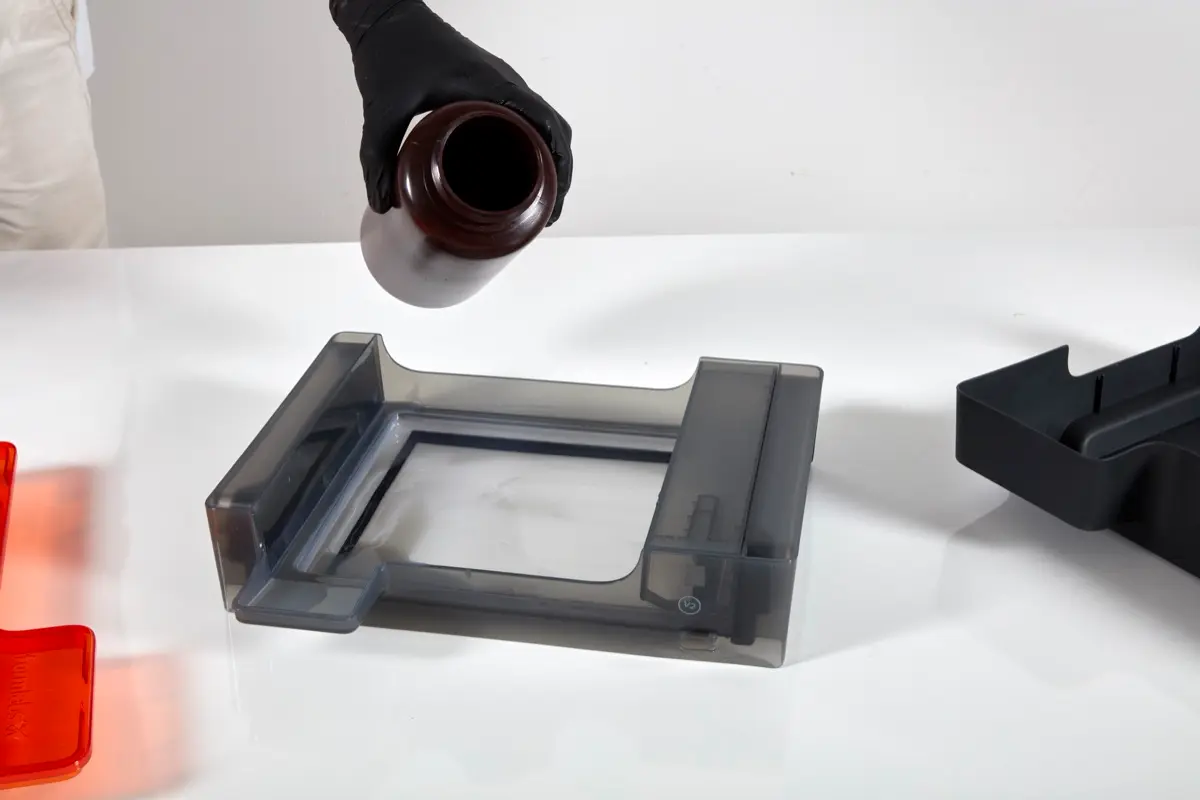
  1. Once all resin passes through the filter, pour the resin back into the tank.
Filtered resin is poured back from the opaque plastic container into a Form 2 resin tank.
Filtered resin is poured back from the opaque plastic container into a Form 3 resin tank.

Notice:

Do not pour resin from the resin tank back into the corresponding resin cartridge. Doing so may contaminate the resin in the resin cartridge.

Cleanup

Follow Formlabs guidelines for resin disposal. Always dispose of Formlabs resins, containers, and solvent according to applicable laws and regulations. Follow the instructions described in section 13 of the safety data sheet (SDS).

Caution:

Refer to the safety data sheet (SDS) and local authorities for guidance on disposing of resin and solvent. Liquid resin (whether pure liquid, dissolved in solvent, or partially cured) may be classified as hazardous waste in your region and shall be disposed of with care.

Additional resources