Nota:
Se la stampante è già stata registrata, tentare di registrarla nuovamente utilizzando il codice di verifica a quattro cifre aggiungerà il tuo account al gruppo di stampanti come membro.


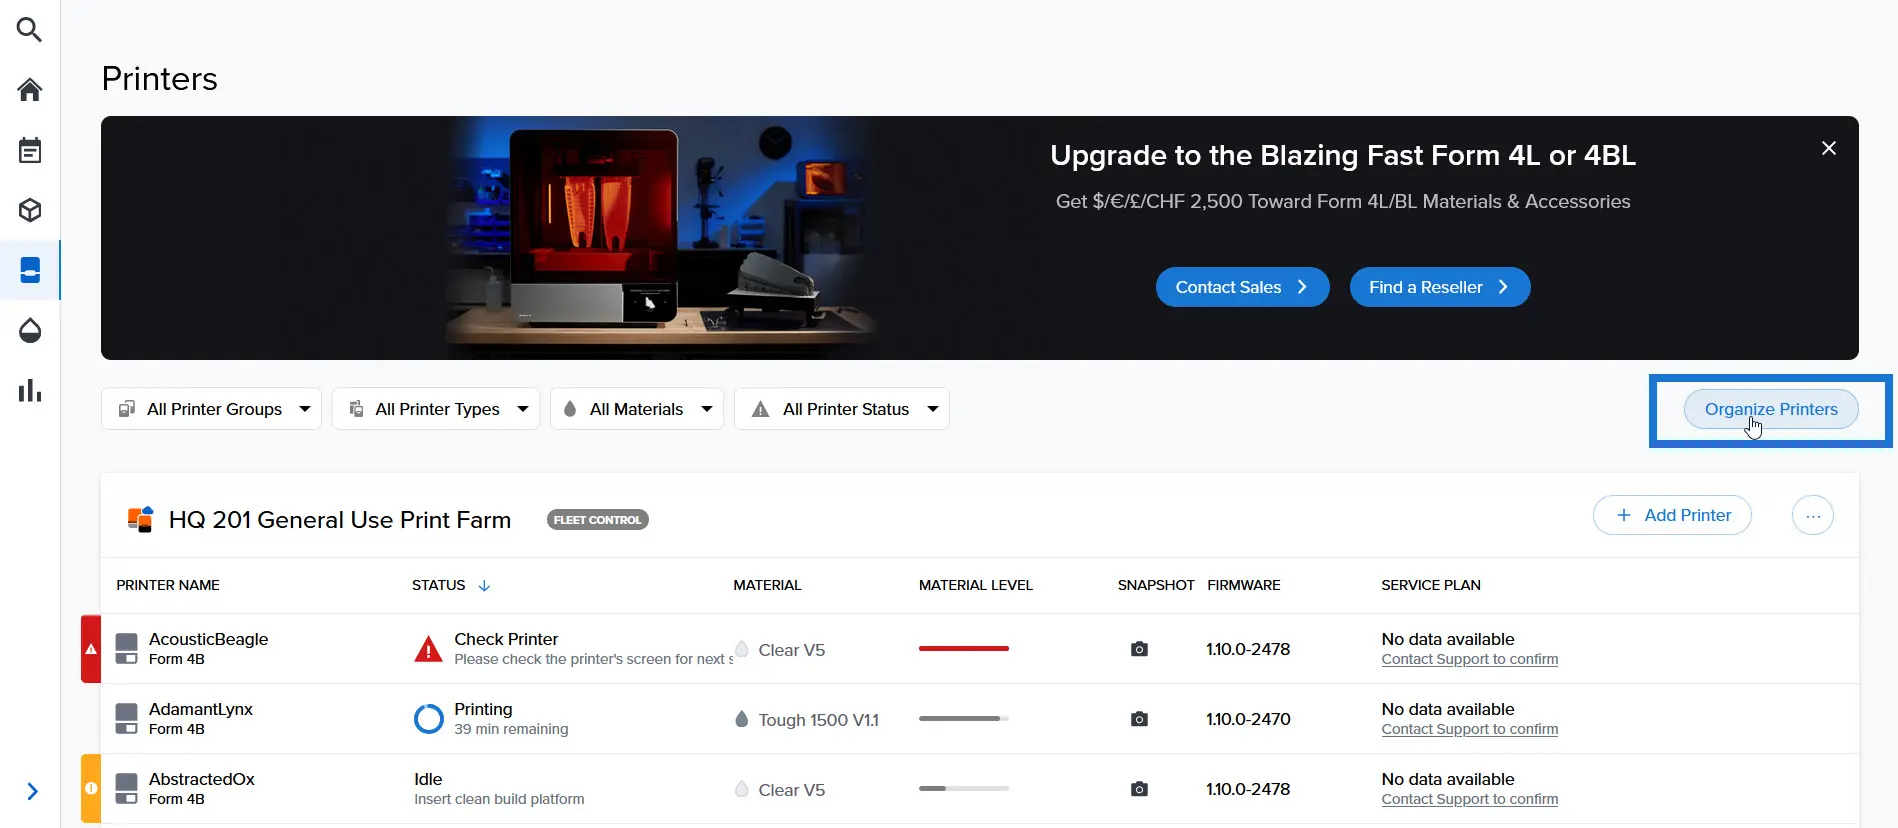
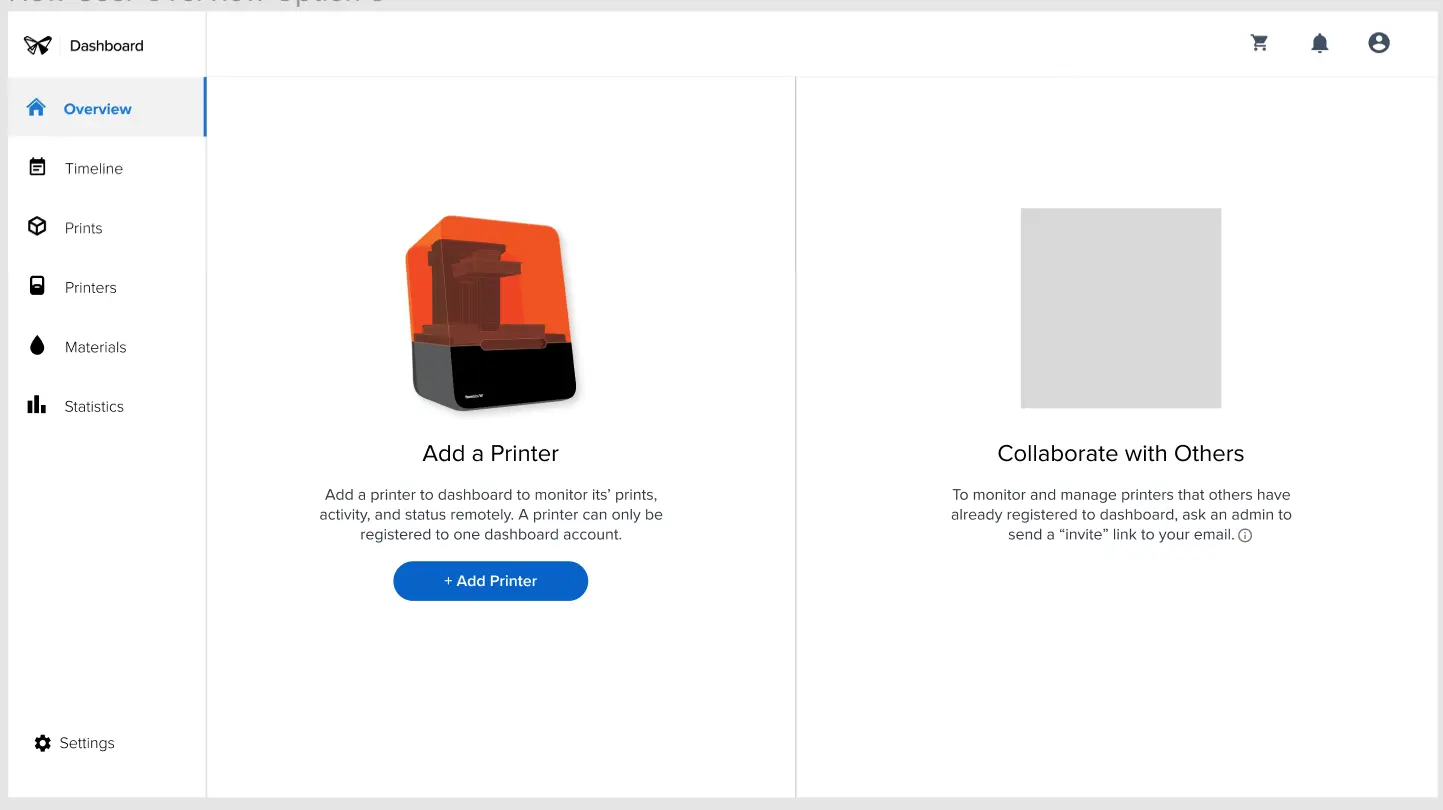
Dashboard consente di monitorare in remoto stampe e macchine, tenere traccia del consumo dei materiali, nonché consultare gli acquisti effettuati da Formlabs e completarne di nuovi. Aggiungi le stampanti a Dashboard per iniziare a monitorarle. Se non vuoi più tenere traccia della loro attività, puoi rimuoverle.
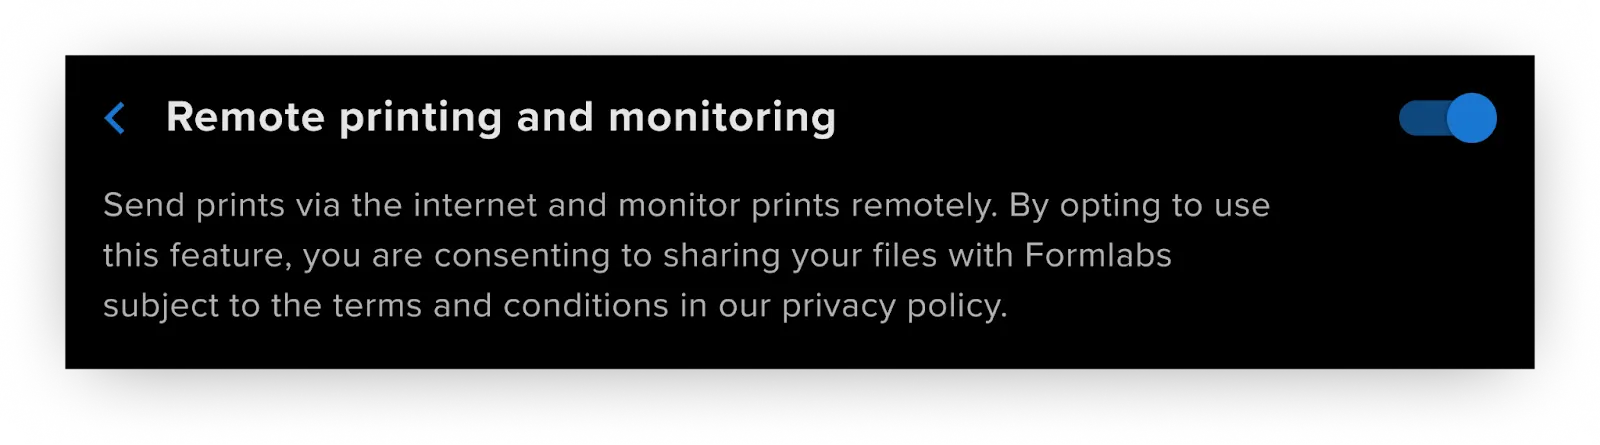
Una volta completata la registrazione e attivata la funzione Dashboard Logging (Connessione a Dashboard) sulla stampante, questa potrà iniziare a inviare dati a Dashboard, a patto che sia collegata a una rete Wi-Fi o Ethernet. Una connessione alla rete locale non è sufficiente per l'invio di dati a Dashboard.
Nota:
Se la stampante è già stata registrata, tentare di registrarla nuovamente utilizzando il codice di verifica a quattro cifre aggiungerà il tuo account al gruppo di stampanti come membro.
Aggiunta di stampanti a Dashboard
Per le stampanti della generazione Form 4 con versione firmware 1.4.1 o precedente, abilita Dashboard Logging (Connessione a Dashboard) prima di aggiungere la stampante a Dashboard.
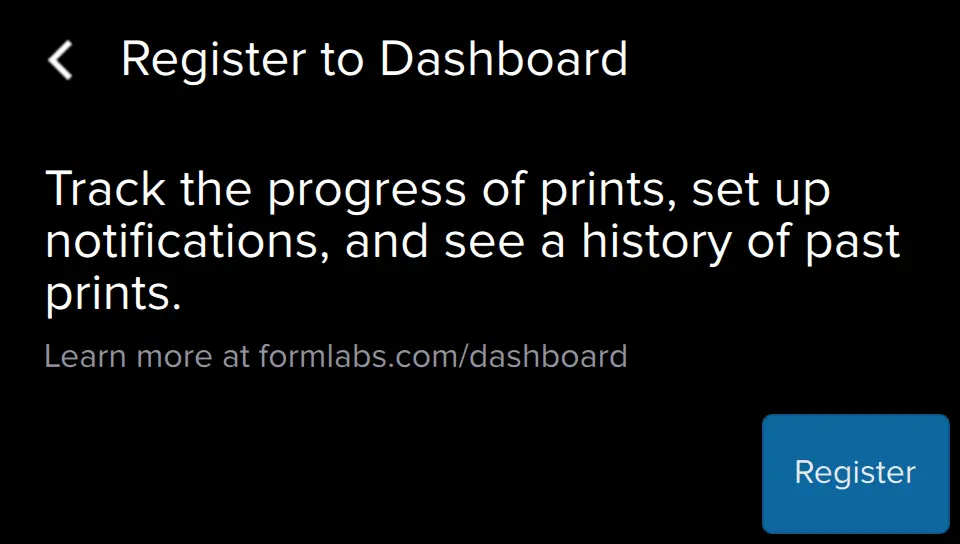
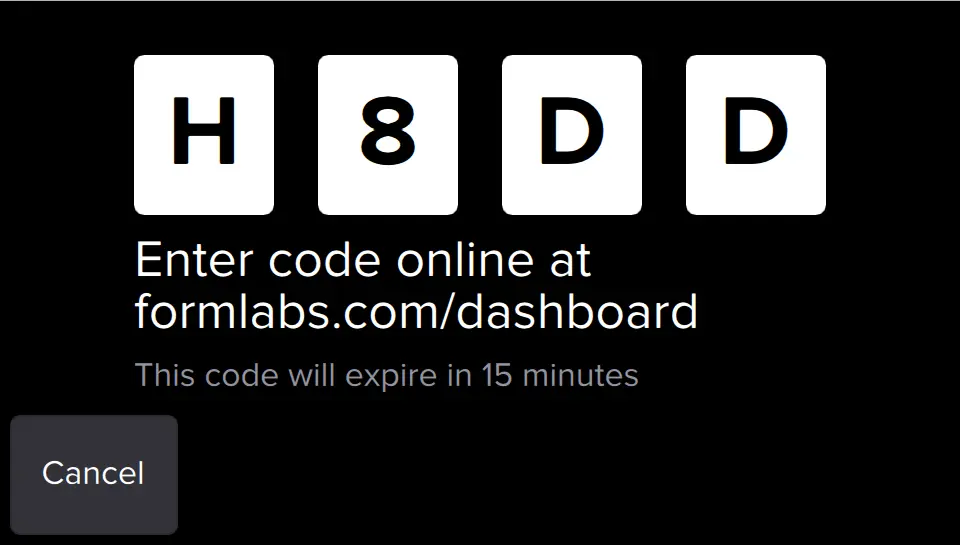
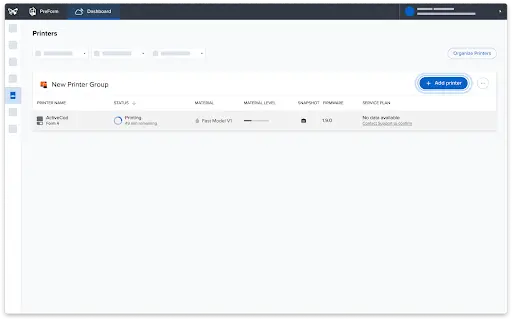
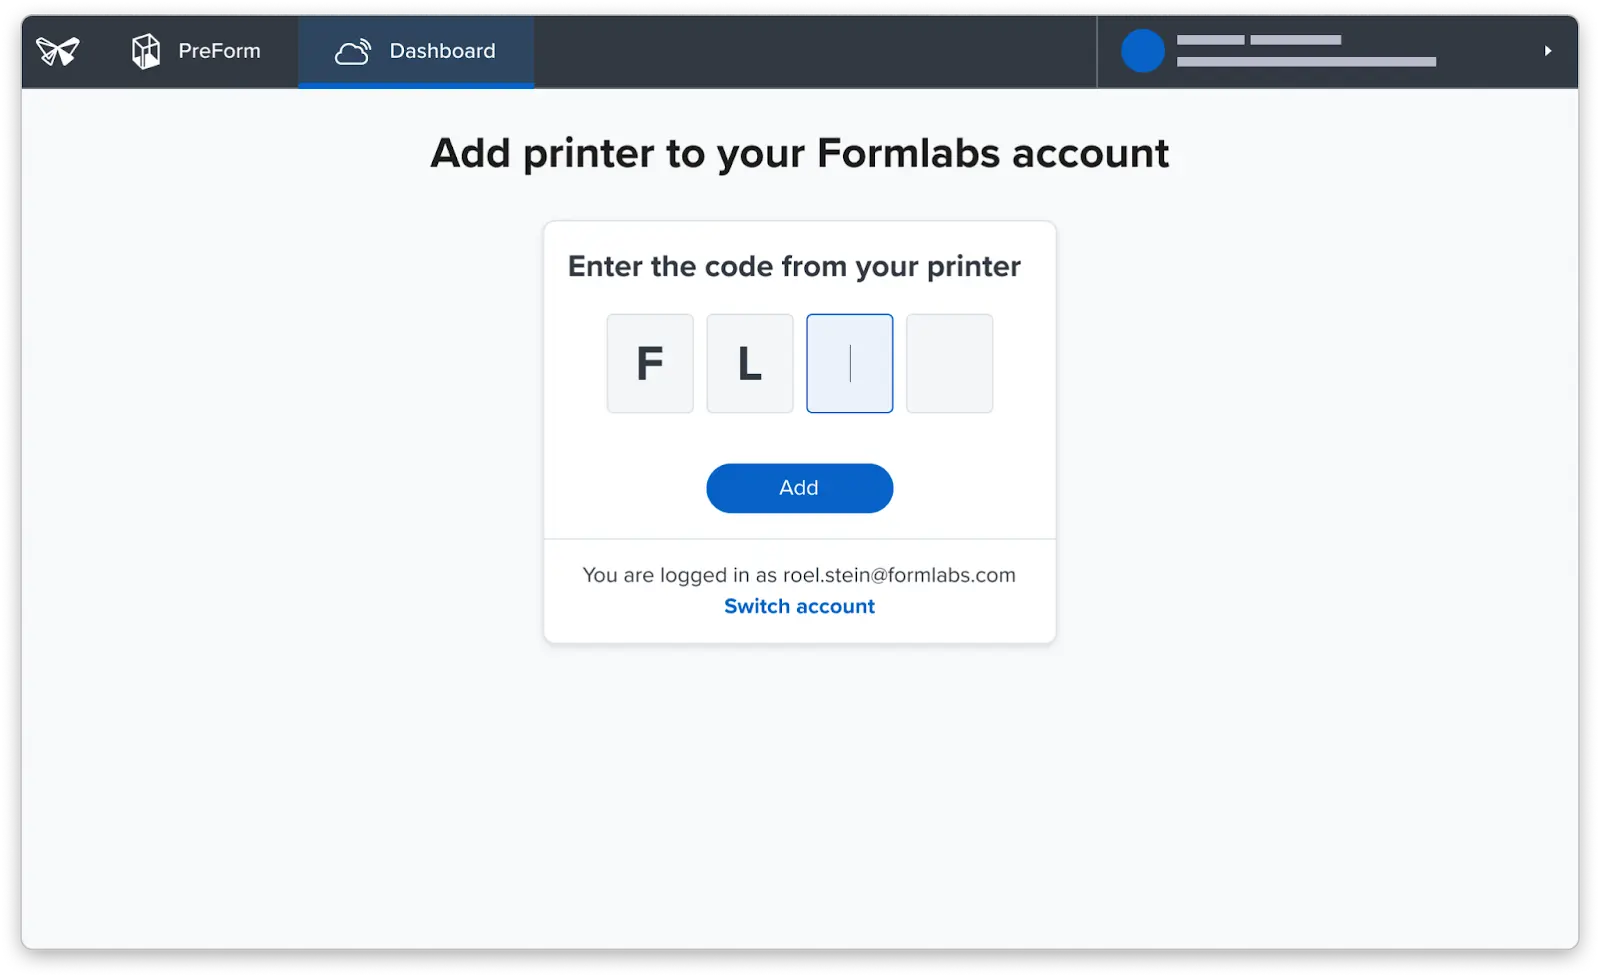
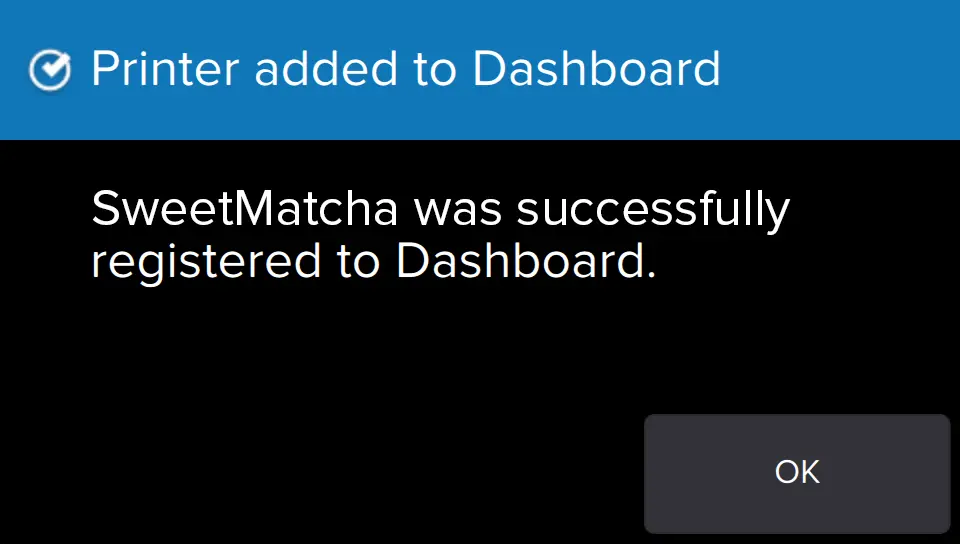
Collega una stampante a Dashboard utilizzando il codice di registrazione personale dal menu Settings (Impostazioni) della stampante.
2.
| Generazione Form 3 Generazione Form 3L Generazione Fuse 1 |
Generazione Form 4 Generazione Form 4L Fuse X1 |
|---|---|
| Tocca Settings (Impostazioni) > Connectivity (Connettività) > Register to Dashboard (Registra su Dashboard). | Tocca Settings (Impostazioni) > Connectivity (Connettività) > Remote printing and monitoring (Stampa e monitoraggio in remoto) > Add account (Aggiungi account). |
Nota:
Se la stampante è già registrata su Dashboard, il display touchscreen visualizza le informazioni del gruppo.
Nota:
Se la stampante è già registrata su Dashboard, questo processo si aggiunge al gruppo di stampanti esistente.
Consiglio:
Il tuo account Dashboard usa le stesse credenziali di login con cui accedi agli ordini e agli indirizzi salvati nel negozio, oltre alle preferenze per newsletter e comunicazioni.
Rimozione di una stampante da Dashboard
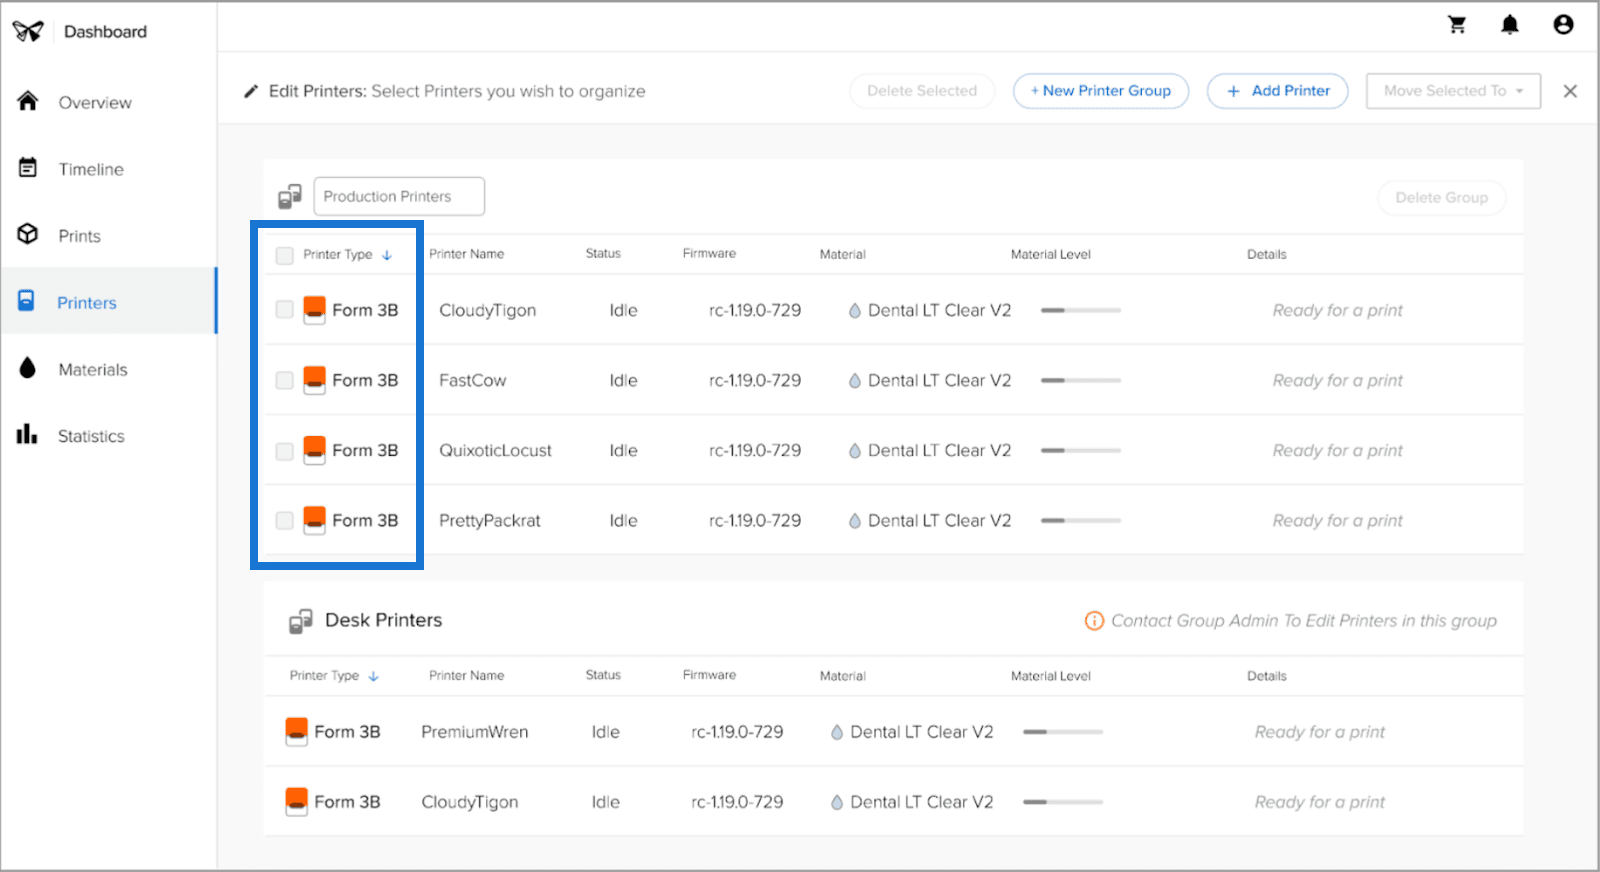
Se non vuoi più tenere traccia di una stampante su Dashboard, puoi eliminarla. Una volta che una stampante è stata registrata in un gruppo di stampanti in Dashboard, non può essere aggiunta a un altro. Bisogna prima spostata o eliminarla dal gruppo di stampanti in cui si trova.
Nota:
Solo un amministratore può eliminare una stampante da un gruppo di stampanti.