Aviso:
Para evitar dañar el equipo, comprueba la tabla de compatibilidad de los tanques de resina en Elección del material adecuado para confirmar que estás utilizando un tanque de resina compatible con este material.


Aviso:
Para evitar dañar el equipo, comprueba la tabla de compatibilidad de los tanques de resina en Elección del material adecuado para confirmar que estás utilizando un tanque de resina compatible con este material.
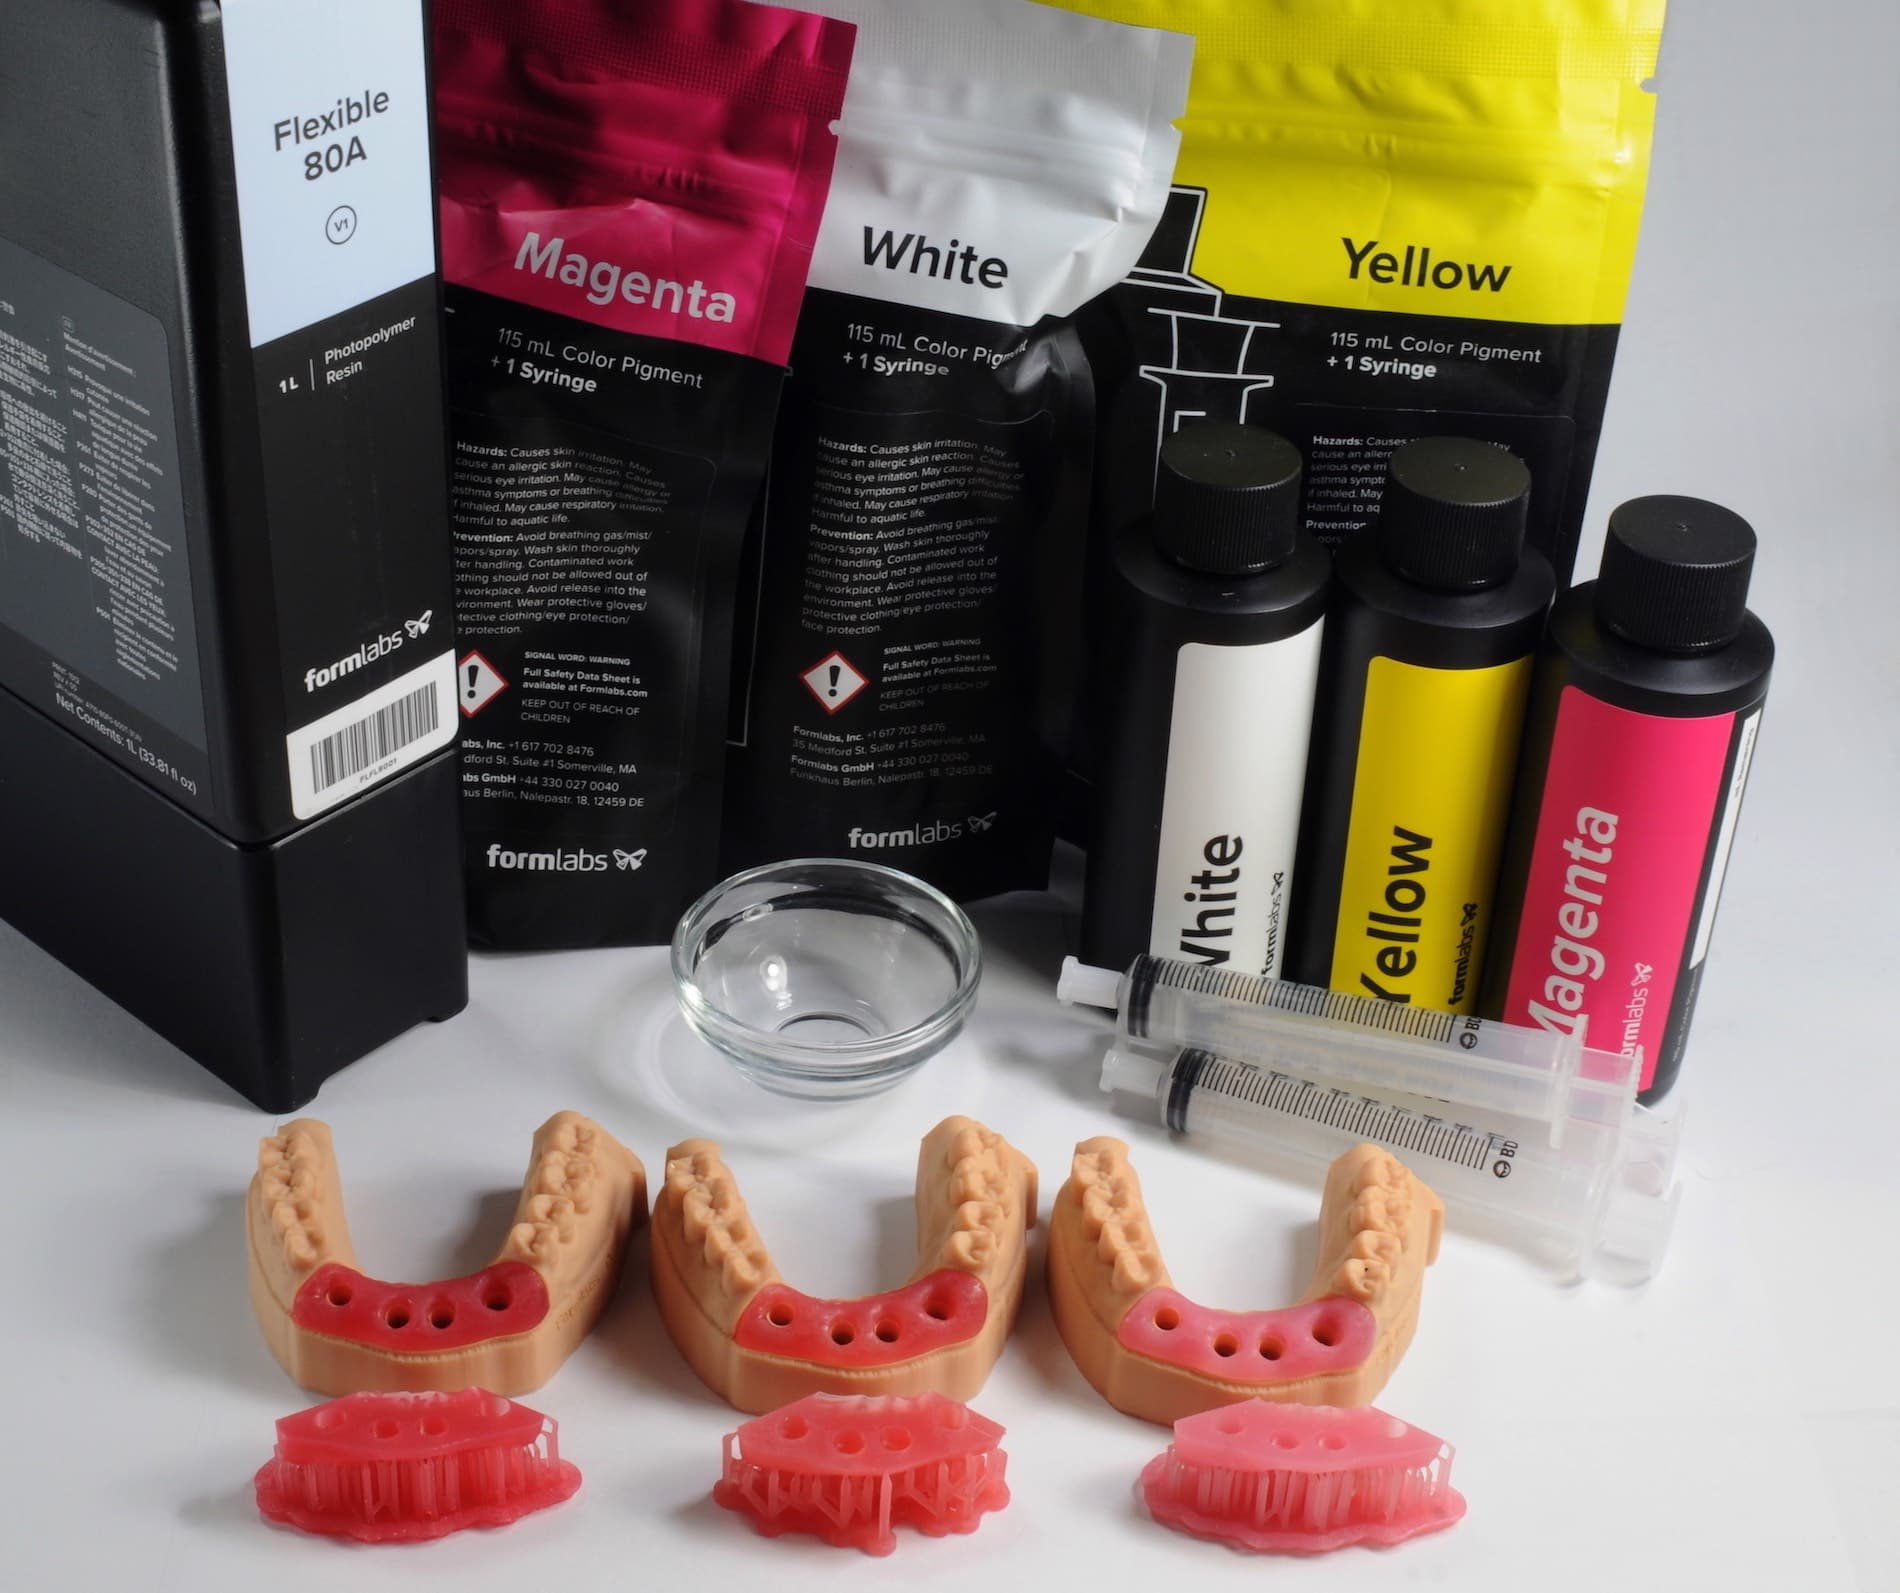
Al utilizar la Flexible 80A Resin y pigmentos de color como parte de un proceso de trabajo digital para prótesis de implantes, los profesionales sanitarios pueden imprimir en 3D piezas de tejido blando que simulan mejor la encía para fines de modelado de implantes dentales. Los pigmentos de color personalizables permiten adaptar el color y la opacidad del modelo final impreso.
La Soft Tissue Resin se imprime con alturas de capa de 50 micras y 100 micras.
Nota:
Para saber más sobre el rendimiento o las propiedades específicas de la Soft Tissue Resin como material, consulta la ficha de datos de seguridad (FDS) y la ficha técnica. Consulta siempre las FDS como fuente principal de información para entender la seguridad y el manejo de los materiales de Formlabs.
Materiales necesarios
Fabricados por Formlabs:
Resumen del proceso de trabajo
Aviso:
Esta es una versión abreviada de la guía de aplicación, Impresión 3D de tejidos blandos para máscaras gingivales en modelos dentales [en]. Lee la guía de aplicación para obtener instrucciones detalladas sobre el proceso de trabajo de la Soft Tissue Resin.
Escaneo
Para realizar la impresión 3D de una corona permanente u otra restauración, usa un escáner para recopilar datos anatómicos de la dentición del paciente. Puedes escanear directamente el paciente con un escáner intraoral o usar un escáner óptico de sobremesa para escanear una impresión de polivinilsiloxano (PVS) o un modelo de yeso.
Diseño
Usa un software de diseño dental asistido por ordenador para procesar y diseñar la restauración antes de imprimirla. Elige software que ofrezca exportación abierta de archivos STL.
Impresión
Aviso:
Para evitar dañar el equipo, comprueba la tabla de compatibilidad de los tanques de resina en Elección del material adecuado para confirmar que estás utilizando un tanque de resina compatible con este material.
Sigue las instrucciones de la guía de aplicación, Impresión 3D de tejido blando para máscaras gingivales en modelos dentales [en], para mezclar el tono adecuado de la Soft Tissue Resin.
Instala o actualiza PreForm y, a continuación, configura la próxima impresión.
Cómo preparar un modelo para su impresión en PreForm:
Utiliza los ajustes de PreForm para la Flexible 80A Resin: 50 micras y 100 micras.
Acabado
La Form Wash agita el baño de disolvente y saca las piezas pasado un tiempo determinado. Lava las piezas según lo descrito en el artículo de asistencia Ajustes de tiempo de la Form Wash. Presta especial atención a la información que afecta a las propiedades mecánicas o a los requisitos de biocompatibilidad.
Si el modelo es hueco o tiene canales internos, asegúrate de que la resina líquida salga de todas las cavidades. Deja que las piezas se sequen por completo antes de llevar a cabo el poscurado.
Requisitos de poscurado
Es necesario realizar el poscurado de la Soft Tissue Resin para conseguir sus propiedades mecánicas óptimas.
Consulta el artículo de asistencia Form Cure: ajustes de tiempo y temperatura para conocer las recomendaciones de poscurado.
Recursos adicionales