Part 3: Understanding Z Resolution
Read Part 1 to learn about resolution vs. minimum feature size.
Read Part 2 to understand XY resolution.
When you read 3D printer spec sheets, you’ll see one value show up more than any else: Z resolution. Also known as layer height, Z resolution was the first major numerical differentiation between early 3D Printers. Early machines struggled to break the 1 mm barrier, but now layer heights on FDM printers can be sub-0.1 mm thin, while SLA machines are even more precise.
Currently, the Form 2 SLA 3D printer supports layer heights of 100 and 50 microns in all resins. Clear, White, and Castable Resins can achieve Z resolutions as high as 25 microns. This selection of layer heights gives you the ideal balance of speed and resolution. The main question is: what is the best layer height for your print?
Are Smaller Layer Heights Always Better?
High resolution comes with a tradeoff. Thinner layers mean more repetitions, which in turn means longer times: printing at 25 microns vs. 100 usually increases the print time four-fold. More repetitions also mean more opportunities for something to go wrong. For example, even at a 99.99% success rate per layer, quadrupling the resolution lowers the chance of print success from 90% to 67% if one assumes that a failed layer causes total print failure.
Lower layer thickness equals more time, artifacts, and errors.
Do thinner layers result in better prints? Not always — it depends on the model to be printed and the printer’s XY resolution. In general, thinner layers equals more time, artifacts, and errors. In some cases, printing models at lower resolutions (i.e. thicker layer heights) can actually result in higher-quality prints.
When Thinner Layers Don’t Help
Thinner layers are typically associated with smoother transitions on diagonals, which leads many users to generalize and push Z resolution to the limits. But what if the model consists mostly of vertical and horizontal edges, with 90-degree angles and few diagonals? In those cases, additional layers don’t improve the quality of the model.

The issue is compounded if the XY resolution of the printer in question is not perfect and “colors outside the lines” when drawing the outside edges. More layers means more mismatched ridges on the surface. While the Z resolution is higher, the model will look like it is significantly lower quality in this case.

When to Choose Higher Z Resolution
That being said, there are times when you want higher resolution. Given a printer with good XY resolution and a model with intricate features and many diagonal edges, dialing down the height of the layers will yield a much better model. In addition, if that model is short (200 or fewer layers) upping the Z-axis resolution can really improve the quality.
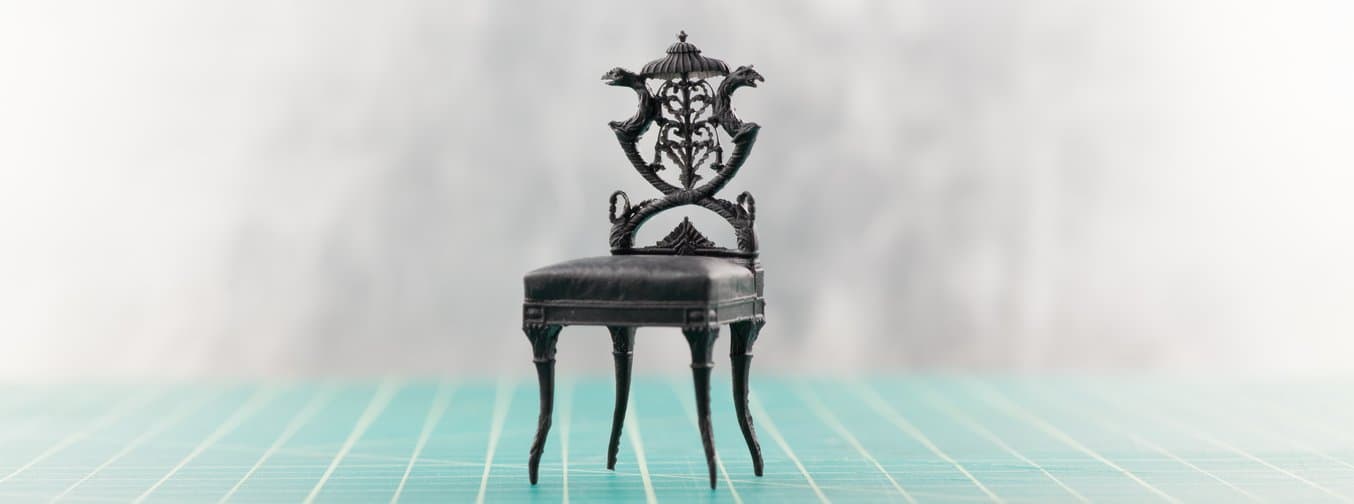
Certain designs benefit from a higher Z resolution: organic forms, rounded arches, small embossings, and intricate engravings.

Certain designs benefit from a higher Z resolution: organic forms, rounded arches, small embossings, and intricate engravings. As a general guideline, err on the side of thicker layers and only bump up the Z resolution when completely necessary. With the right printer and a certain type of model, higher Z resolution will capture the intricate details of your design.