
Choosing the right wall thickness is perhaps one of the most important decisions when designing parts for 3D printing. If the walls of your parts are too thick, your part will cost more to produce, take longer to print, and may even wind up cracking. If your walls are too thin, the part may not be functional, may warp during printing, or, once again, cost more to produce because you’ll have to go back and rework the design.
Understanding the minimum wall thickness for 3D printing will set you up for design success and lower your production costs.
Book a Free Consultation
Get in touch with our 3D printing experts for a 1:1 consultation to find the right solution for your business, receive ROI analyses, test prints, and more.
Basic Guidelines and Definitions
Before we dive into the specifics of calculating minimum wall thickness, it’s helpful to clarify some important terminology.
What Is Minimum Wall Thickness?
Minimum wall thickness is the smallest possible thickness a structure can have while maintaining functionality. This minimum is impacted by several factors, including the type of 3D printing process you are using to print, constant physical forces (such as gravity), and how much pressure the structure you’re creating will be under during use.
Think of a graphite pencil. The thinner the point and the farther the shaft extends, the less pressure the graphite can withstand. The precise breaking point varies with each user as the precise pressure is unique to the person wielding the pencil. This is also the case for 3D printed structures.
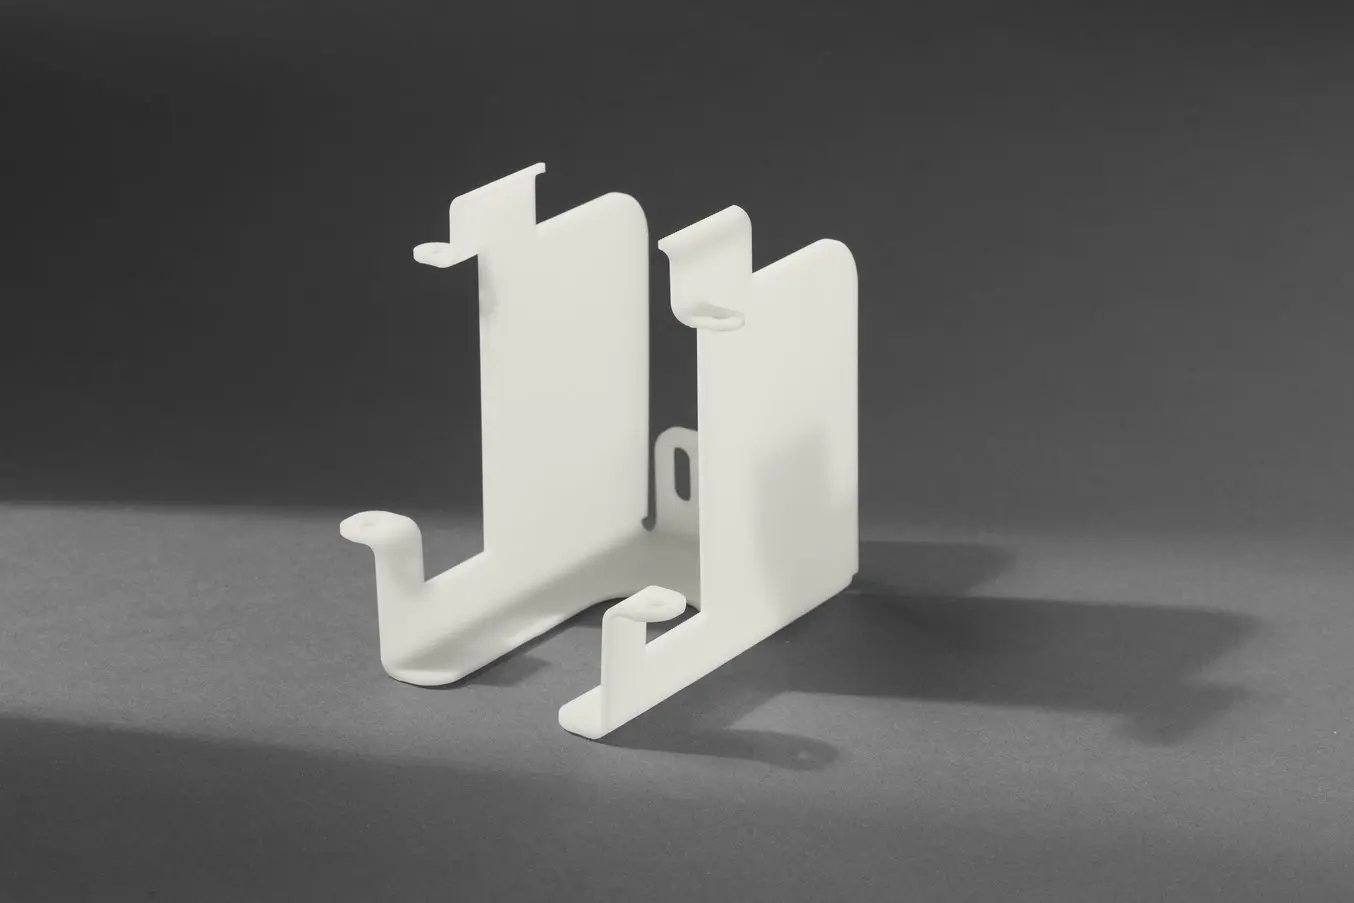
Supported vs. Unsupported Walls
An unsupported wall is one that connects with a second wall on only one side (or edge). A supported wall is one that connects with two or more walls (on two or more sides).

A supported wall is connected to other walls on two or more sides.

An unsupported wall is connected to other walls on fewer than two sides.
Vertical-Wire Diameter
Wires are round as opposed to walls, which are flat surfaces. Due to their different physical shape, their minimum thickness is expressed as a minimum wire diameter. For a pillar or vertical wire, you’ll need to calculate the minimum vertical wire diameter (or thickness at the widest point in your circle).
Embossed vs. Engraved Details
When it comes to calculating the minimum and maximum thickness for intricate details, it’s important to understand the difference between embossing and engraving. Embossed details are those that protrude outward from a design, and engraved details are those that recede inward, or are concave.
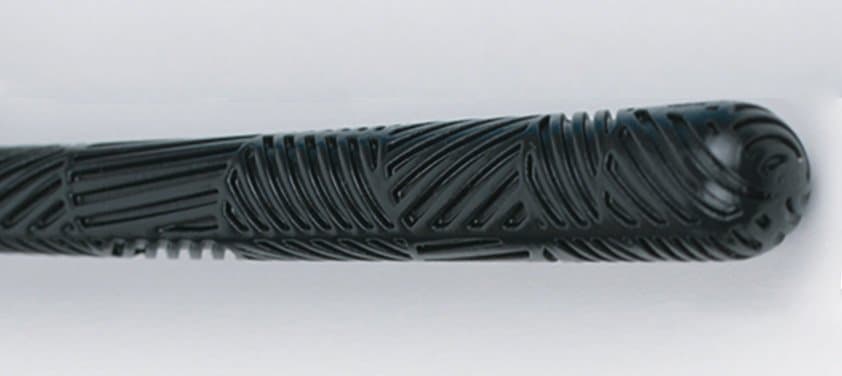

The black 3D printed Gillette razor handle above shows engraved details, and the silver razor handle shows embossed details.
Request a Free Sample Part
See and feel Formlabs quality firsthand. We’ll ship a free sample part to your office.
How to Calculate Minimum Wall Thickness for 3D Printing
In order to choose the perfect wall thickness for your design, you’ll need to consider three things: the purpose of your design, your aesthetic goals, and the physical 3D printing process.
Minimum Wall Thickness by 3D Printing Process
Minimum wall thickness varies based on the type of 3D printer. You can use these design guidelines below as a starting point for choosing the right wall thickness for your model based on the 3D printing process you’re planning to use:
| Stereolithography (SLA) | Fused Deposition Modeling (FDM) | Selective Laser Sintering (SLS) | ||
|---|---|---|---|---|
| Supported Wall | Minimum Thickness | 0.2 mm | 1 mm | 0.6 mm vertical & 0.3 mm horizontal |
| Unsupported Wall | Minimum Thickness | 0.2 mm | 1 mm | 0.6 mm vertical & 0.3 mm horizontal |
| Vertical Wire Diameter | Minimum Diameter | 0.2 mm | 3 mm | 0.8 mm |
| Engraved Detail | Minimum Recession | 0.15 mm | 0.6 mm wide & 2 mm deep | 0.1 mm - 0.35 mm |
| Embossed Detail | Minimum Protrusion | 0.1 mm | 0.6 mm wide & 2 mm high | 0.1 mm - 0.4 mm |
In many cases, the manufacturer of the 3D printer or the 3D printing service provider offers a design guide with wall thickness recommendations based on testing performed on the specific printer model.
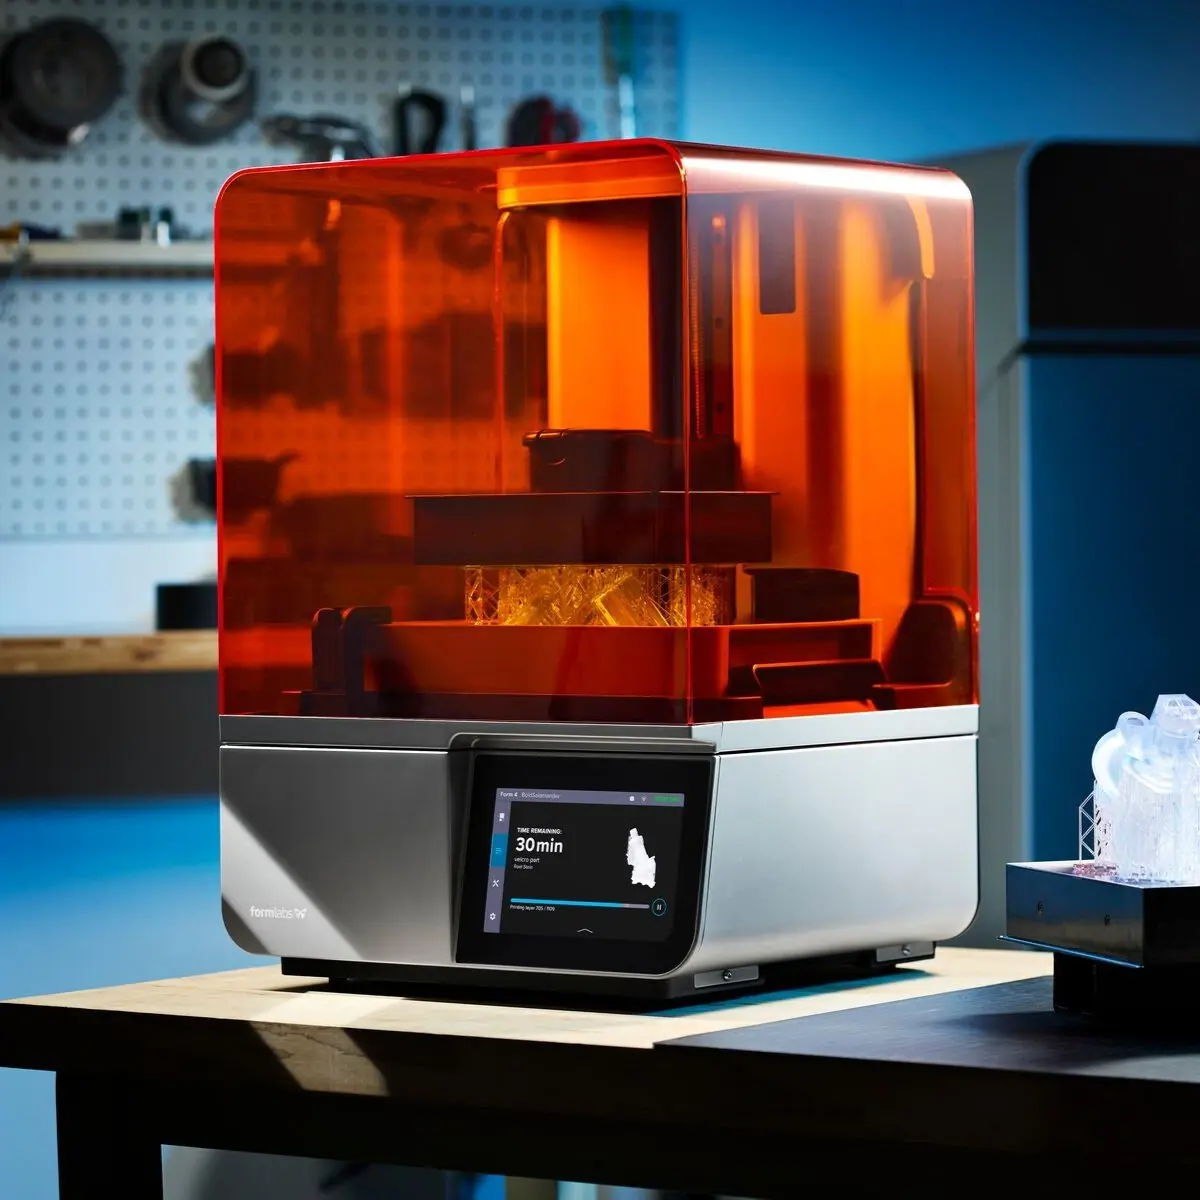
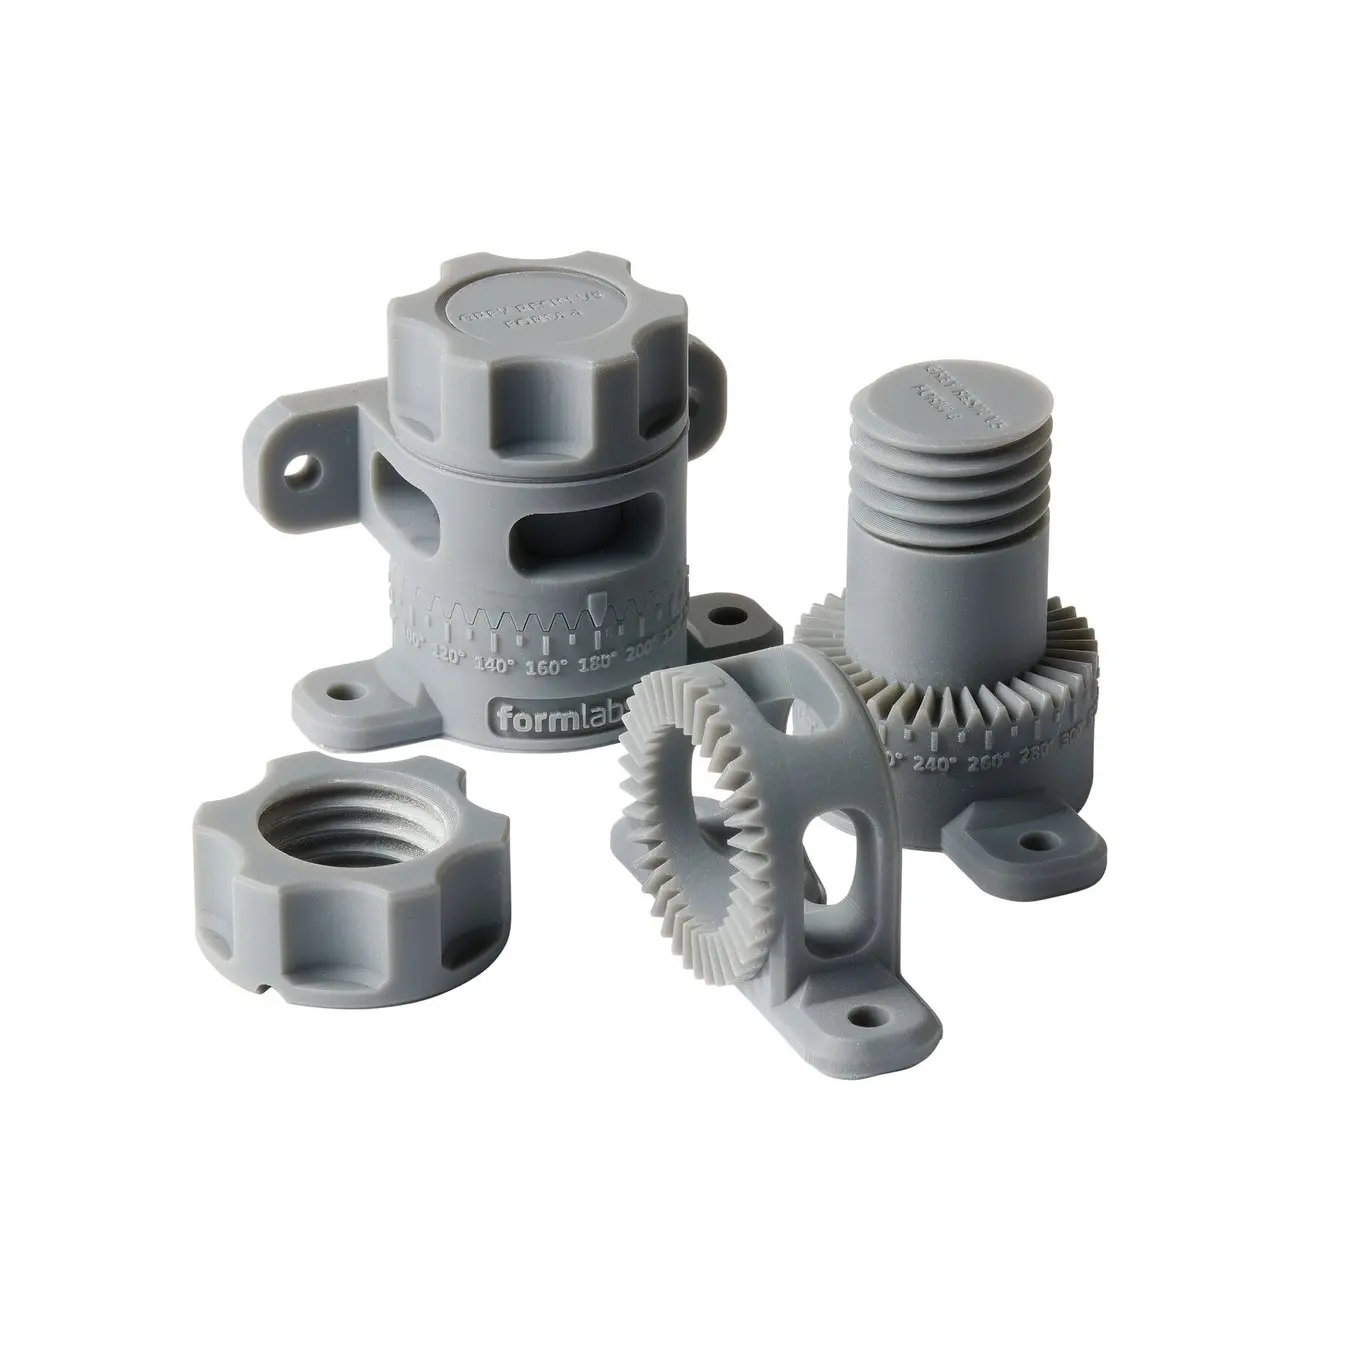
In general, SLA 3D printers can create the thinnest walls of all 3D printing technologies, but there are differences from machine to machine. For example, Formlabs’ own Form 3+ SLA printer offers more design freedom than its predecessor, the Form 2, because it uses a flexible resin tank to significantly reduce peel forces during printing.
If you are printing with an FDM 3D printer, recommended wall thickness can also change based on the size of the nozzle you are using. For example, if you are using a 0.4 mm nozzle, your minimum wall thickness should be divisible by 0.4, so instead of the 1 mm recommended minimum thickness in the table, you’ll likely get better results with 1.2 mm thick walls or by switching to a thinner nozzle.
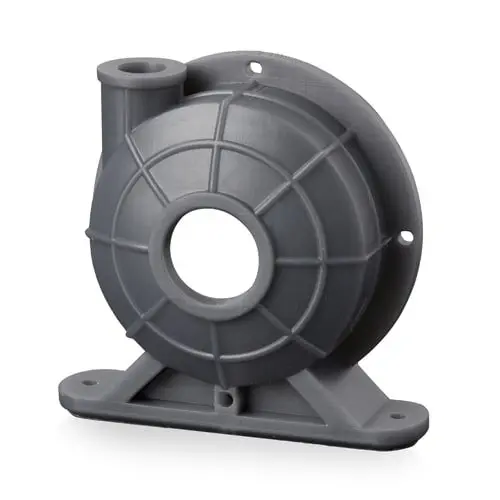
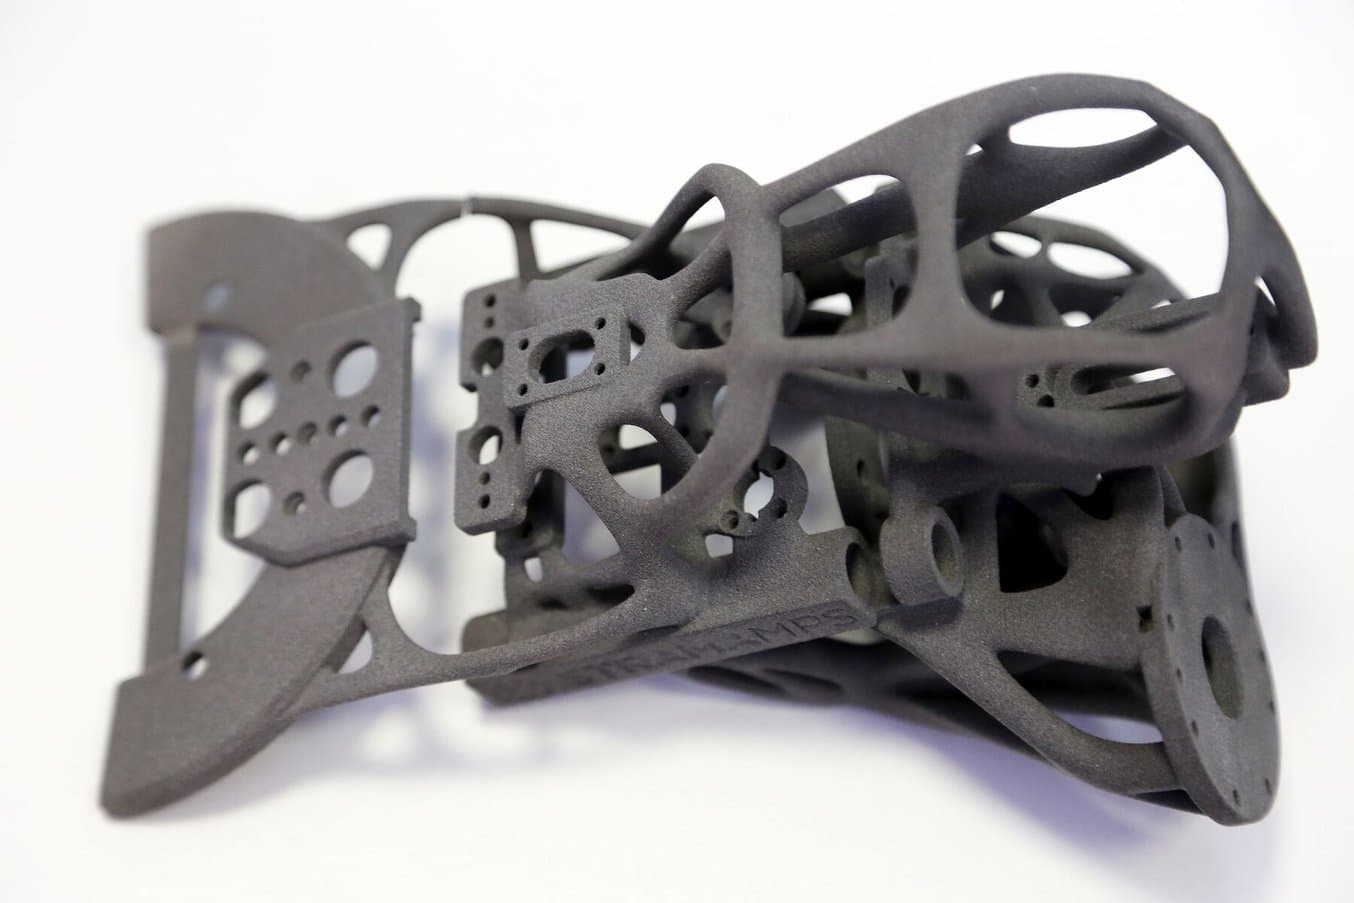
Minimum wall thickness for SLS 3D printers is between the SLA and FDM, but offer some unique benefits, as selective laser sintering does not require support structures because unsintered powder surrounds the parts during printing. SLS printing can produce previously impossible complex geometries, such as interlocking or moving parts, parts with interior components or channels, and other highly complex designs.
Form 4 Series Design Guide
A successful 3D print starts with a well-designed model. Follow our best practices to optimize designs and reduce failures.
Fuse Series Design Guide
In this design guide, you’ll learn about some of the important considerations for designing for SLS 3D printing on the Fuse Series, and how you can leverage these practices to create successful parts.
How Will You Use Your Design?
The purpose of your printed part should inform not only the proper wall thickness but also the 3D printing material you choose. If you’re designing a pliable part for printing, for example with Flexible 80A Resin, your walls will need to be thick enough to allow for compression of your piece but thin enough so as not to restrict movement.
The impact resistance and tensile strength of the 3D printing material you are using will impact the ideal wall thickness as well. For example, Rigid 10K Resin for Formlabs SLA 3D printers is reinforced with glass to offer very high stiffness, making it highly resistant to deformation over time and is great for printing thin walls.
If you’re printing manufacturing components, such as thermoforming molds or manufacturing aids that will need to withstand repetitive force or pressure, you’ll want to stick within solid parts or thicker walls. Very thin walls won’t be durable enough to withstand multiple cycles.
What Do You Want Your Design to Look and Feel Like?
Color, finish, and detailing are important, particularly if you’re printing a looks-like prototype, a figurine, or an art installation. The good news is, if you consider recommended thickness early enough, you can design your piece to work within the limitations of 3D printing.
Let’s say you’re designing a figure with a button-up shirt, and those buttons are going to be embossed details. You can use some quick calculations to make the buttons thick enough to show clearly in your printed figure and make sure they are spaced out an appropriate distance.
Limitations to Consider
There are a few common concerns every designer needs to be aware of when preparing a model for 3D printing. Understanding these limitations will help you avoid having to reprint your models.
Loss of Details When Scaling
Wall thickness issues are often the result of a disconnect between the modeling and printing processes. Models may appear to be structurally sound within your CAD design software but simply do not work in the real world. For example, architectural details, such as awnings, are likely to become impossibly thin if you scale a building down to a small tabletop model.
Warping
If your walls are too thin, you run the risk of your printed part warping or cracking either during or after printing. During printing, each layer of your printed design needs to have a certain amount of contact with the previously printed layer. If this isn’t the case, you may wind up with sagging, bowing, or completely disconnected parts.
After your design has printed, it needs to be able to stand up to cleaning and long term usage. Even if you are designing a figurine that is simply going to sit on a shelf, thin walls are more likely to creep and crack once they’re detached from the support structures.
Curling
In 3D printing processes that melt or sinter raw material, such as FDM or SLS, corners are particularly prone to curling. Depending on the shape, contour, and wall thickness of your design, certain areas will cool faster than others. This can result in areas, such as corners of a wall, curling as they go through the drastic temperature change.
Design Tips and Troubleshooting 3D Printing Wall Thickness
Most 3D modeling software tools offer various features available to help you check and adjust the wall thickness of your design before printing. Here as examples with some popular CAD tools:
In MeshMixer, use Analysis → Thickness to verify if the wall thickness of the model is within acceptable limits for the given 3D printing technology. In case you need to add thickness to a mesh, you can use the Extrude command. Select the area that needs thickening using Brush mode, which allows selecting (and deselecting by holding Ctrl) individual triangles. It is possible to smooth the selection by choosing Modify → Smooth Boundary from the popup menu. Increasing the Smoothness and Iterations parameters will result in a more clean selection. Now, choose Edit → Extrude (D) with Normal as the Direction setting.
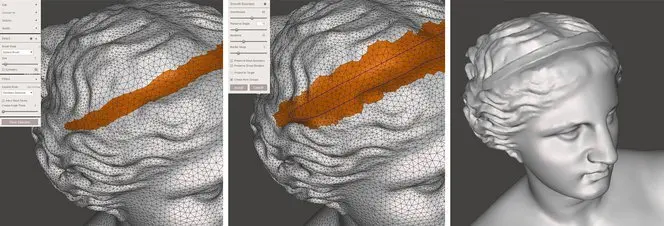
You can add thickness to a model using the Brush mode in MeshMixer.
Read our MeshMixer tutorial for 15 pro tips to learn how to optimize a triangle mesh, resculpt entire sections, stylize the model, or add useful features to it.
In Fusion 360, you can use the Thicken feature to adjust the thickness of individual walls.
In Rhino, you can use the Extrude Surface feature to create thicker walls or planes.
Get Started With Professional 3D Printing
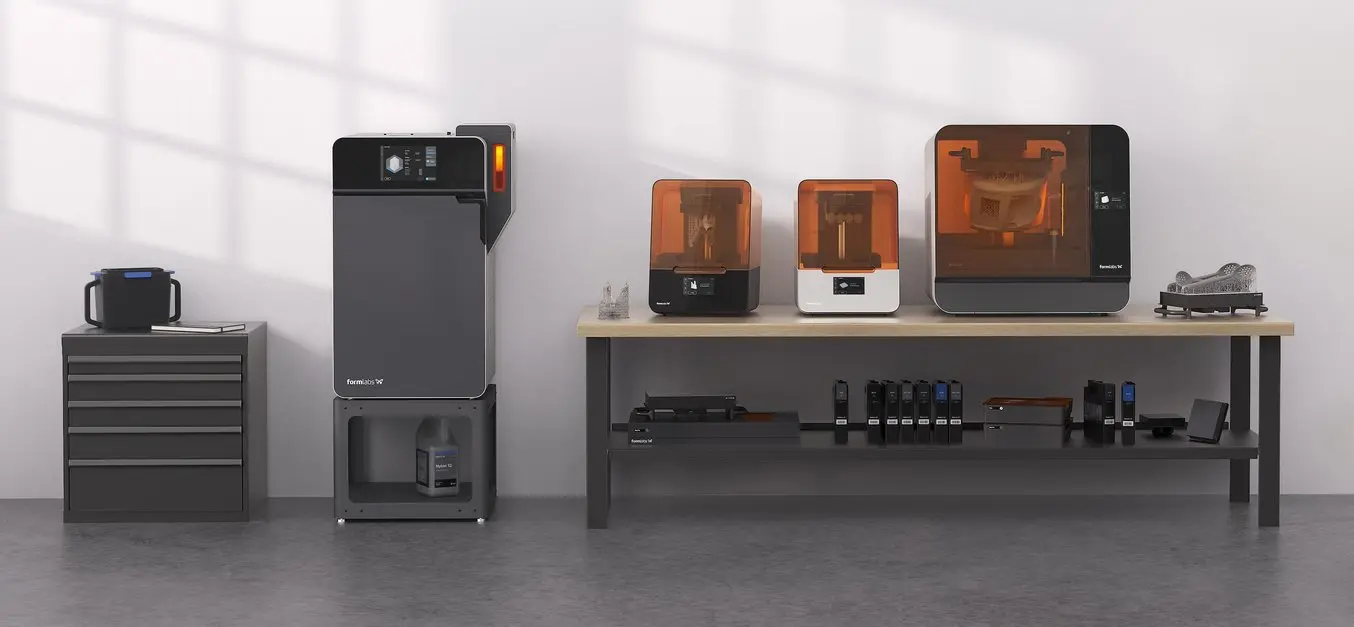
Looking for the right tool to turn your designs into reality? High-resolution stereolithography (SLA) and selective laser sintering (SLS) 3D printers are fast and cost-effective tools to produce high detail models with a smooth surface finish.
Learn more about 3D printers and see the quality firsthand by requesting a free sample part printed on a Formlabs 3D printer.
Not sure which 3D printing solution fits your business best? Book a 1:1 consultation to compare options, evaluate ROI, try out test prints, and more.