
Tip:
Orient dental models with the occlusal surfaces pointed away from the build platform to avoid the need for printing supports on critical parts of the model.

When a Form Auto print job finishes, the machine automatically removes the printed parts from the build platform by flexing the print surface. Most of the time, the Form Auto successfully harvests the printed parts without incident, but in some cases, the parts do not release or break during the harvesting process.
Certain part orientations and support options release more easily than others. Design and orient your models so they consistently and automatically release from the build platform.
When using the Form Auto, make sure that the build platform is clean and properly assembled.
For the best print results:
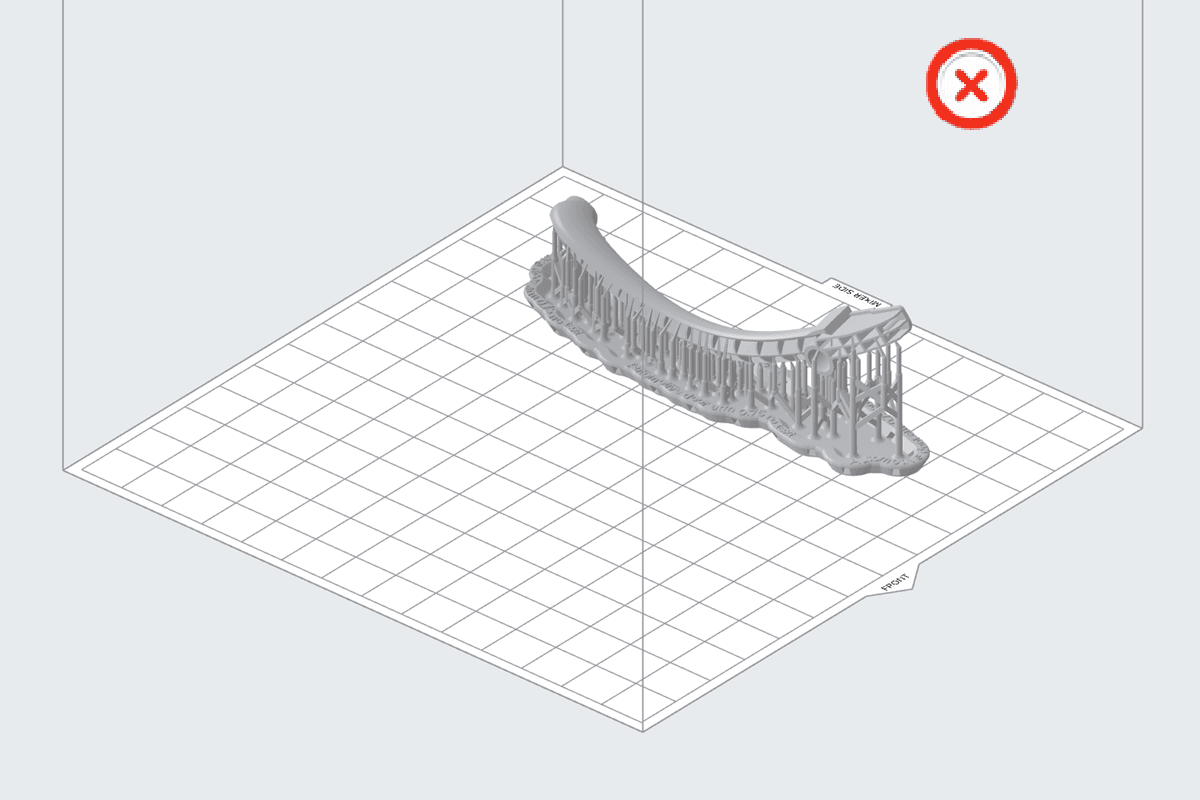
Orient models parallel to the front of the build platform
The print surface bends as the paddles are pushed inward. Align the long axis of models parallel to the front of the build platform for easy part removal as the surface flexes.
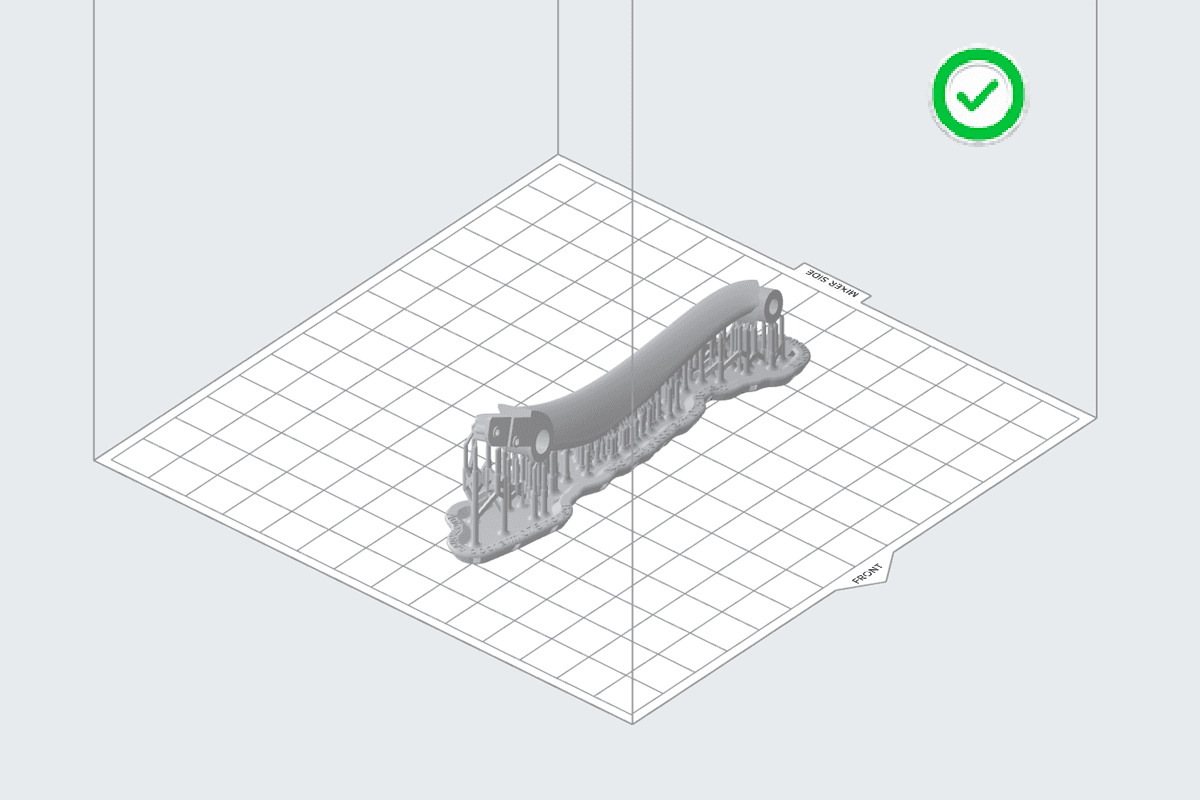
Model oriented in PreForm with the long axis parallel to the front of the build platform.
Model oriented in PreForm with the long axis perpendicular to the front of the build platform.
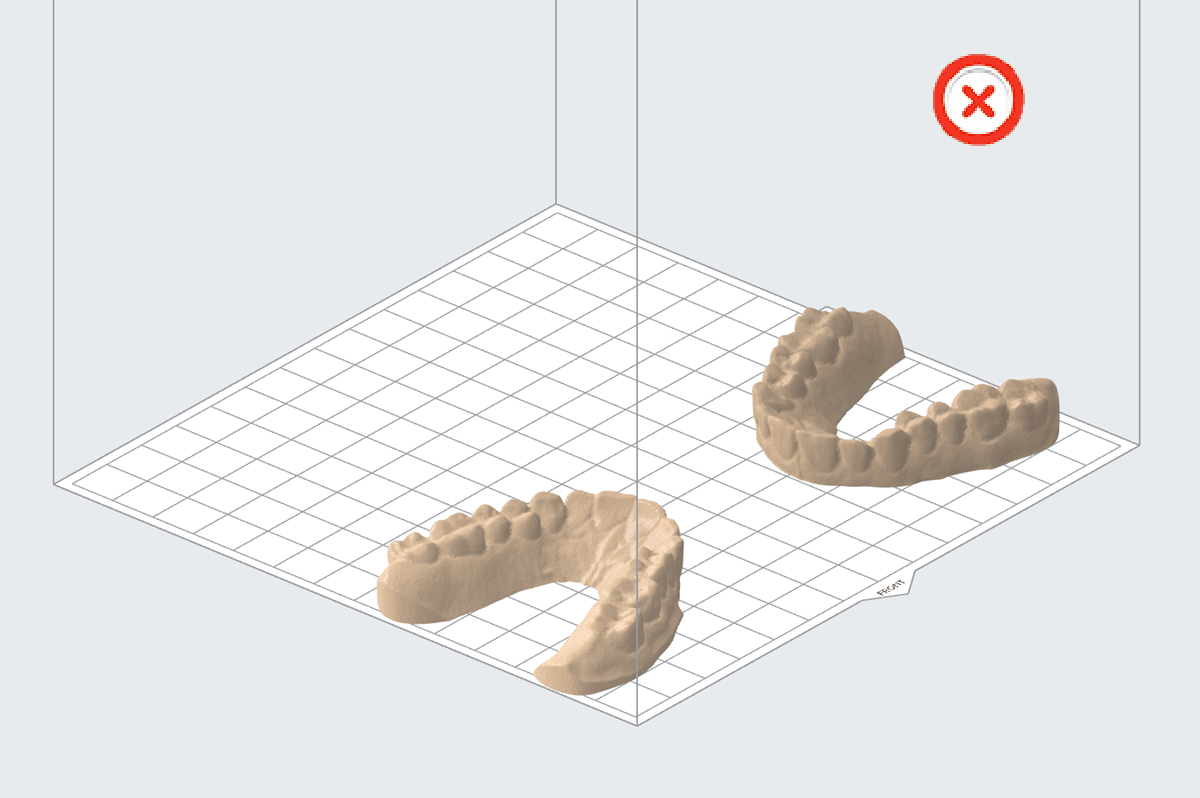
Orient models in the center of the build platform
Parts placed close to the left or right edges of the build platform may fail to release, as those areas flex less when the Form Auto squeezes the part release paddles. Place models in the center of the build platform for easy part removal as the surface flexes.
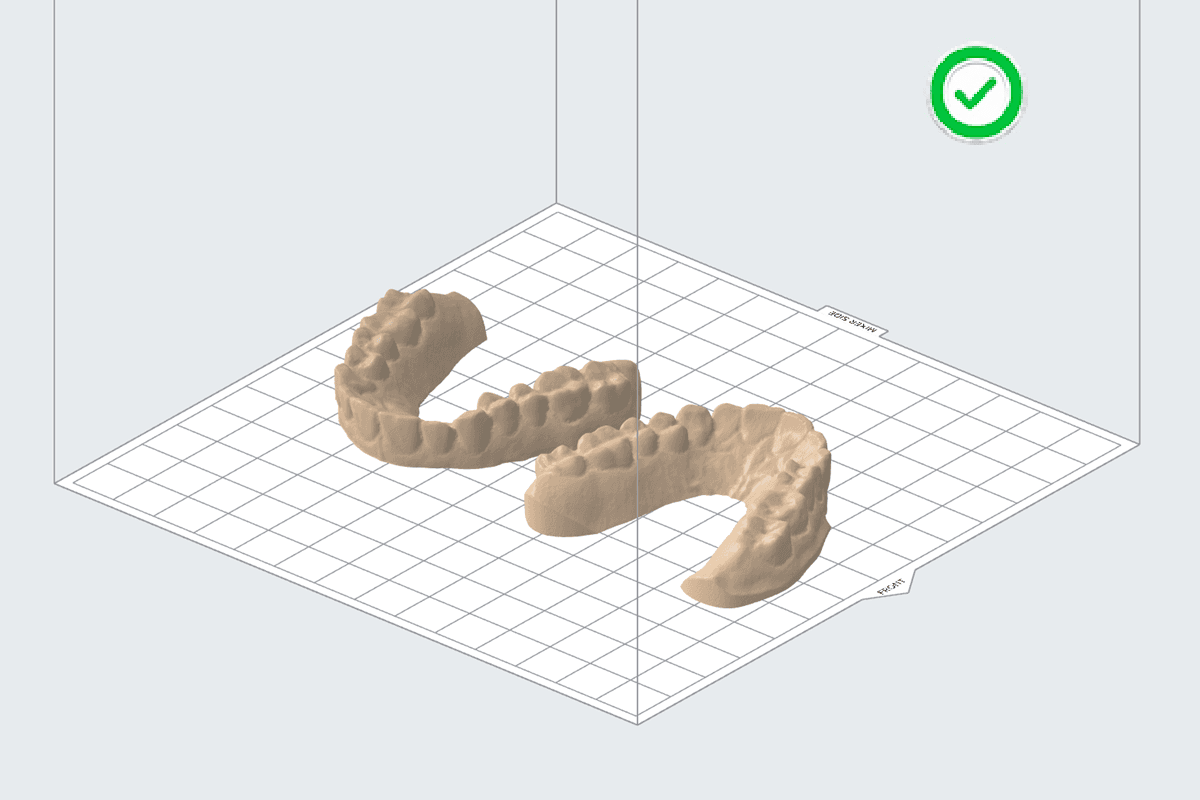
Model oriented in PreForm with the long axis perpendicular to the front of the build platform.
Models oriented at the edges of the build scene in PreForm.
Overlap support rafts on smaller parts
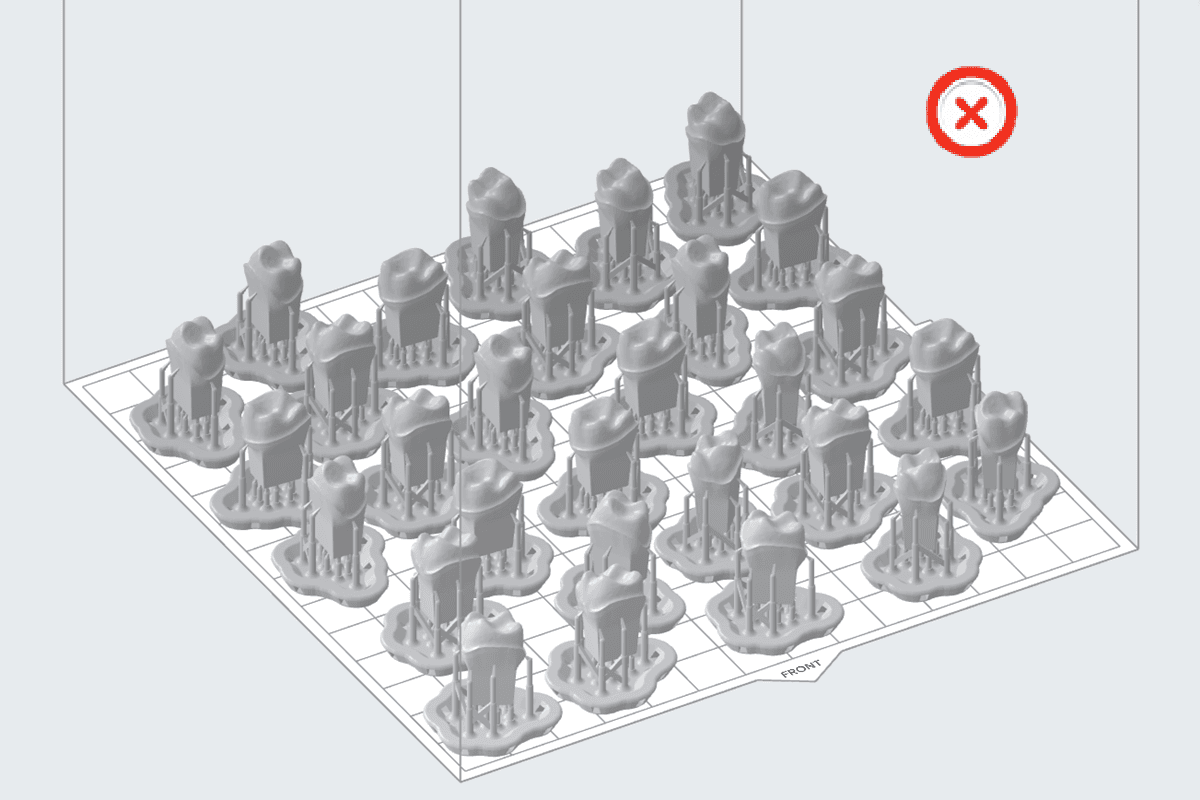
Parts that are three centimeters at their longest point may be too small to completely release from the build platform when the surface flexes. Place these models close together in PreForm so that their rafts overlap and create a larger surface area. If you are using the automatic layout tools in PreForm, check the Overlap Rafts box.
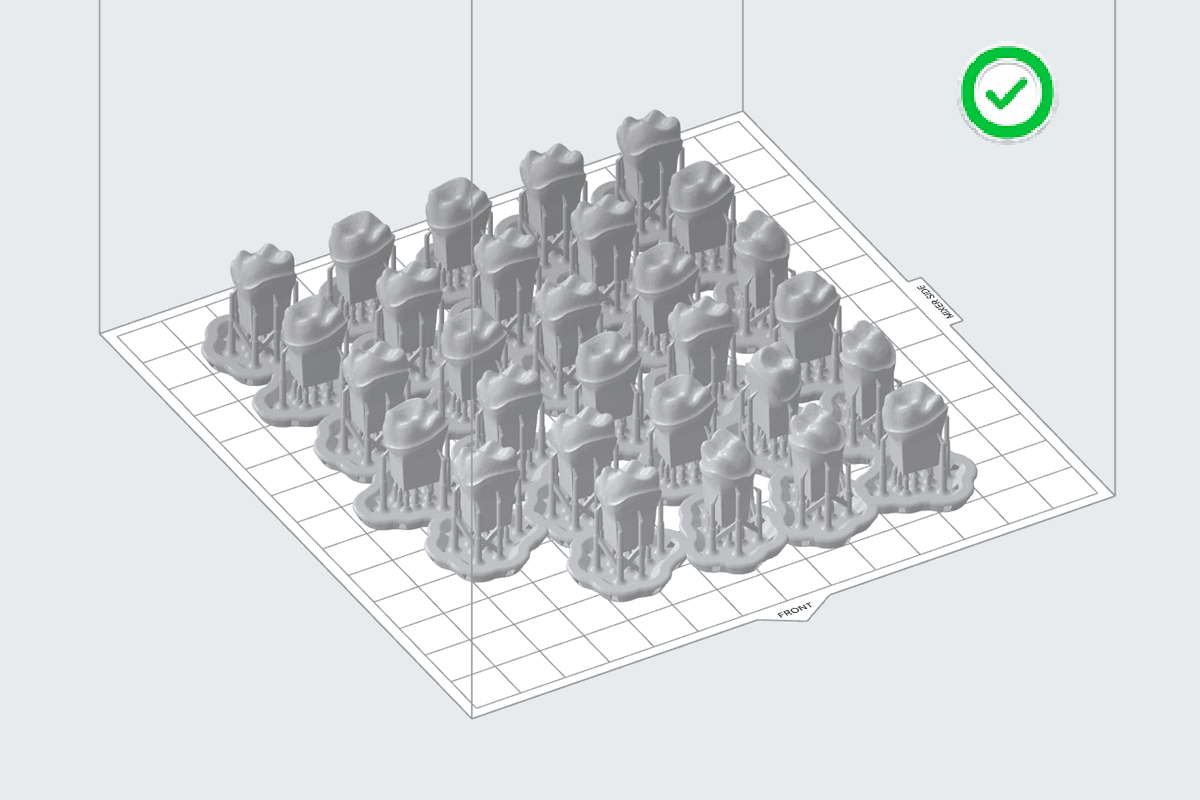
Small models with overlapped support rafts in PreForm.
Small models with full support rafts in PreForm.
Do not use mini rafts
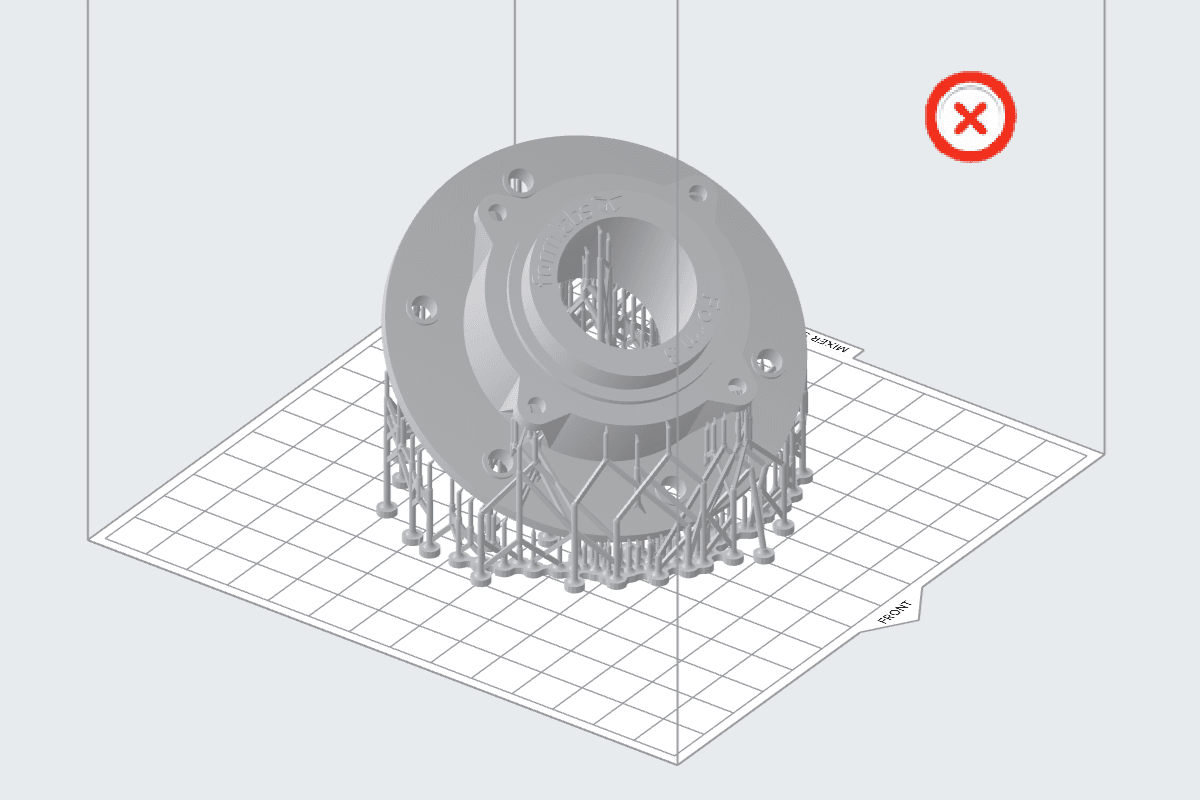
Do not use mini-rafts when printing with the Form Auto. The surface area on mini-rafts is too small to properly release from the print surface when it bends.
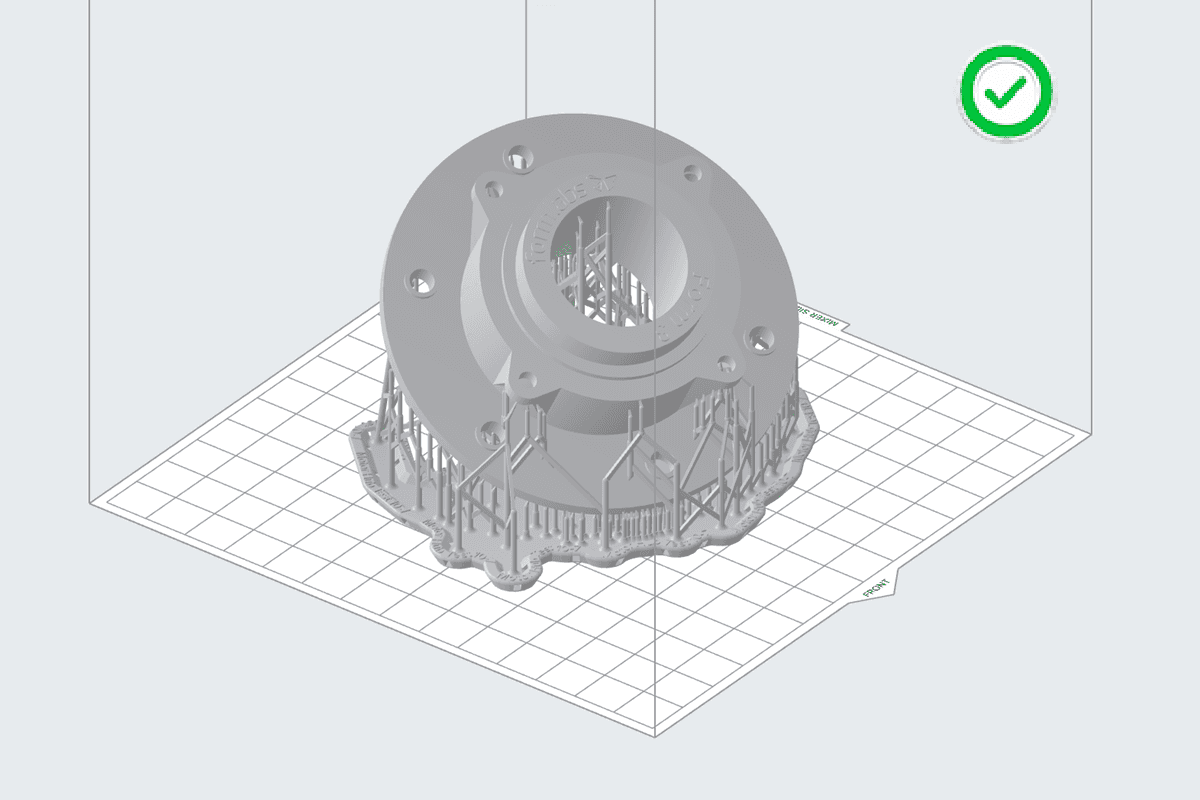
Model with a full raft in PreForm.
Model with a mini raft in PreForm.
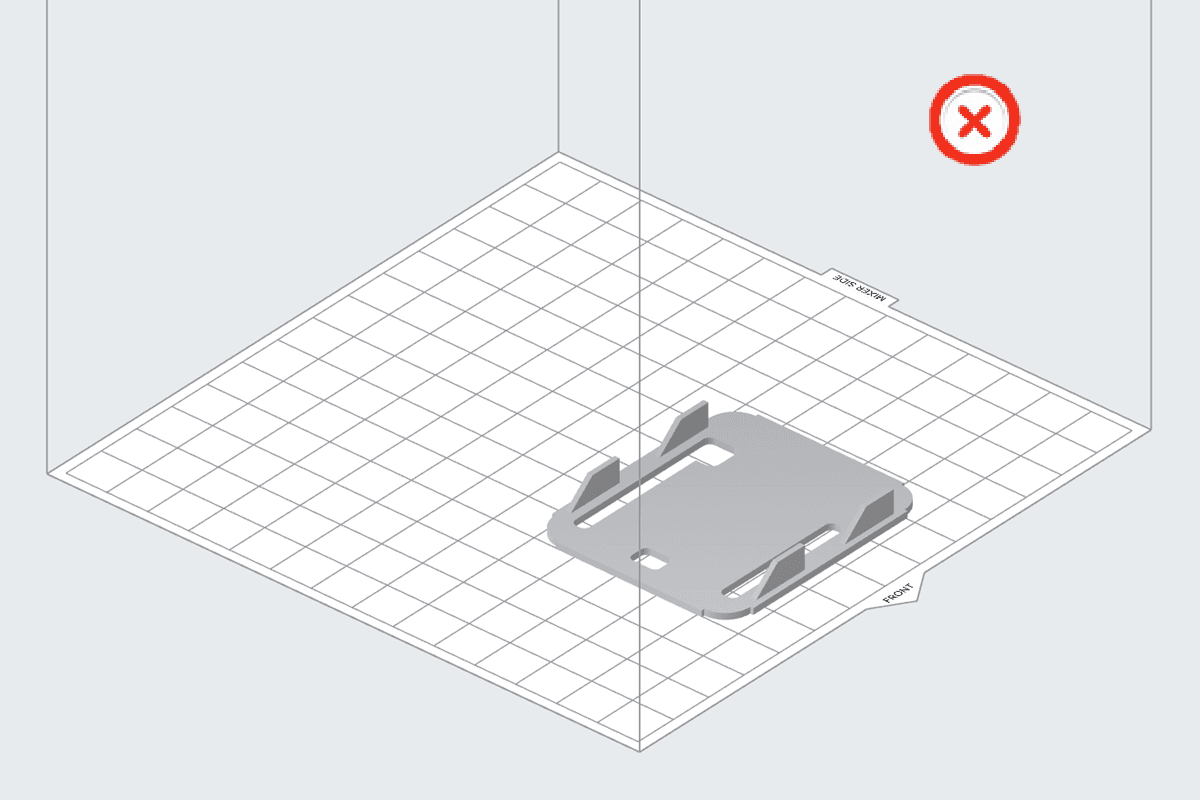
Add full rafts for thin parts
Thin parts printed directly on the build platform may be too small to completely release from the build platform when the surface flexes. Use full rafts to create a larger surface area.
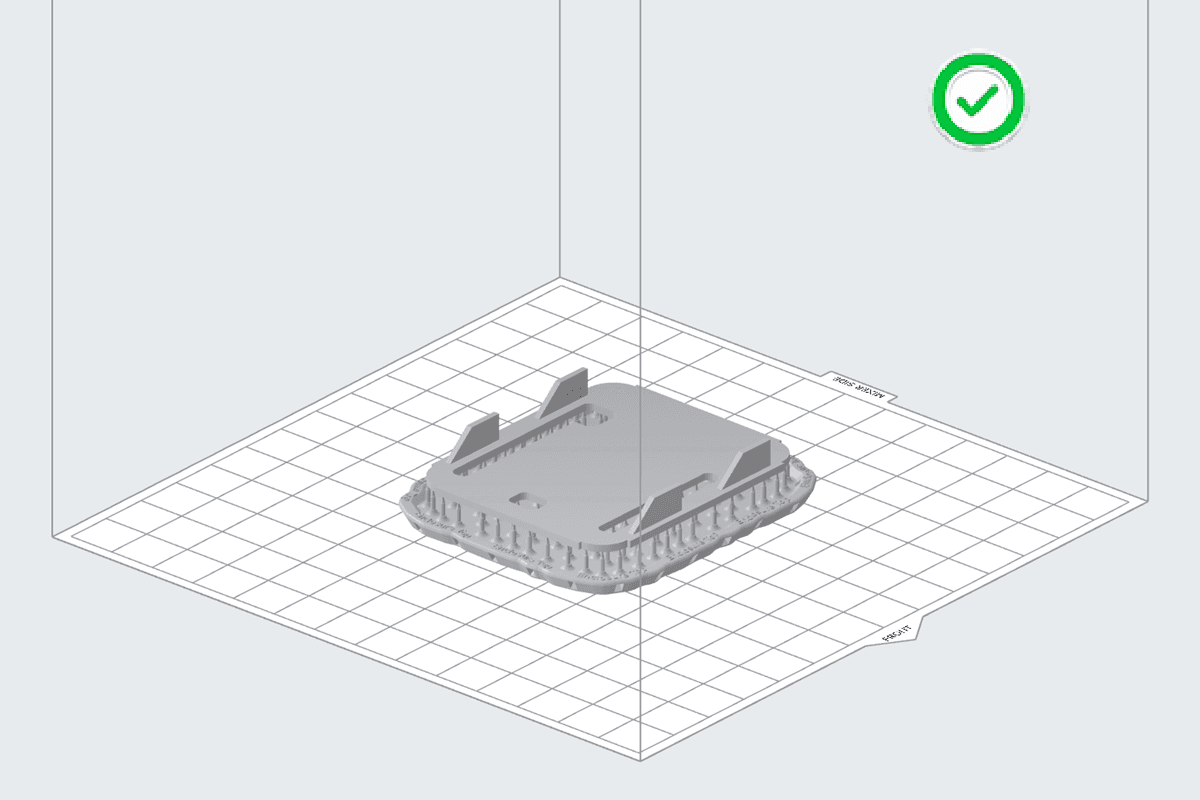
Thin model with a full raft in PreForm.
Thin model printed directly on the build scene in PreForm.
Increase raft thickness for small parts
The thickness of a raft affects how a print stays connected to the build platform. By default, Raft Thickness is set to a value of 2.00 mm. When printing small parts, increase Raft Thickness to 3.00 mm for more successful part harvests on the Form Auto.
To increase the raft thickness in PreForm:
Debris on the build platform
Failed prints may leave debris on the platform. Chips, shards and other kinds of debris may be a sign of model adherence issues. Thoroughly clean your build platform and fine tune your printer to improve printing success.
Fine tune your printer
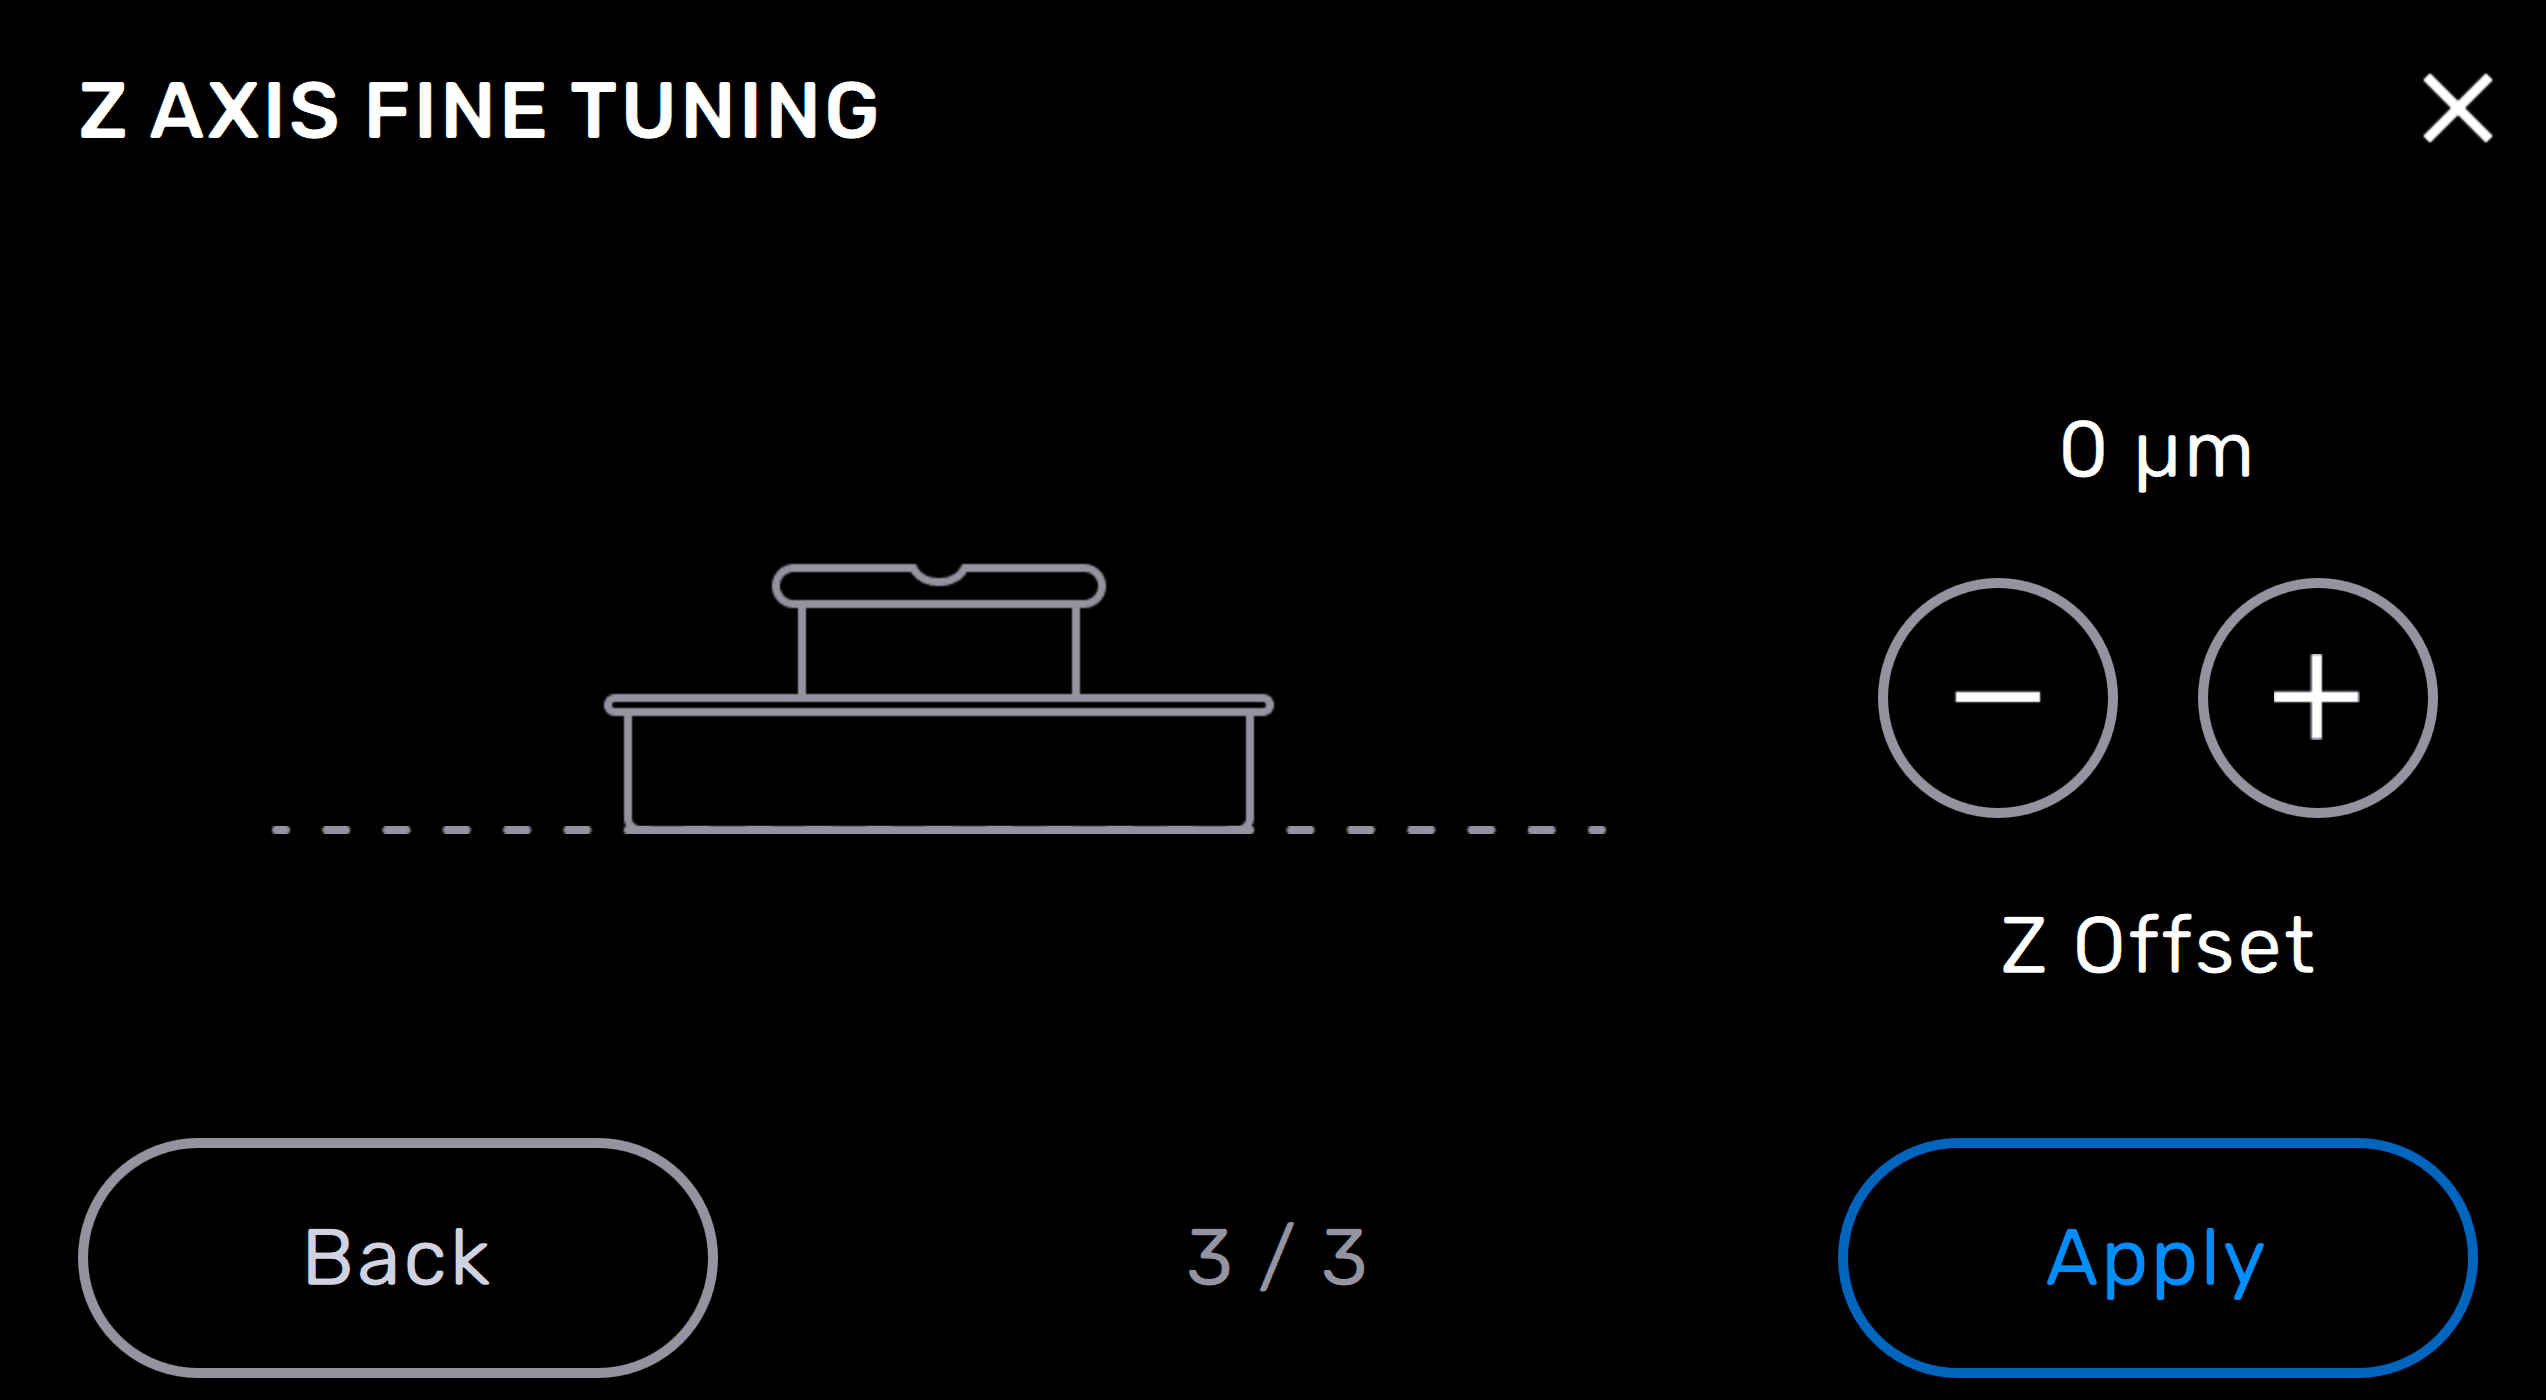
If your models are oriented properly and you are still having issues with parts releasing, Formlabs recommends using Z Axis Fine Tuning to mitigate model adherence issues, especially for parts printed in Model Resin V3. Z Axis Fine Tuning changes the height of the build platform above the tank’s flexible film before the first layer adheres to the build platform. Small adjustments adding to the build platform’s height may correct over-adherence in models.
To fine tune the Z-axis on a Formlabs LFS printer:
Keep PreForm updated
Formlabs regularly adds new features to PreForm to make printing easier and more consistent. This includes features specifically for the Form Auto. For example, PreForm 3.31.0 introduced a Build Platform 2 and Form Auto optimization feature, which tailors supports and part layout for the Build Platform 2, increases the default raft thickness to 3 mm, and enables part overlapping to optimize printing with the Build Platform 2.
Regularly update PreForm to access these new features.
Tall parts
The Form Auto is unable to automatically release parts taller than 115 mm, even if they fit within the printer’s build volume. If your parts are too tall to release from the build platform, PreForm displays the message Form Auto Part Release Height Exceeded in the Job Info panel and on the print upload screen. A printer installed on a Form Auto can still print a tall part, but the Form Auto will not attempt to automatically remove the printed part from the build platform and you will need to retrieve the part manually.
Printing dental models
Orthodontic models require specific best practices when printing on the Form Auto. For the best chance at success, design and orient your dental models according to Formlabs recommendations.
Dental models
Formlabs recommends printing solid dental models directly on the build platform for more accurate and reliable printed parts. Solid dental models also provide space to engrave case numbers or patient names for organizational purposes. Interlace dental models to utilize the available space on the build platform.
Orient parts in the center of the build platform and parallel to the front edge of the build platform.
Tip:
Orient dental models with the occlusal surfaces pointed away from the build platform to avoid the need for printing supports on critical parts of the model.
Hollow dental models require a 3.0 mm minimum wall thickness as well as ventilation holes to prevent suction cups when printing flat on the build platform.
Troubleshooting
Contact Formlabs Support or your authorized reseller if you are still experiencing part removal failures.