WHITE PAPER
Formlabs Logo

Using Finishing Tools

Using Finishing Tools

Supports are necessary for successful SLA printing. Removing the marks and bumps left by supports is an integral step of the finishing process. The Formlabs Finishing Tools kit includes basic supplies for finishing parts printed on Formlabs SLA printers.

After printing, use the Finishing Tools to remove supports and marks during post-processing. The Finishing Tools are an additional supplement to the recommended Formlabs Finish Kits.

Finishing Tools components

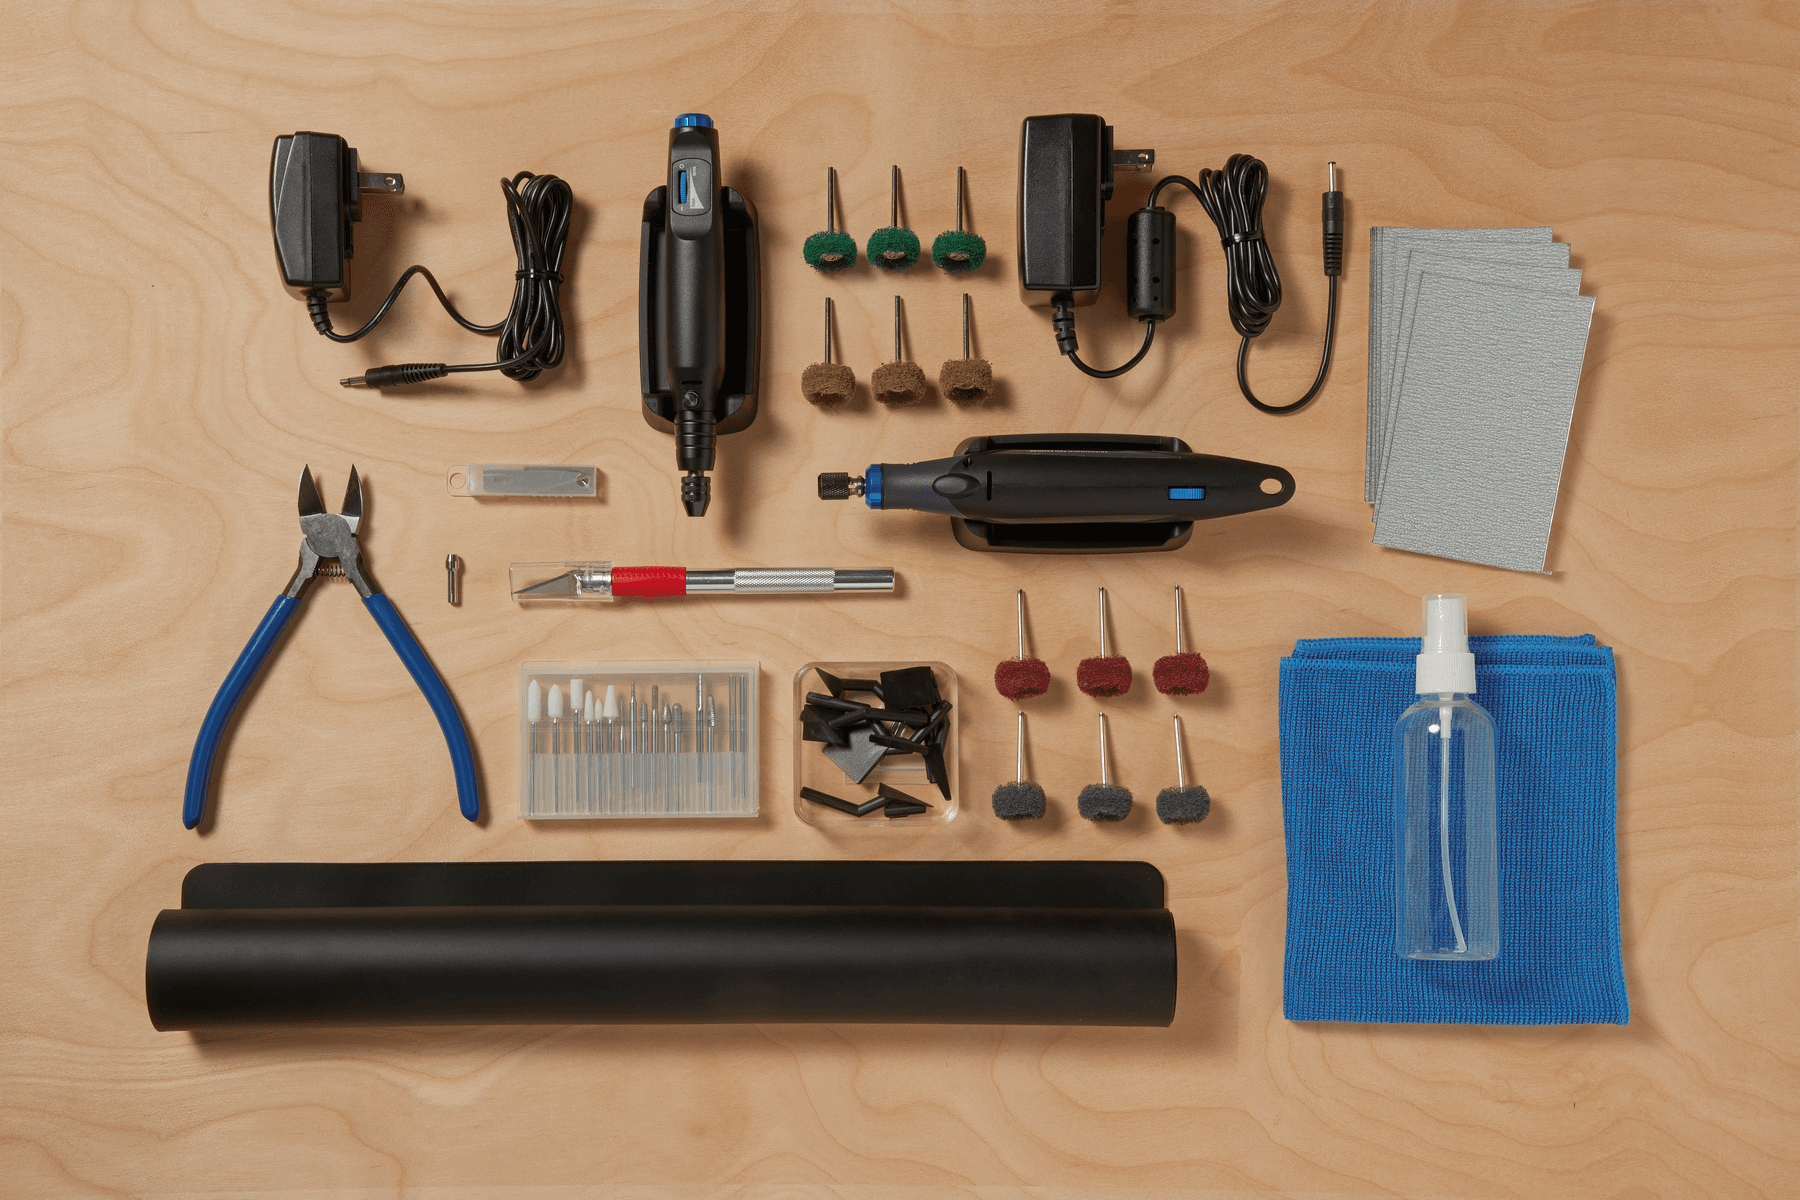
Formlabs Finishing Tools kit

Formlabs Finishing Tools help you post-process high-quality finished parts quickly and easily.

  • Ergonomic pen sander: A power tool ideal for sanding flat and gently-curved surfaces to create a uniform surface finish.
  • Rotary tool: A multi-purpose precision power tool for removing support marks, enlarging holes, modifying geometry, and buffing parts to create a uniform surface finish.
  • Rotary tool bit kit: A curated selection of stainless steel bits for grinding, polishing, and buffing support tips.
  • Rotary tool buffing pads: A selection of various grit buffing pads for creating a uniform surface finish after grinding and sanding.
  • Flush cutters: Robust flush cutters for removing support tips.
  • Hobby knife: For precisely removing individual support tips, modifying part geometry, or cutting sandpaper for use with the pen sander. Replacement blades are included.
  • Microfiber cloth: For cleaning dust from sanding and polishing parts.
  • Spray bottle: Fill with isopropyl alcohol (IPA), water, or mineral oil to help remove dust from sanding and to polish surfaces.
  • Silicone work mat: A large silicone mat (16 × 24 in / 40 × 60 cm) for protecting work surfaces when removing supports and finishing parts.

Notice:

Be sure to clean all liquid resin spills with IPA after use.

Finishing Tools technical specifications

Understand the technical specifications of Formlabs Finishing Tools.

Ergonomic pen sander:

  • Input: 100–240 VAC, 50/60 Hz
  • Output: 12 V, 0.5 A
  • Speed: 1,000–6,000 linear strokes/min
  • Stroke length: 3 mm

Rotary tool:

  • Input: 100–240 VAC, 50/60 Hz
  • Output: 18 V, 1 A
  • Speed: 1,800–12,500 RPM

Using the Finishing Tools

Power adapter

The power adapter comes with the appropriate electrical plug for your region.

To insert the electrical plug into the adapter:

  1. Align the plug with the cutout in the adapter.
  2. Insert the tab on the top of the plug with the corresponding slot in the adapter.
  3. Press down on the plug until it clicks into place.

To remove the plug:

  1. Slide the latch on the adapter downwards, away from the plug.
  2. Lift the plug away from the adapter.

To remove the plug:

Pen sander

The pen sander comes with a variety of bit shapes and adhesive sandpaper.
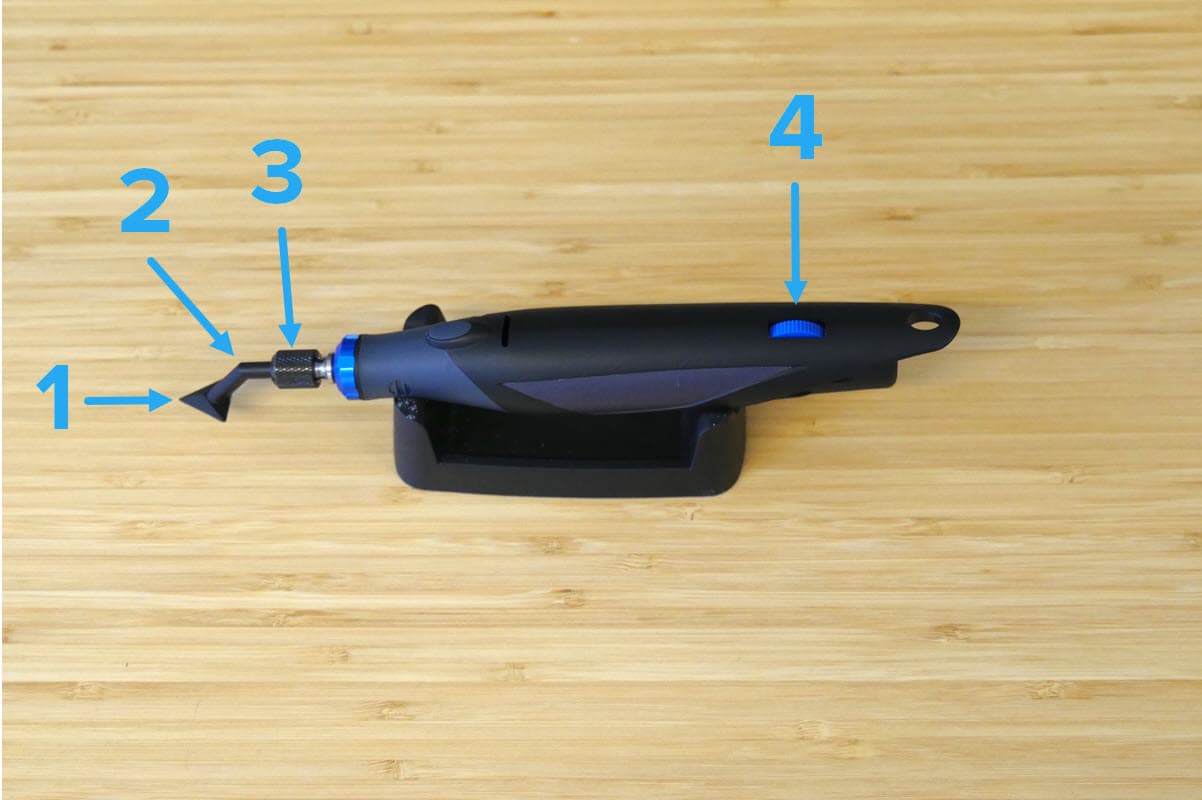
  1. Bit
  2. Bit shank
  3. Chuck
  4. Speed dial
Annotated image of the pen sander

To prepare the bits:

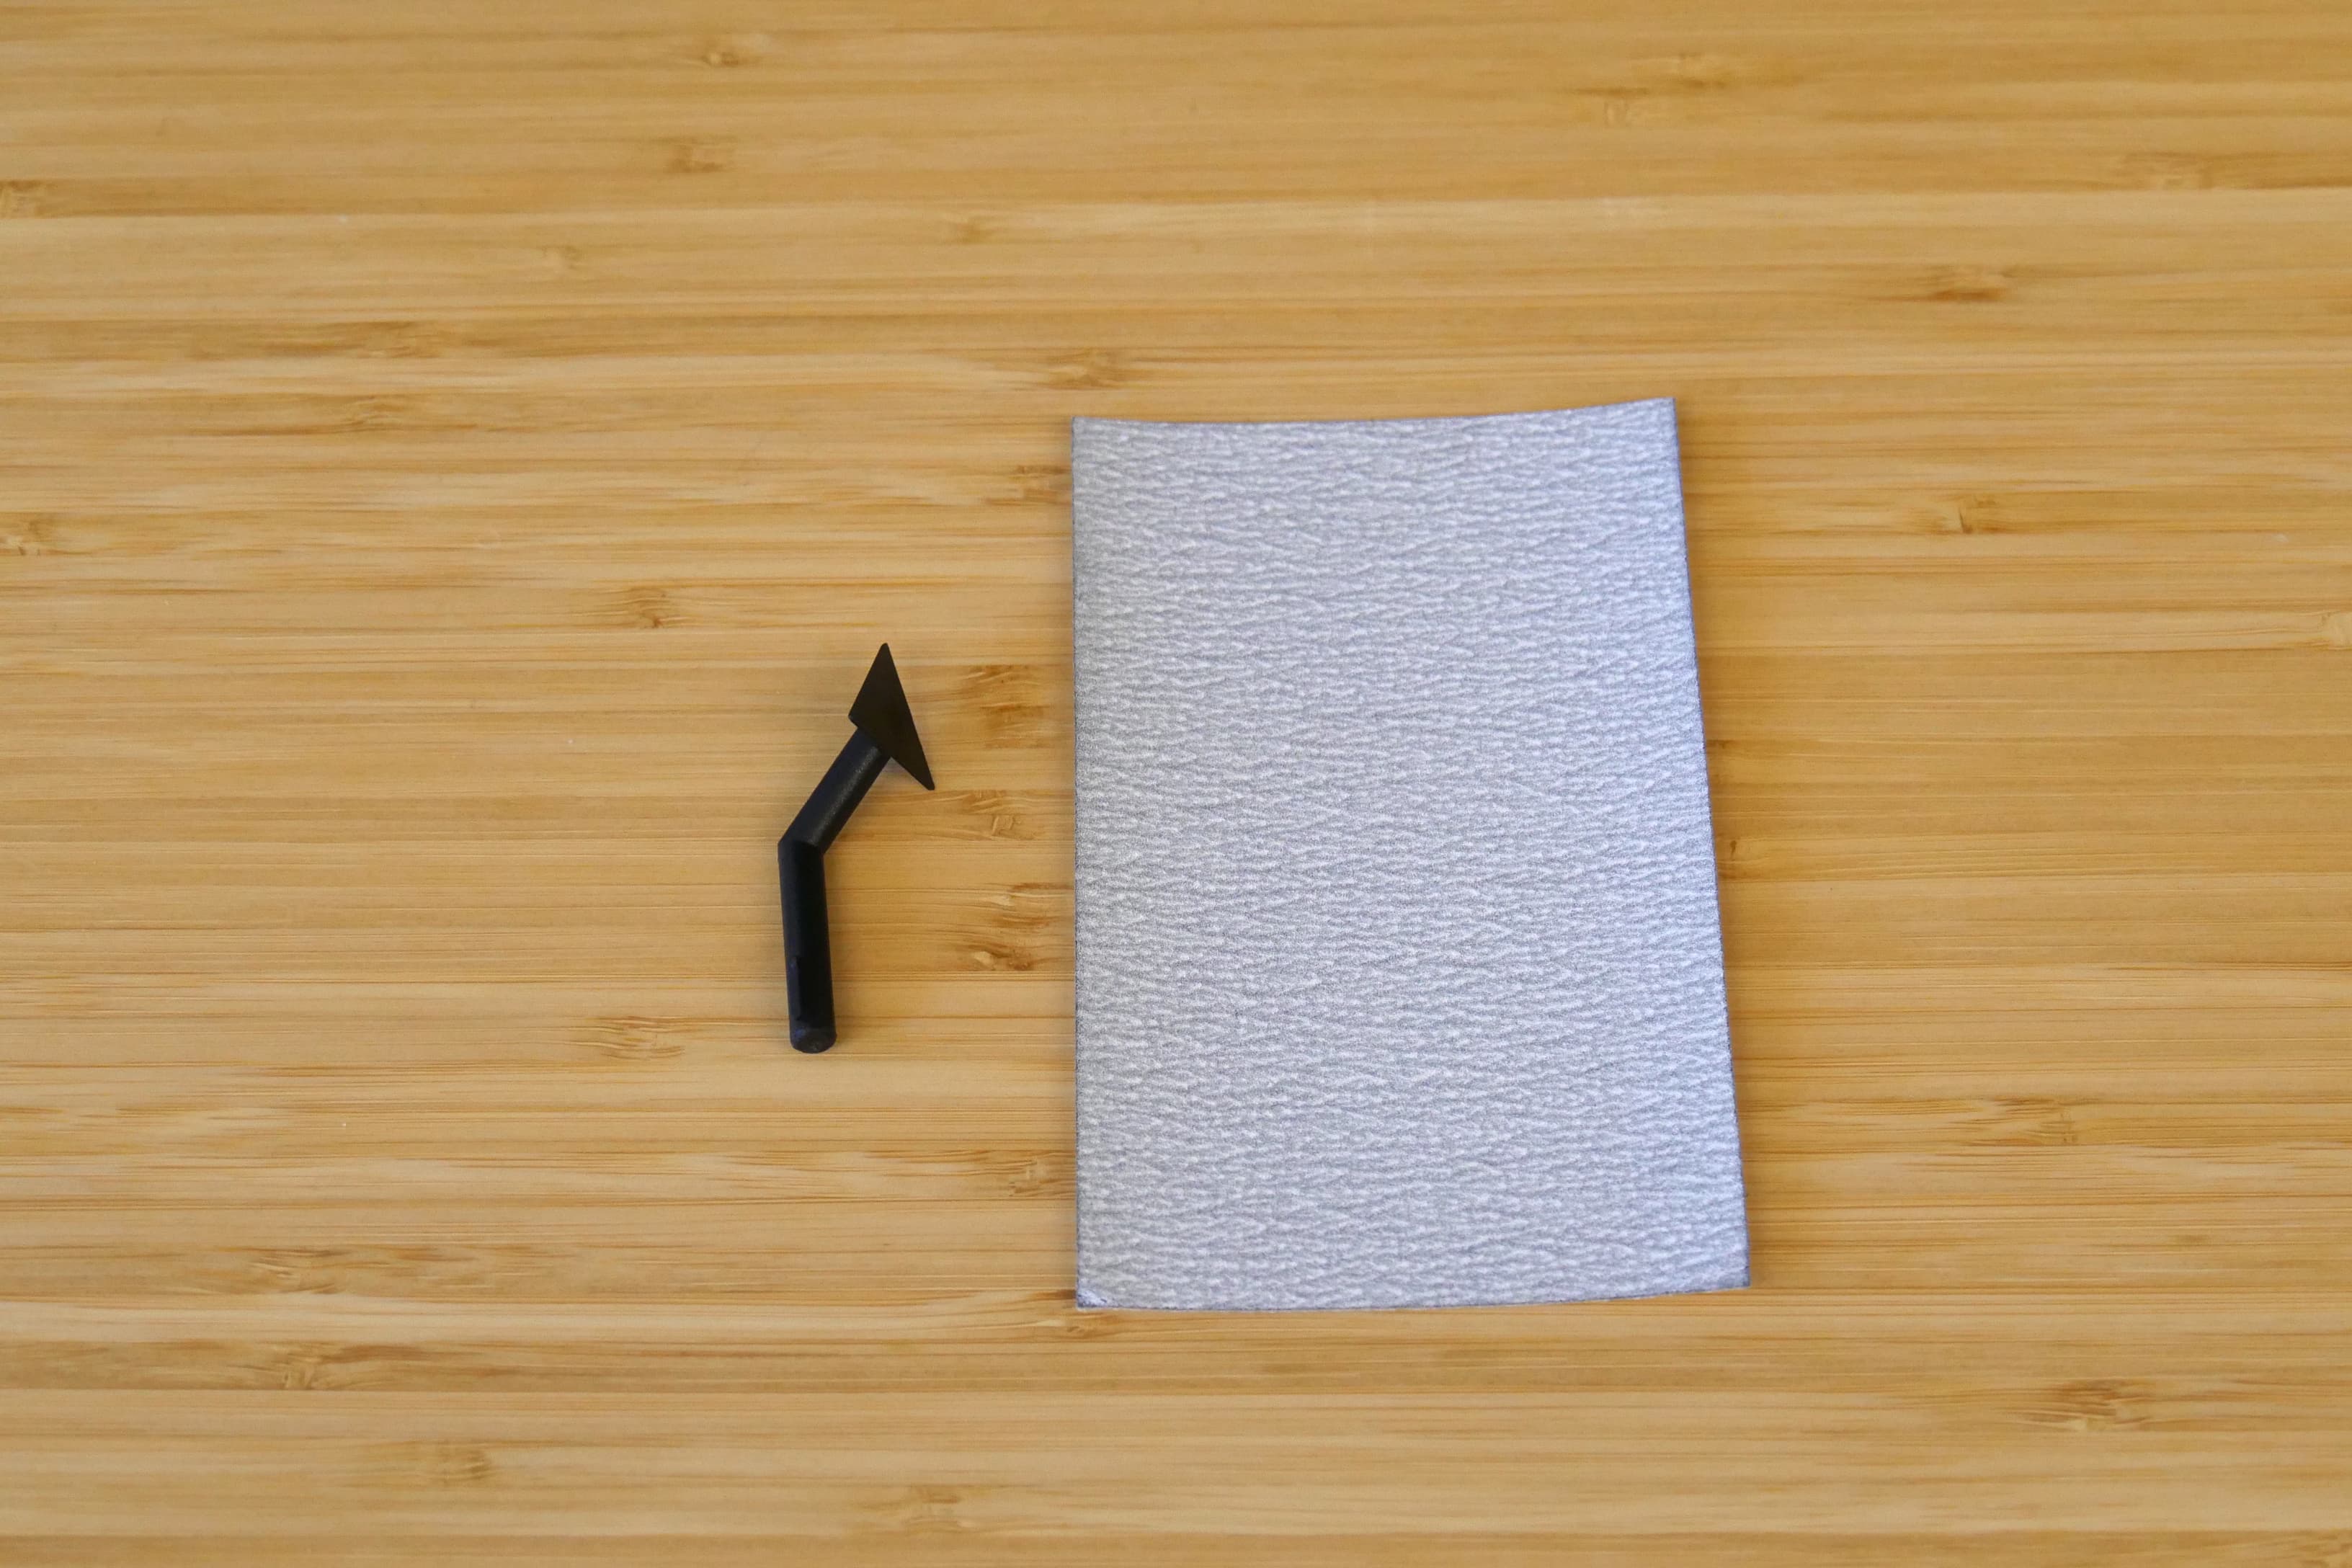
  1. Cut out a piece of sandpaper sized to fit the bit of your choice.
  2. Peel the backing sheet off the sandpaper.
Sandpaper and bit for the Formlabs Finishing Tool pen sander
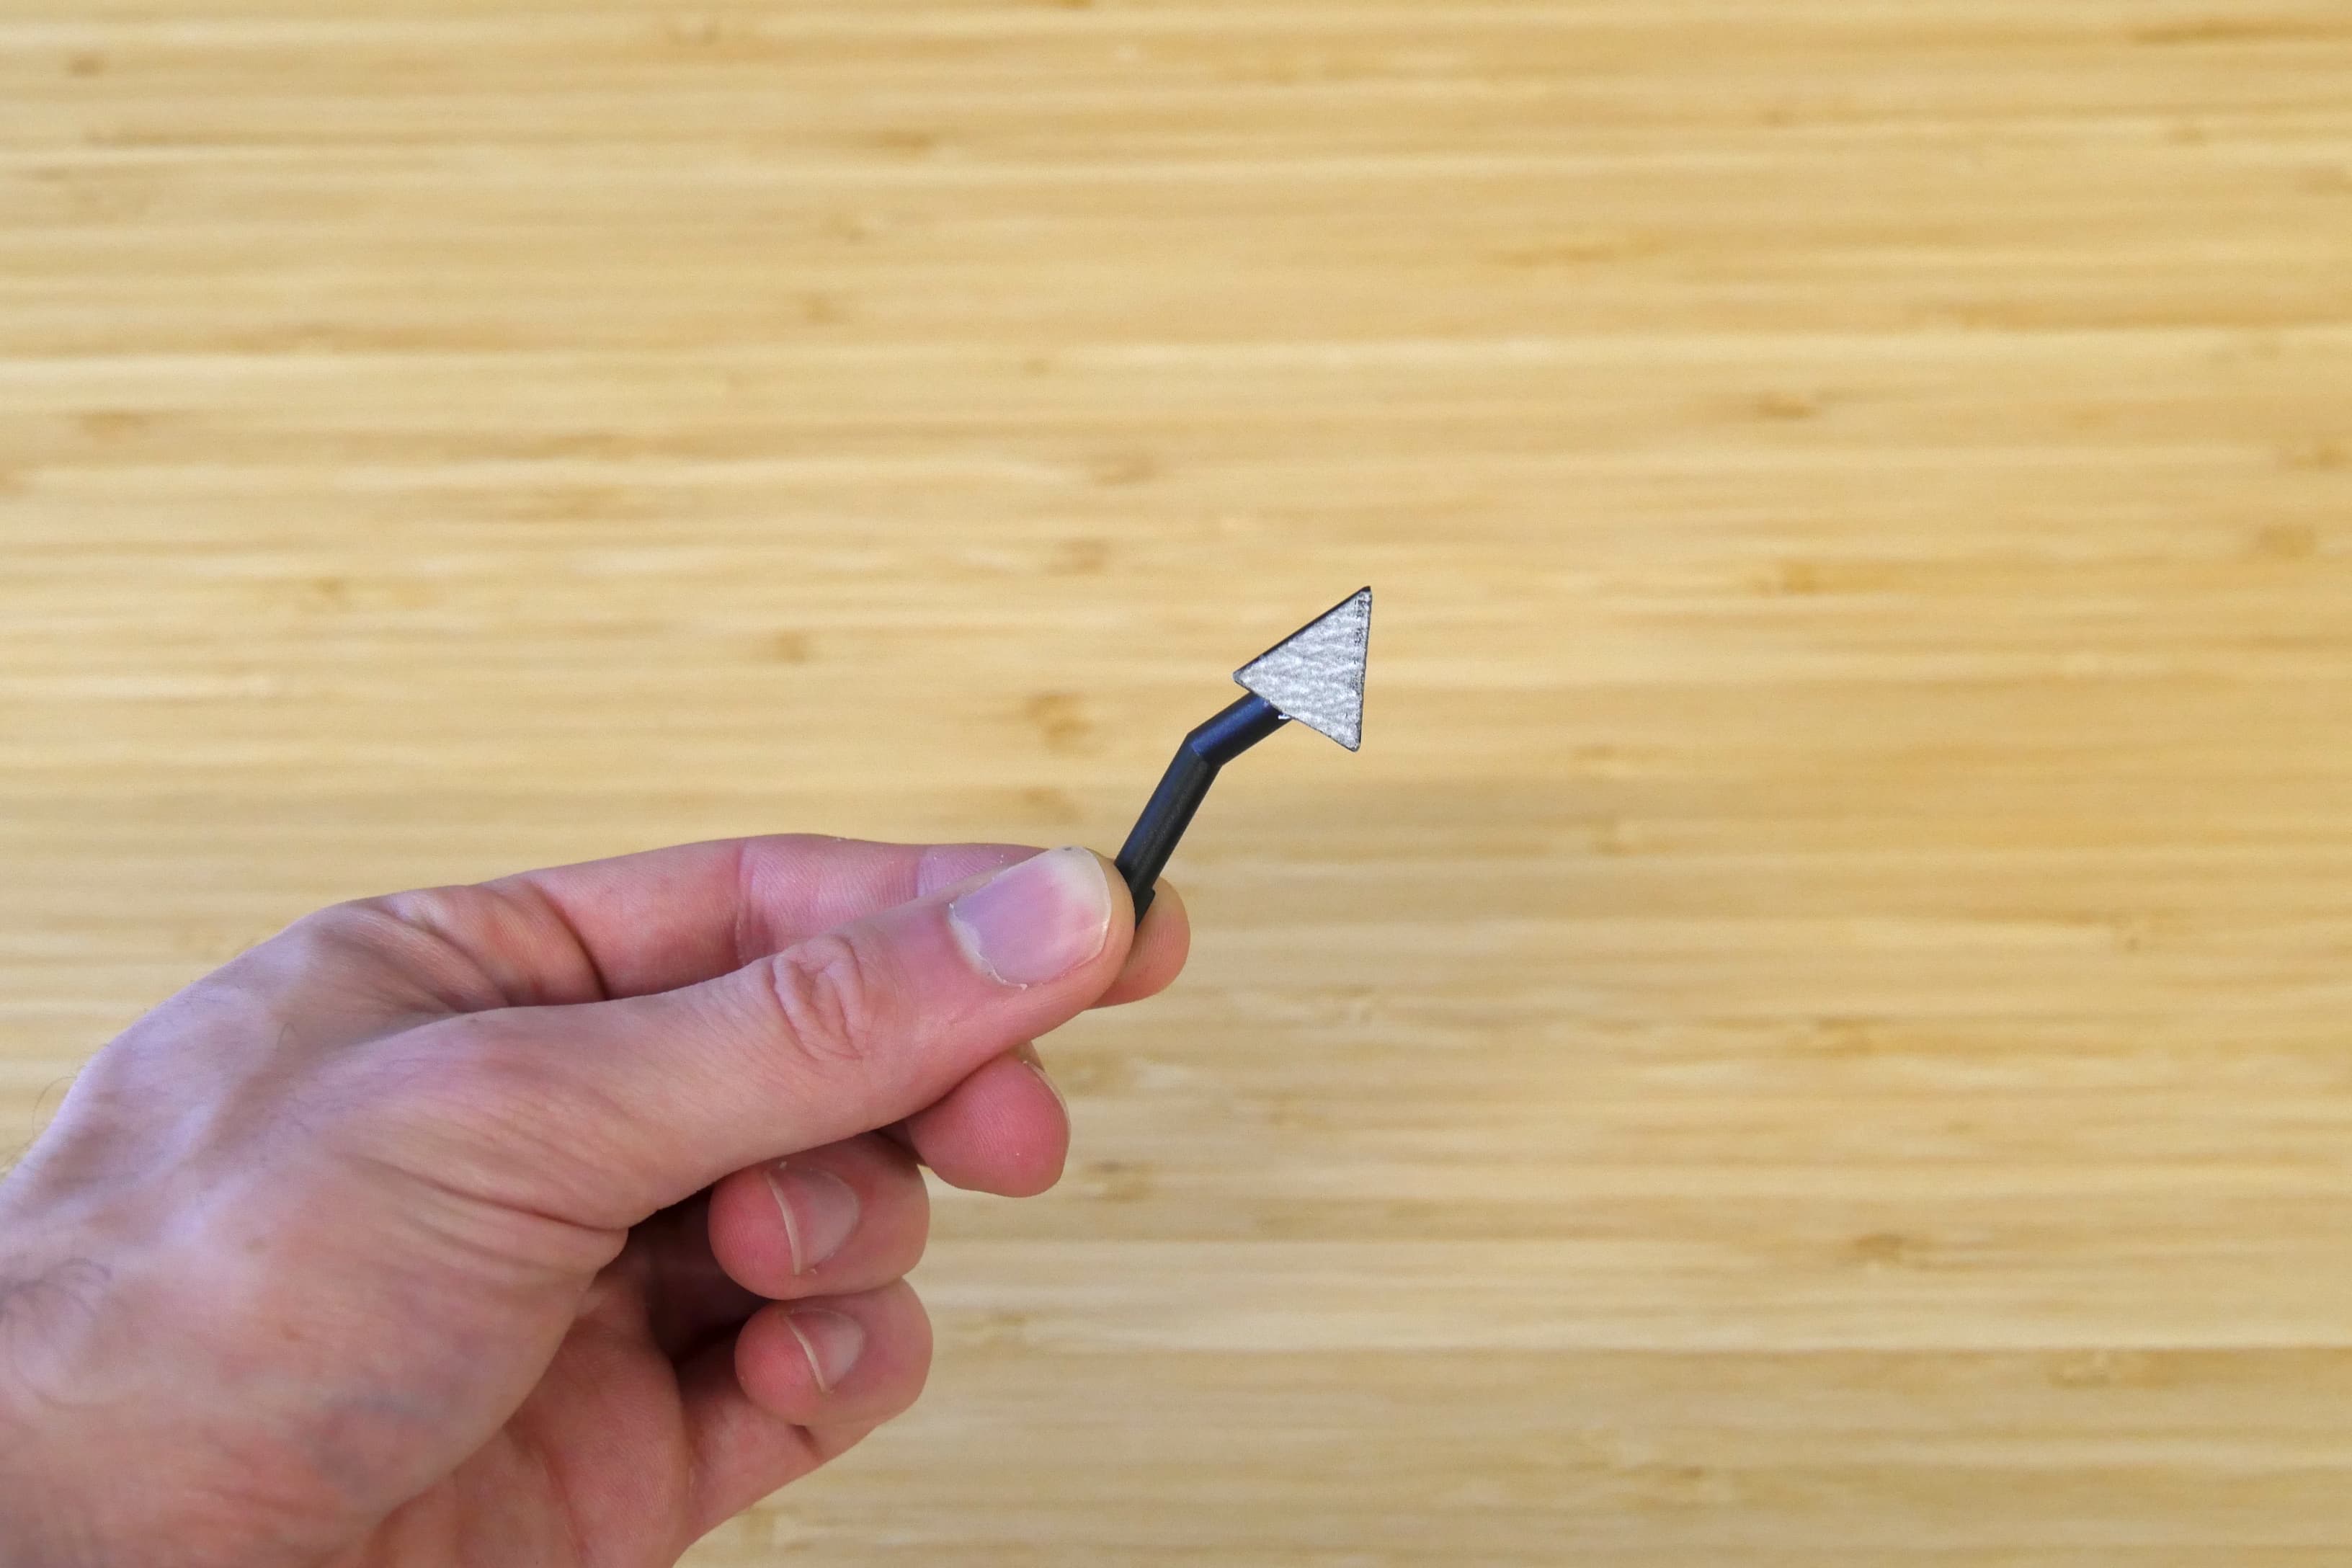
  1. Adhere the sandpaper to the face of the bit.
Finishing Tool pen sander bit with sandpaper attached

To insert a bit into the pen sander:
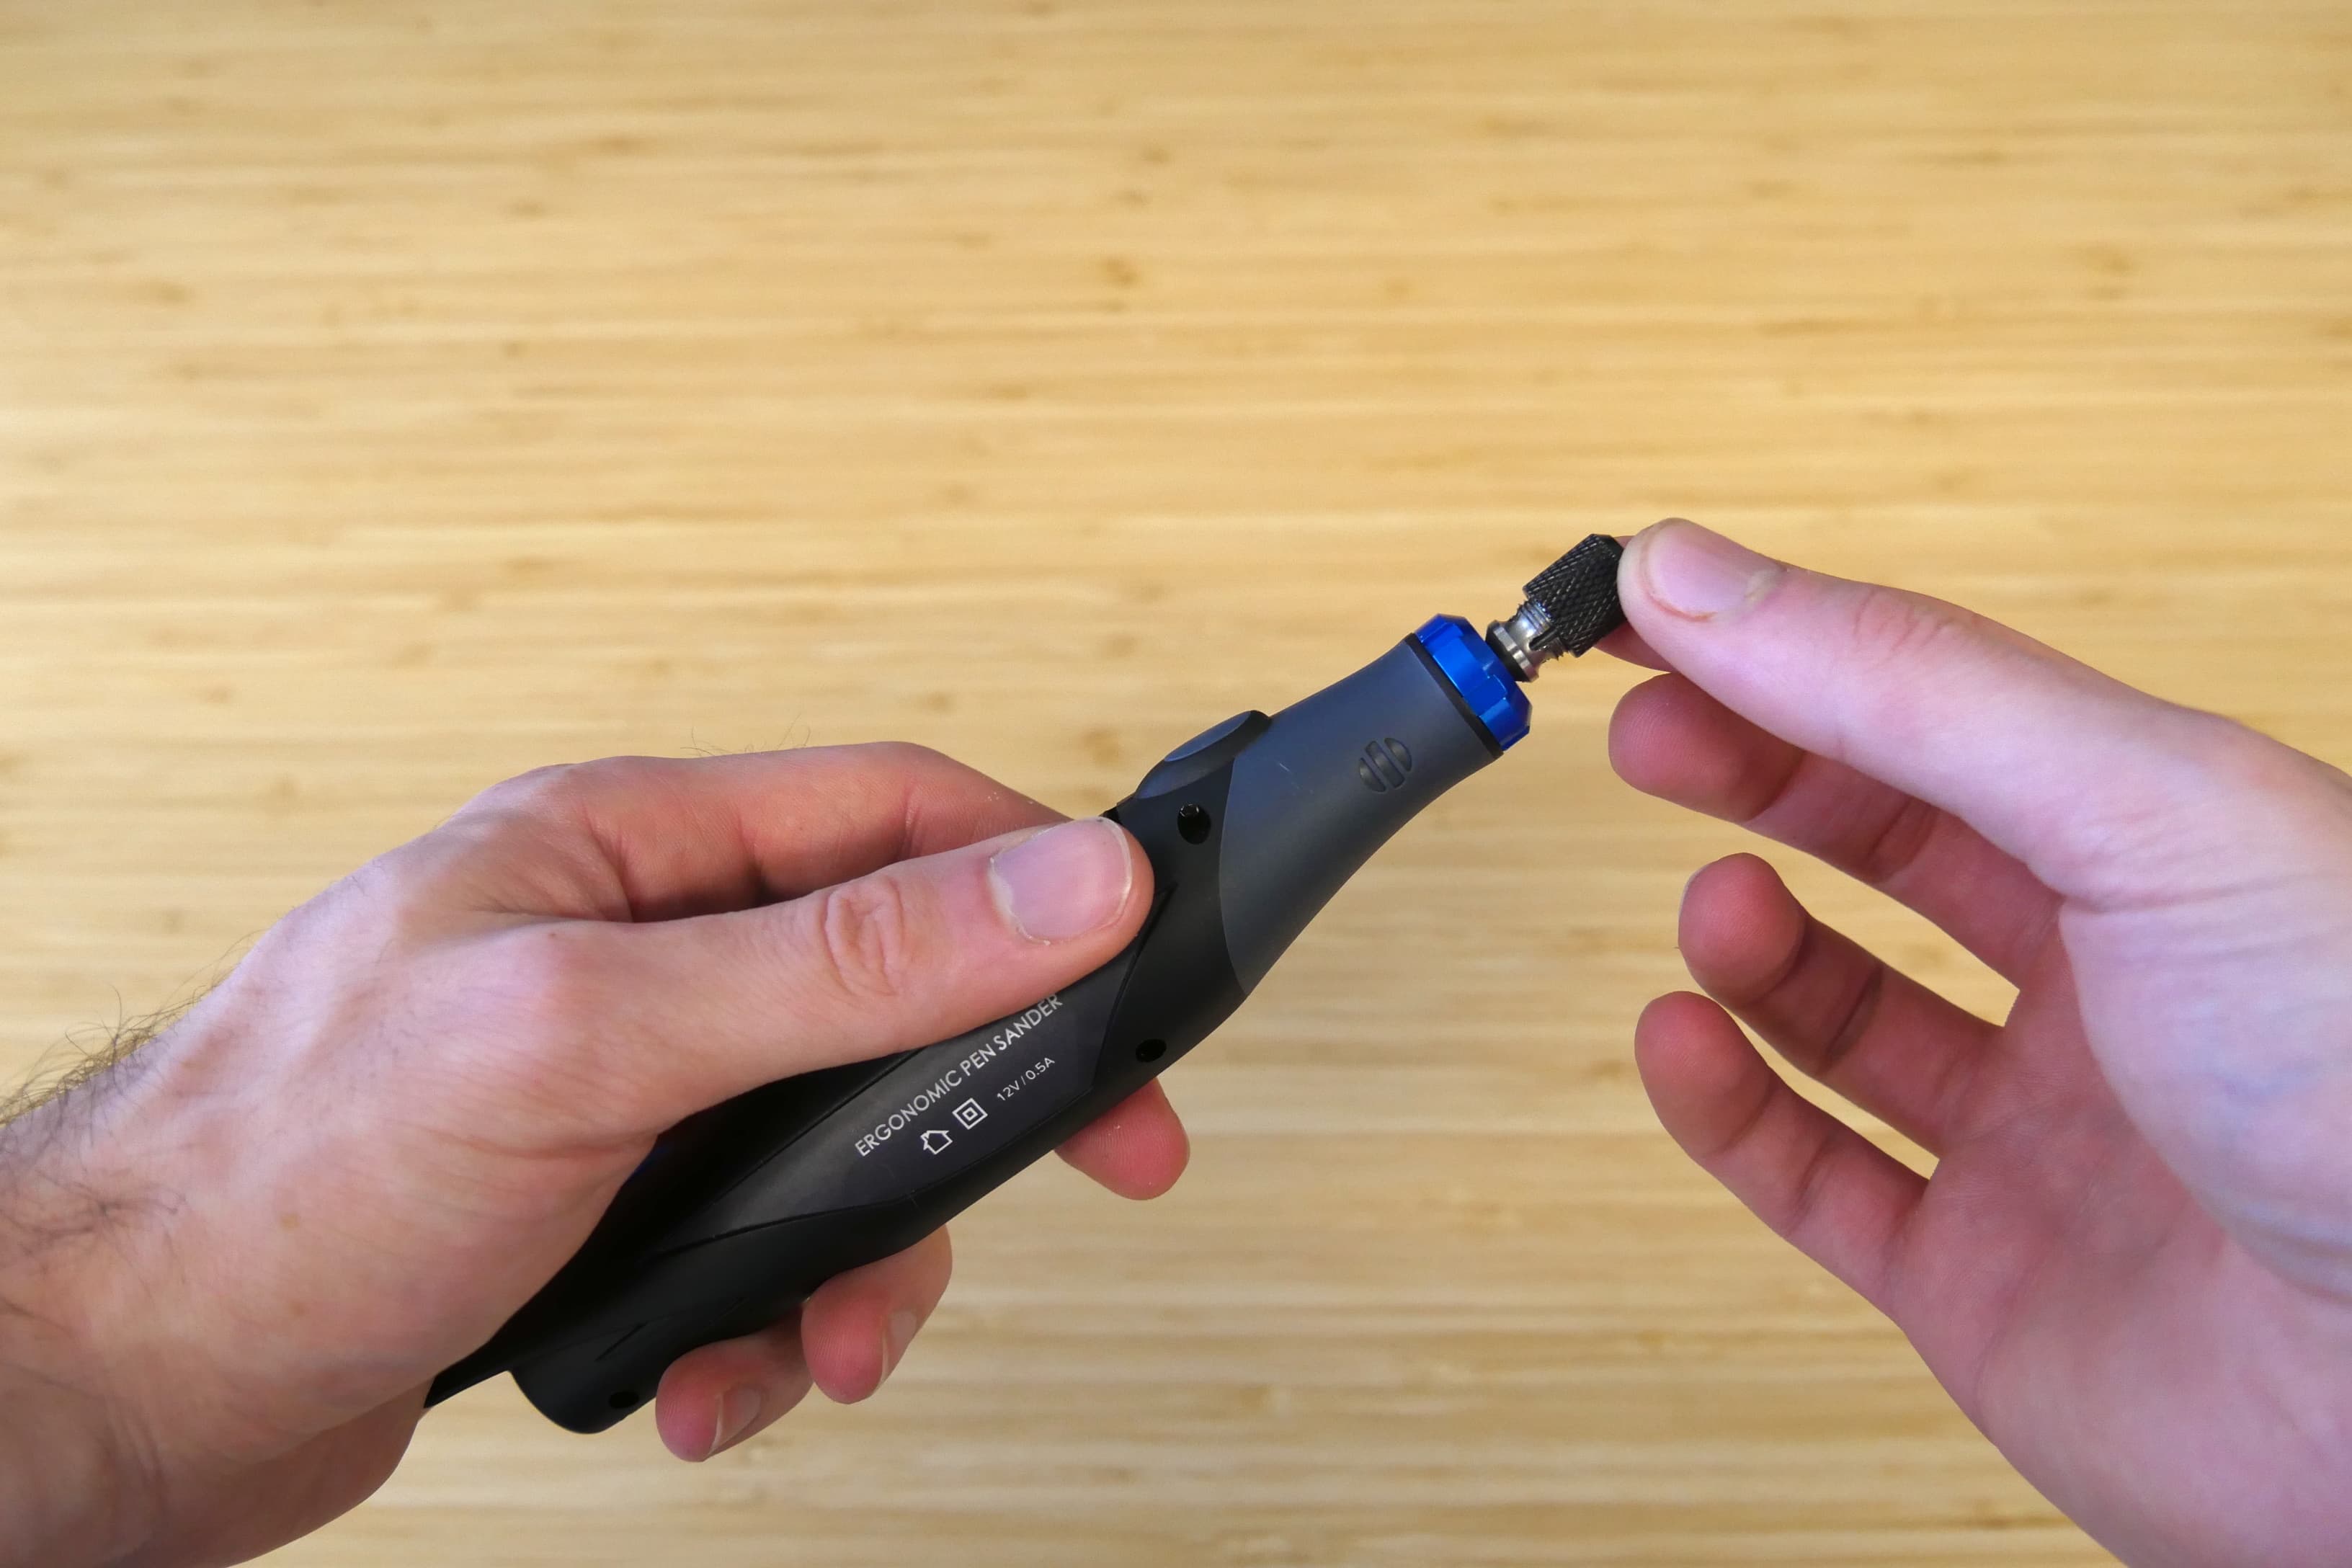
  1. Loosen, but do not remove the chuck.
Loosen the chuck on the pen sander
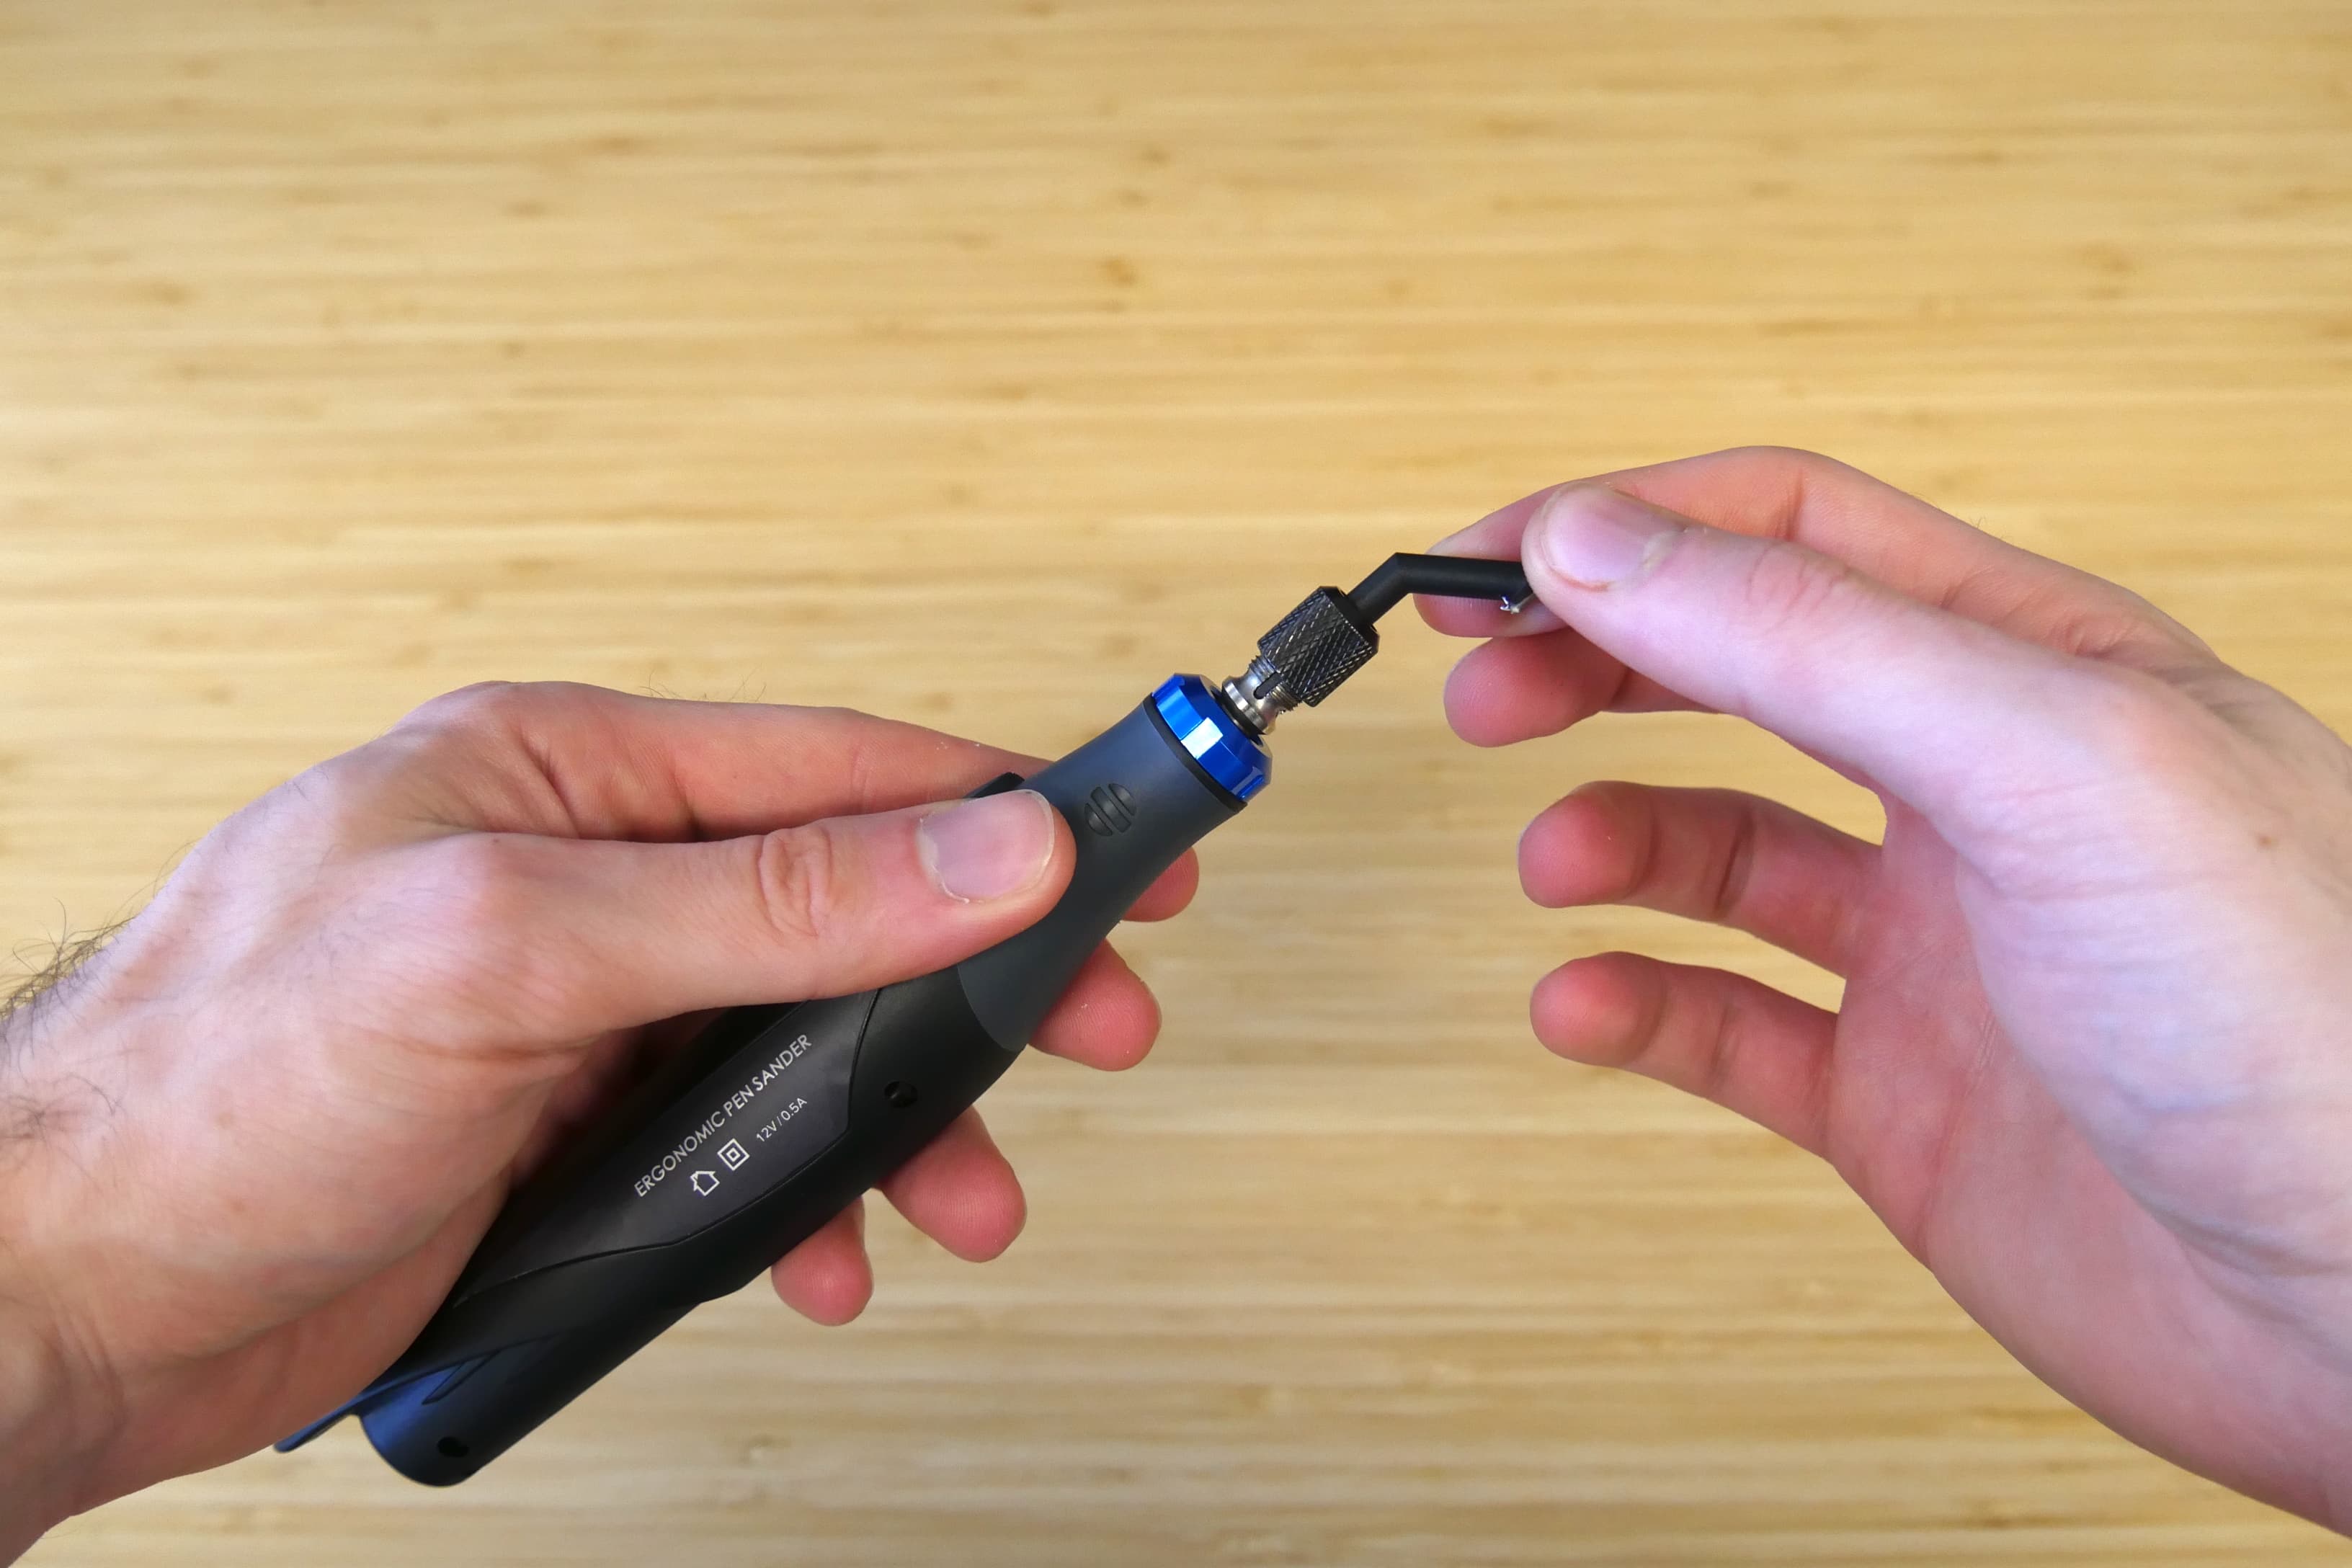
  1. Slide the bit shank fully into the chuck. The bits only fit into the chuck in certain orientations.
Insert the bit into the Formlabs Finishing Tool pen sander
  1. Tighten the chuck until snug.
Tighten the chuck on the Formlabs Finishing Tool pen sander

To use the pen sander:

  1. Connect the pen sander to a power source using the included power adapter.
  2. Slowly turn the speed dial at the rear of the pen sander to adjust speed.
  3. Sand your printed part, maintaining a firm grip on the pen sander.
  4. Turn the pen sander off before unplugging or when not in use. To turn the pen sander off, turn the speed dial towards the bit until it clicks.

Caution:

The pen sander may become hot after prolonged usage. Take a 10 minute break after every 30 minutes of usage.

Rotary tool

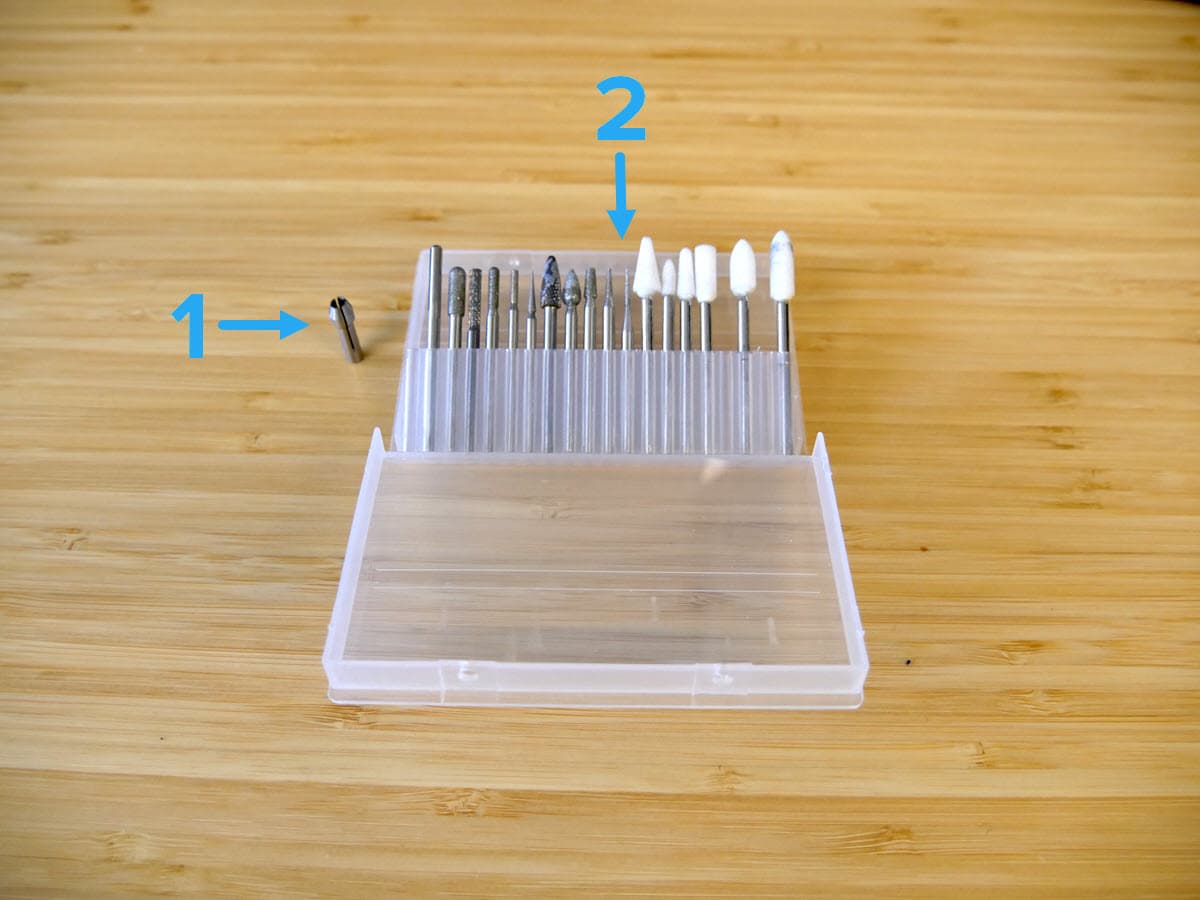
The rotary tool comes with a preinstalled 2.35 mm collet, a 3 mm collet, and a variety of bits.
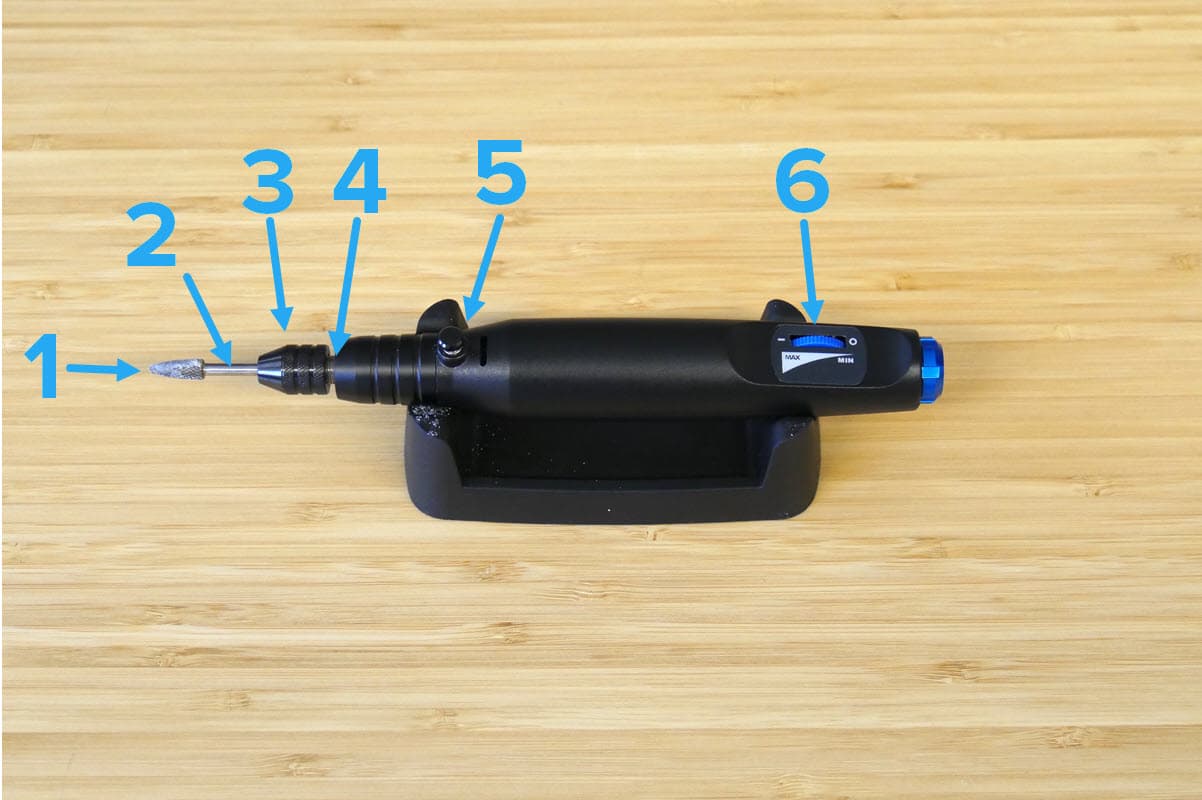
  1. Bit
  2. Bit shank
  3. Chuck
  4. Collet (inside chuck, not shown)
  5. Chuck lock
  6. Speed dial
annotated Formlabs Finishing Tool rotary tool
  1. Collet
  2. Various bits for the rotary tool
Rotary tool bits and collet

To insert a bit into the rotary tool:
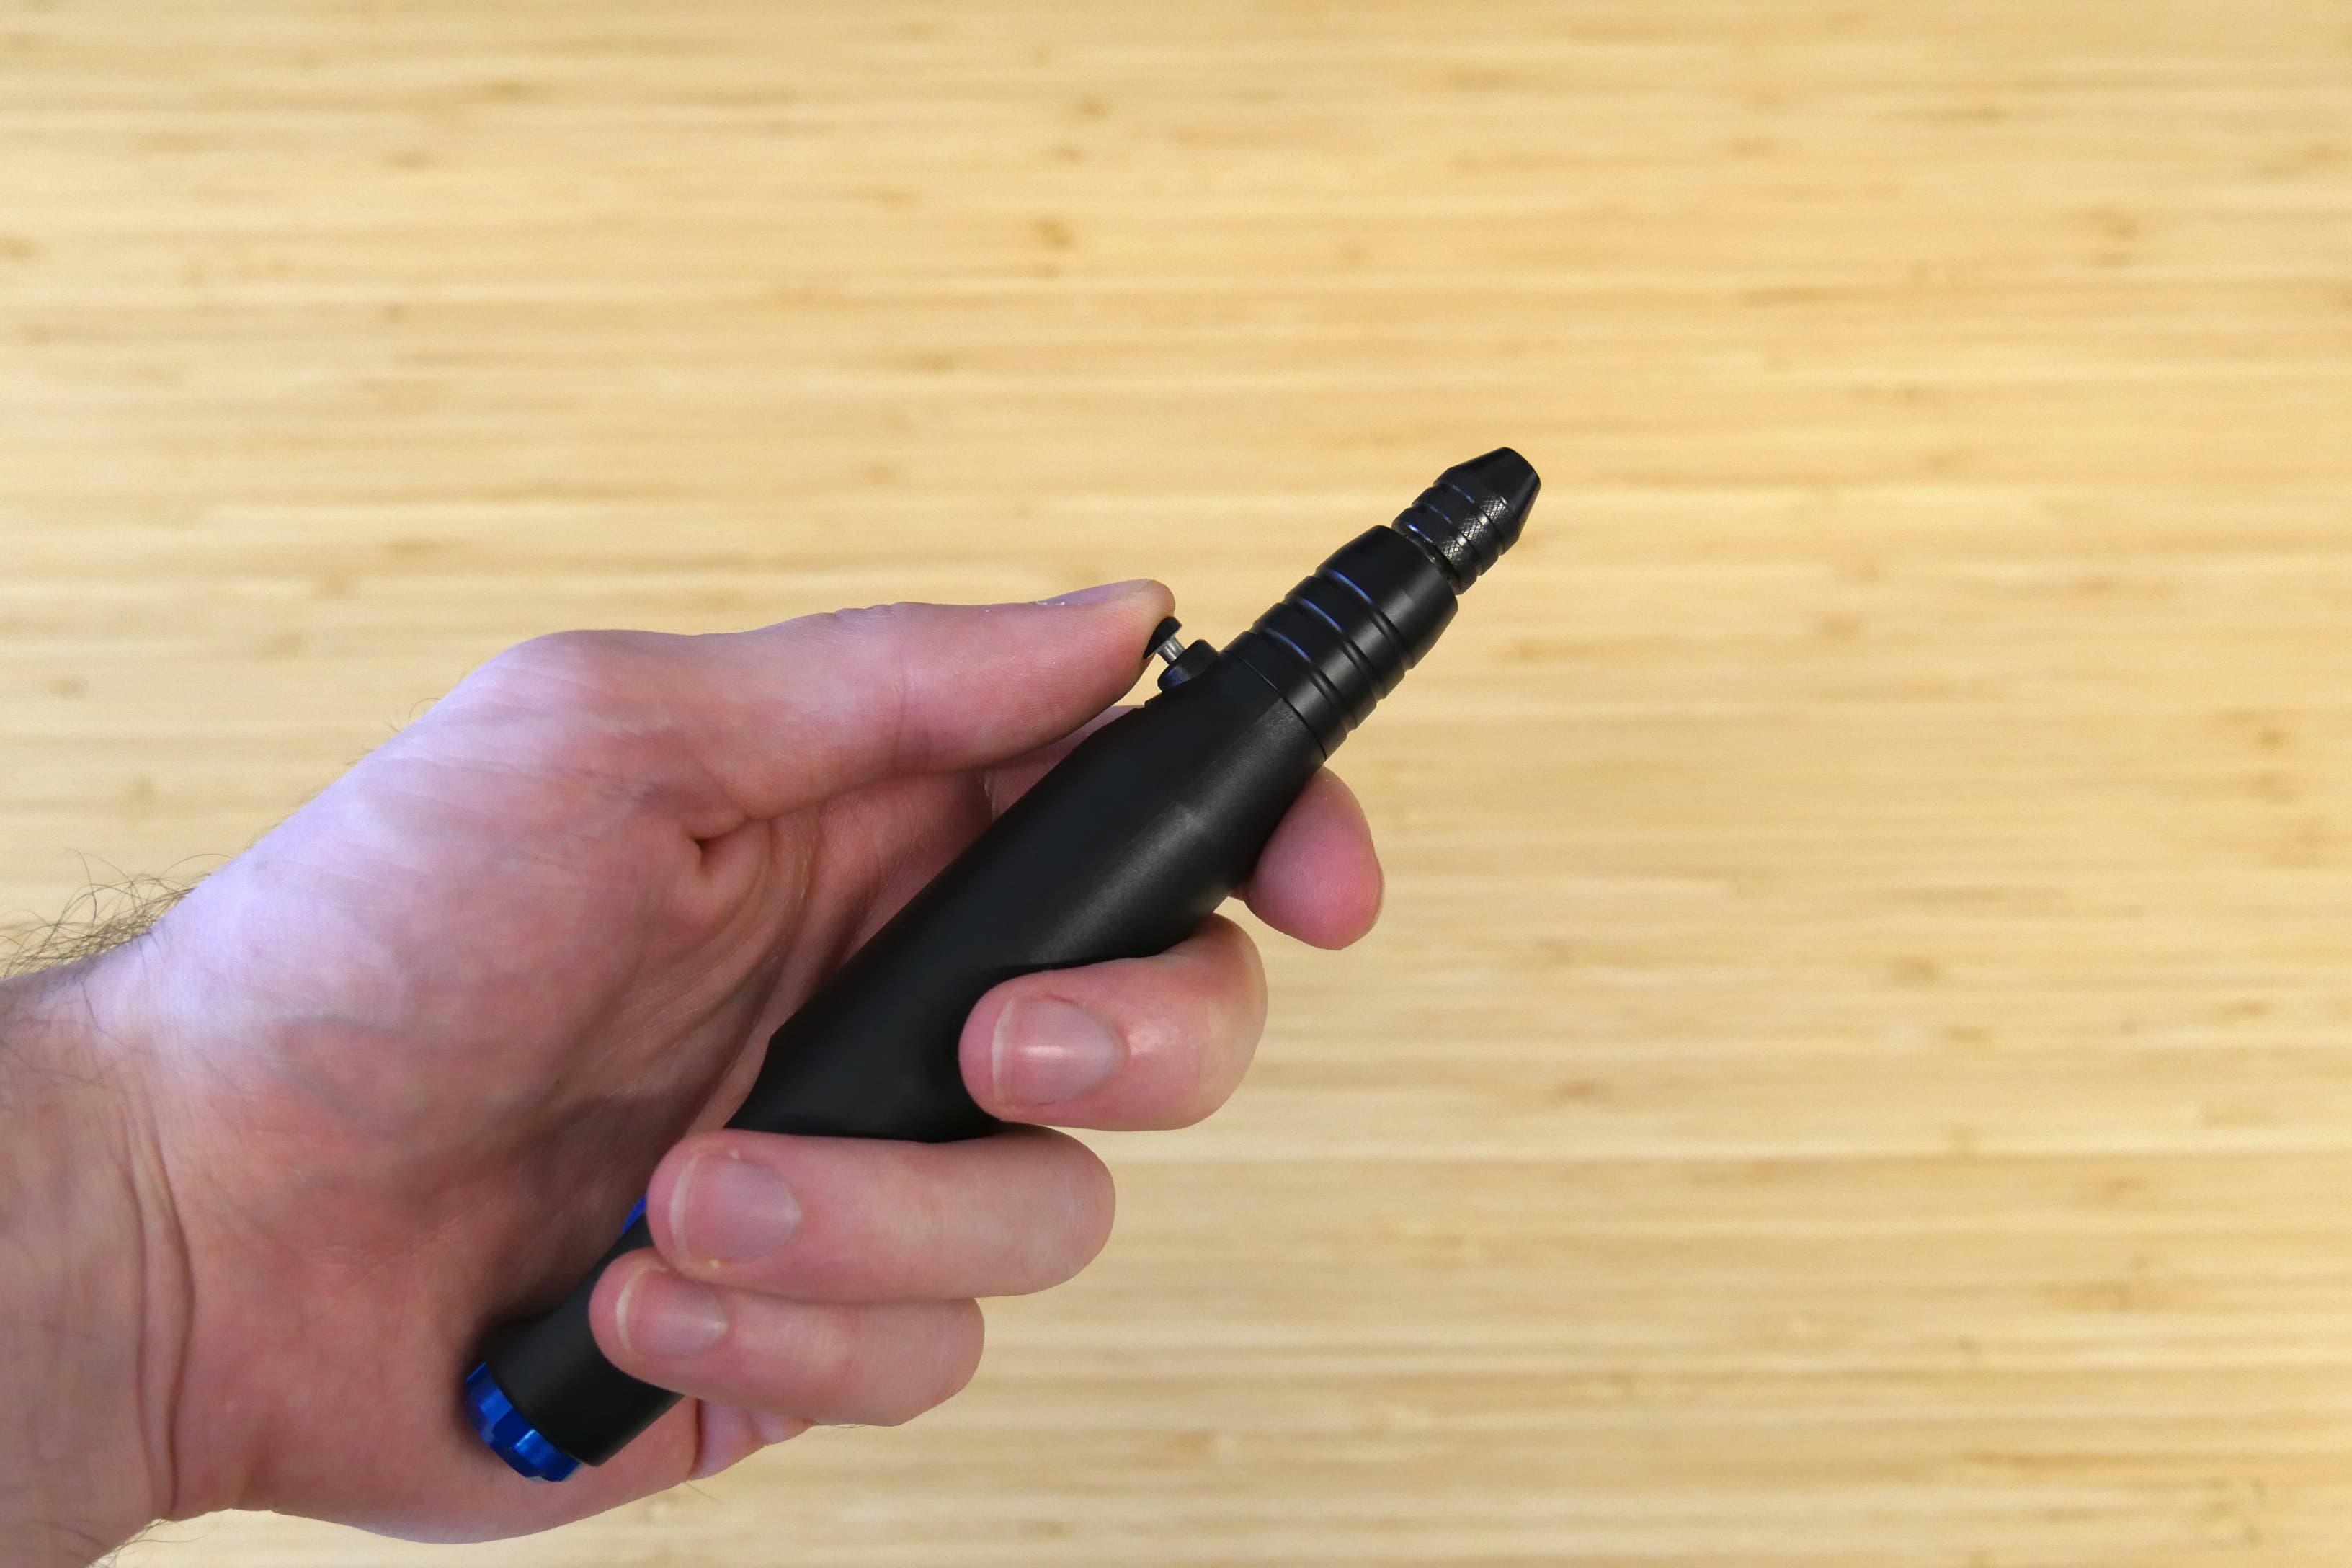
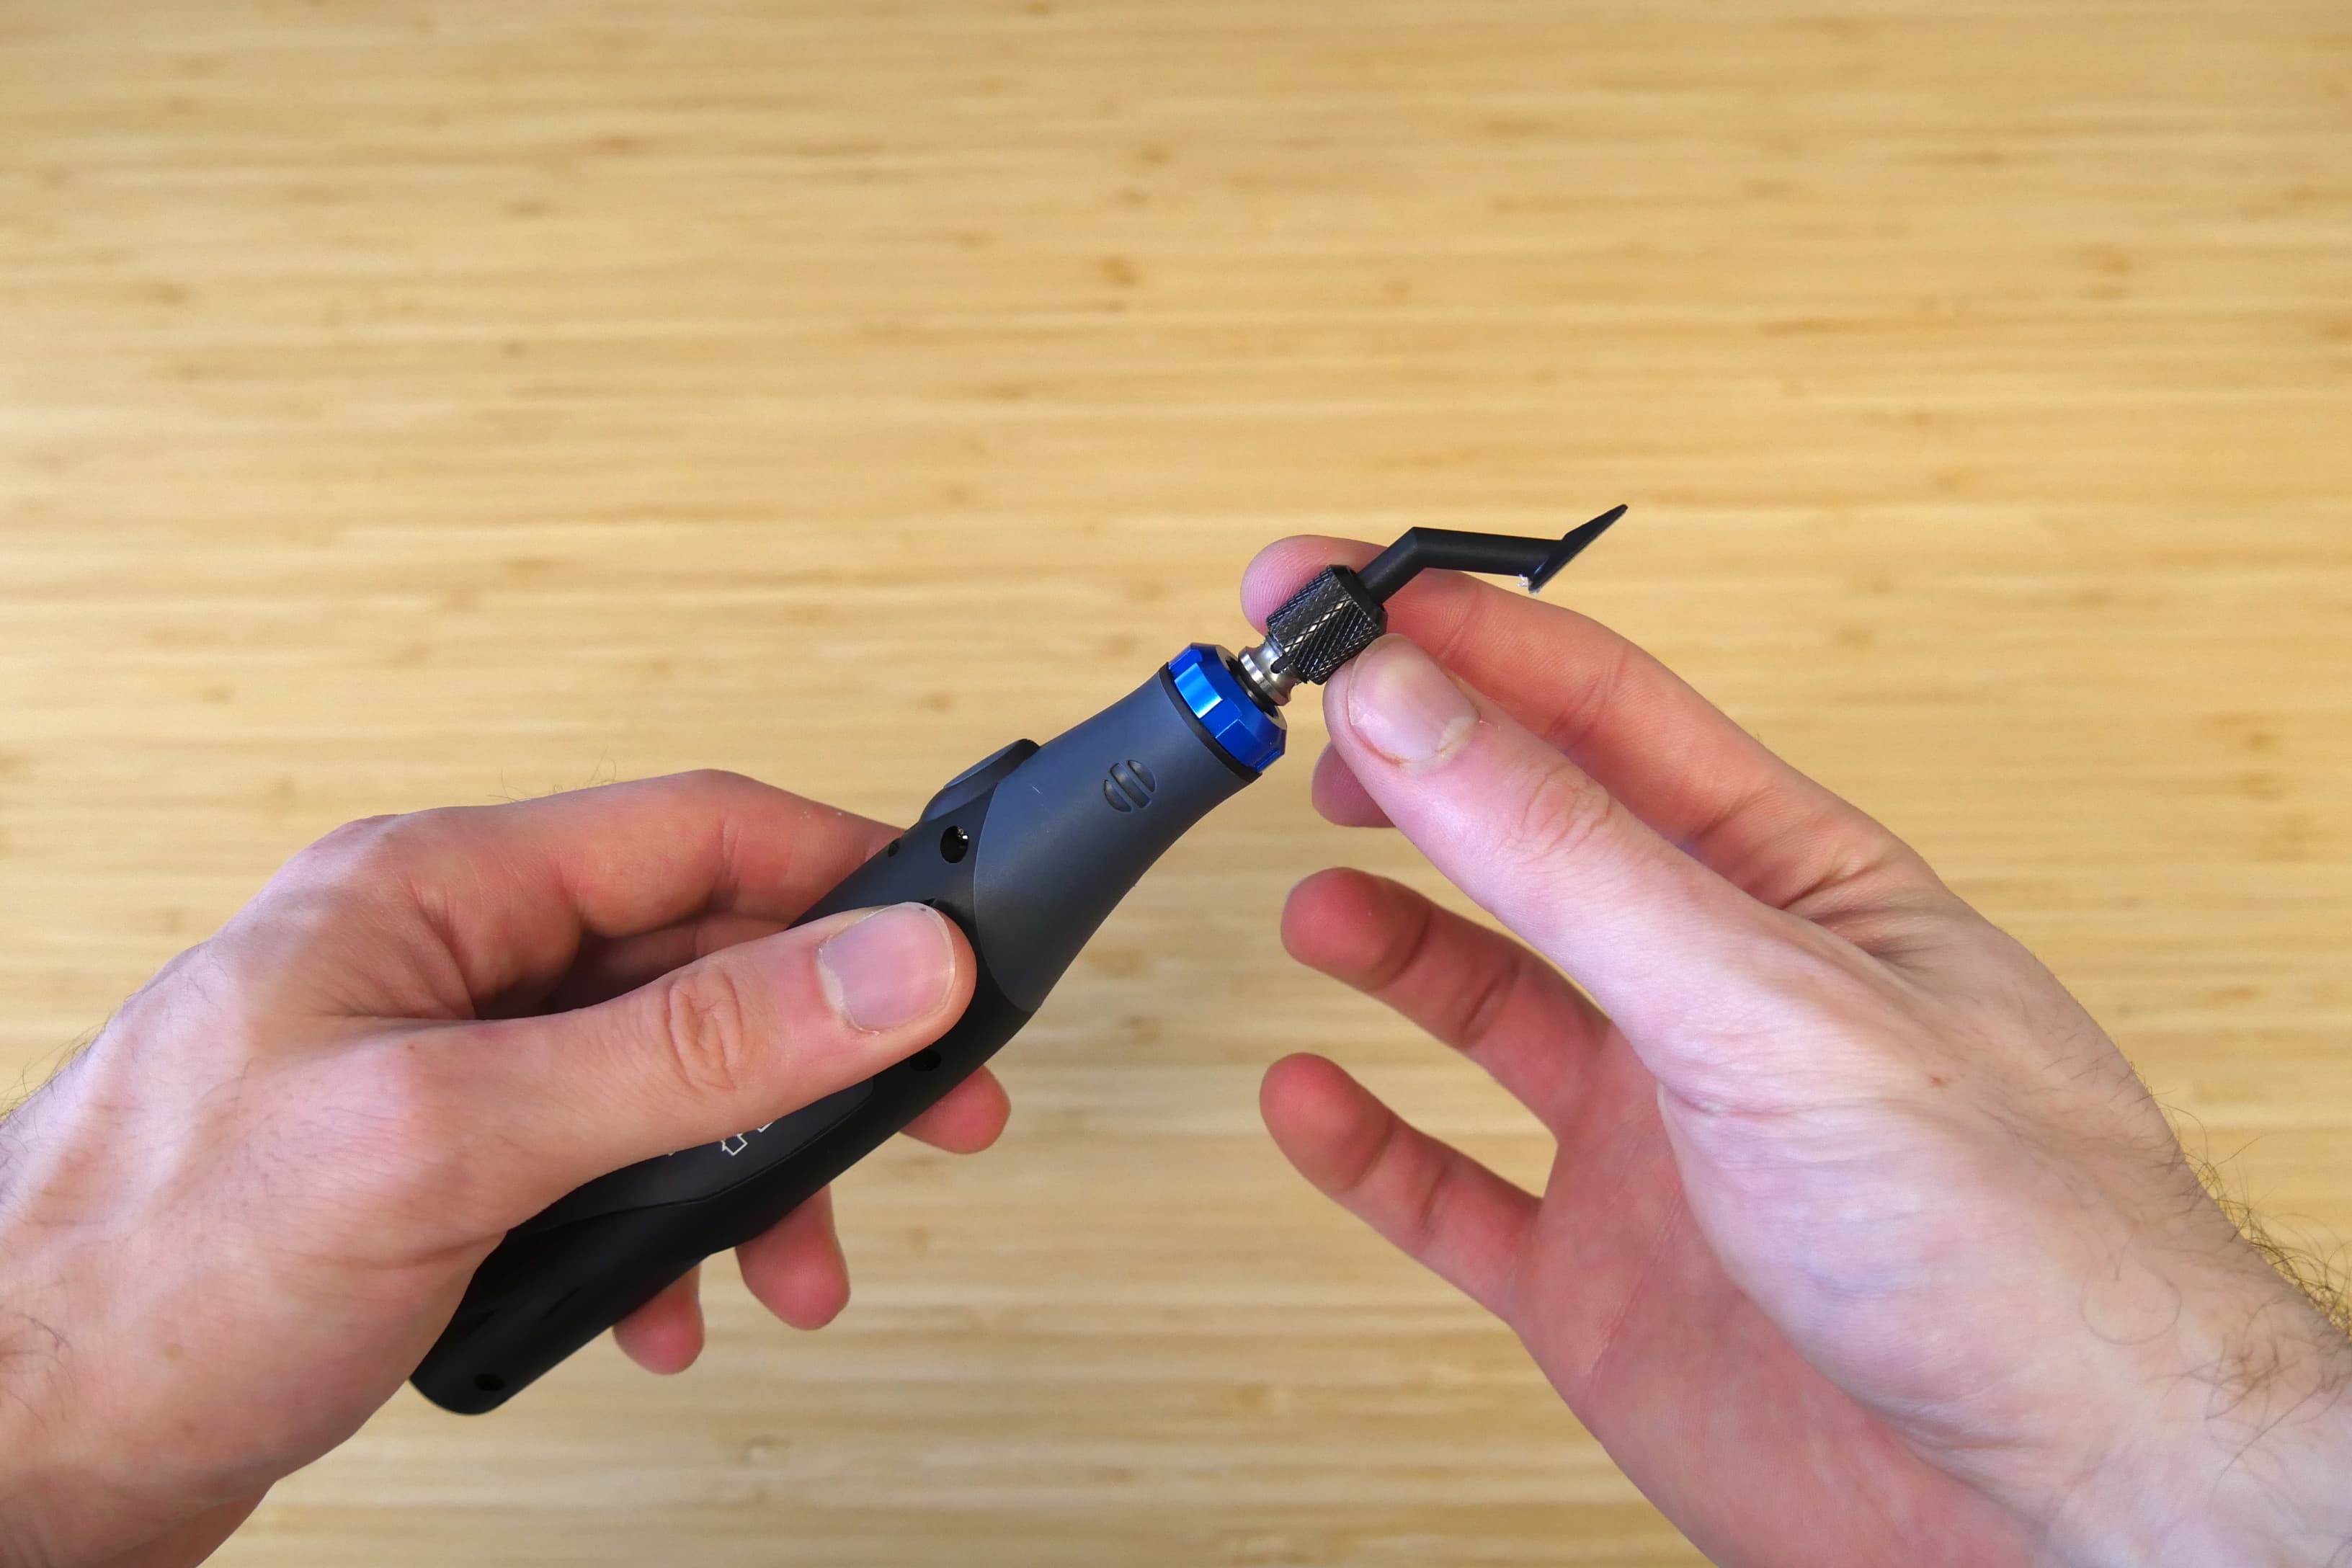
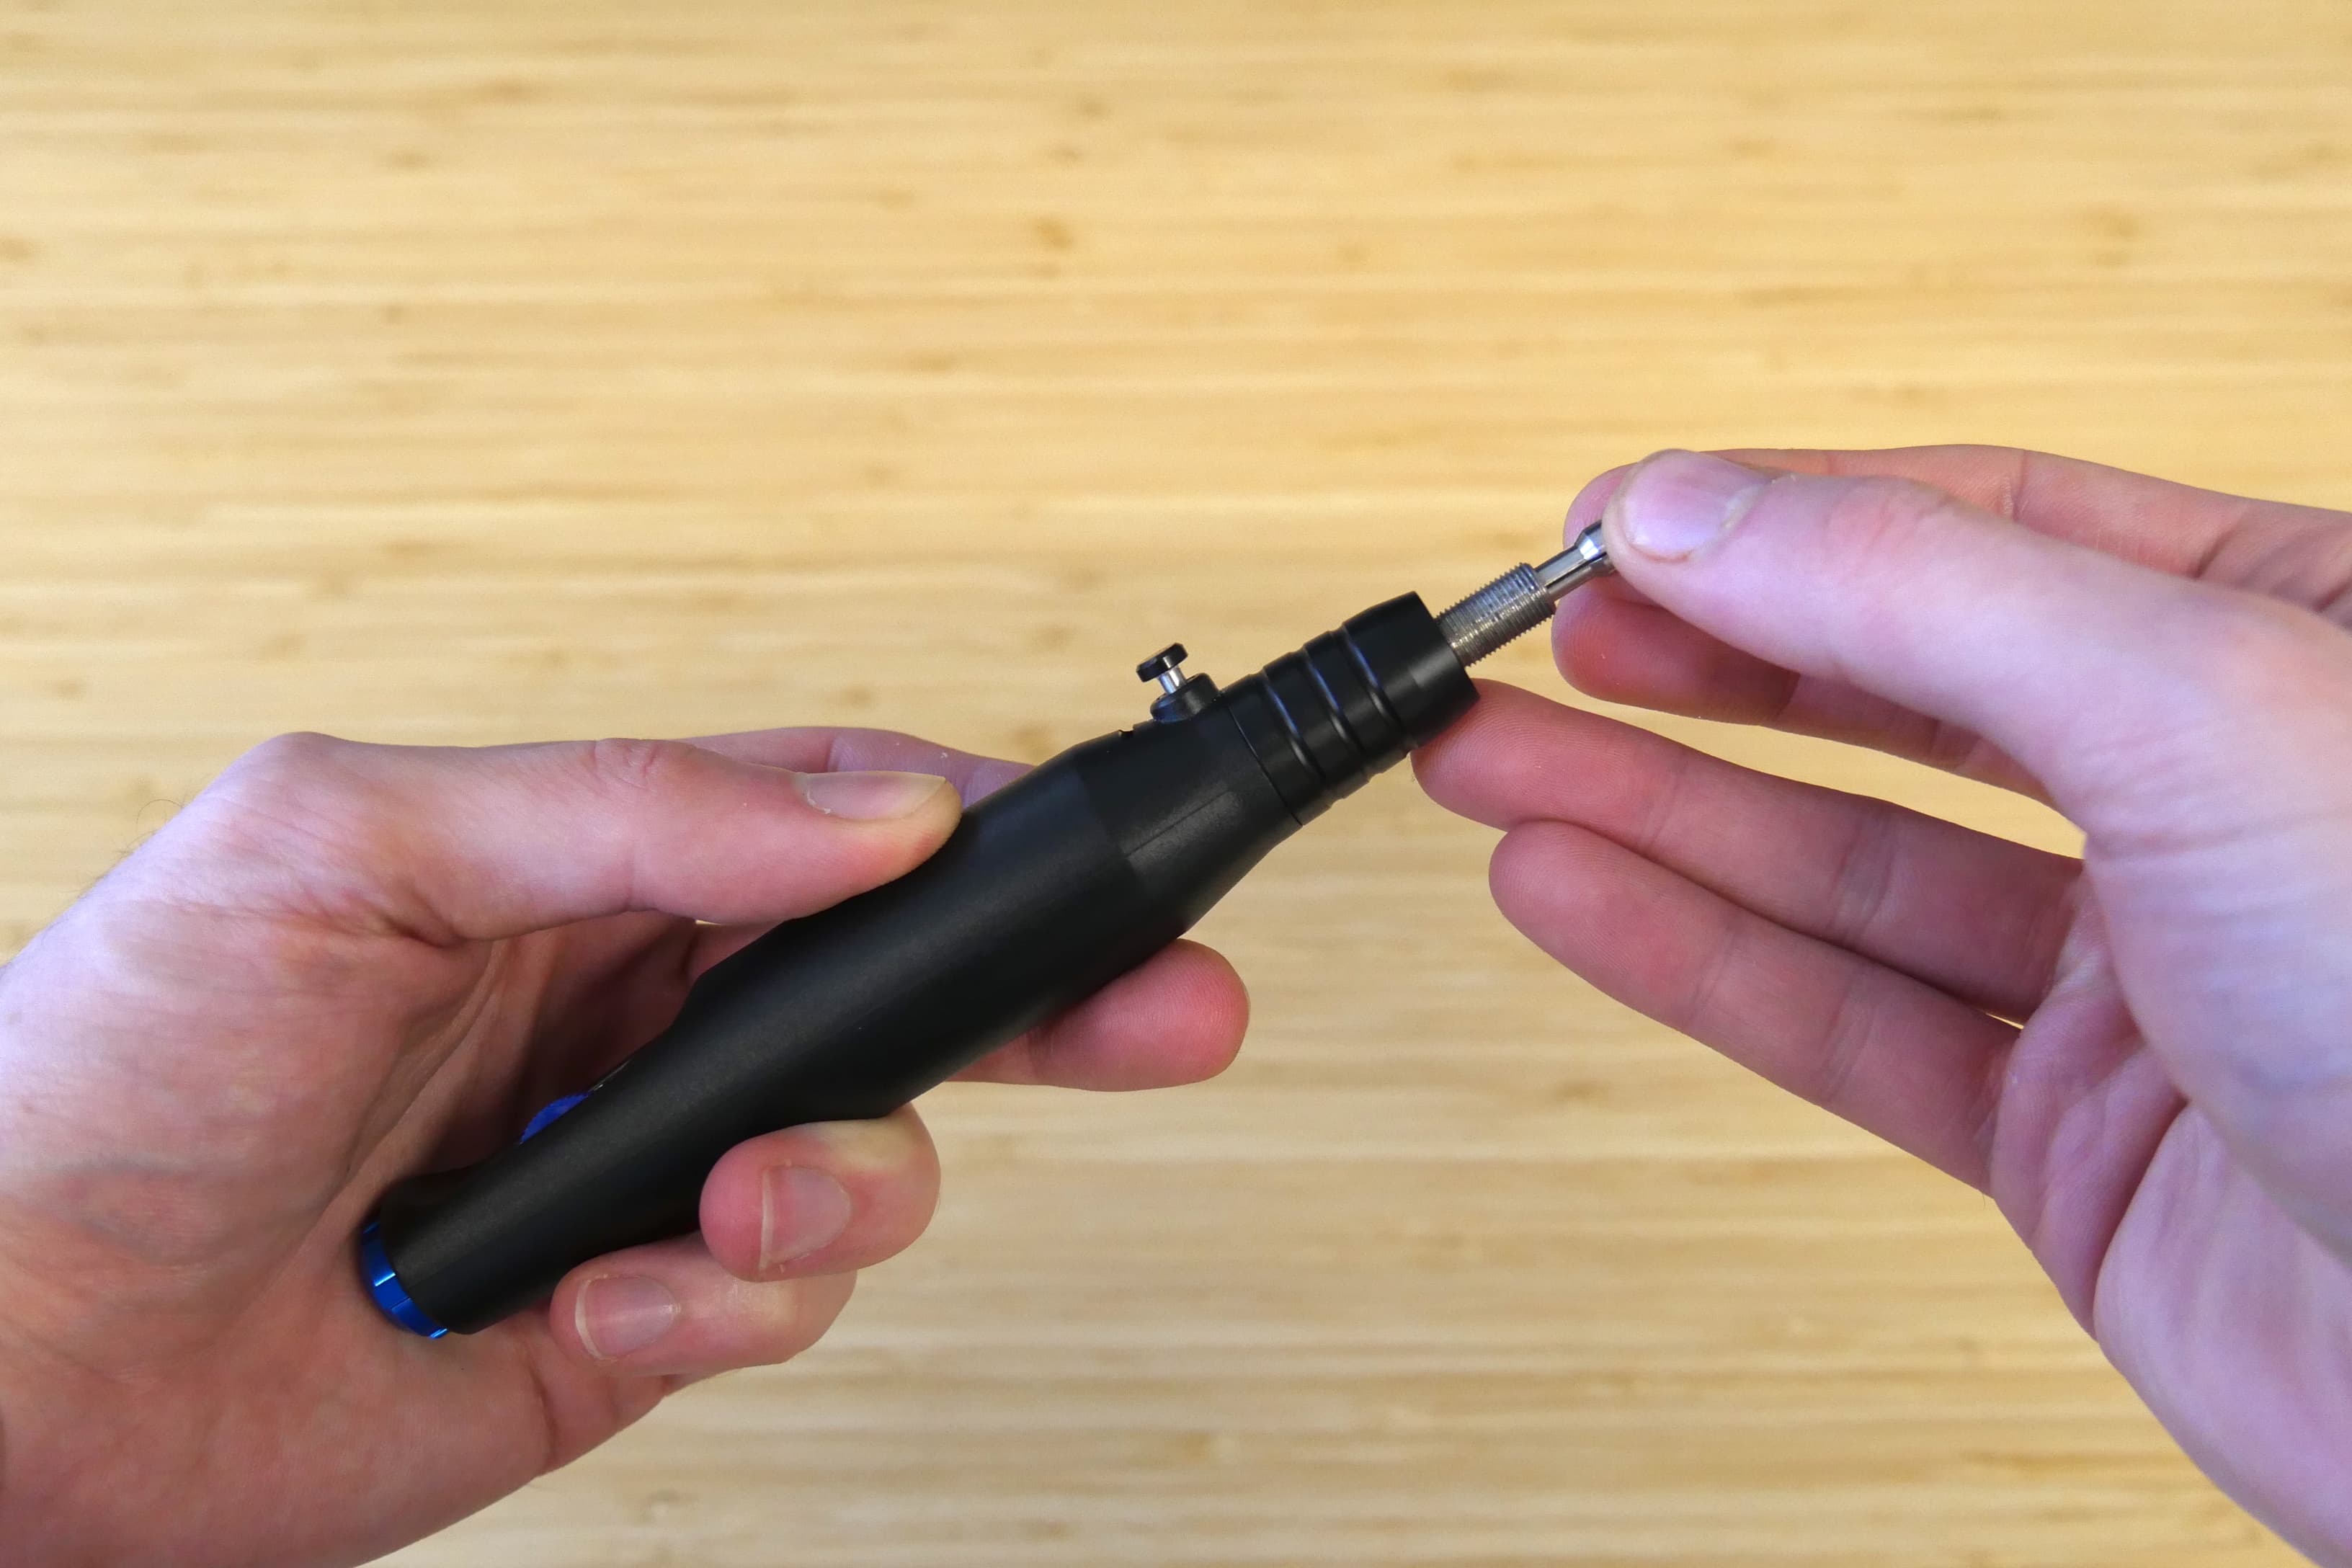
  1. Press and hold the button at the front of the rotary tool to lock the chuck. Loosen, but do not remove the chuck.
Press button on rotary tool to release
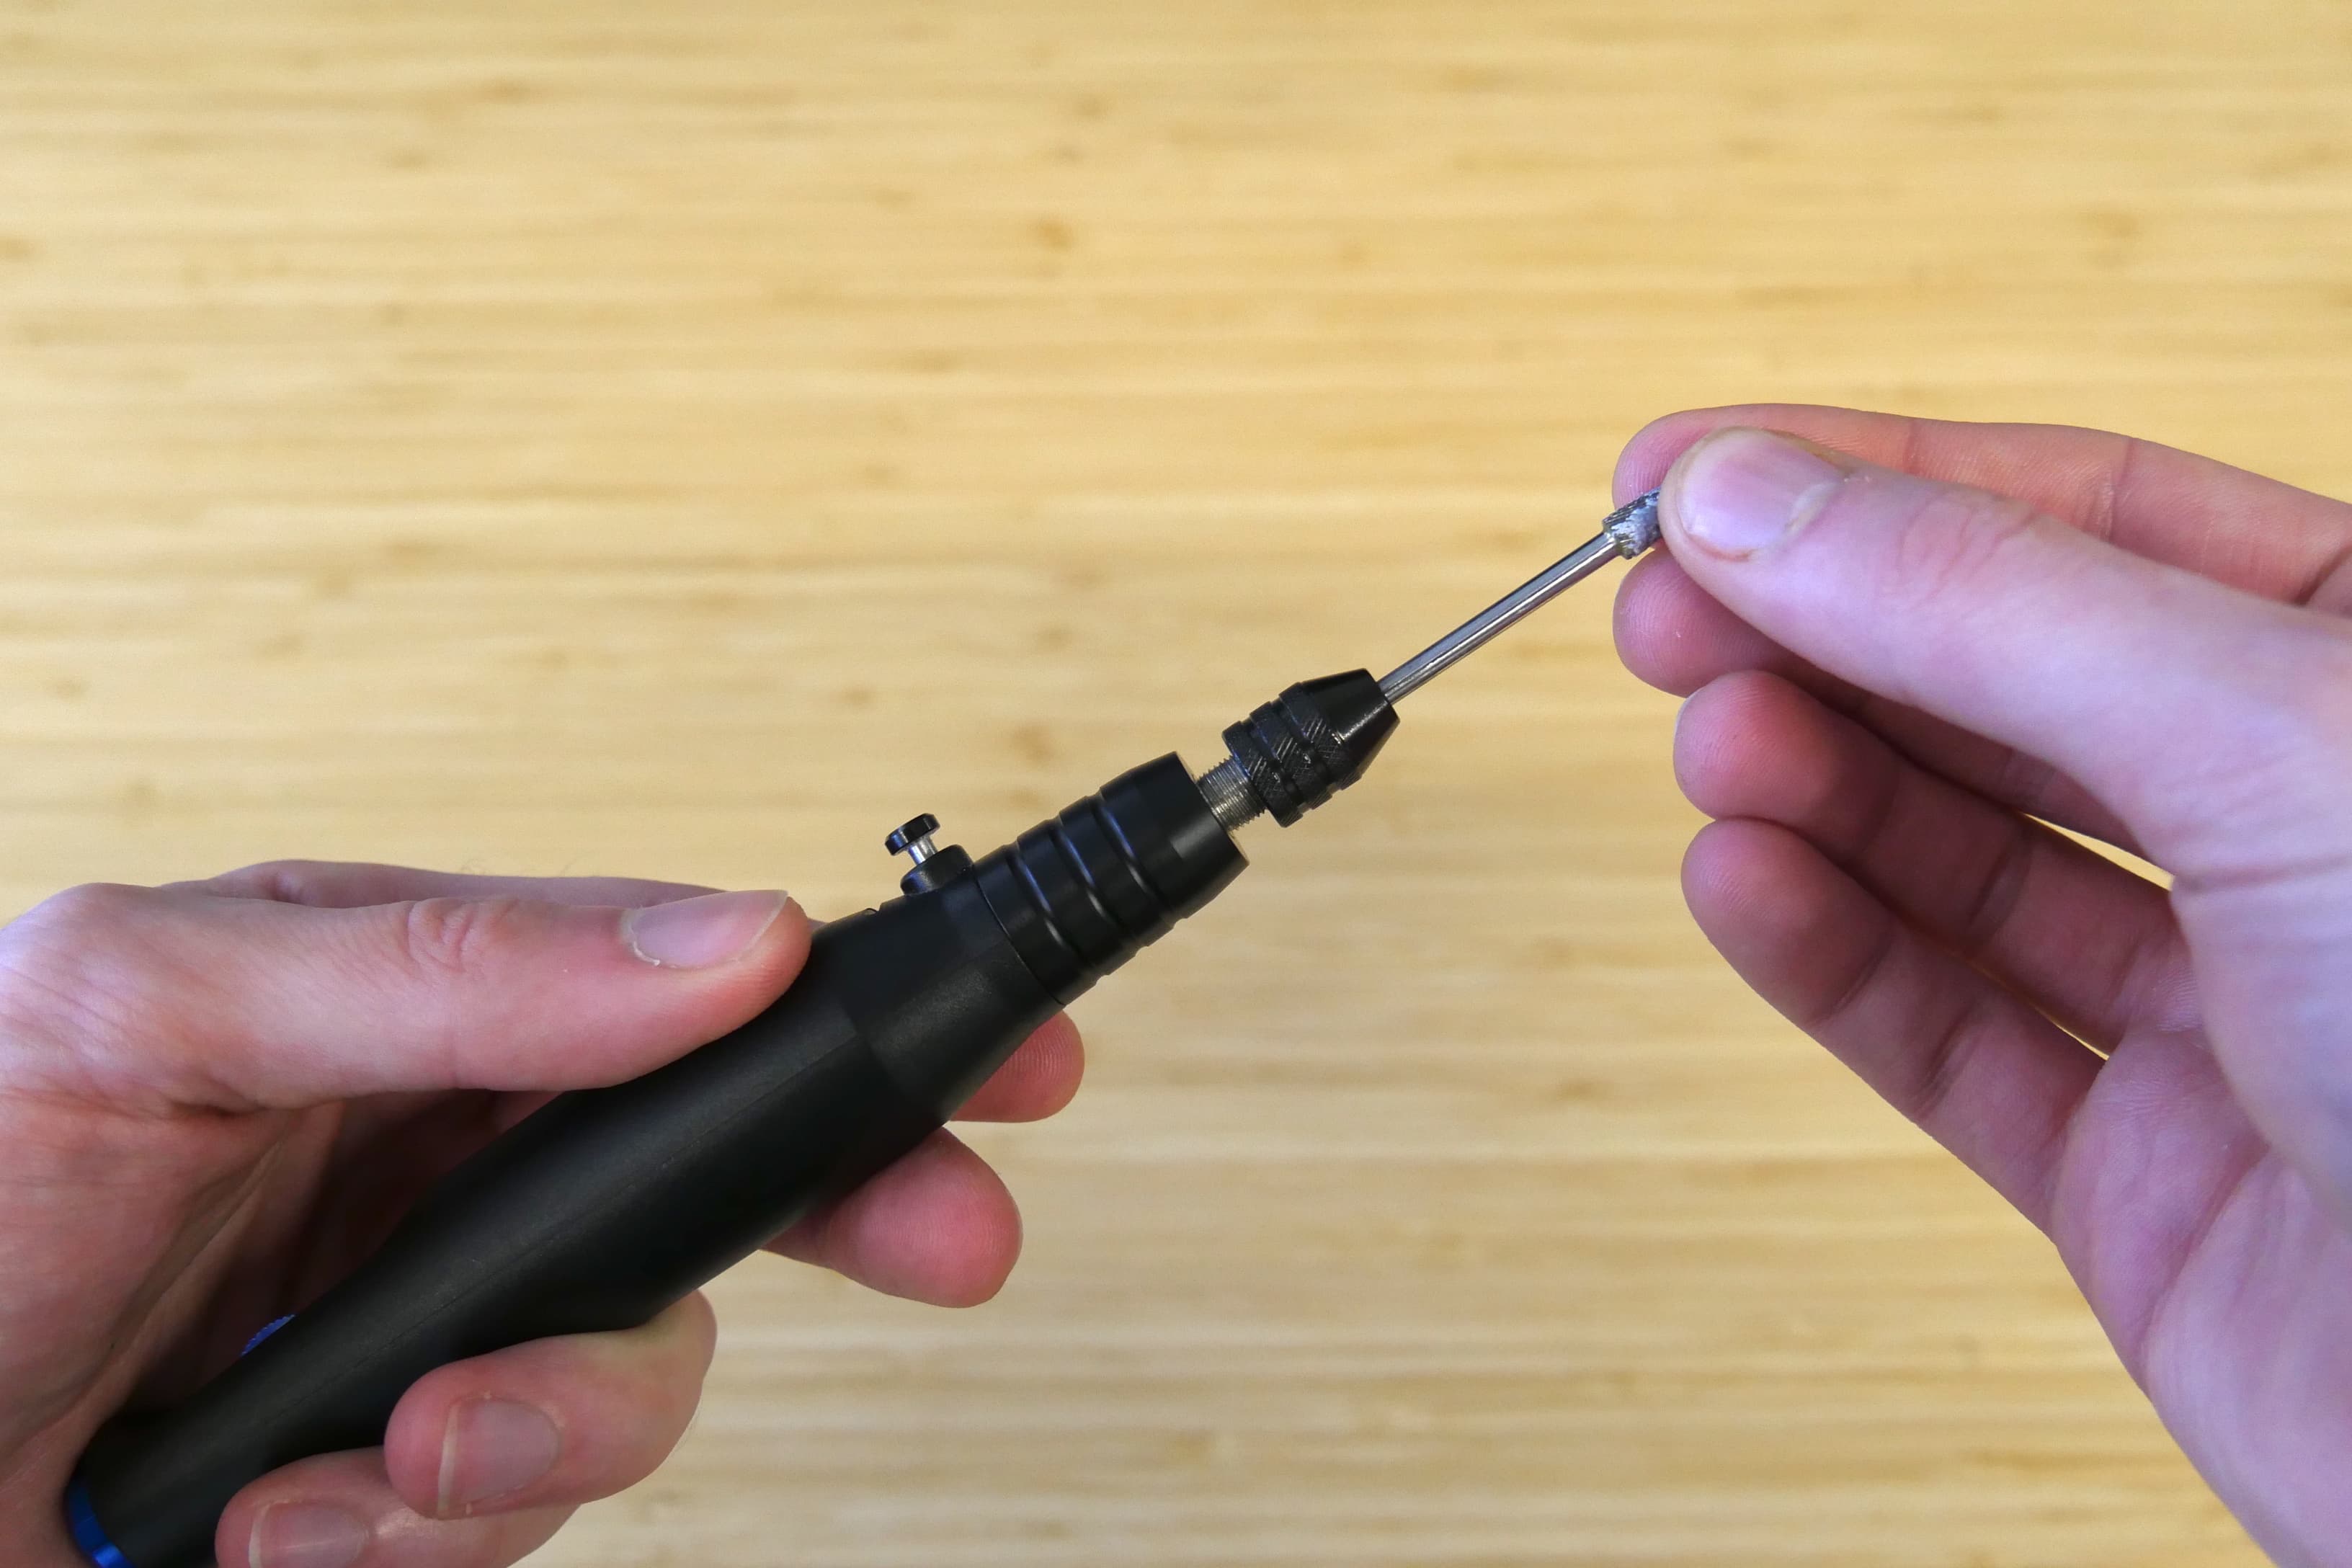
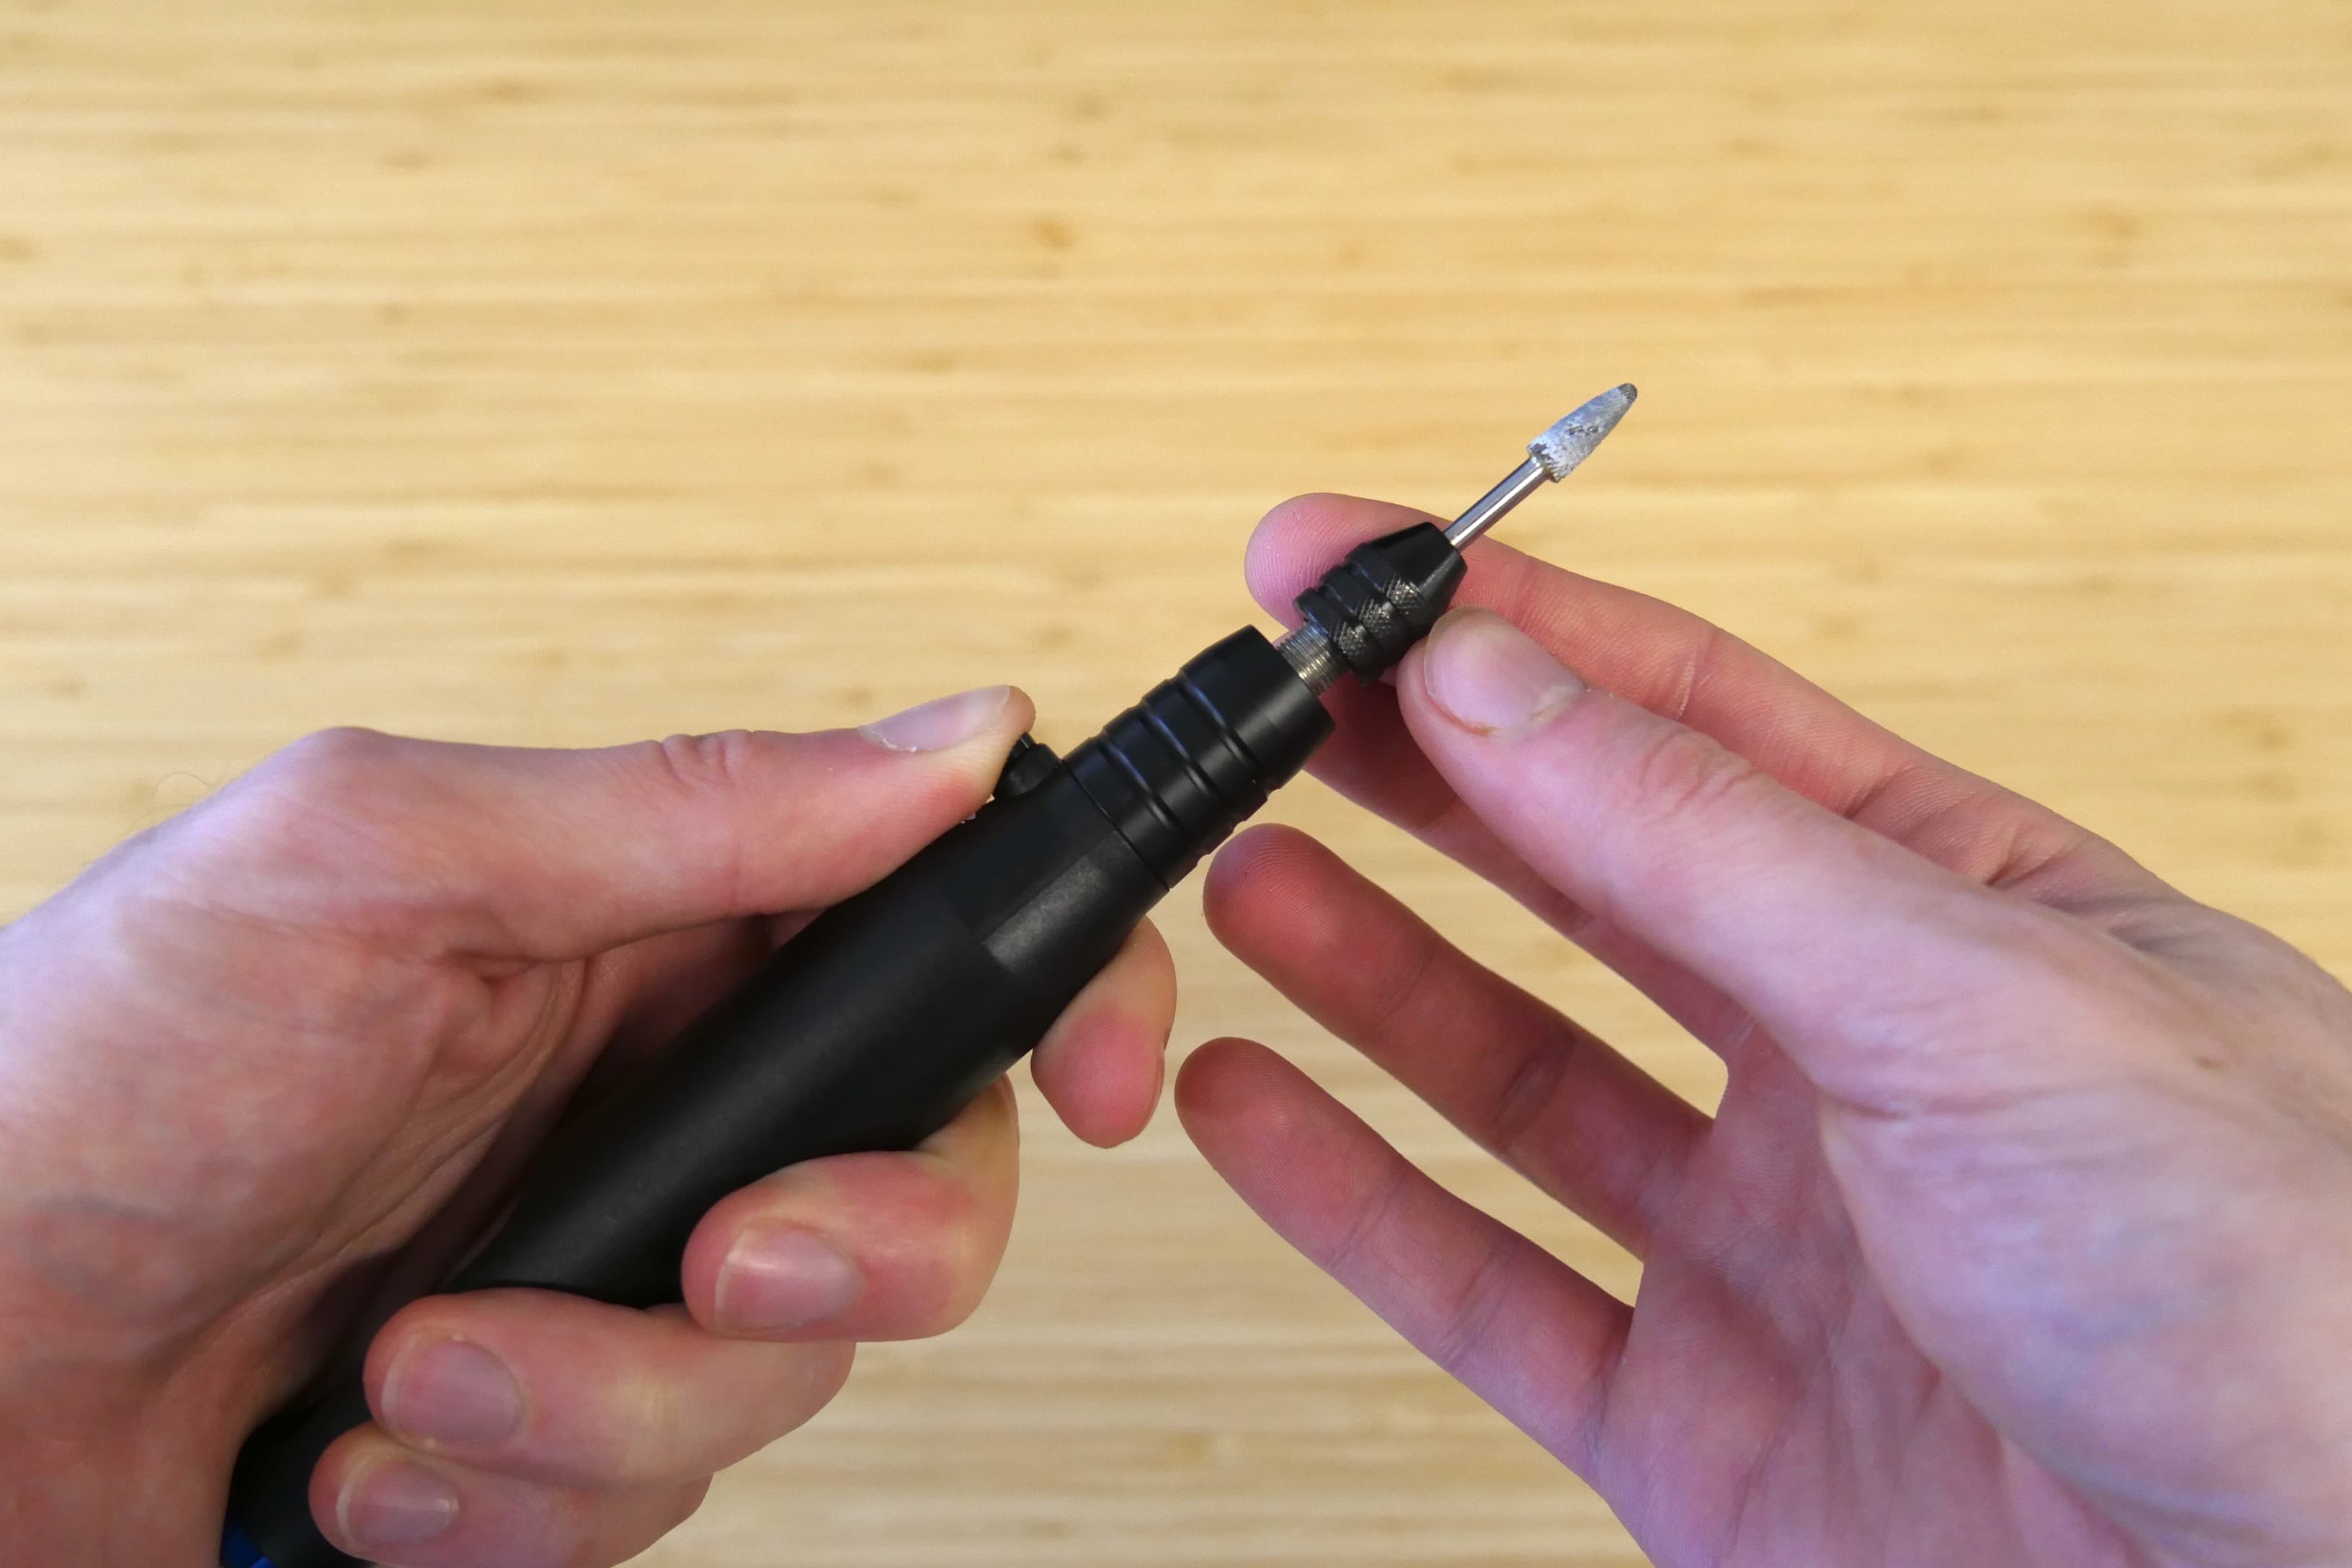
  1. Slide the bit shank roughly 0.5–1 in into the collet. If the bit does not easily fit into the collet, you may need to change collets.
Slide bit shank into rotary tool.
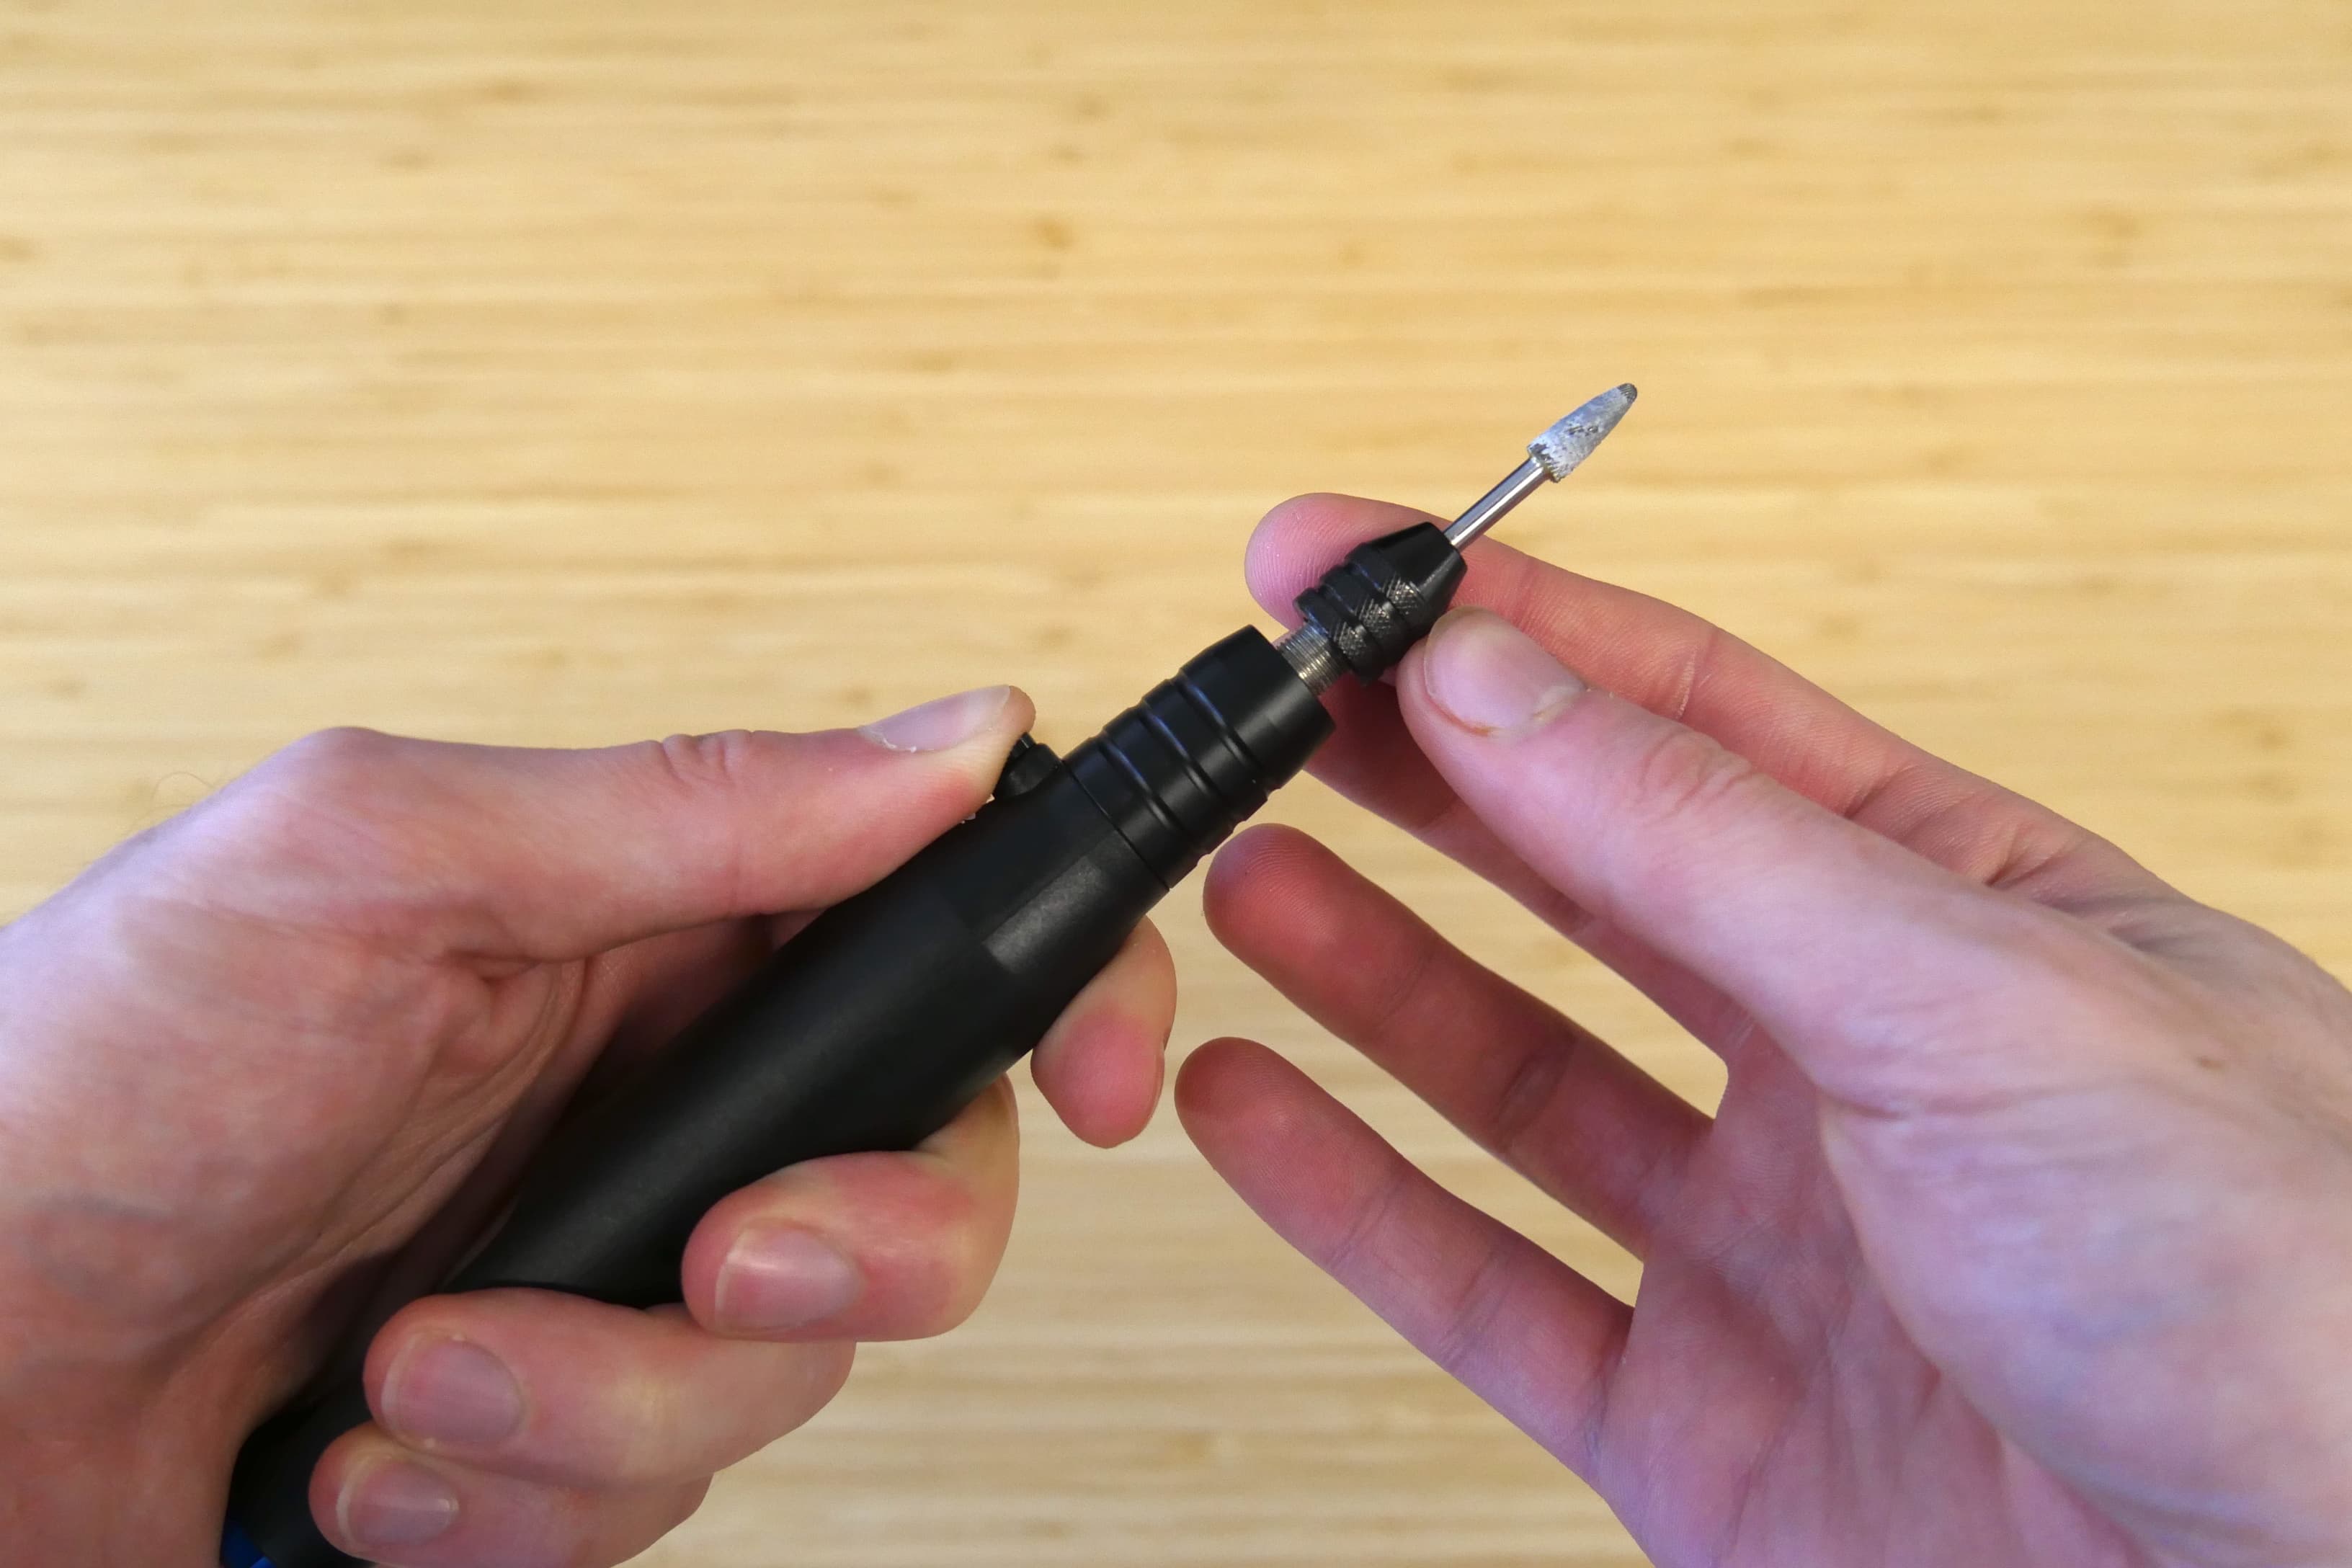
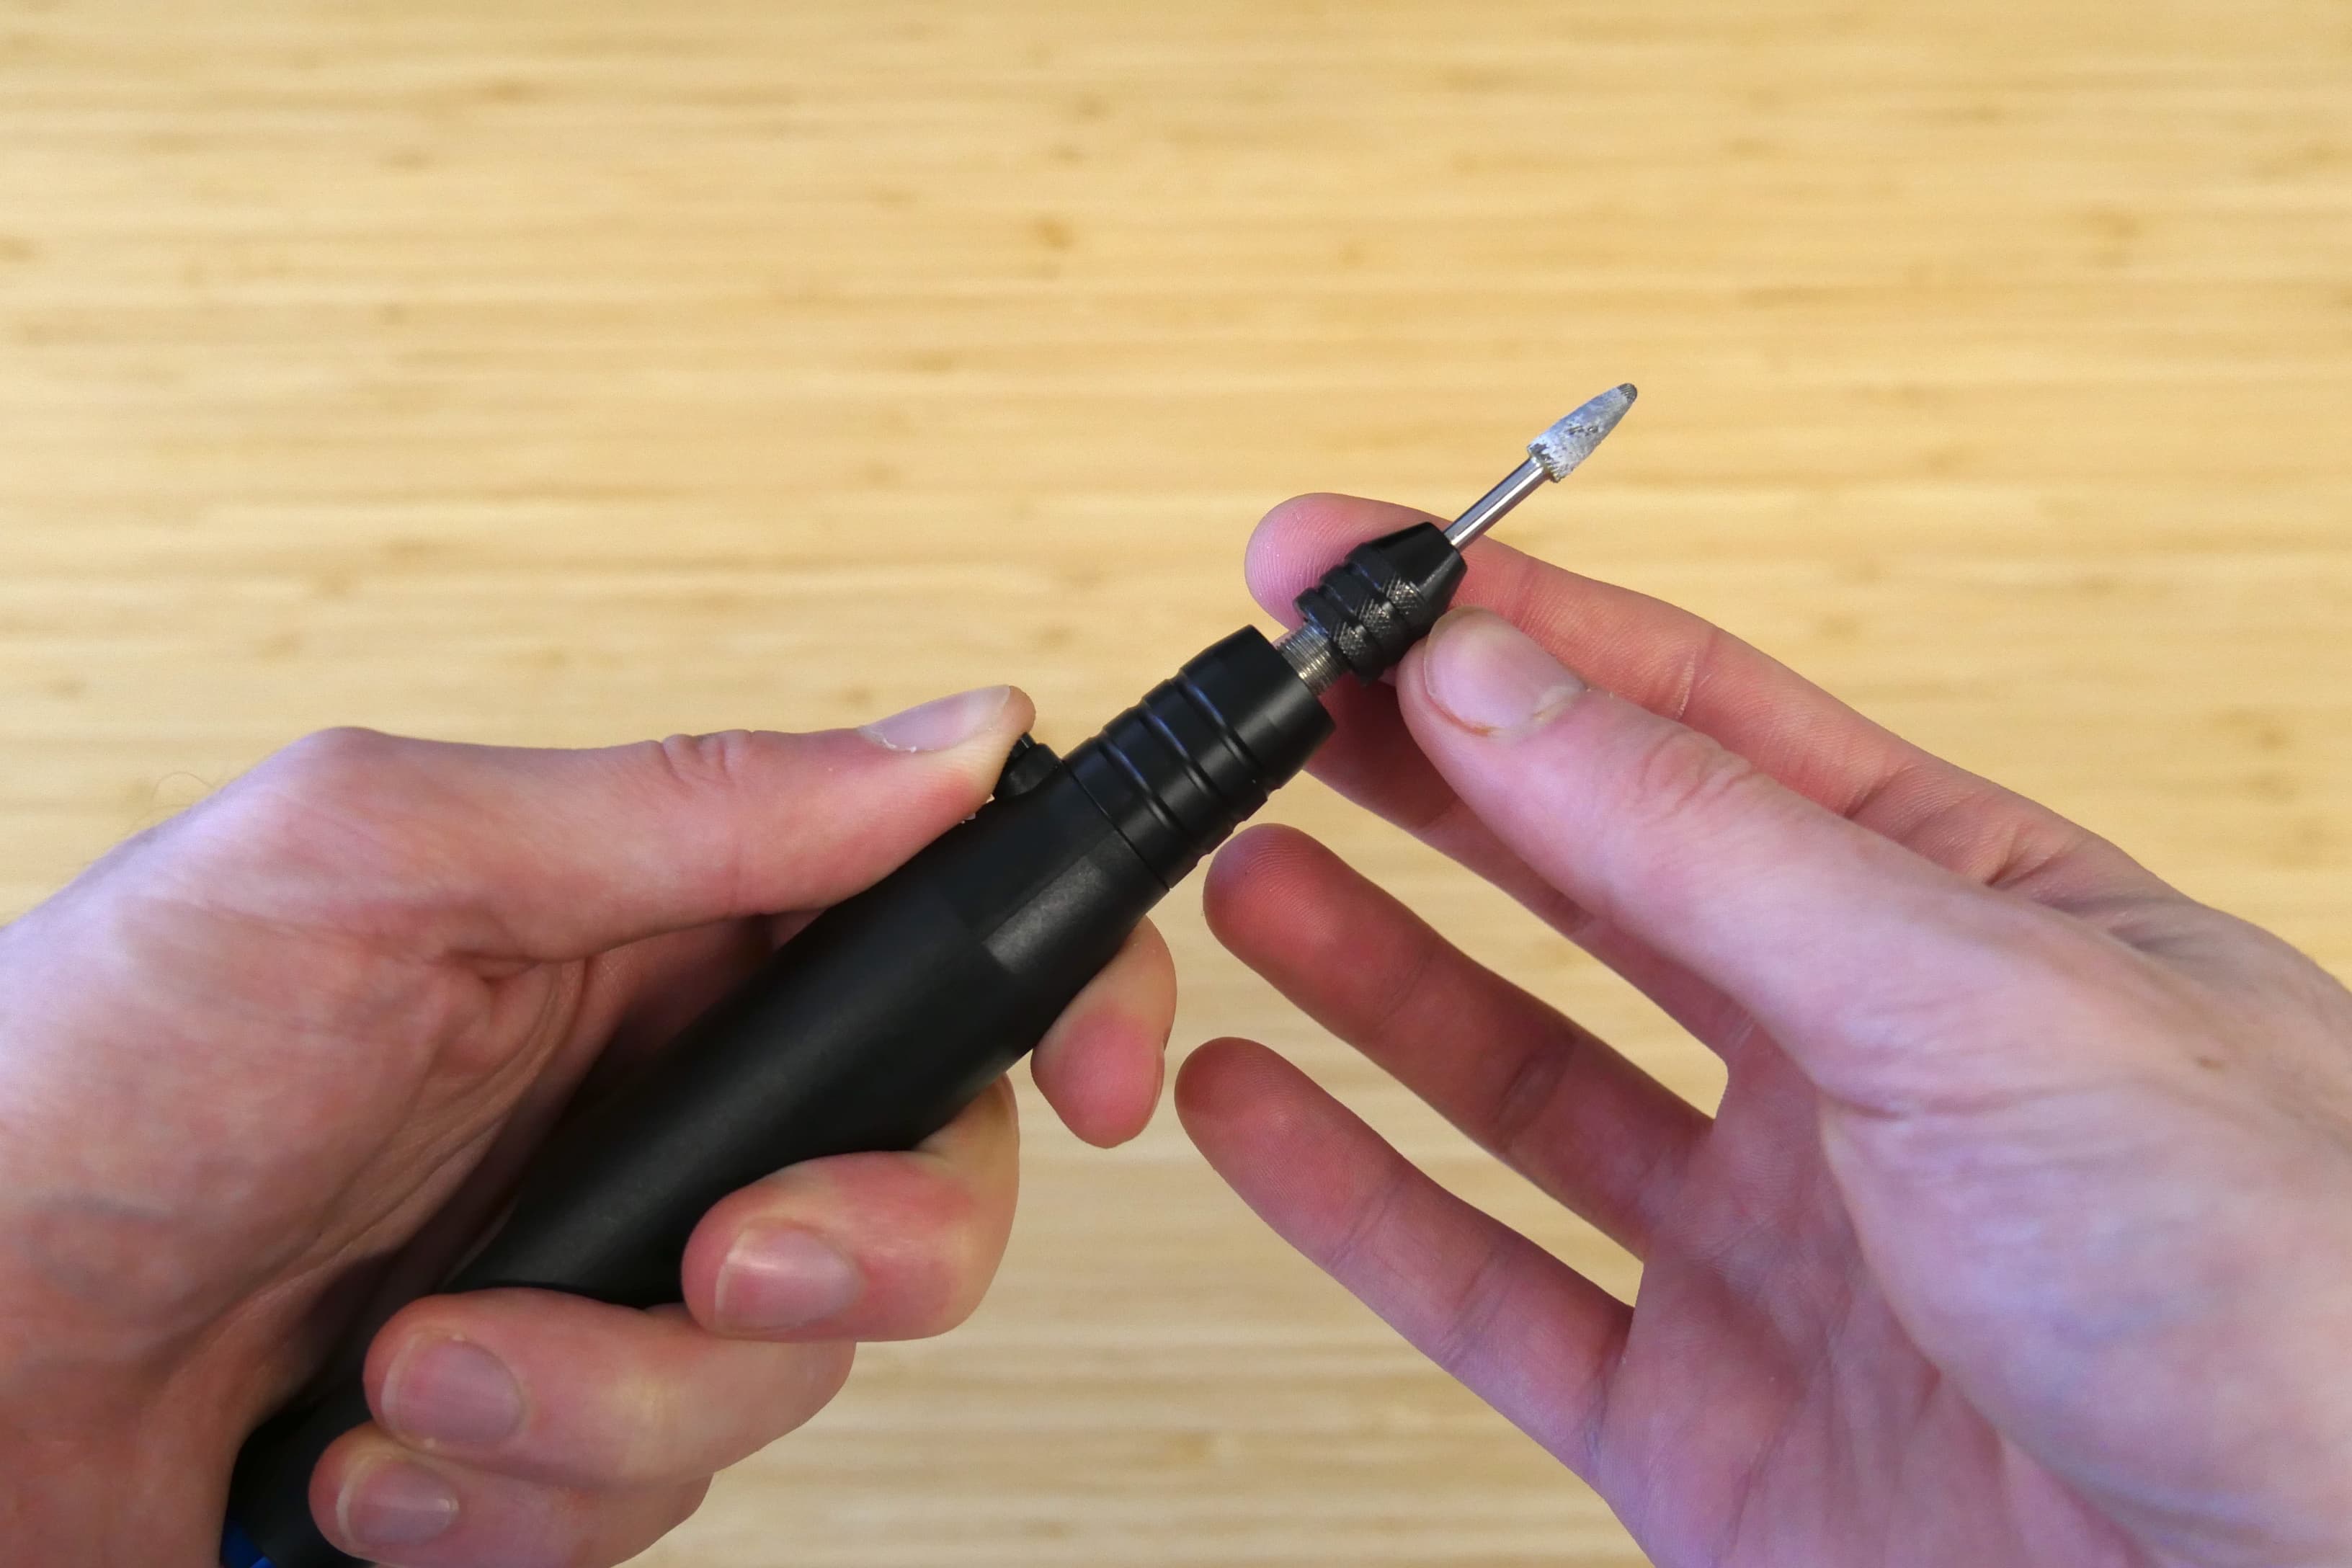
  1. Press and hold the button at the front of the rotary tool to lock the chuck in place. Tighten the chuck until snug.
Press button and tighten chuck.

To change collets:

  1. Press and hold the button at the front of the rotary tool to lock the chuck in place. Loosen and remove the chuck.
Press button and loosen chuck.
  1. Grasp the front of the collet and remove it from the rotary tool.
Remove the collet from the rotary tool.
  1. Slide the replacement collet fully into the rotary tool.
  2. Loosely thread the chuck onto the collet.
  3. Slide the bit shank roughly 0.5–1 in into the collet.
  1. Press and hold the button at the front of the rotary tool to lock the chuck in place. Tighten the chuck until snug.
Tighten chuck into snug.

To use the rotary tool:

  1. Connect the rotary tool to a power source using the included power adapter.
  2. Slowly turn the wheel at the rear of the rotary tool to adjust speed.
  3. Sand your printed part, maintaining a firm grip on the rotary tool.
  4. Turn the rotary tool off before unplugging or when not in use. To turn the rotary tool off, turn the wheel towards the rear of the tool (labeled MIN) until it clicks.

Caution:

The rotary tool may become hot after prolonged usage. Take a 10 minute break after every 30 minutes of usage.

Safety resources

Warning:

Orient sharp tools away from yourself, especially when cutting or scraping parts. Take care when using the hobby knife and rotary tool, or when changing rotary tool bits.

Caution:


  • When using power tools, always wear safety glasses and a dust mask.
  • Power tools may become hot after prolonged usage. Take 10 minute breaks after every 30 minutes of usage.
  • Power tool operating temperatures are between 0 and 40 °C. Avoid usage in wet or humid conditions.
  • Keep out of reach of children.
  • Ensure your work surface is clean, dry, and stable when using these products.

Notice:

The rotary tool may damage printed parts if the RPM is set too high.

Post-processing workflow

  1. Wash and cure your printed parts as indicated by resin type.
  2. Remove the support tips from the printed part with the flush cutters or hobby knife.
  3. Use the sander to gently buff out any raised marks or divots on the part’s surface.

    Tip:

    Use a squirt bottle to rinse parts with IPA or water, or brush parts with a toothbrush to remove dust.
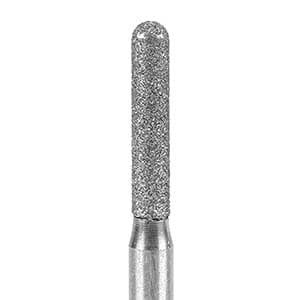
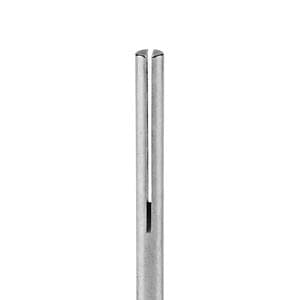
  4. Use the rotary tool to remove any unwanted artifacts from your printed parts. Choose the right rotary tool bit to achieve the correct finish for your printed part.
  • Use the column burr to cut away unwanted parts or create rounded edges.
Column burr close up
  • Use the split mandrel to polish surfaces with sandpaper.
Point mandrel close up
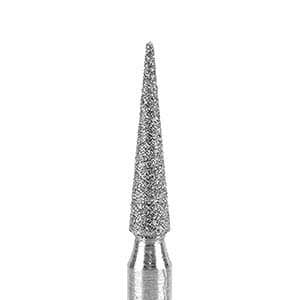
  • Use the point burr to remove unwanted material from narrow areas.
Point burr close up
  1. Use the buffing discs to polish the part until you have achieved the desired finish.
  2. Spray the part with IPA, then wipe the part with a microfiber cloth to remove all dust.
  3. Wipe the part with a microfiber cloth and a few drops of mineral oil. Buff with a cloth to add a dull shine.
  4. Alternatively, paint a very thin coat of resin on the surface of the part. Cure in ambient light or in the Form Cure.

For more information on post-processing, see Removing support marks.

Warranty and replacement parts

Formlabs Finishing Tools include a one-year warranty. For complete details, see the full NA warranty terms or EU warranty terms.

Purchase replacement tools and rotary tool bits from David Union:

Finishing resources