
Warning:
Resin may cause skin irritation or an allergic skin reaction. Wear gloves when handling liquid resin or resin-coated surfaces. Wash skin with plenty of soap and water.

Powering the printer on
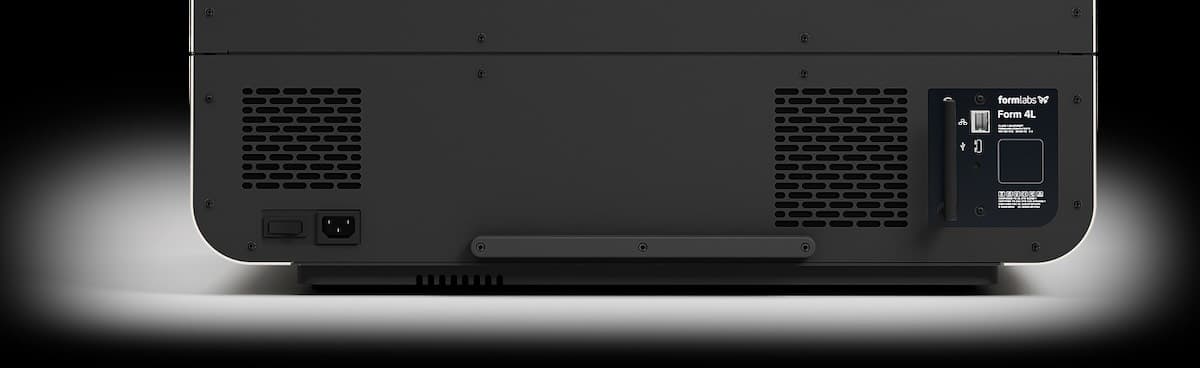
Connect the power cord to the printer and a power source. Turn on the power switch on the back left of the printer.
The first time the printer is connected to power, it displays a series of onboarding steps on the touchscreen. The onboarding steps include instructions for inserting consumables (resin tank, mixer, resin cartridge, and build platform) into the printer. Follow these steps to prepare the printer for use.
Inserting the resin tank and mixer
Warning:
Resin may cause skin irritation or an allergic skin reaction. Wear gloves when handling liquid resin or resin-coated surfaces. Wash skin with plenty of soap and water.
The resin tank is the primary container for holding resin after it is dispensed from the cartridge. Resin is cured onto the build platform when light passes through the tank's bottom film during printing.
The resin mixer improves print consistency by evenly mixing the resin and checking for debris.
Inserting the build platform
The build platform is the surface that each part prints onto. To insert the build platform:
Inserting the resin cartridges
Resin cartridges hold liquid resin before it is dispensed into the resin tank. Given the build volume and the size of the resin tank, Form 4L generation printers use two resin cartridges at once. To prepare the resin cartridges:
Notice:
Do not remove the rubber valve at the bottom of the cartridge or poke it with a sharp instrument. This bite valve controls the release of the resin. Removing the rubber bite valve would allow resin to continuously flow and cause extreme damage to the machine. This damage is not covered by the warranty.
Printing with the Form 4L
Now that the printer is set up:
Setting up the Form 4BL
The Form 4BL is a dental and medical-specific 3D printer that is validated to print 14+ materials for biocompatible applications from the Formlabs materials library.
Form 4BL printers need to be temporarily connected to the internet when the printer is being set up for the first time. While connected to the internet, the printer quickly and securely registers a Formlabs biocompatible materials lifetime license. This is a one time configuration that is saved for the lifetime of your printer, even if you perform a factory reset on the machine.
Form 4BL printers also come with access to Open Material Mode. If your printer shipped before August 17, 2026, you received a separate activation code to enter onto the printer’s touchscreen and enable Open Material Mode. If your printer shipped on or after August 17, 2026, Open Material Mode will be activated at the same time as the biocompatible materials lifetime license when you connect the printer to the internet.
Notice:
Form 4BL printers are not able to print with Formlabs materials for biocompatible applications until they have been temporarily connected to the internet.
The first time the printer is connected to power, it displays a series of onboarding steps on the touchscreen. The onboarding steps include instructions for inserting consumables (resin tank, mixer, resin cartridge, and build platform) into the printer. Follow these steps, as detailed above, to prepare the printer for use.
Checking if your Form 4BL is set up correctly
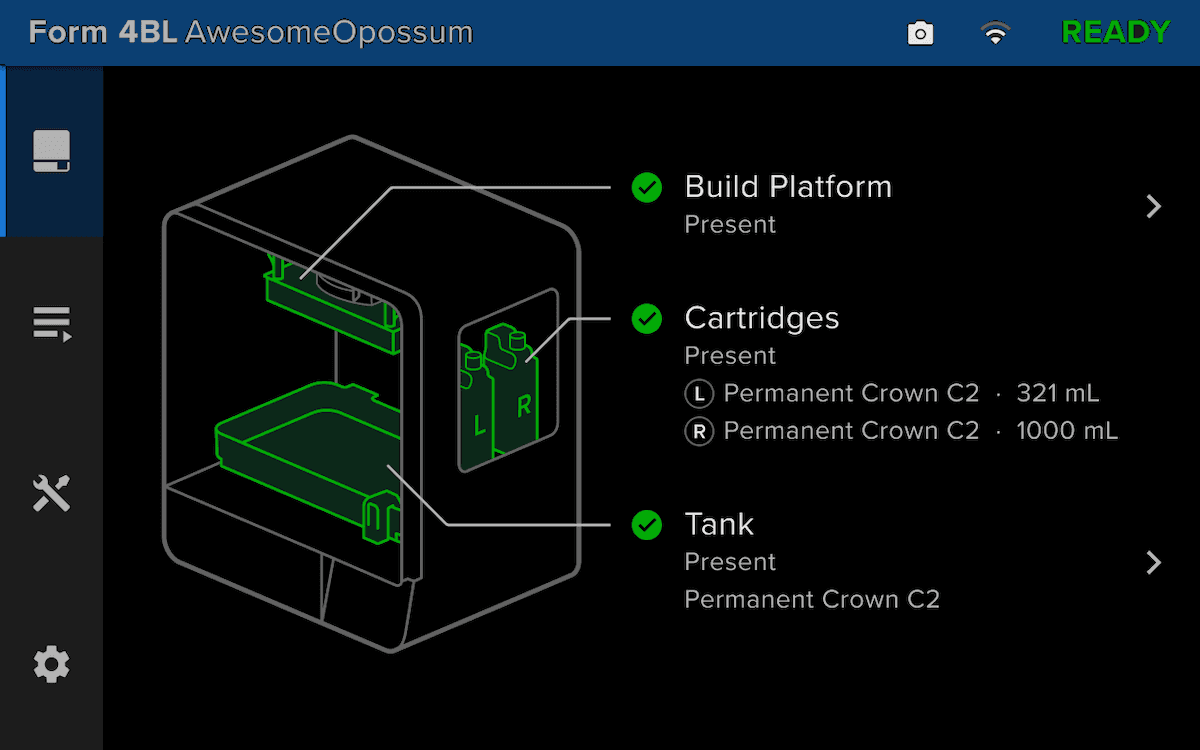
When a Form 4BL printer is set up correctly, the status bar on top of the printer touch screen will be blue and say Form 4BL.
Troubleshooting Form 4BL setup
If you purchased a Form 4BL printer but cannot print with a Formlabs material for biocompatible applications, please try the following troubleshooting steps.