
Notice:
If you are unable to turn on the camera, follow the general troubleshooting steps for Form 4 generation printers or Form 4L generation printers. If the issue persists, contact Formlabs Support or your authorized reseller for assistance.

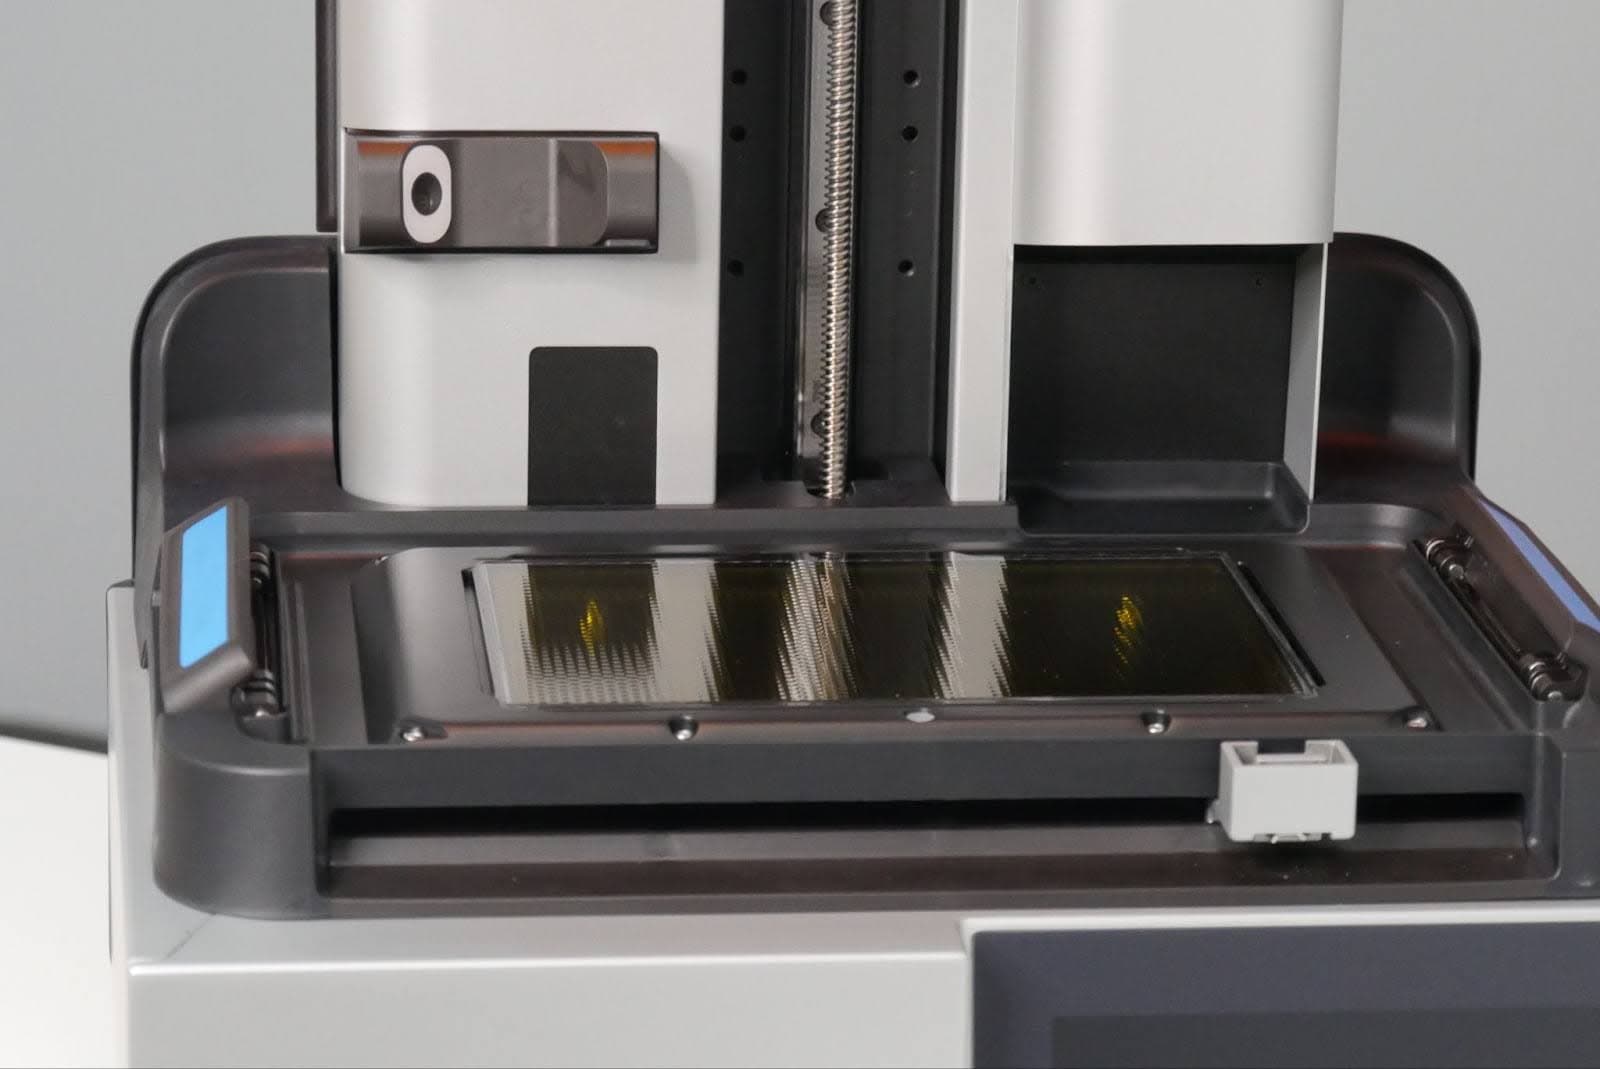
Form 4 and Form 4L generation printers contain an integrated camera. If the camera is enabled, it automatically saves a photo of each print when it completes. The camera is located to the left of the Z-axis tower and points at the build platform and resin tank.
Current features allow users to take video timelapses of the printing process and snapshots of the build platform from Dashboard. Ensure PreForm and firmware are updated to the latest version to take advantage of the latest camera features.
Data privacy settings
Formlabs collects printer analytics to improve product performance. If the printer camera is enabled, it captures a photo at the end of every print. You can control whether Formlabs receives this image for analytics by adjusting the privacy settings. Follow the instructions in the support article Adjusting the camera privacy settings (Form 4 generation) to control whether Formlabs receives the image.
Formlabs is committed to protecting your privacy. For specific details on privacy, data sharing, and access, please visit formlabs.com/privacy.
Turning on the camera
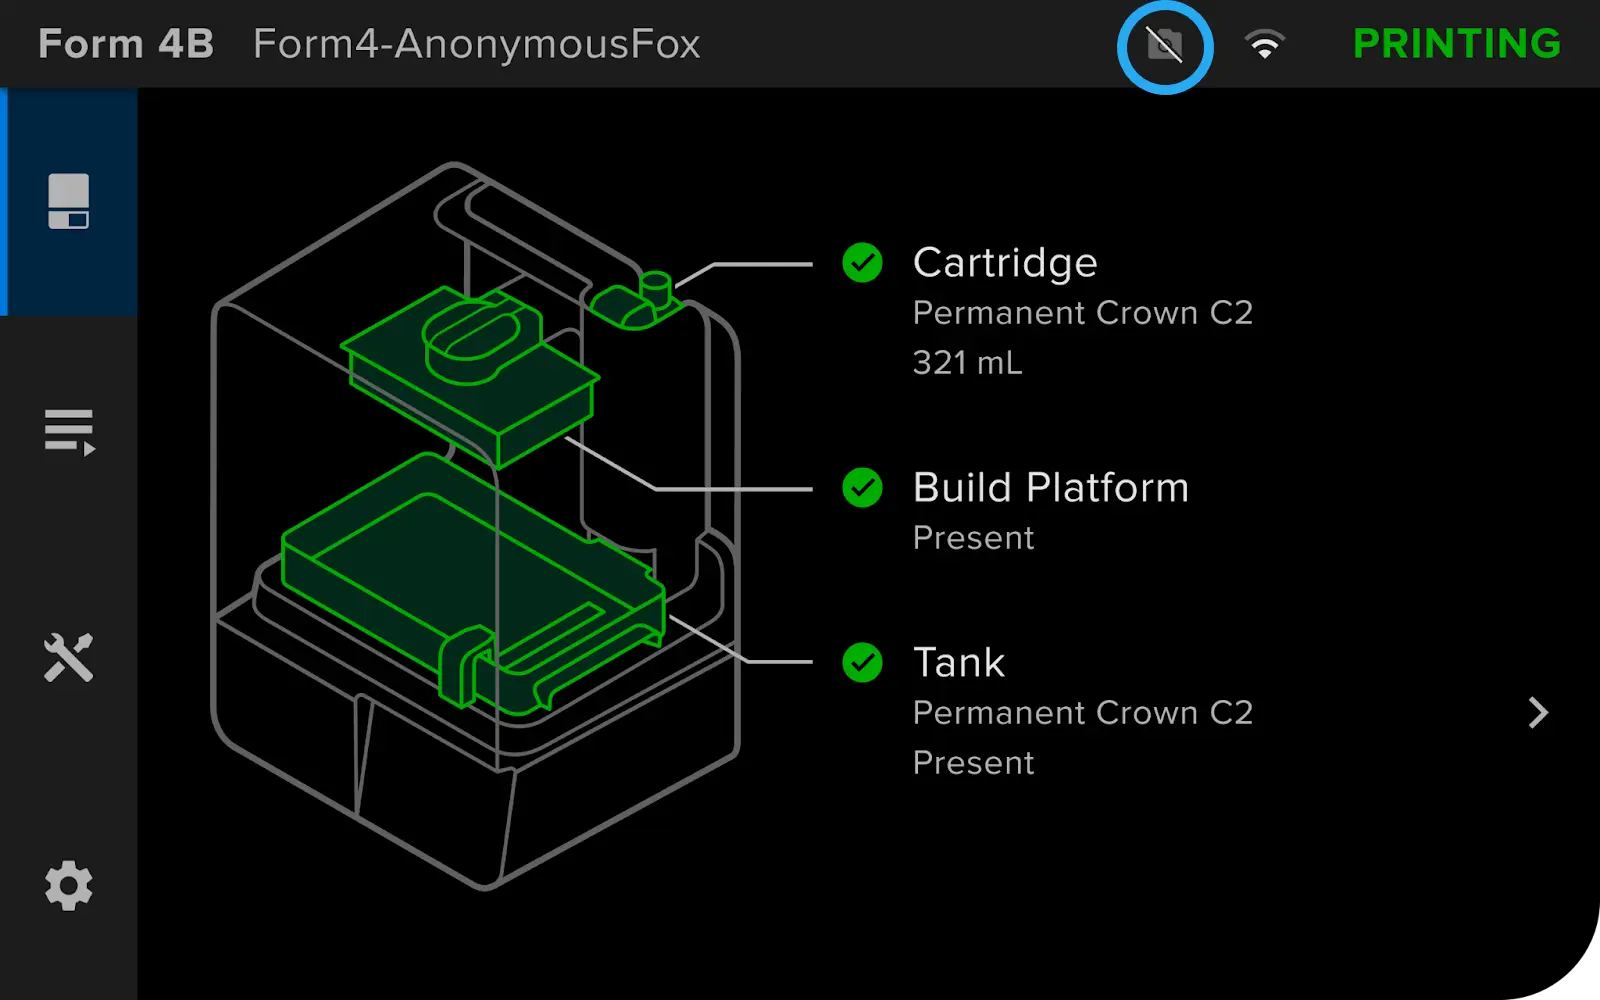
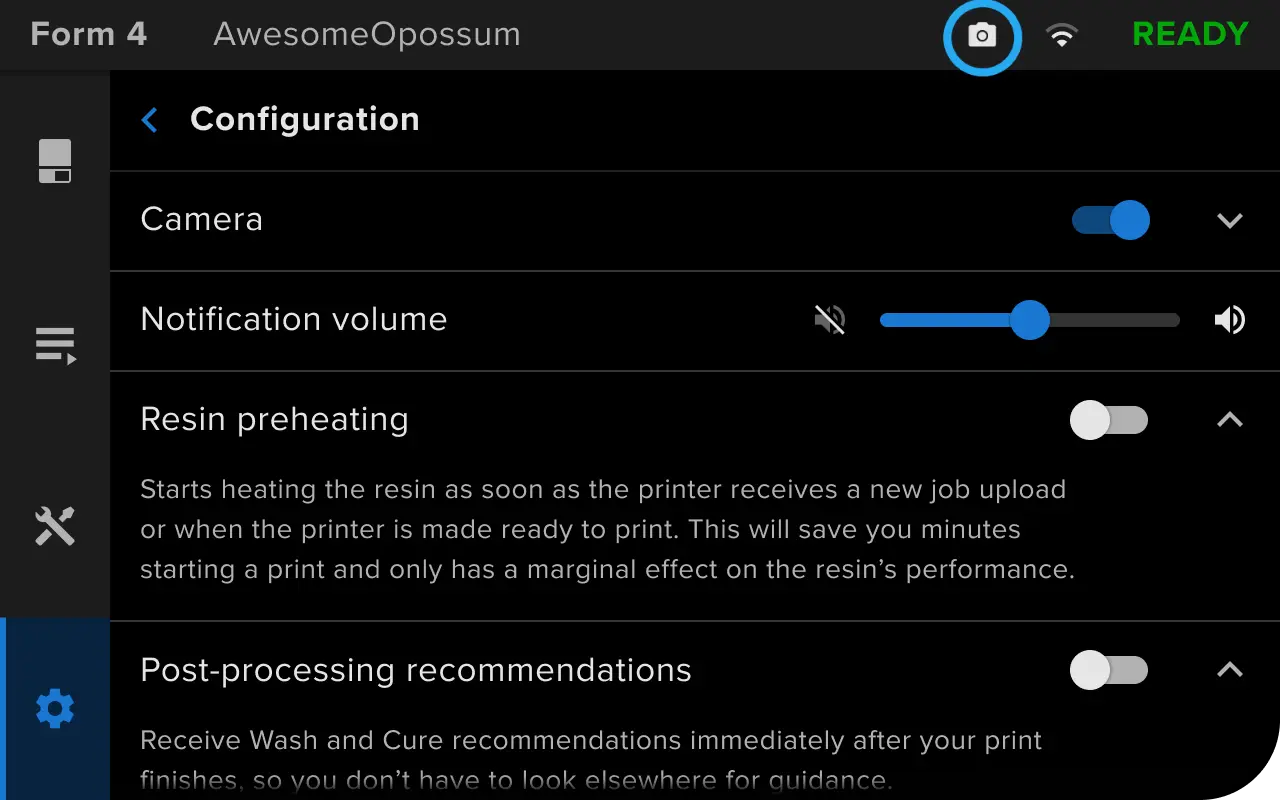
The camera is disabled before setup. You are prompted during onboarding to enable it, but can disable it at any time. The camera icon on the upper right corner of the touchscreen indicates the camera’s status. If the camera is enabled, the icon is white. If the camera is disabled, the icon is gray and crossed out.
To turn on the camera:
Notice:
If you are unable to turn on the camera, follow the general troubleshooting steps for Form 4 generation printers or Form 4L generation printers. If the issue persists, contact Formlabs Support or your authorized reseller for assistance.
Taking a video timelapse
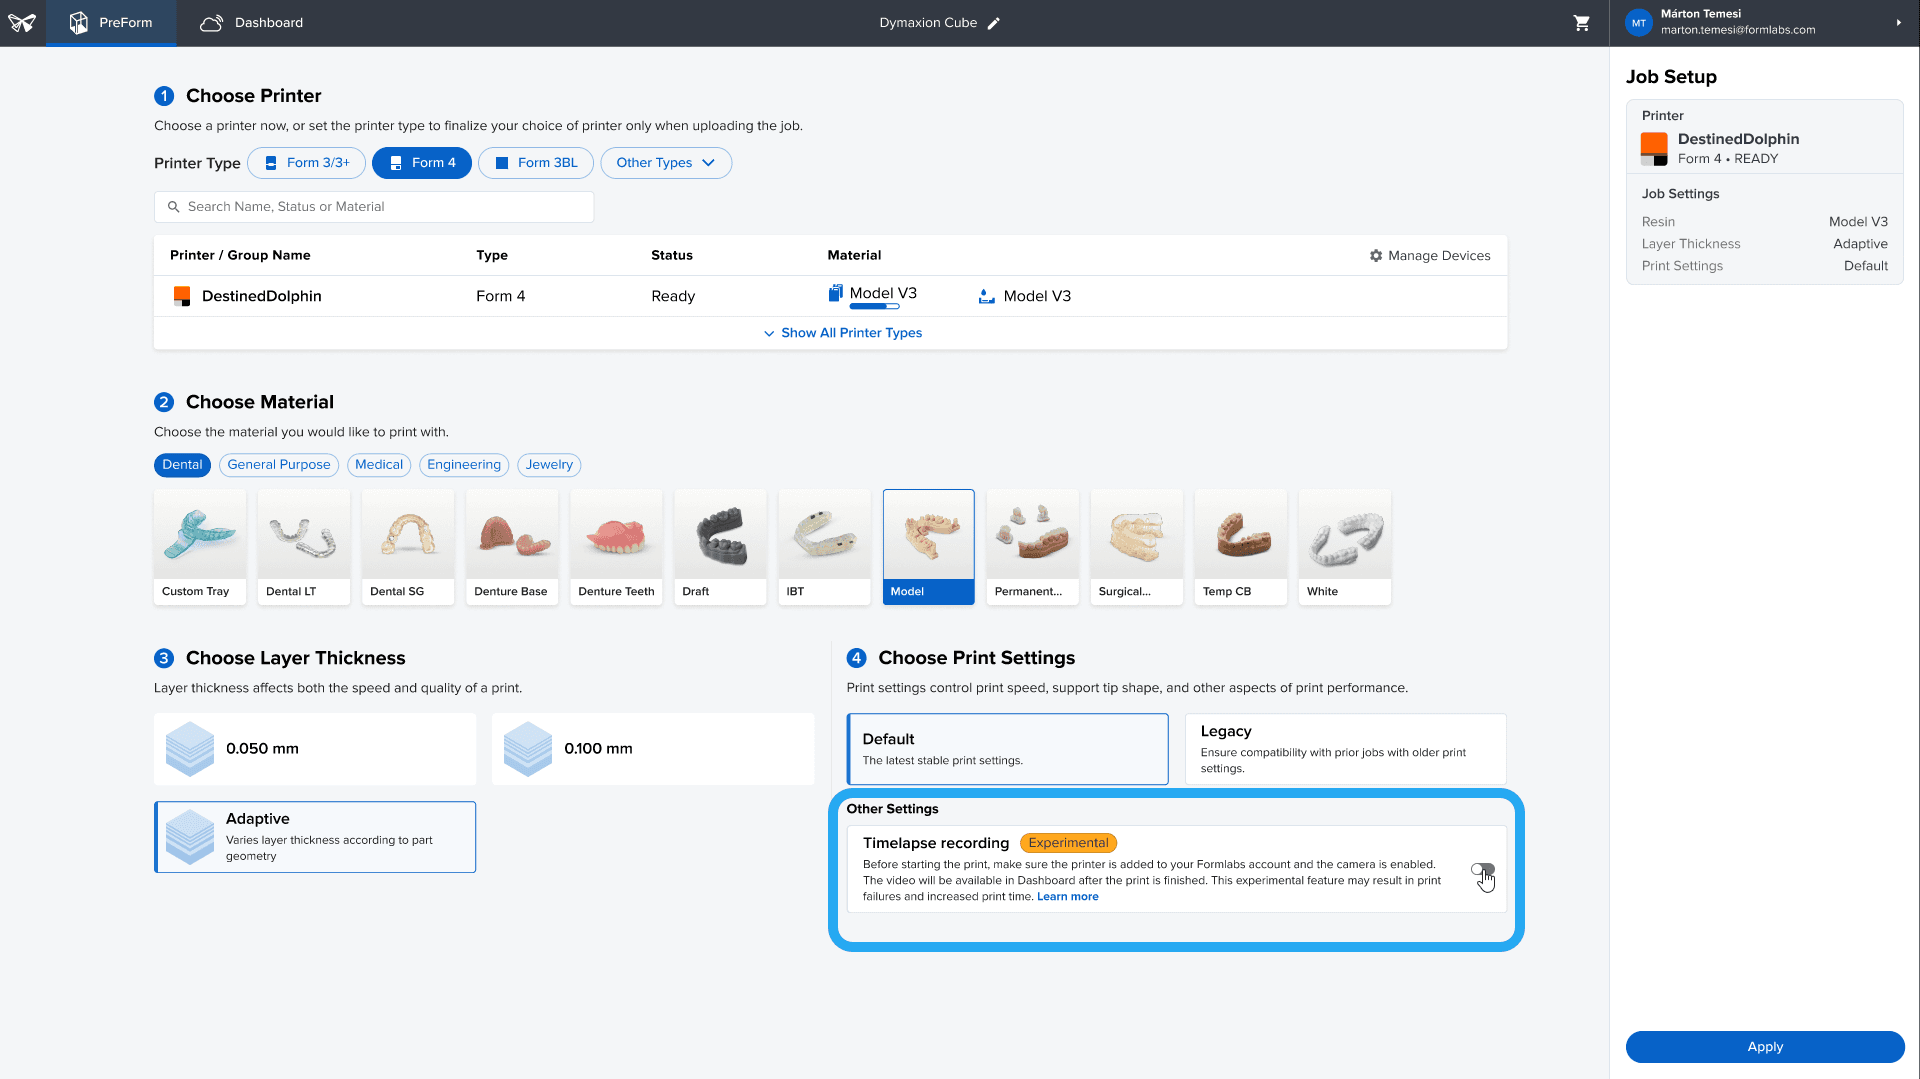
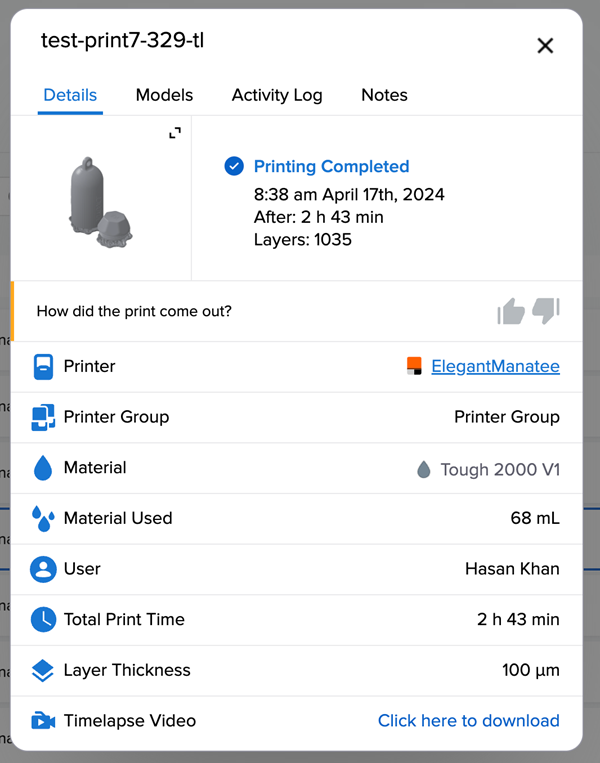
Form 4 and Form 4L generation printers allow users to take a video timelapse of the printing process. The video is available in Dashboard once the print job is completed.
Note:
The video timelapse feature was introduced in PreForm 3.36.0. Keep PreForm updated to access the latest features.
To take a video timelapse, ensure that:
Note:
The video timelapse feature increases the print time and may cause print failures. The actual print duration may take longer than estimated.
To view a video timelapse:
Taking a camera snapshot
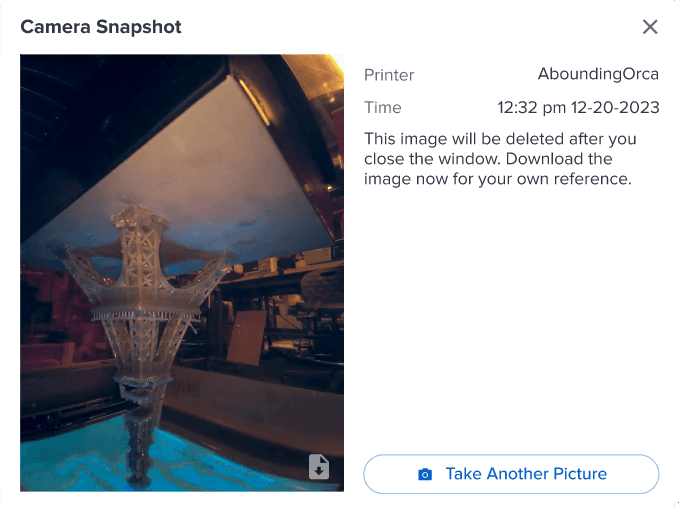
Form 4 and Form 4L generation printers allow users to take a photo snapshot of an active print job on the build platform during the printing process.
To take a camera snapshot, ensure that:

Note:
Dashboard deletes the image of the active print job upon closing the Camera Snapshot window.