LIBRO BLANCO
Formlabs Logo

Cleaning after a resin spill (Form 4 generation)

Cleaning after a resin spill (Form 4 generation)

Promptly clean and inspect the printer after a resin spill to minimize any cosmetic or functional damage to the printer. Learn about the primary causes of resin spills and how to prevent spills.

Consejo:

Ponte en contacto inmediatamente con el servicio de asistencia de Formlabs o con tu revendedor autorizado si el derrame de resina es extenso o si la resina puede haber llegado al interior de la impresora.

Adjunta fotos del derrame de resina.

Qué hacer inmediatamente después de un derrame de resina

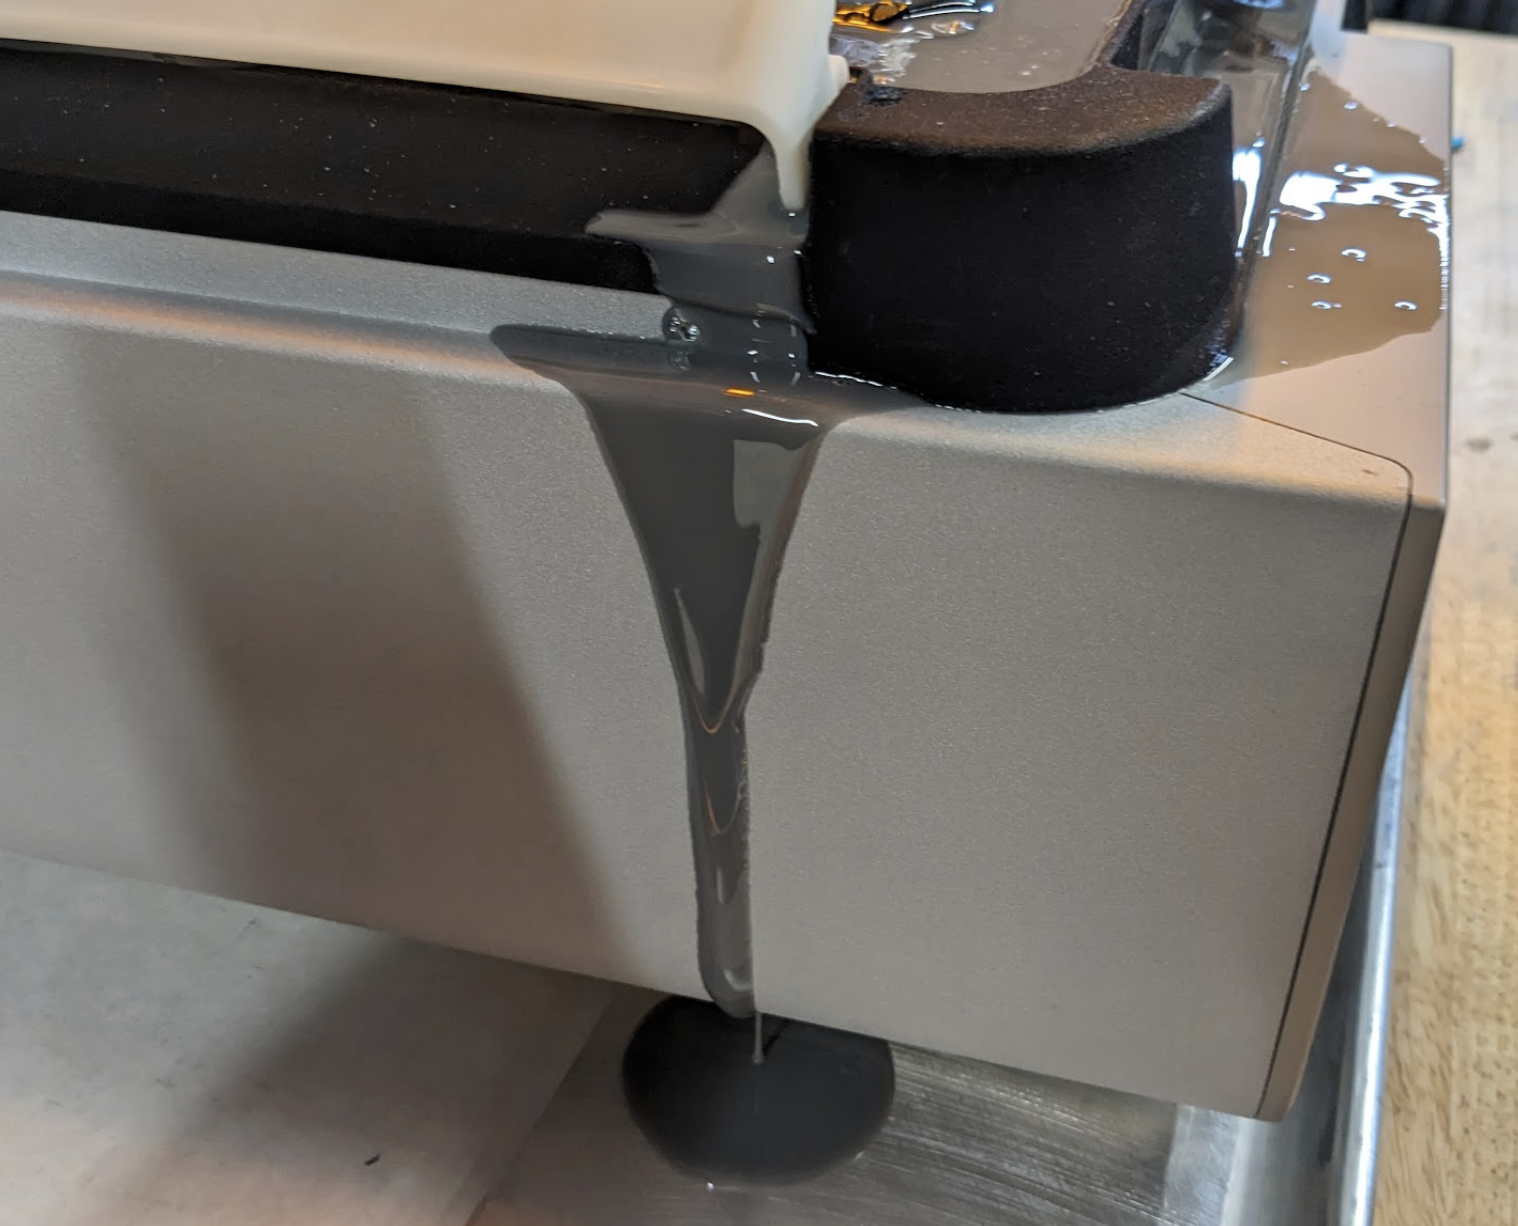
Small resin spills on the printer exterior are harmless and can occur during normal use. More extensive resin spills may require additional cleaning and support to assess and reduce potential damage. Resin inside the printer may contaminate or erode critical components. For more extensive spills, photograph the spill and contact Formlabs Support or your authorized reseller for further assistance.

  1. If a print is in progress, cancel the print on the Form 4 touchscreen.
  2. Clean the resin spill as soon as possible.
  3. If cleaning the resin spill immediately is not possible, keep the orange cover closed to prevent ambient light from curing the resin.

Resumen

Advertencia:

Las resinas pueden causar irritación en la piel o una reacción alérgica cutánea. Usa guantes cuando manipules resina líquida o superficies cubiertas de resina. Lávate la piel con abundante jabón y agua.

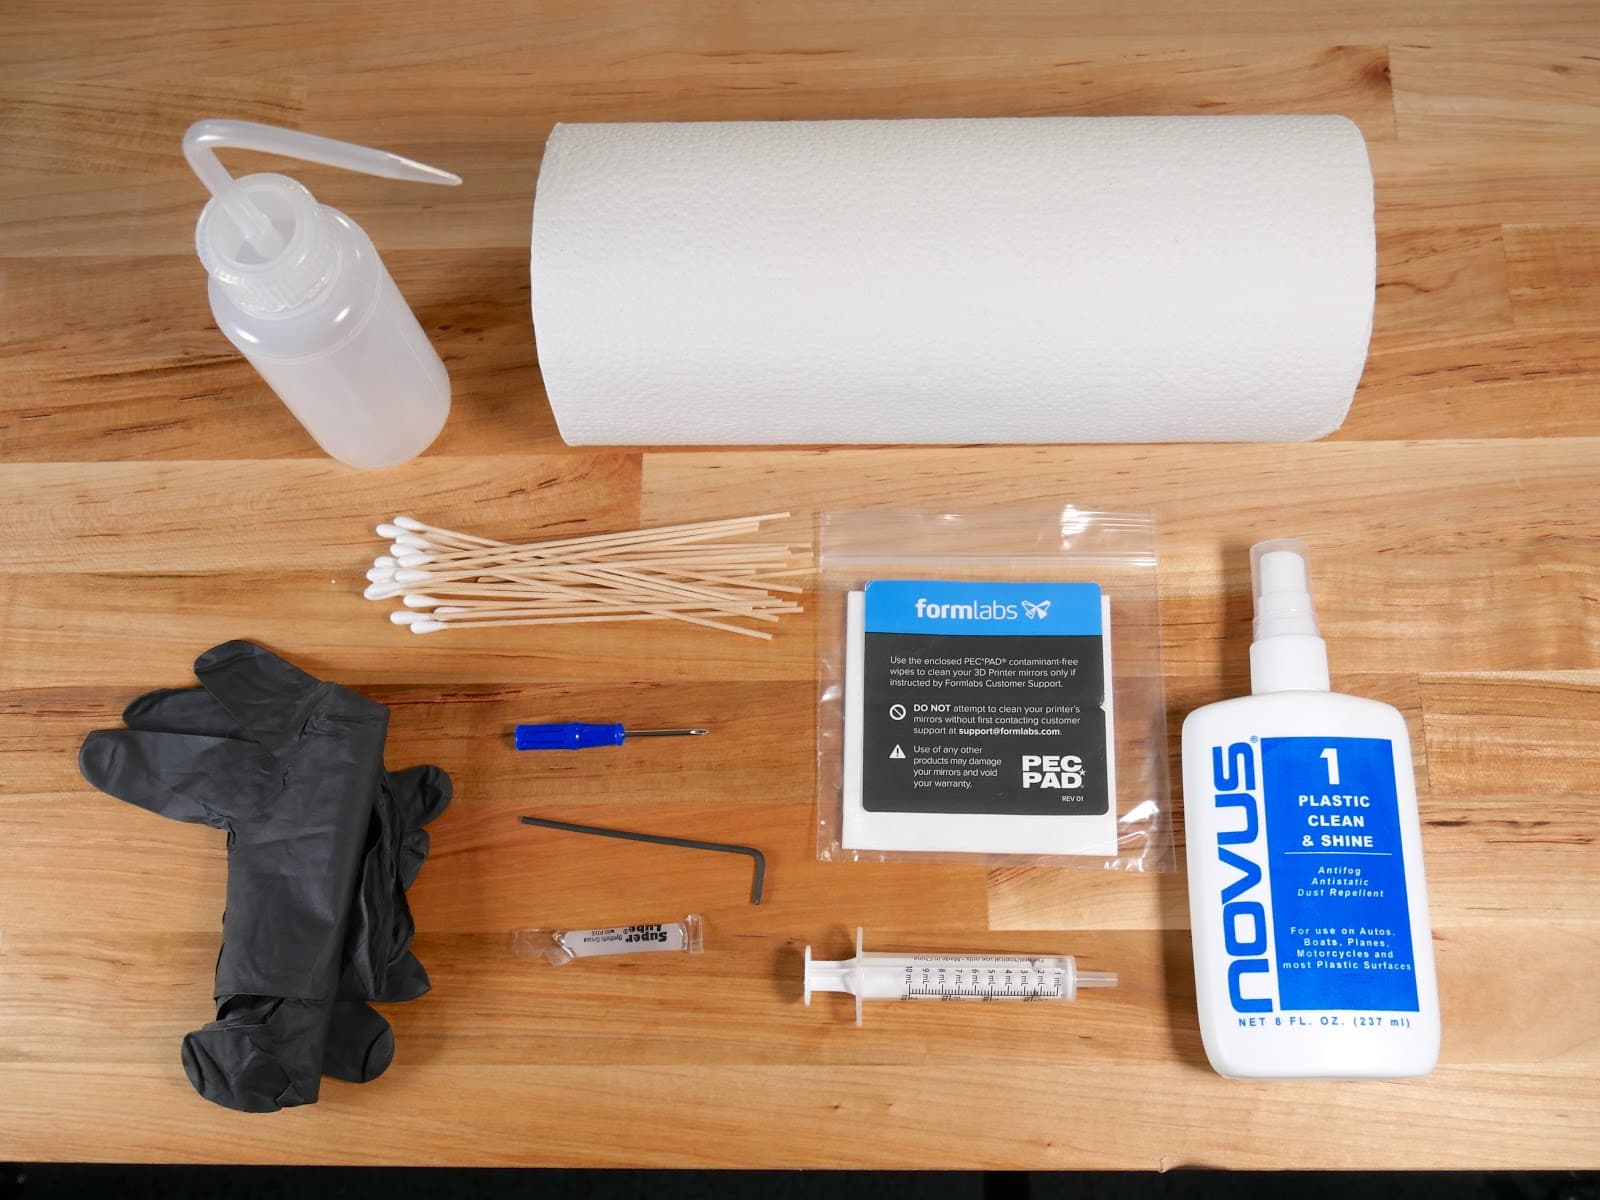
Recommended supplies:

  • Nitrile gloves
  • Soap and water
  • Low-fiber paper towels or disposable microfiber cloths
  • Clean IPA (70% or higher)
  • Cotton swabs
  • PEC*PADs
  • Novus 1: Plastic Clean & Shine, or similar plastic cleaner
  • Plastic spatula or similar
  • Flashlight
  • Disposable syringes or medicine droppers
alttext

Preparación de la impresora

Prepare the printer for inspection and cleaning by disconnecting it from power and removing all consumables.

  1. Turn the power switch on the printer to the 0 position. Disconnect the power cable from the printer.
  2. Remove the build platform first to avoid dripping resin onto the LPU.
  3. Wipe off any resin on the build platform surface. Ambient light can cure liquid resin left on the metal plate, which can cause print adhesion issues.
  4. Remove the resin cartridge and close the vent cap.
  5. Unlatch the resin mixer. Cover the resin tank with the tank lid and remove it and the mixer from the printer. Make sure the tank is not leaking and set it aside.
  6. If the resin spill is extensive, take photos of the spill to share with Formlabs Support or your authorized reseller.

Inspección y limpieza de las superficies externas

La resina líquida en el exterior de la impresora puede dificultar su uso o contaminar otras superficies de trabajo. Limpia la cubierta, la carcasa y los puertos si se derrama resina sobre ellos.

Orange cover

  1. Inspect both the inside and outside of the orange cover.
  2. Clean any liquid resin using paper towels dampened with soap and water.

Shell

  1. Dab the shell with paper towels to absorb liquid resin. Avoid smearing resin across the surface.
  2. If resin has cured on the surface of the shell, scrape off the cured resin using a plastic spatula. A metal spatula may scratch the shell.
  3. Clean the remaining resin off external surfaces with soap and water.
alttext
alttext

Note:

The Form 4 resin tank features a groove on the left to redirect resin spills outside of the printer to prevent possible damage to the machine’s components.
alttext

Touchscreen

  1. Inspect the printer’s touchscreen.
  2. Clean any liquid resin using a microfiber cloth dampened with a small amount of IPA.

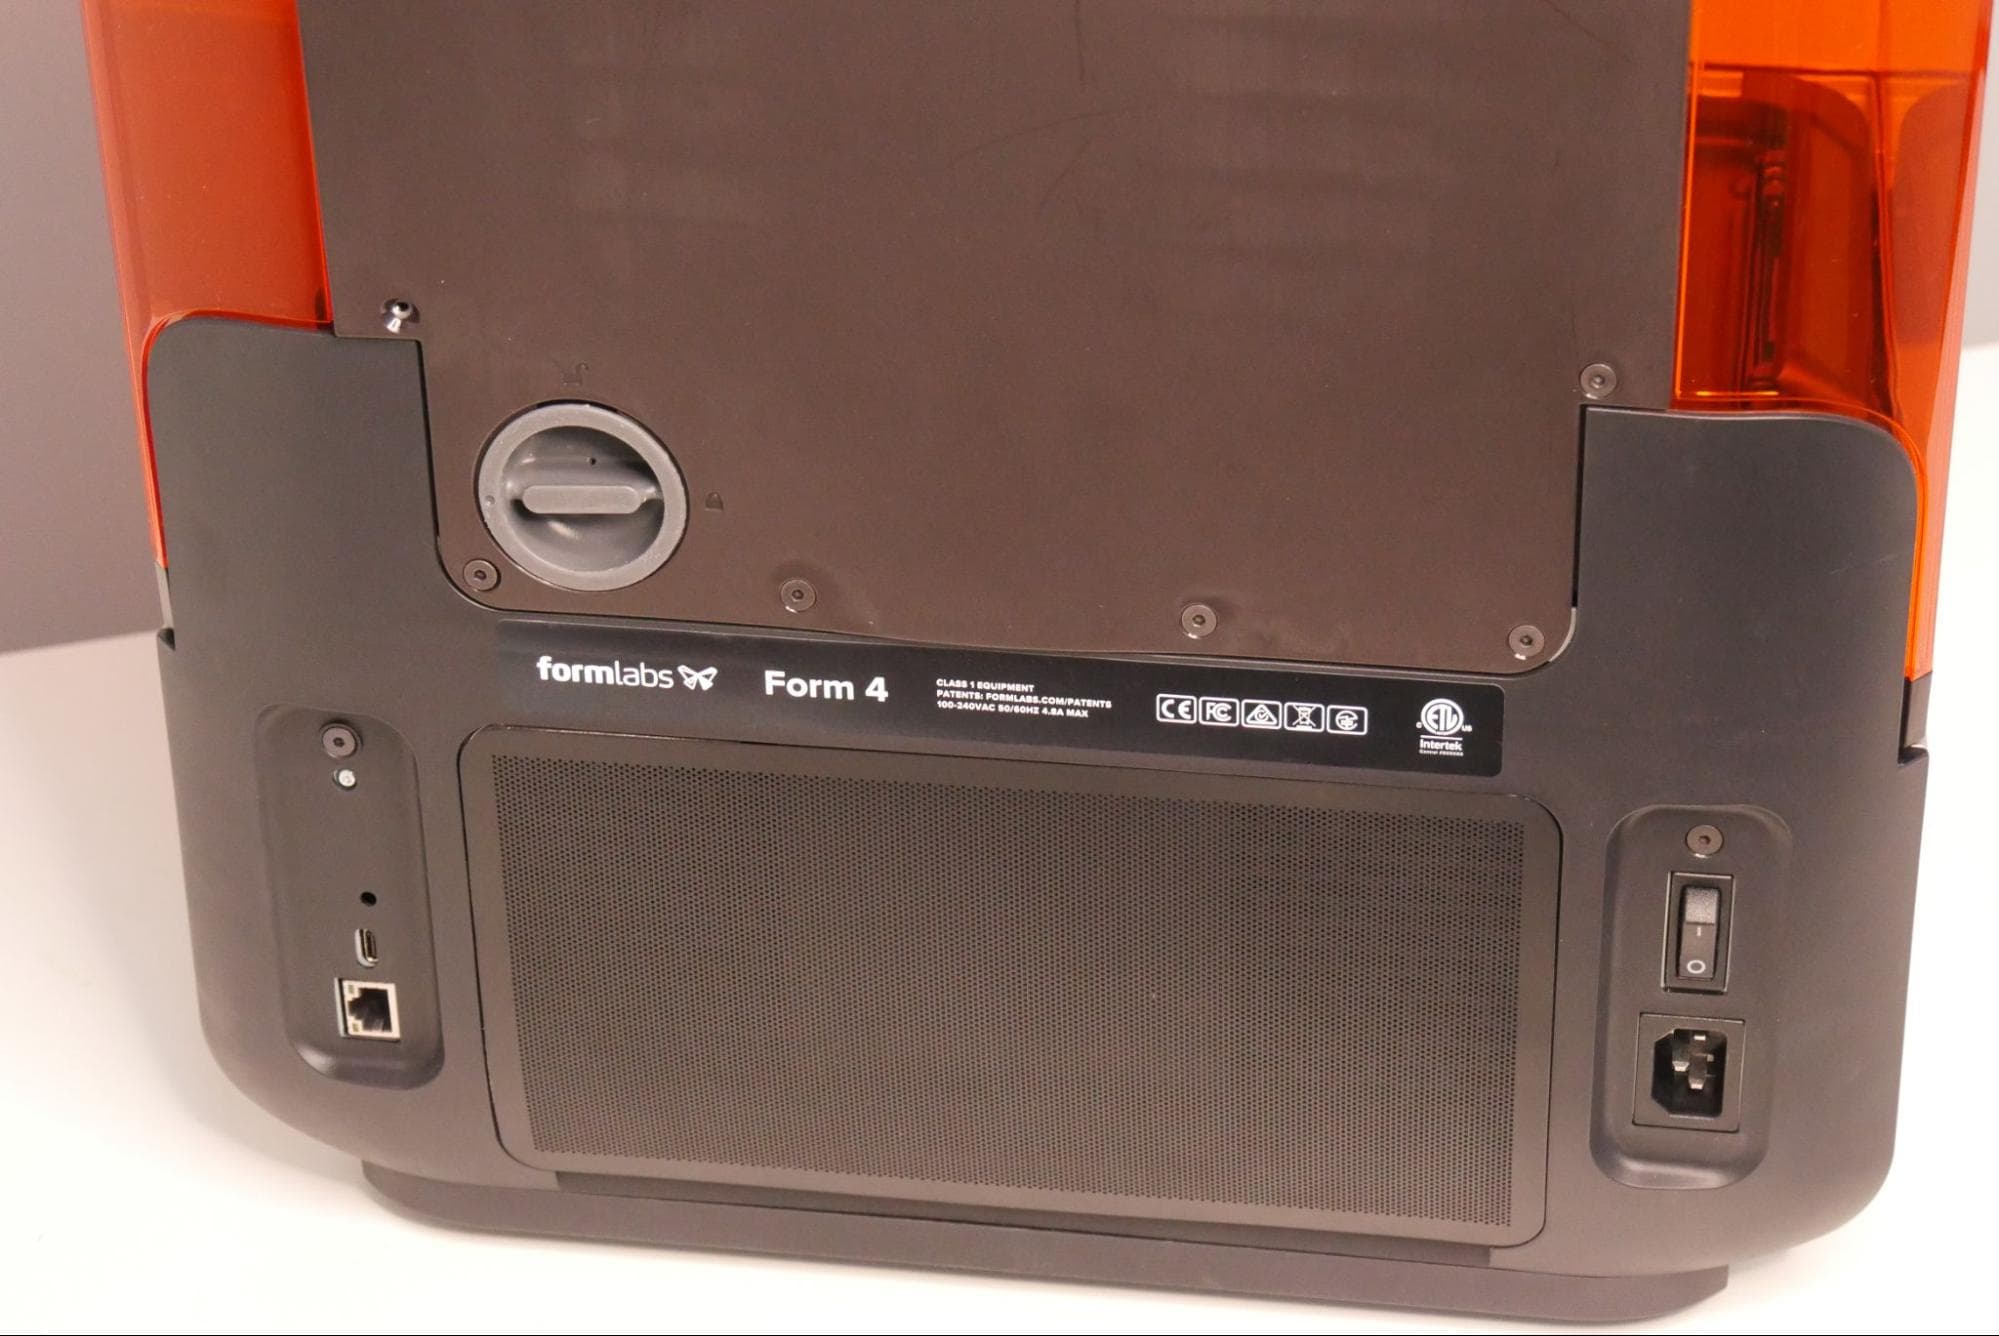
USB port, Ethernet port, power jack, and power switch

alttext
  1. Inspect the USB port, Ethernet port, power jack, and power switch on the back of the printer for resin contamination.
  2. If needed, clean the contacts inside the port or power jack using cotton swabs and a small amount of IPA.

Inspección del eje Z

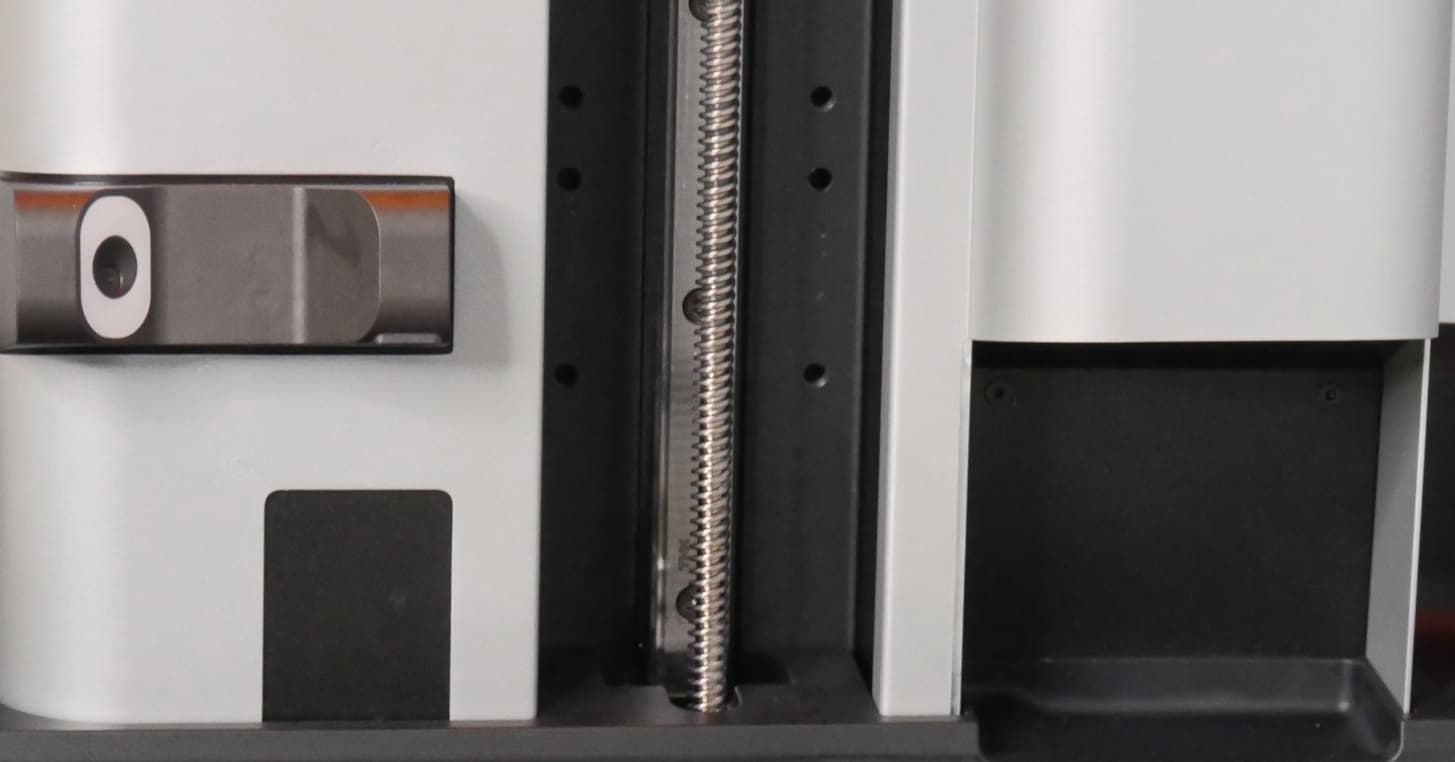
The Z-axis assembly contains the motor and lead screw that drive the build platform carriage. They must be clean for the build platform to move smoothly and accurately. There is a drip catcher below the cartridge slot, which can help prevent or mitigate any future resin spills.

Z-tower and drip catcher

  1. Clean any resin droplets on the Z-tower with a paper towel or cotton swab dampened with soapy water.
alttext
  1. Ilumina con una linterna la bandeja de goteo en la base de la torre y realiza una inspección visual de ella en busca de resina derramada.
  2. Retira la resina acumulada con una jeringa y deséchala utilizando los procedimientos adecuados para la resina líquida.
  3. Absorbe cualquier resto de resina con un papel absorbente.
  4. Limpia los últimos restos de resina que queden con agua jabonosa y un papel absorbente limpio.

Motor Z y tornillo guía

alttext
  1. Ilumina con una linterna el tornillo guía e inspecciona el motor Z que hay dentro de la base de la torre para determinar si se ha filtrado resina por el tornillo guía hasta los cojinetes. Si la resina se ha filtrado hasta los cojinetes o el motor, haz fotos de ella y contacta con el servicio de asistencia de Formlabs o tu revendedor autorizado para recibir asistencia adicional.
  2. Si hay resina en el tornillo guía, pero el motor Z está limpio, elimina la resina del tornillo guía con un papel absorbente o un bastoncillo de algodón y una pequeña cantidad de alcohol isopropílico.

Tip:

If the lead screw is cleaned with IPA, lubricate the lead screw with Rheolube 362HB before printing again to prevent build platform movement issues.

Inspección del tanque de resina

Resin spills are sometimes caused by a failed print. The failed print will also leave cured resin in the resin tank. Inspect and clean the resin tank before running any further prints.

  1. Inspect the resin tank using the plastic tank scraper to check for any failed prints or damage to the tank.
  2. Remove any failed prints (using the plastic tank scraper and then by printing a cleaning sheet) and filter the resin.
  3. Dispose of the tank if there is significant wear or damage to the tank film or if resin leaks through cracks in the tank.

Inspección de la textura de liberación

Liquid resin on the release texture can contaminate the bottom of the resin tank and affect the quality of subsequent prints.

Clean any resin on the release texture with PEC*PADs. Dampen the PEC*PADs with isopropyl alcohol if necessary to fully remove the resin.

Form 4 cleaning sheet

Extracción y limpieza de los componentes ópticos tras un derrame de resina de gran envergadura

En algunos casos, la resina líquida puede filtrarse por debajo del borde de la LPU y contaminarla a ella, al panel difusor o a la unidad de retroiluminación. Si durante la limpieza ves que la resina se ha metido por debajo del borde de la LPU, puedes retirar y limpiar estos componentes ópticos.

Sigue las guías de sustitución de piezas que se indican a continuación para retirar la LPU, la unidad de retroiluminación y el panel difusor. La unidad de retroiluminación debe retirarse para acceder al panel difusor. Si ves resina líquida u otros contaminantes, aplica una pequeña cantidad de alcohol isopropílico limpio a un paño no desprenda pelusa y limpia la superficie afectada. Deja que el componente se seque al aire antes de volver a instalarlo.

Limpieza

Desecha siempre la resina y cualquier material contaminado con ella de acuerdo con la ficha de datos de seguridad. Coloca el recipiente del agua con jabón y los papeles absorbentes o bastoncillos sucios en una ventana u otro lugar soleado, para que la resina se cure con la luz ambiental. Cuando la resina se haya curado, se puede desechar junto con los residuos domésticos habituales.

Aviso:

Permite que todos los componentes se sequen completamente antes de volver a conectar la impresora.

Contacto con el servicio de asistencia de Formlabs

Contact Formlabs Support or your authorized reseller if the resin spill is extensive or if resin has reached the inside of the printer. Include the following with the support request:

  • Photo of the initial resin spill
  • Top-down photo of the release texture
  • Resin type and version
  • FORM file being printed when the resin spill happened
  • Diagnostic logs
  • The cause of the spill:
    • Failed print
    • Damaged resin tank
    • Damaged resin cartridge bite valve
    • Other (please provide additional information)

Prevención de derrames de resina

Learn how to recognize common causes of resin spills and how to minimize the likelihood of resin spills.

While resin spills occur for a variety of reasons, the most common reasons are failed prints in the resin tank, damage to the resin tank, and damage to the resin cartridge bite valve.

Failed prints

When a print fails, the entire print or a part of the print may fall into the resin tank. The mixer is designed to detect such a failure and pause the printer, but some resin may still be spilled.

To avoid print failures, exercise these Form 4 best practices:

Damaged resin tank

A damaged resin tank can cause resin to leak onto the printer. The composite flexible film at the bottom of the tank can be damaged by improper storage (such as placing a tank down on top of another object) or rough handling (such as using a sharp tool to remove cured resin). Similarly, the plastic frame of the resin tank can crack due to an impact or other significant force. Use the provided plastic tank scraper to inspect the tank film and always handle the resin tank with care.

Damaged bite valve

A damaged bite valve on the resin cartridge can cause the printer to dispense too much resin, which can cause the resin tank to overflow in rare cases. Learn how to inspect and protect the bite valve.