WHITE PAPER
Formlabs Logo

Using True Cast Resin

Using True Cast Resin

Use True Cast Resin for precision casting of intricate jewelry and complex engineering components up to 5 mm thick. Pieces printed in True Cast offer exceptional details and smooth surfaces under a wide range of casting workflows and conditions.

Engineered for reliability, quality, and versatility, True Cast Resin integrates into a wide range of burnout schedules. Low thermal expansion, minimal shrinkage, and 0.03% ash content ensure clean burnout and consistently excellent casting outcomes.

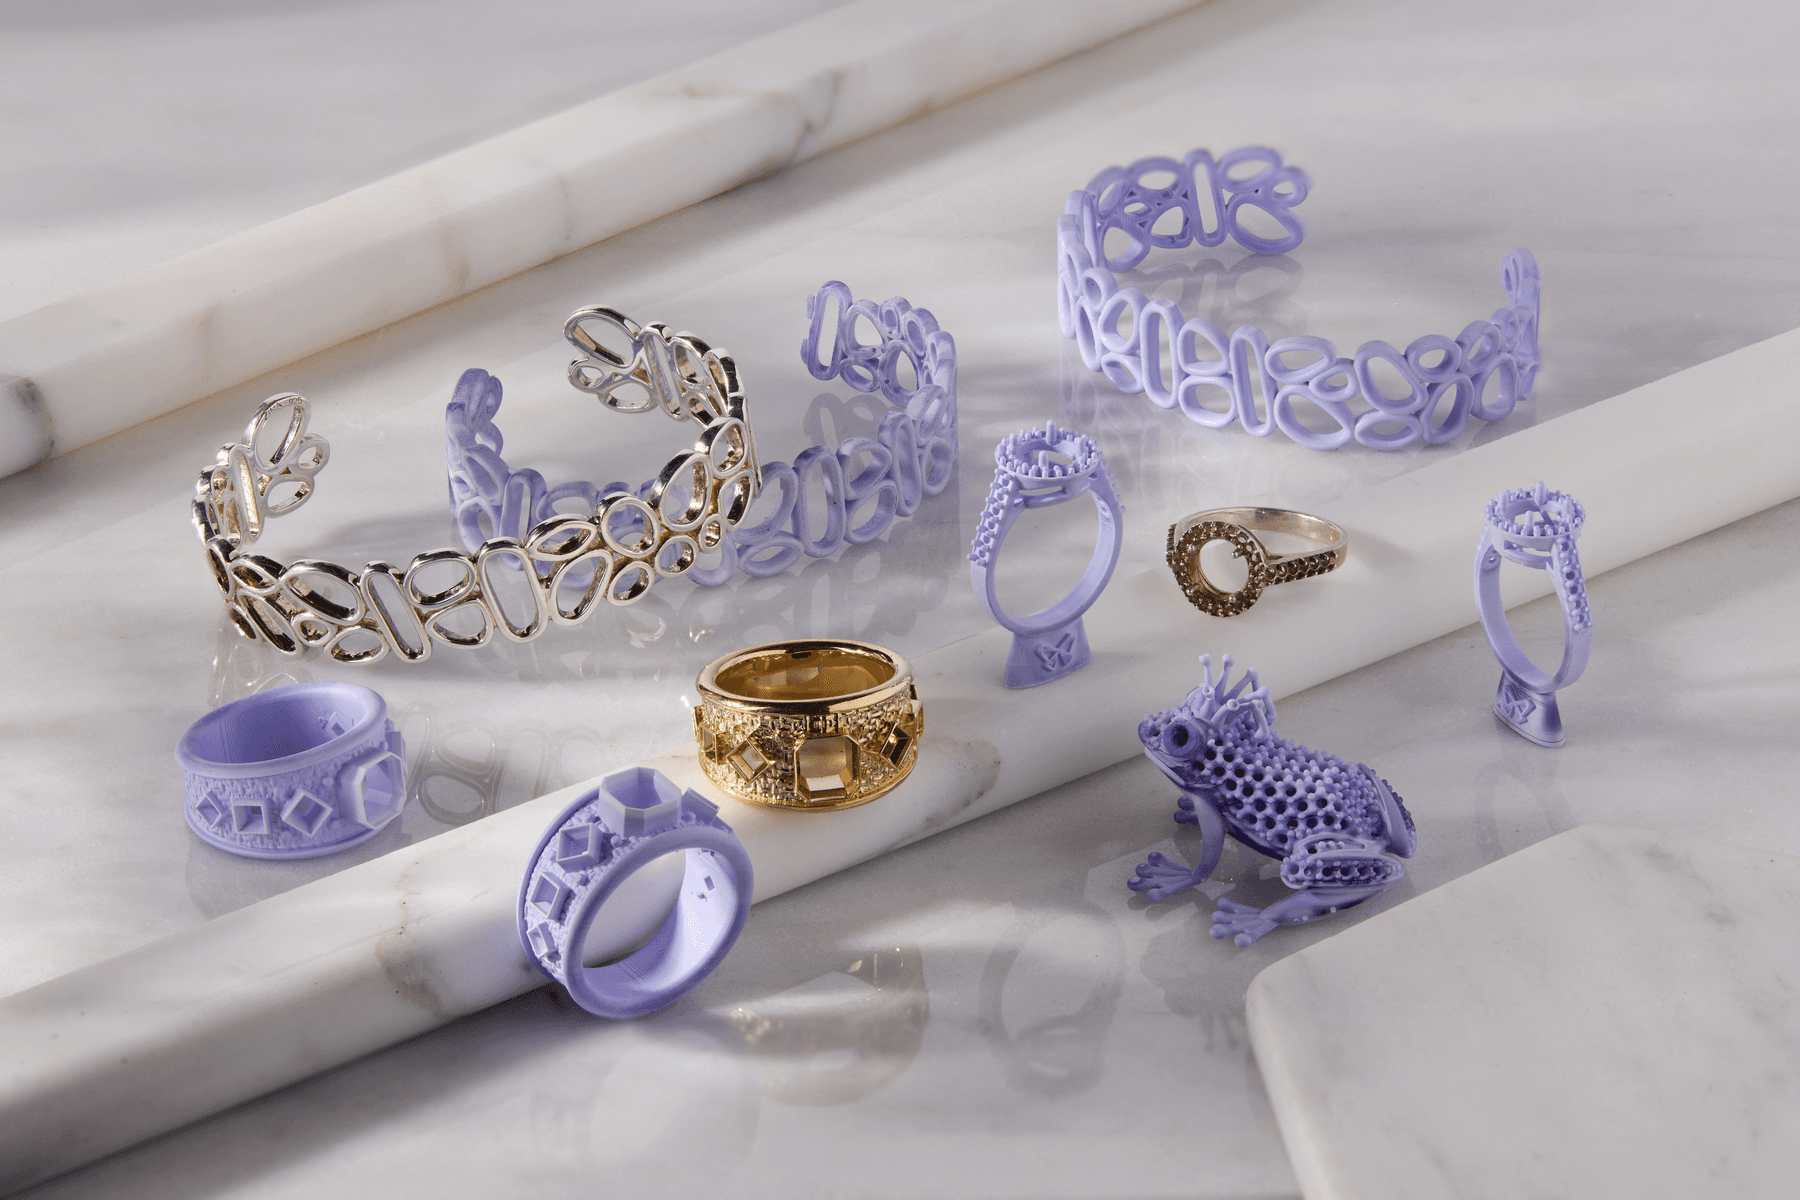
Parts printed in True Cast Resin

Note:

To learn more about the performance or specific material properties of True Cast Resin, refer to the Safety Data Sheet (SDS) and Technical Data Sheet (TDS). Always consult the SDS as the primary source of information to understand safety and handling of Formlabs materials.

Recommended for:

  • Medium jewelry
  • Heavy jewelry
  • Medallions and figurines
  • Engineering components

Not recommended for:

  • Wire filigree—use Castable Wax Resin
  • Parts larger than 5 mm thick—use Clear Cast Resin

True Cast Resin prints at 25 microns and 50 microns. For peer support for printing with this material, join the Formlabs Jewelry/Casting group on Facebook.

Required resources

Sold by Formlabs:

Sold by third parties:

  • Compatible resin printer
  • Burnout oven
  • Casting equipment (vacuum chamber and casting system, such as the Neutec J2R)
  • Ancillary equipment including end nippers, flasks, investment, vacuum, wax, waxing tools, etc.
  • IPA or ethyl alcohol (concentration of 91% or higher)
  • Compressed air
  • Sandpaper (1000 grit)
  • Resin heater

Workflow overview

1 - Pattern Design
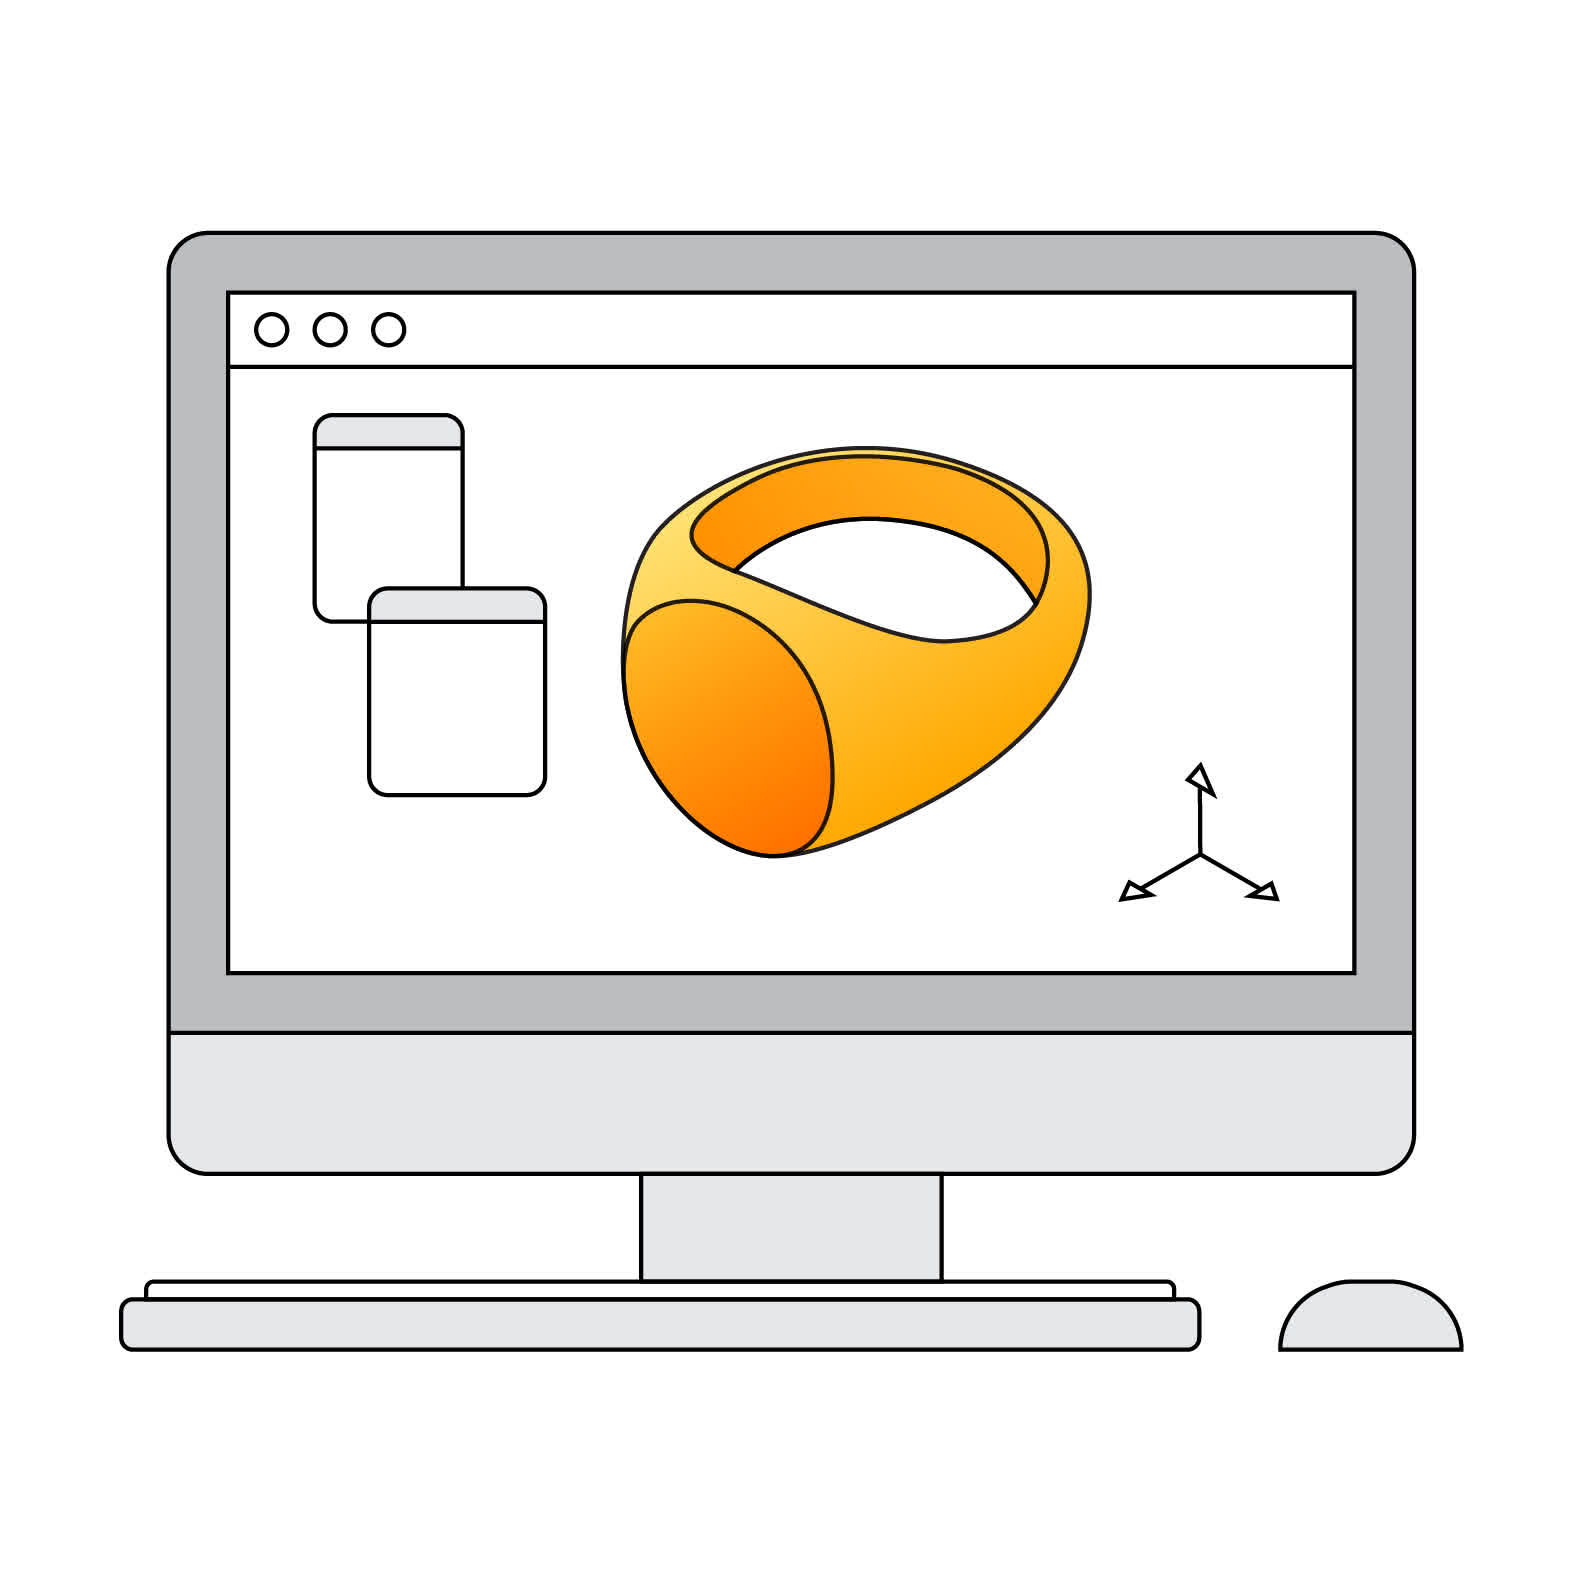
1 - Pattern design
Design the part in CAD software.
2 - Pre-Heat and Mix
2 - Pre-heat and mix resin
Heat and then mix the resin prior to printing to ensure that the wax component is completely liquid and evenly dispersed.
3 - Pattern Printing
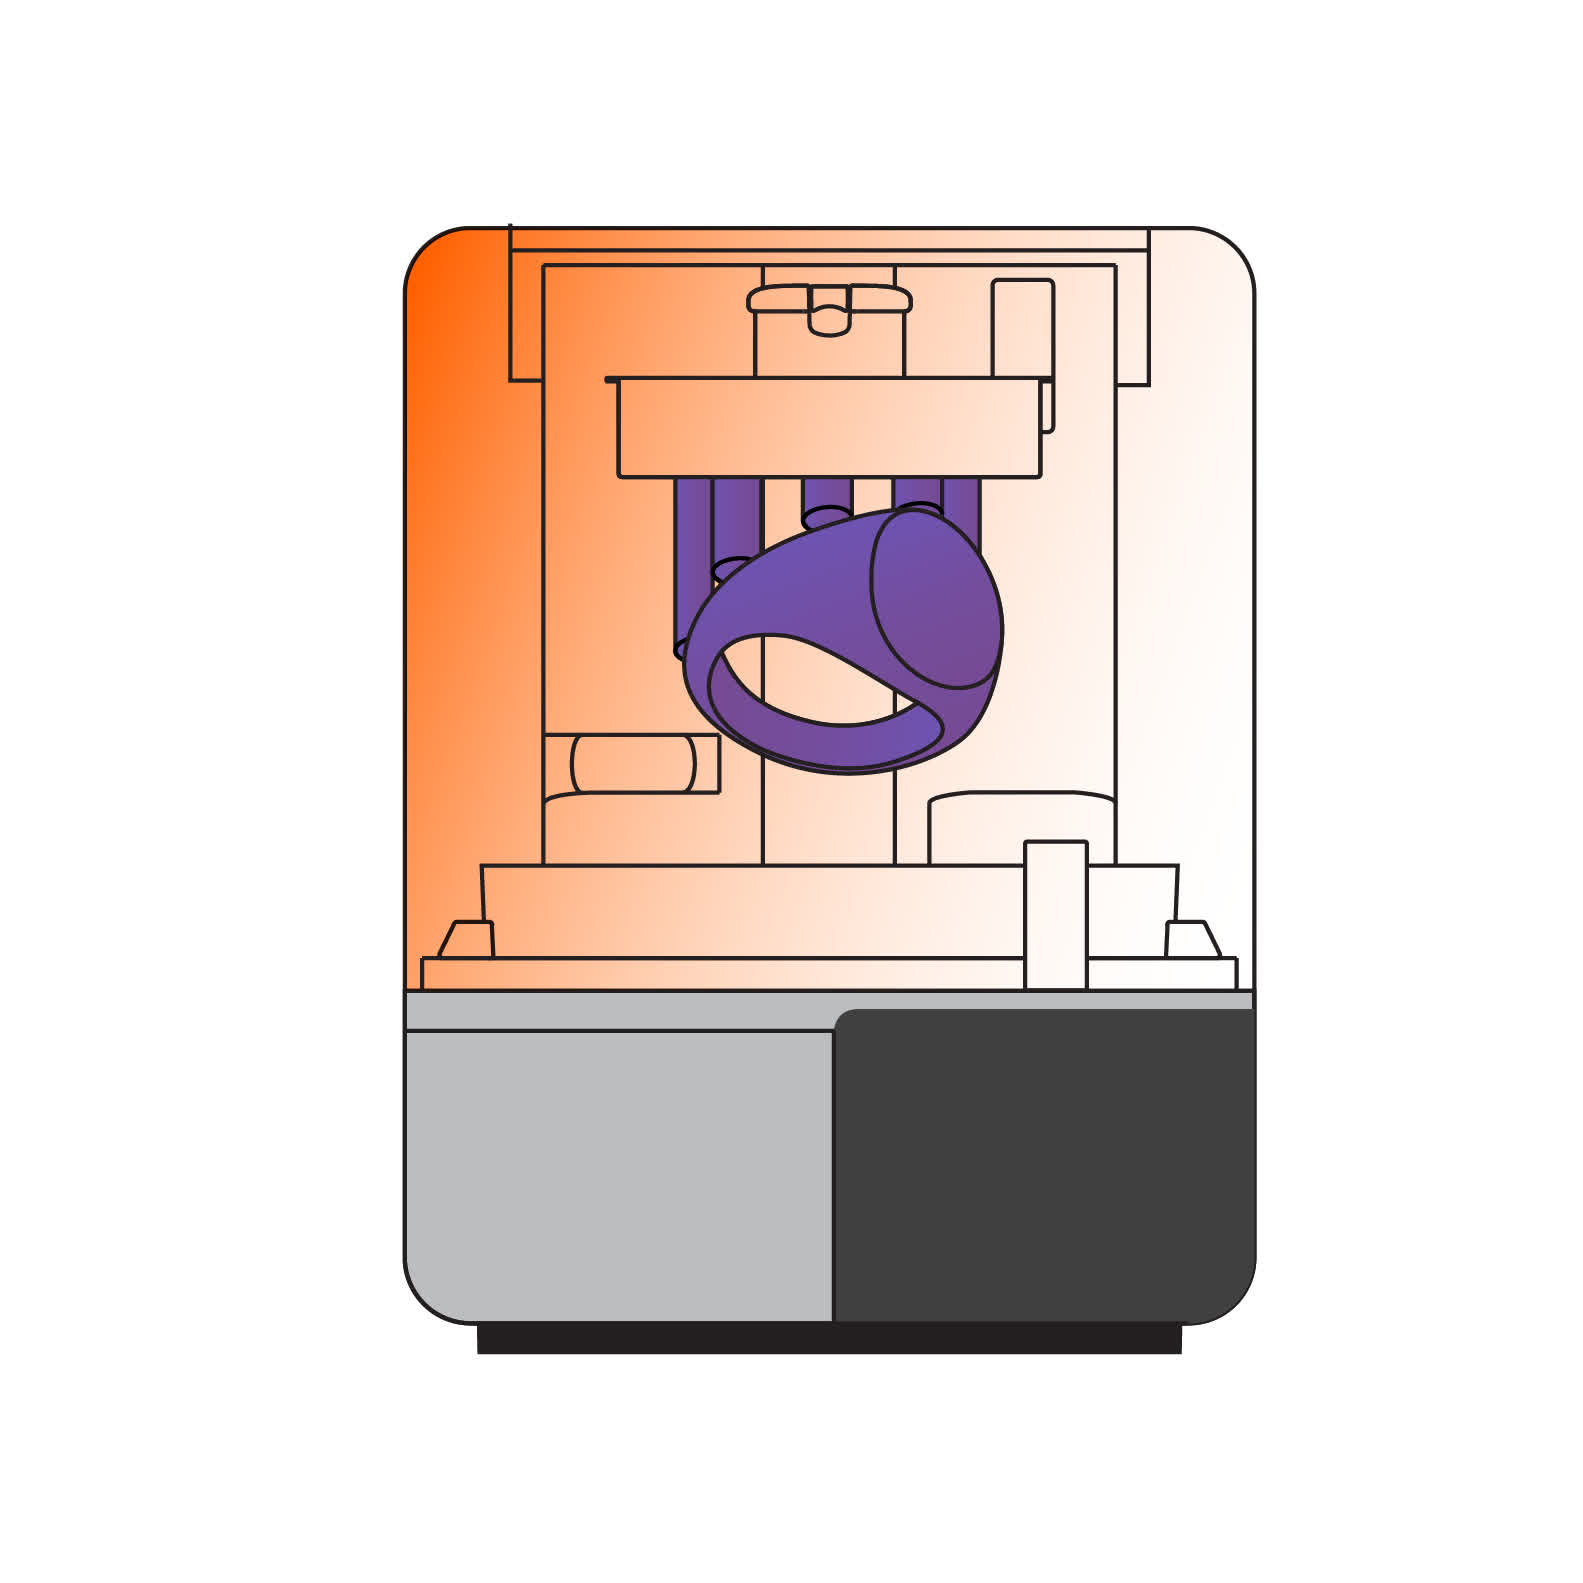
3 - Pattern printing
3D print with True Cast Resin following Formlabs instructions.
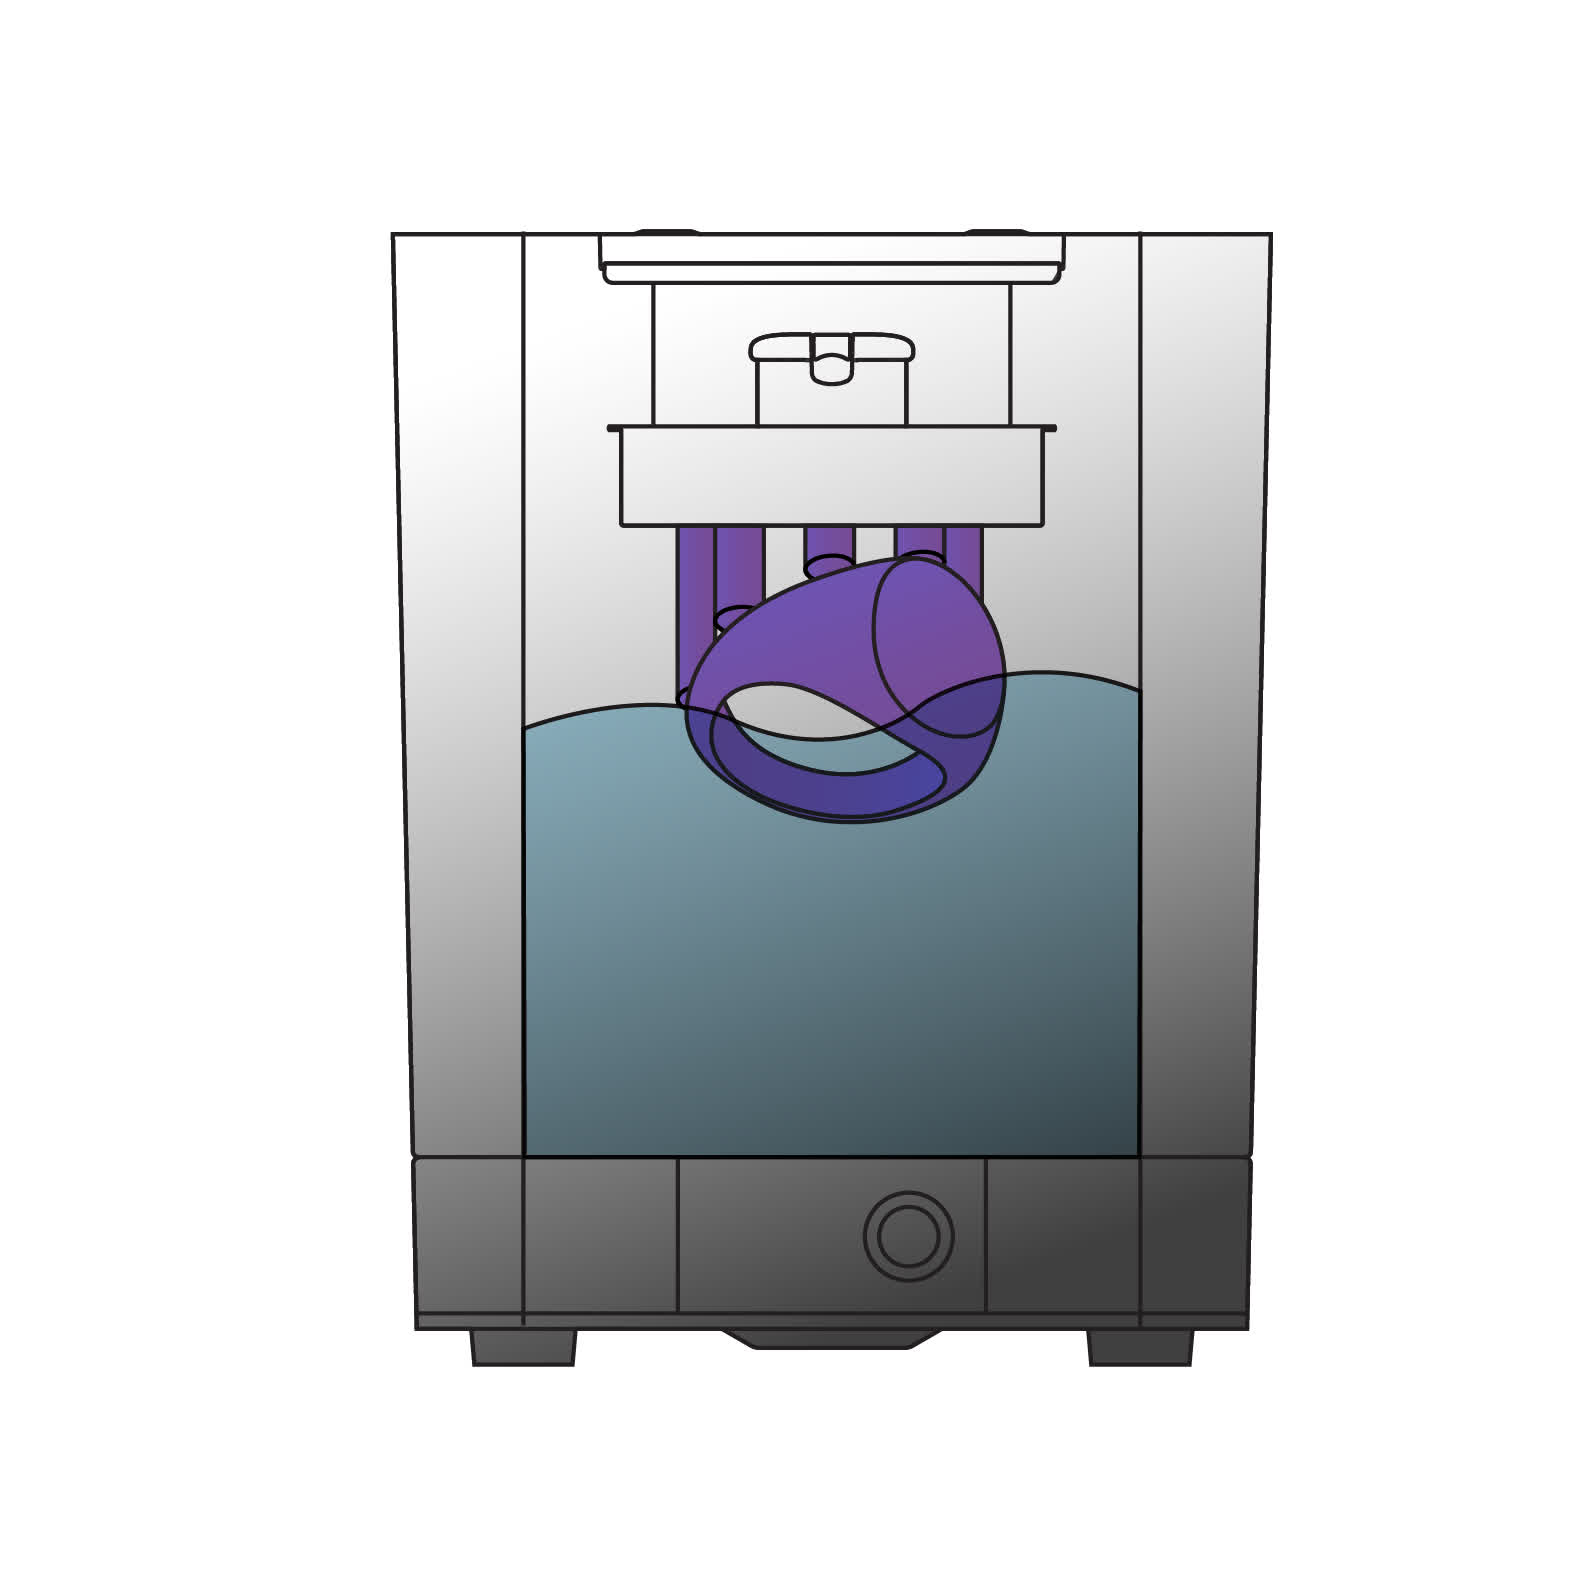
4 - Wash Patterns
4 - Wash patterns
Thoroughly clean the printed patterns with IPA to remove any residual uncured resin. Rinse the parts for a second time in clean IPA to ensure that the patterns are completely clean. Uncured resin on parts may result in casting defects.
5 - Dry With Compressed Air
5 - Dry with compressed air
Use compressed air to dry the printed parts completely. This will ensure the parts are free of any uncured resin and IPA prior to casting.
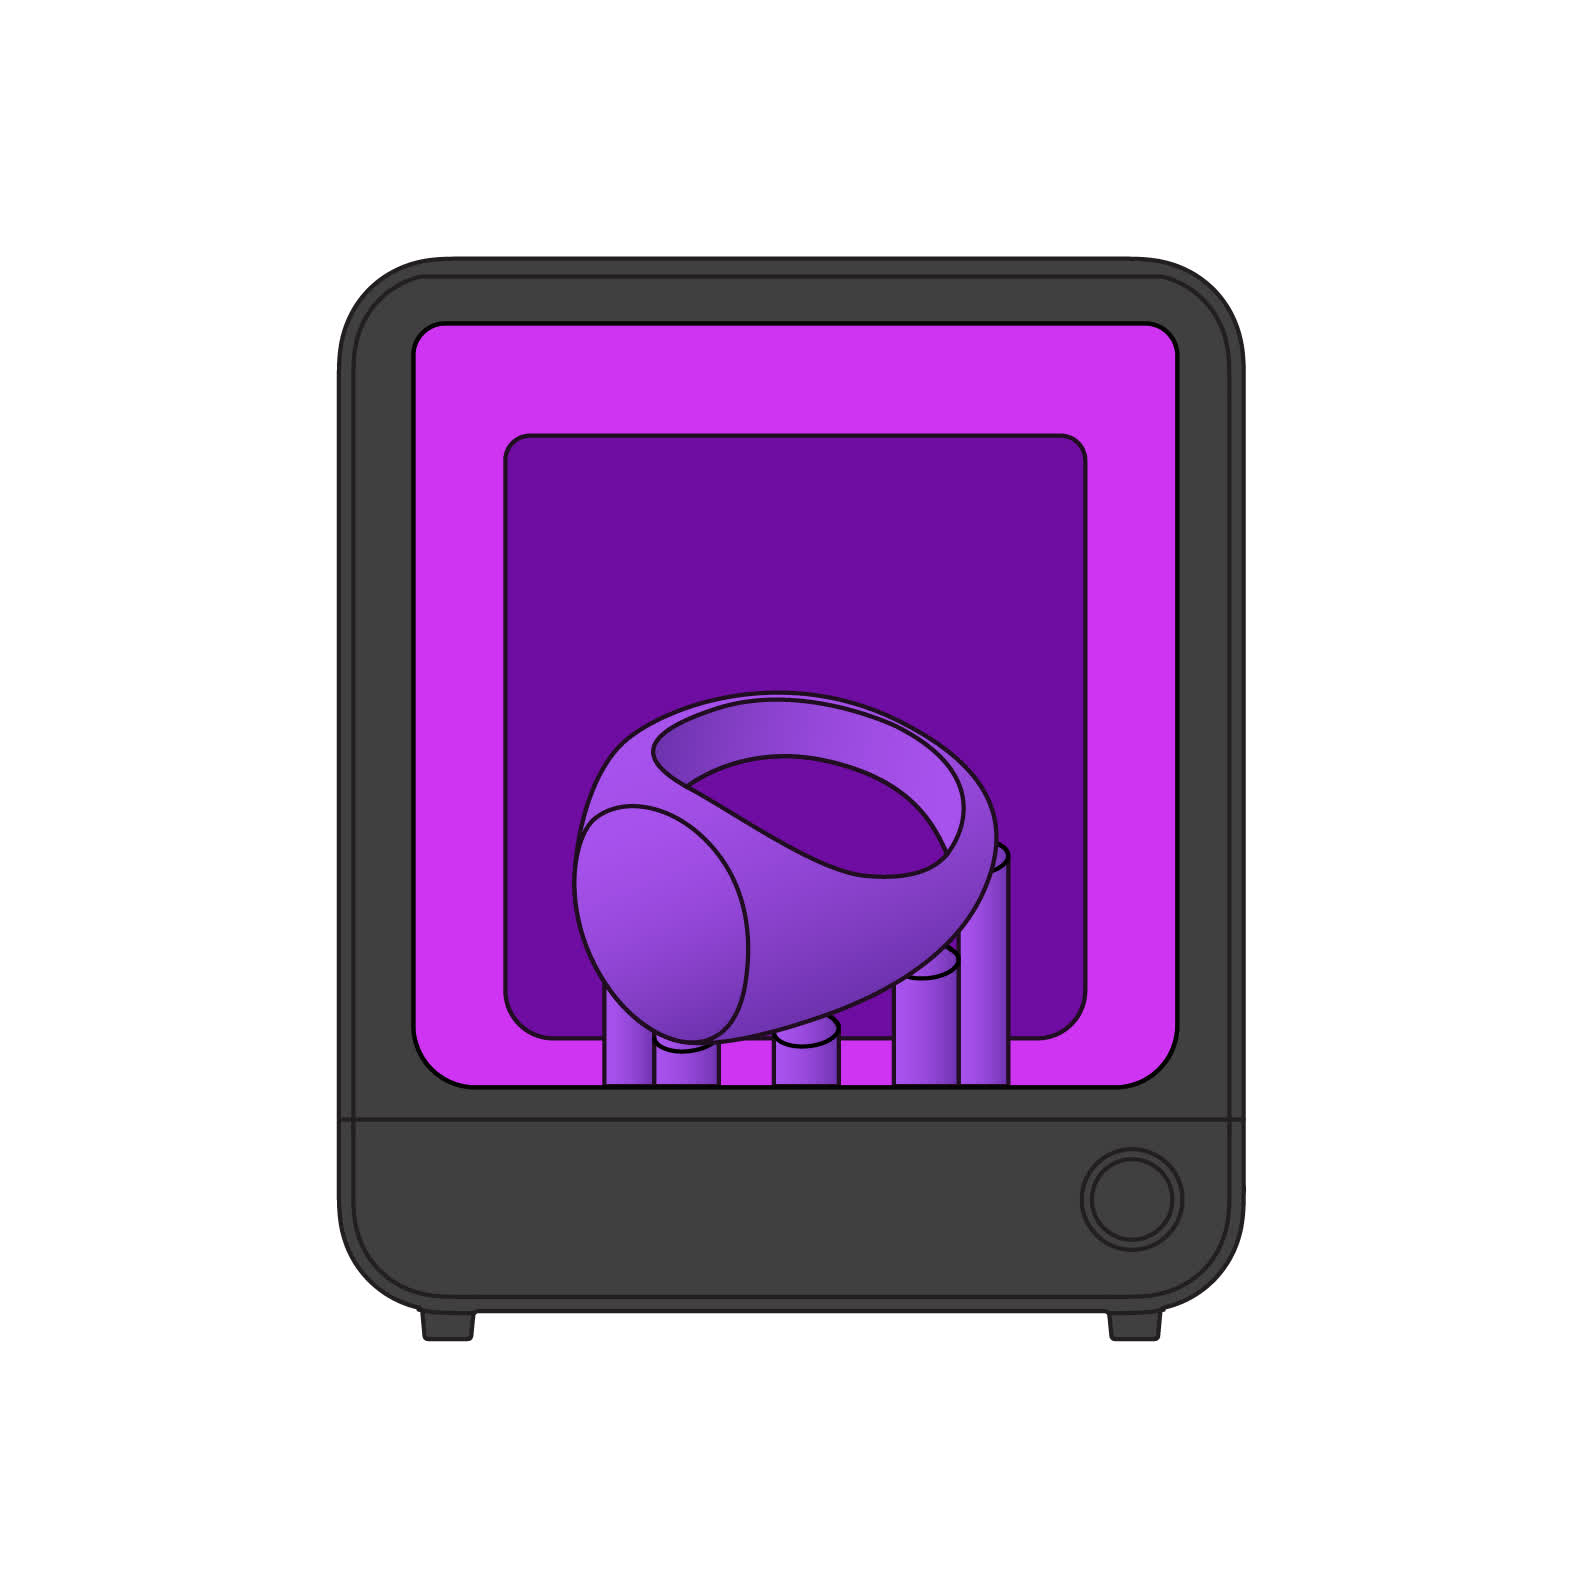
6 - Post-Cure Patterns
6 - Post-cure patterns
For best casting results, post-cure the parts to complete the polymerization reaction started during printing. This will improve the strength and robustness of the patterns and reduce defects during the casting process.
7 - Build the Sprue Tree
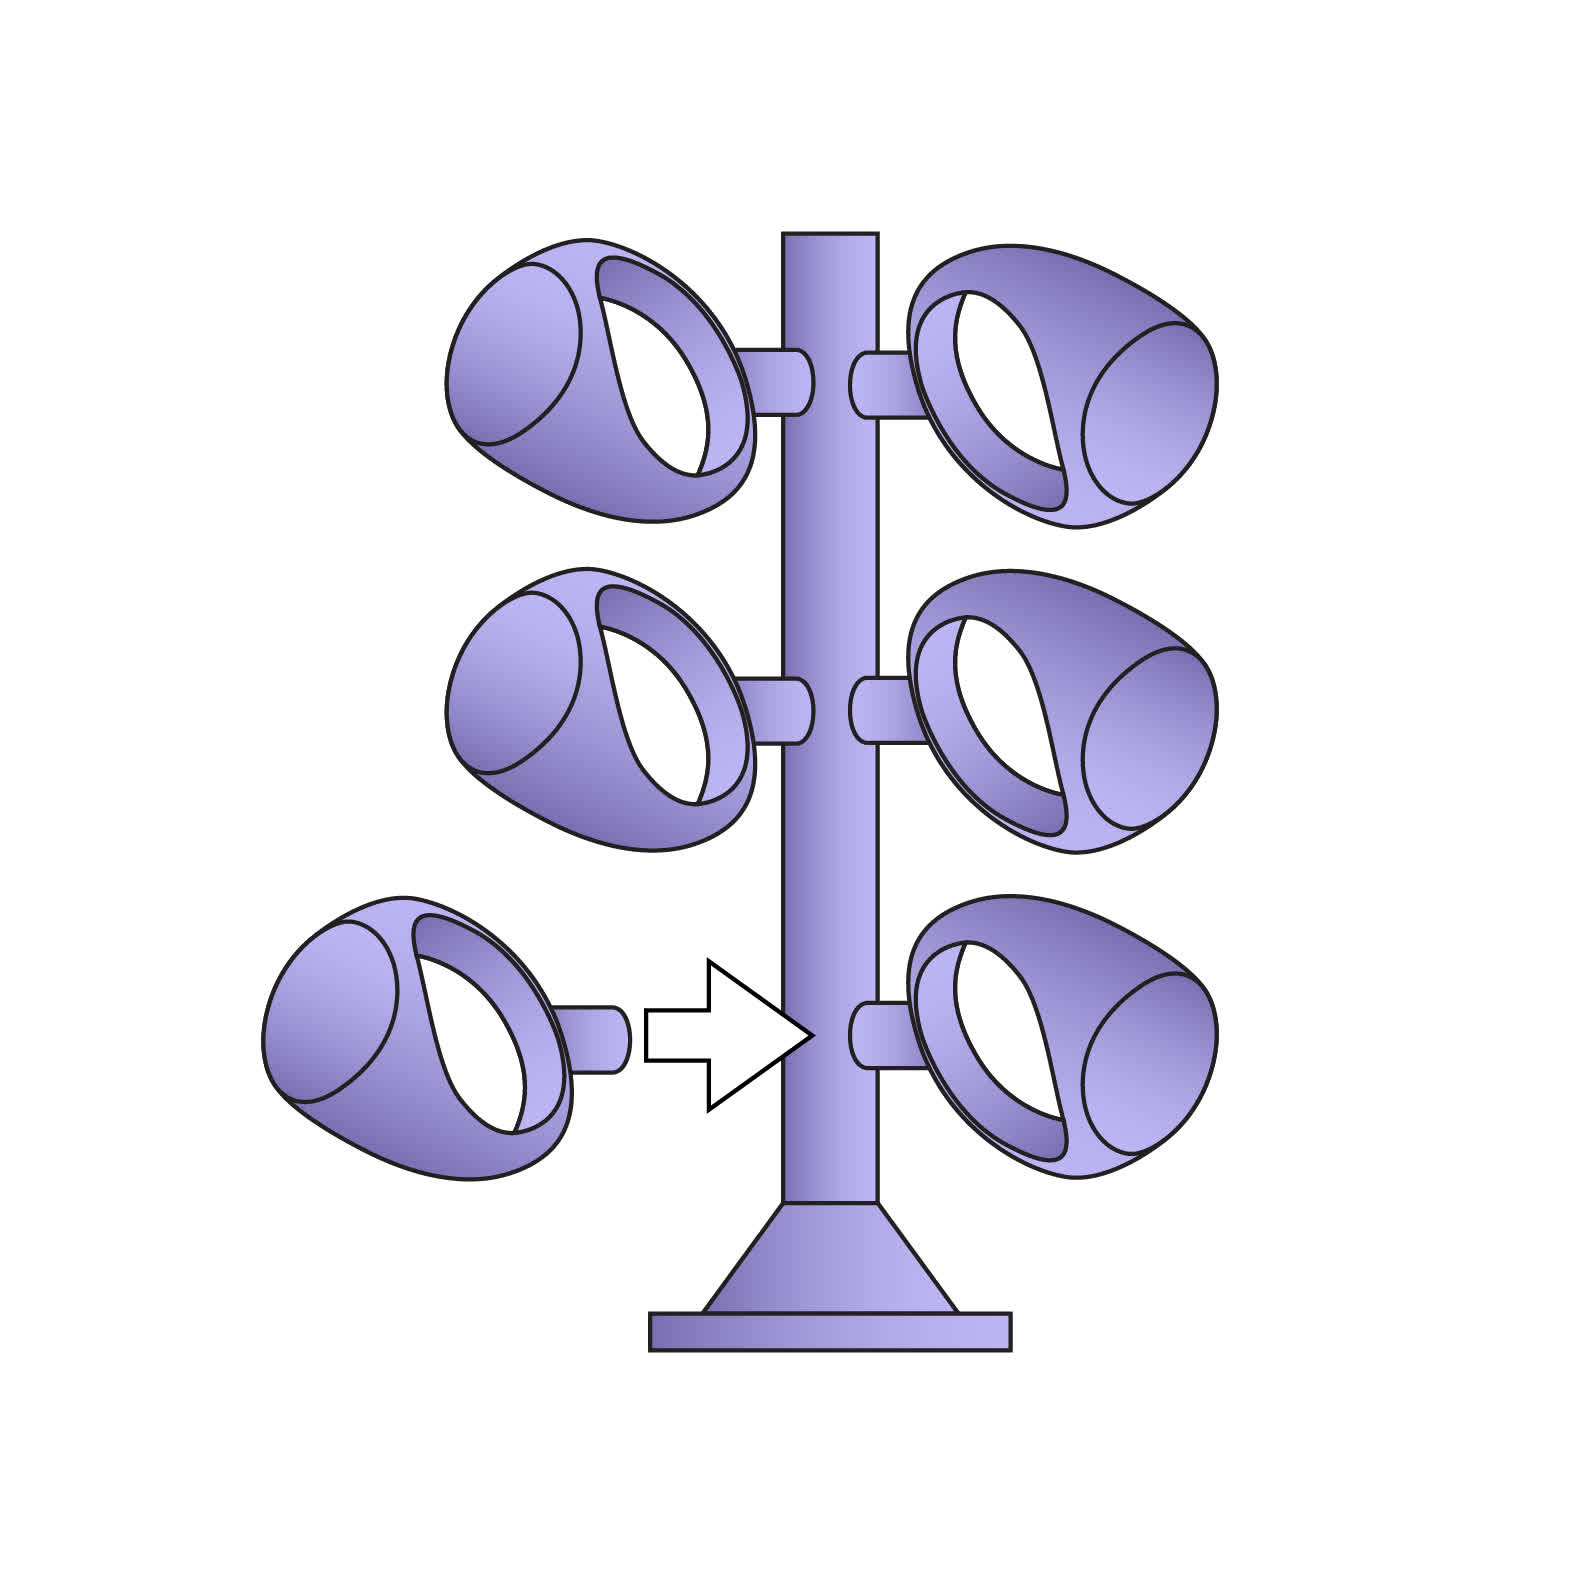
7 - Build the sprue tree
To prepare for casting, attach the prints to a wax tree using sprue wax. Attach the tree to a casting flask.
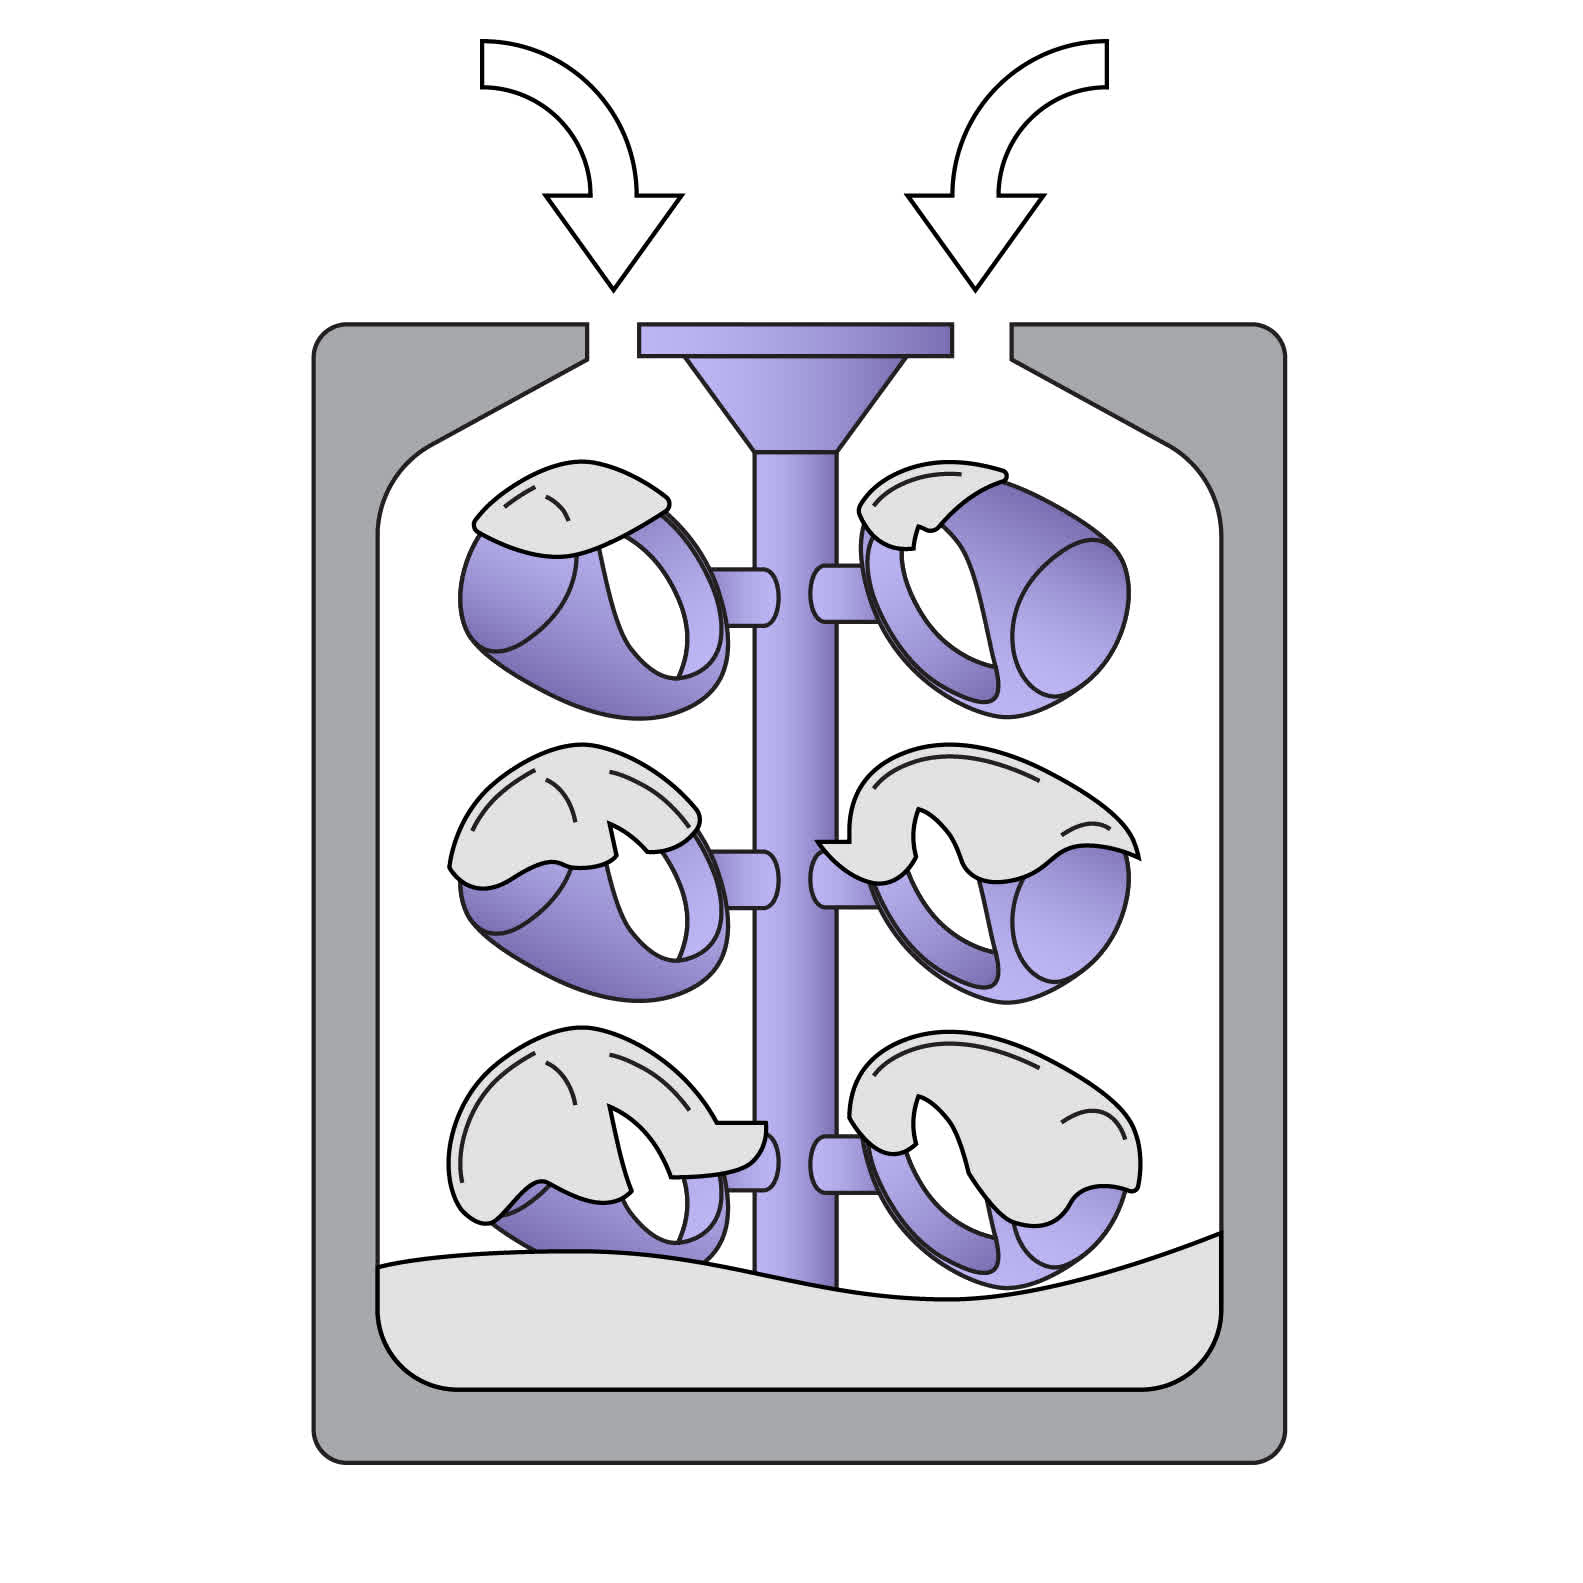
8 - Prepare the Mold
8 - Prepare the mold
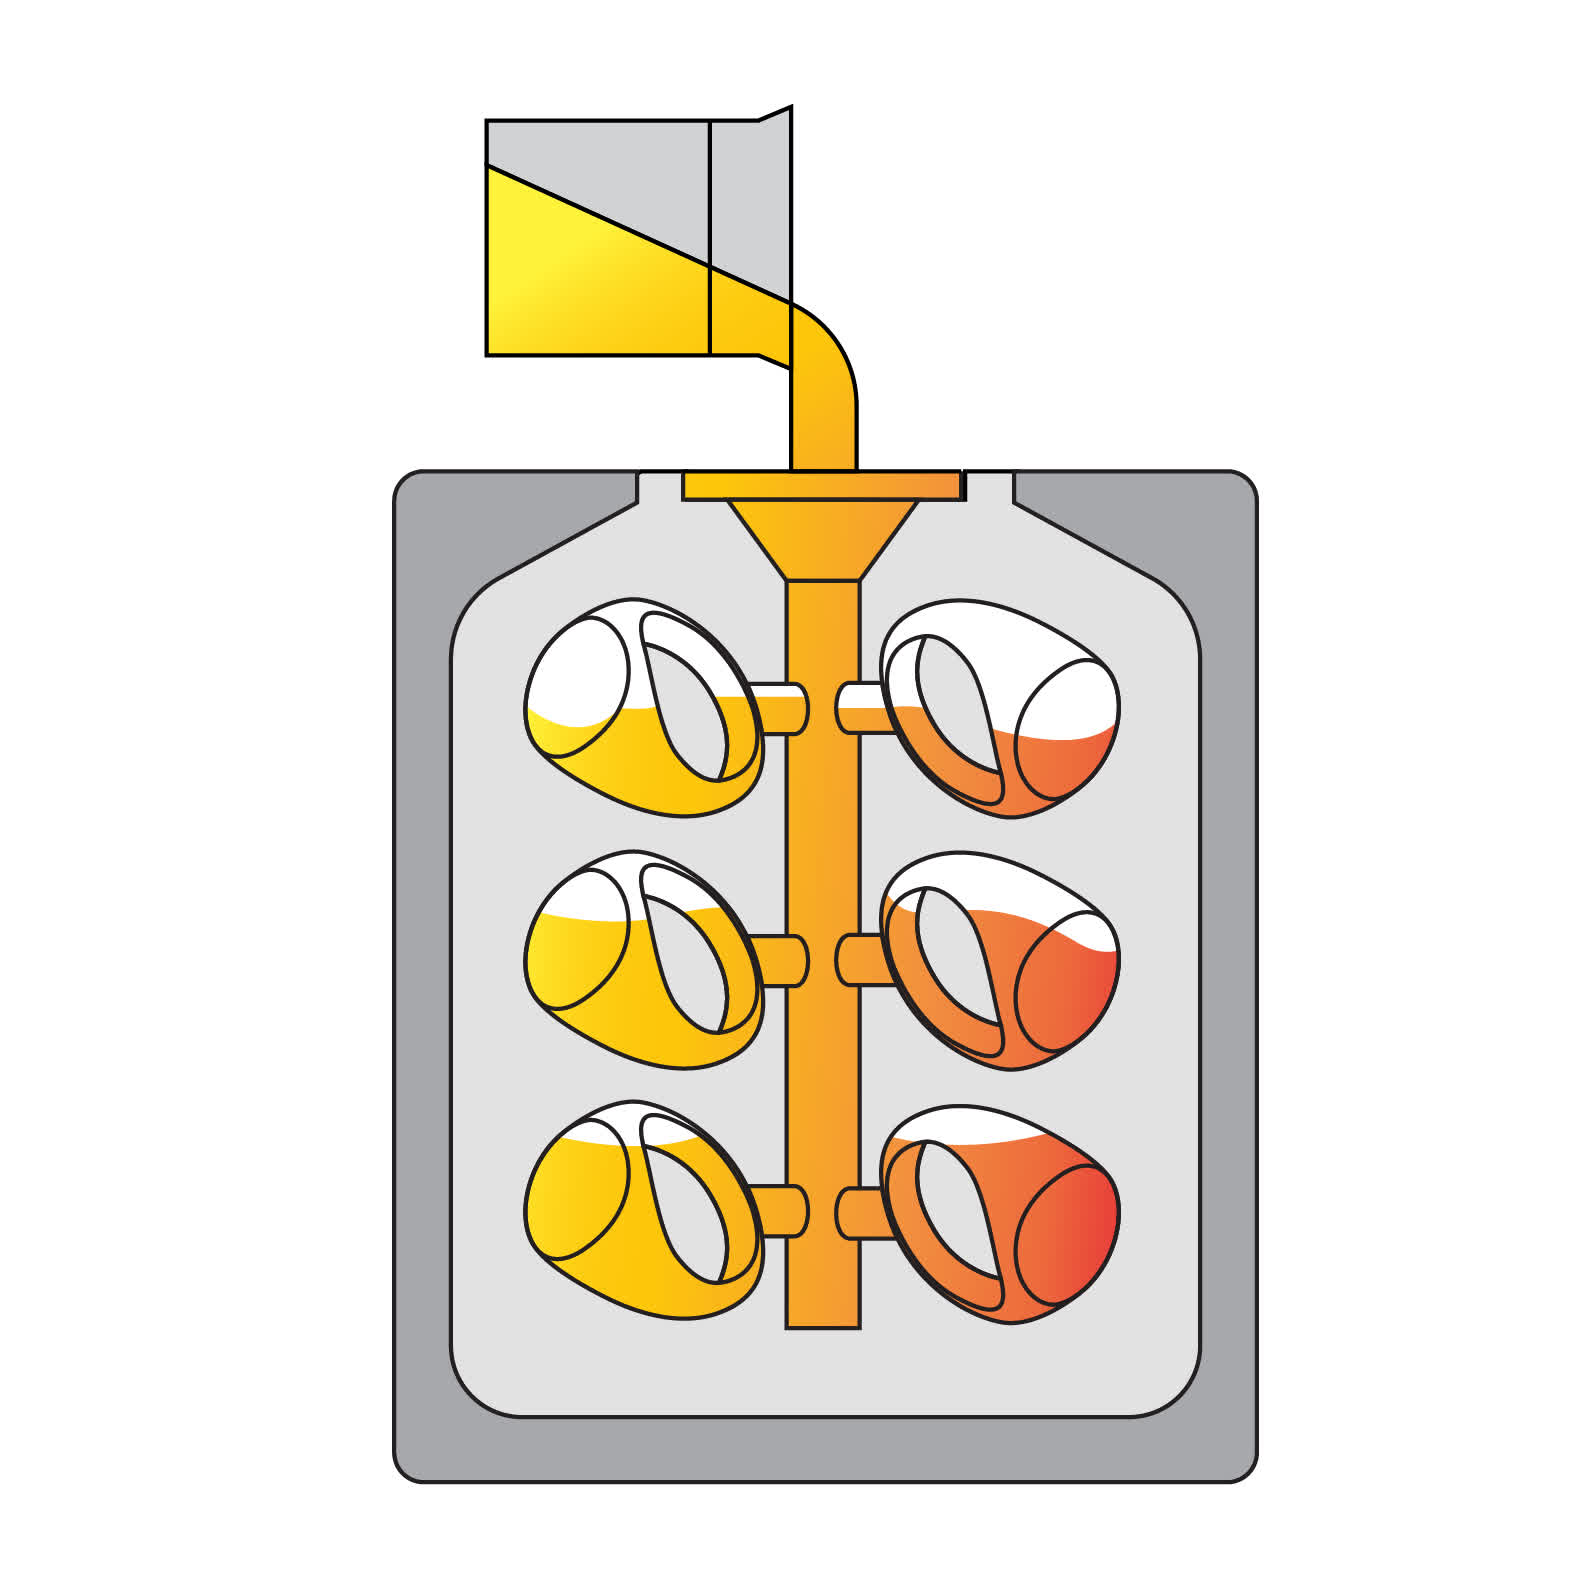
Mix the investment and water following the investment manufacturer’s instructions. Slowly pour the investment into the flask.
9 - Burnout
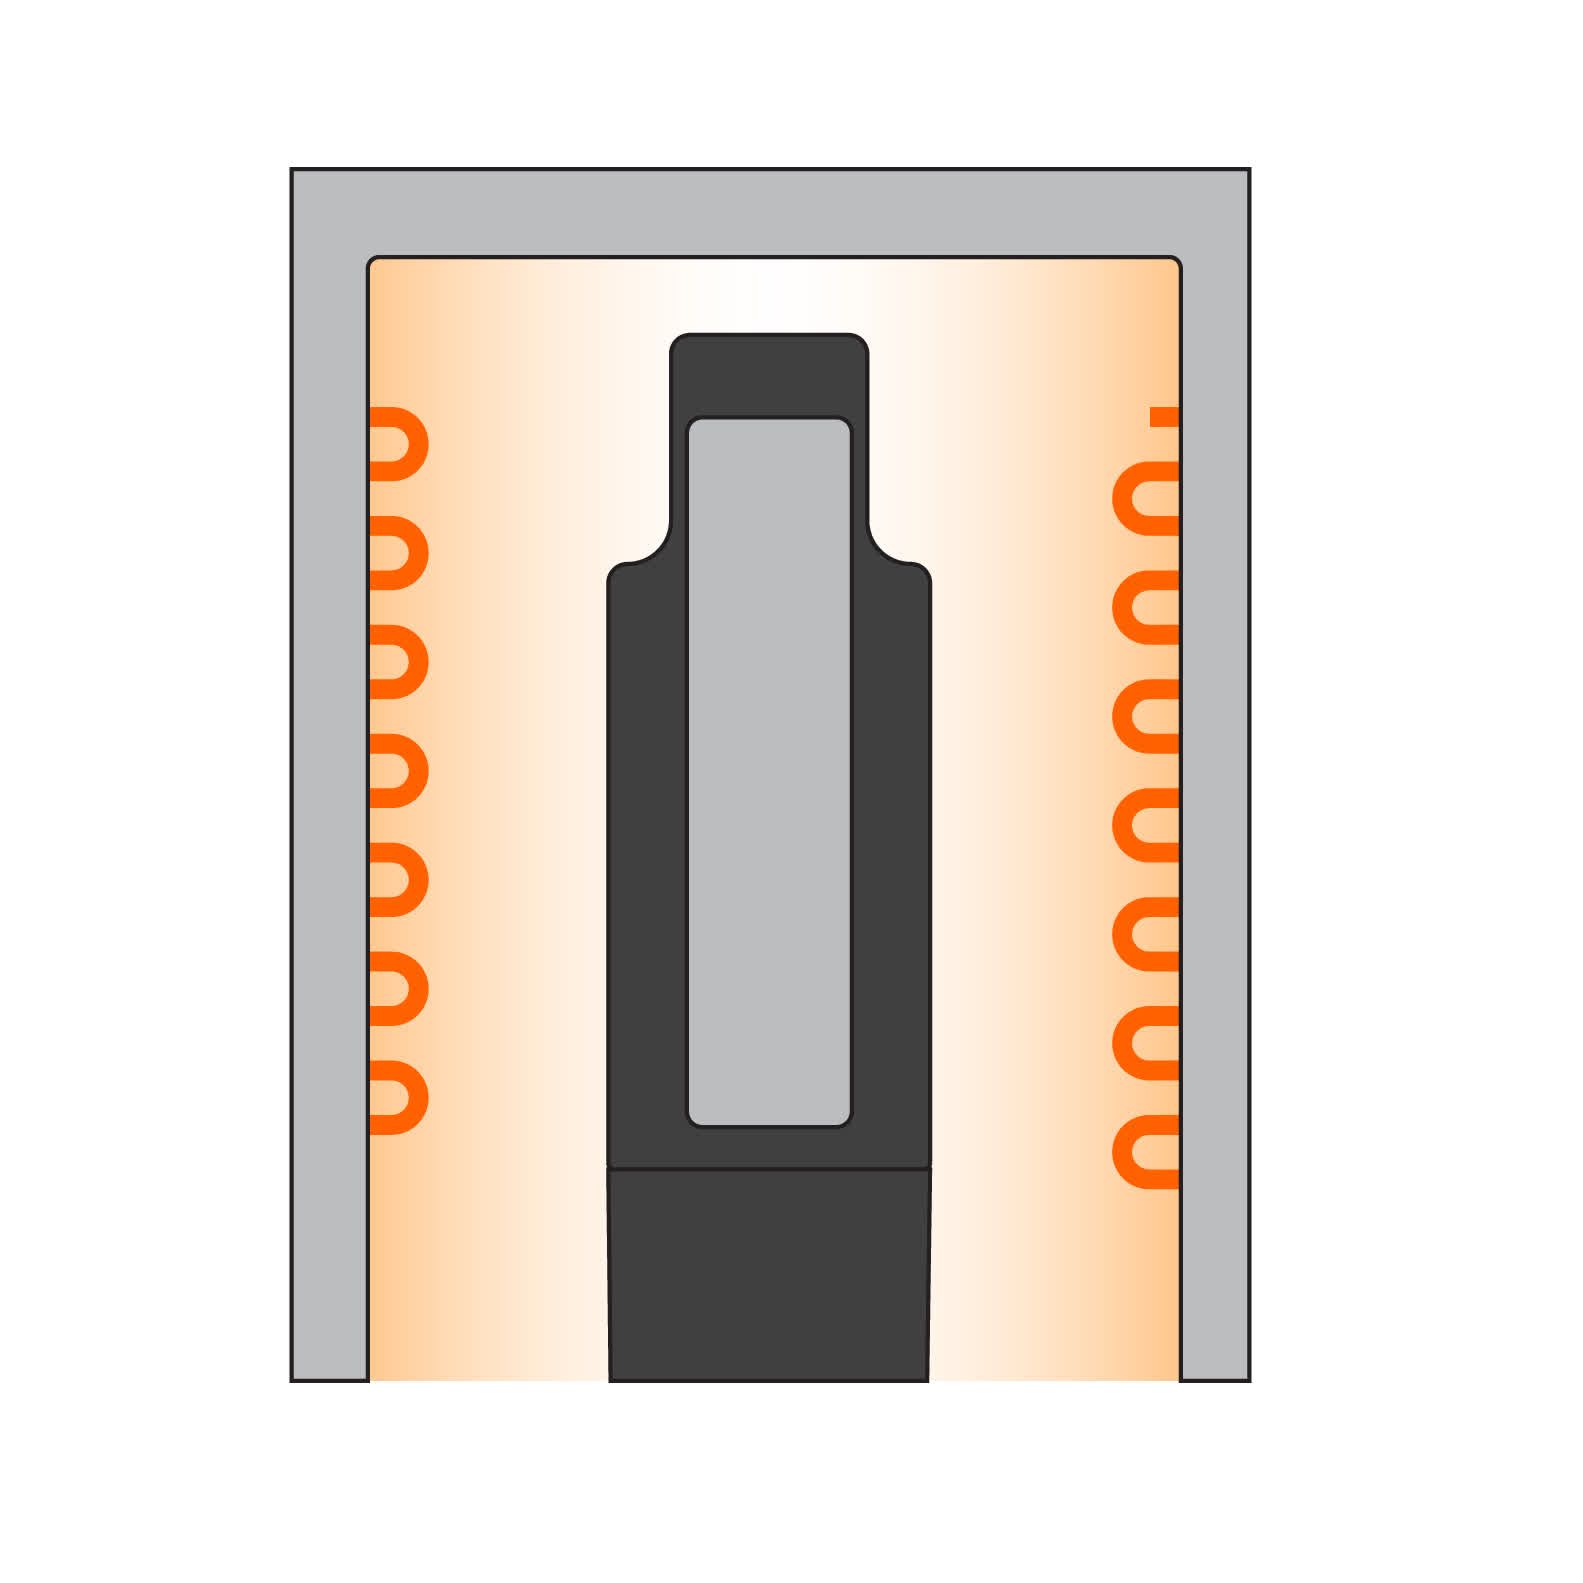
9 - Burnout
Place the flasks in an oven and follow the burnout schedule recommended by your investment material.
10 - Cast
10 - Cast
Cast metal in flask.
11 - Recover the Parts
11 - Recover the parts
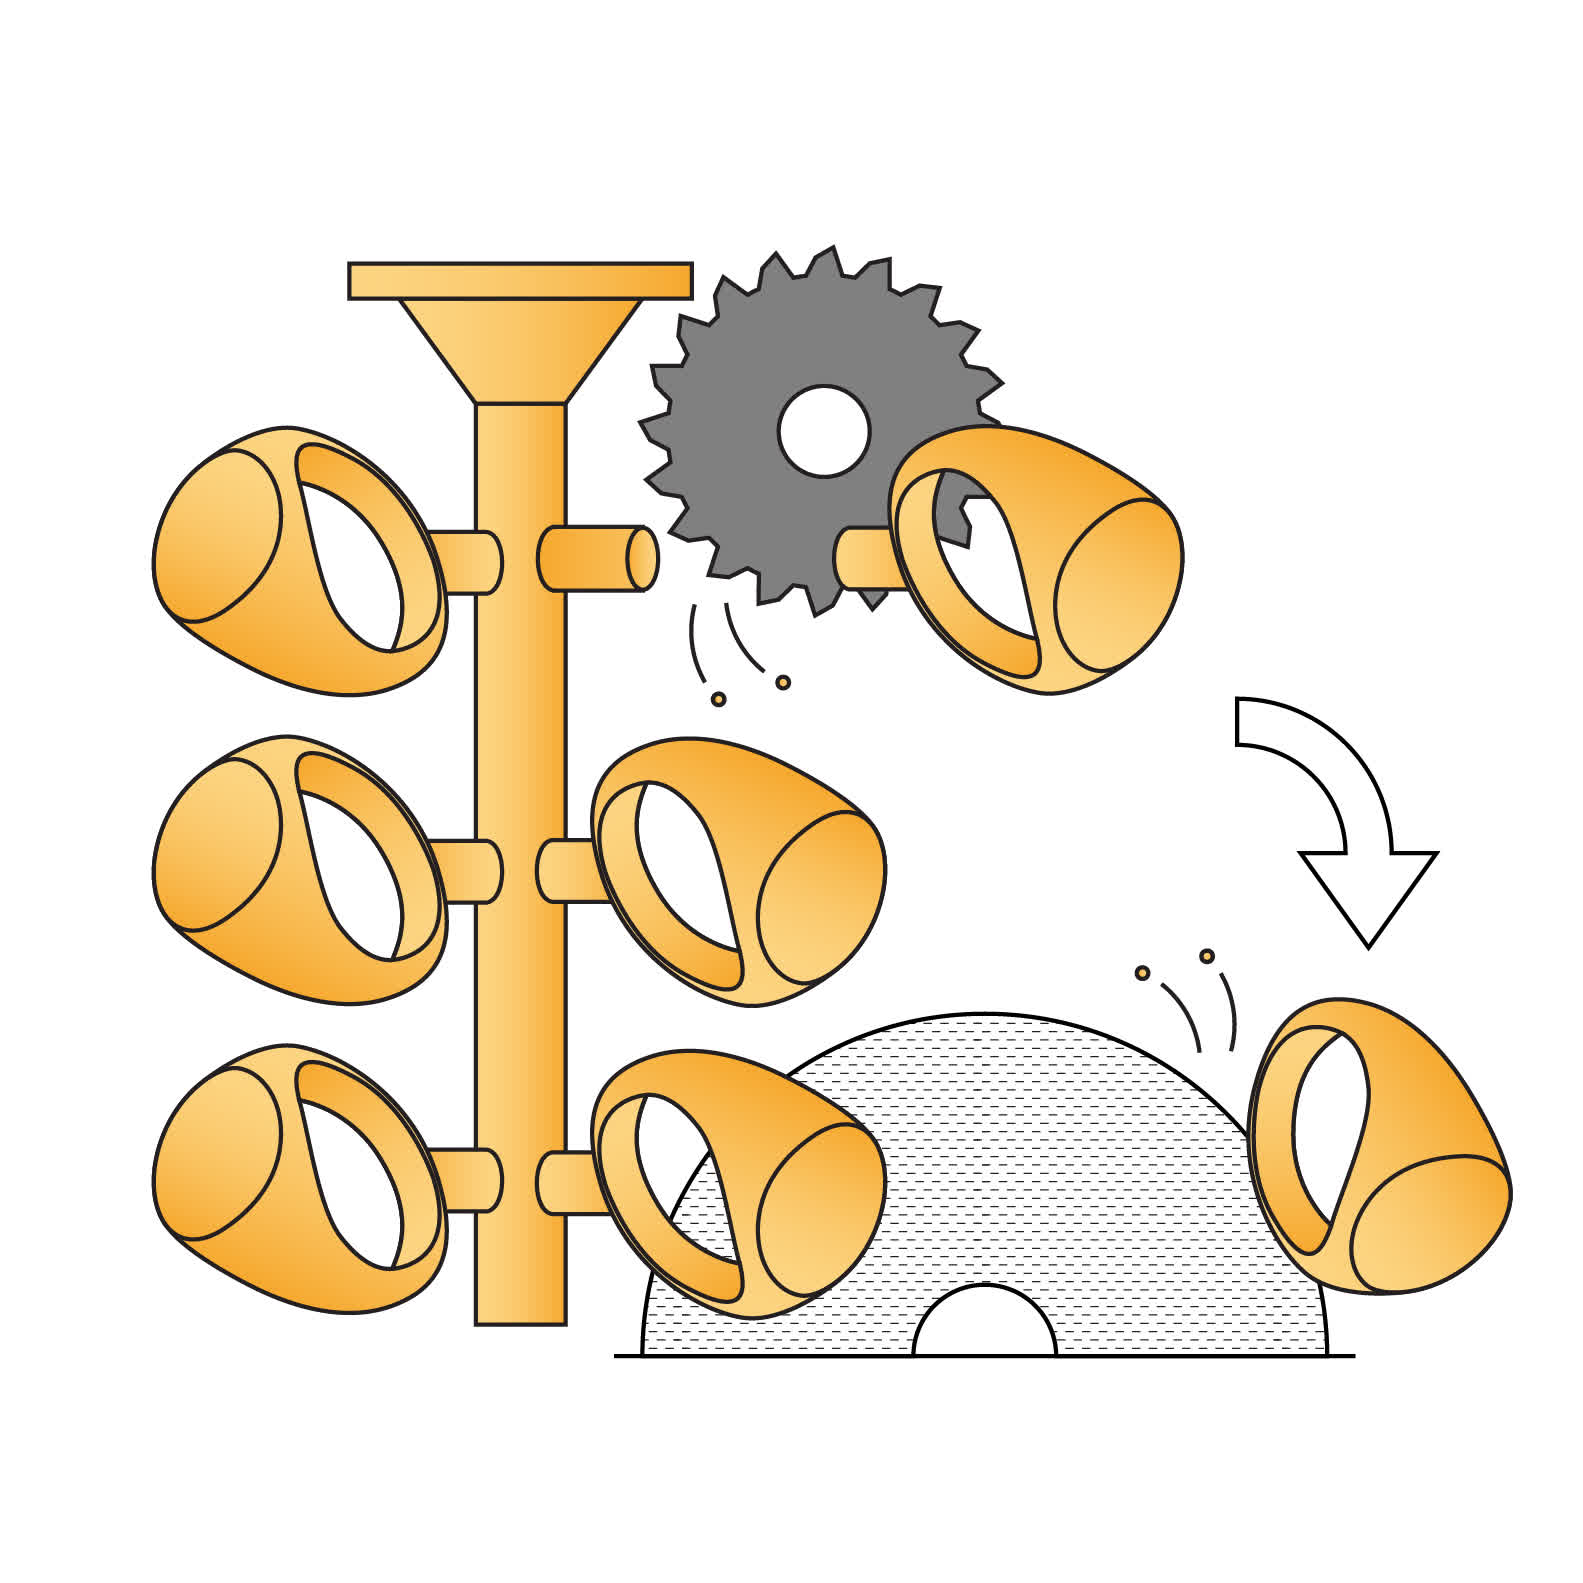
Reclaim the cast parts, remove them from tree, and use sand blasting to clean off any residual investment if needed.
12 - Finish
12 - Finish
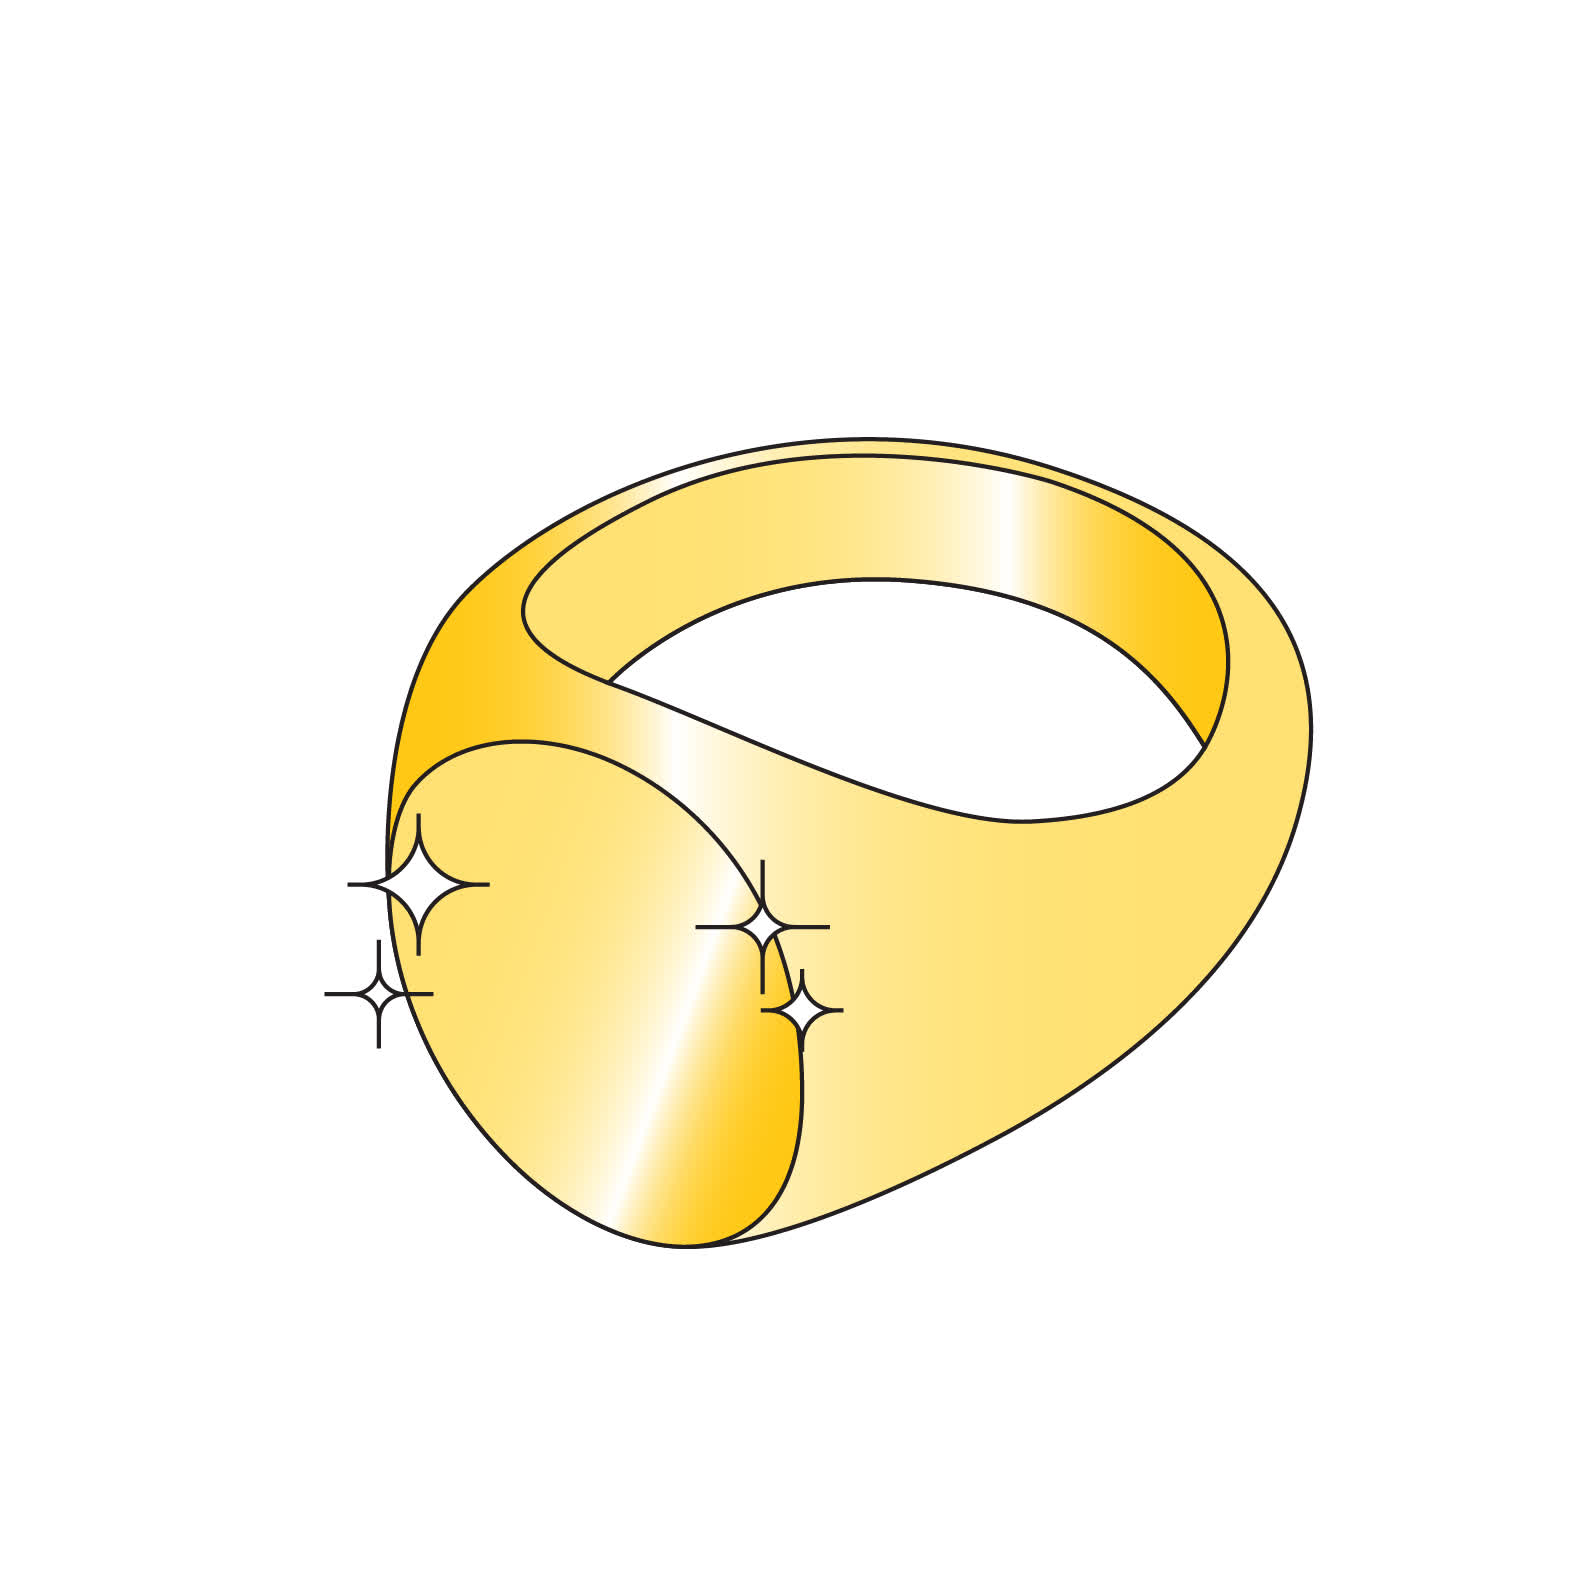
Post-process and finish parts as needed.

Before printing

True Cast Resin contains wax and solidifies over time at room temperature. This is a normal characteristic for True Cast Resin and not a sign of expired resin.

Formlabs recommends heating the resin in the cartridge on a weekly basis or as needed to prevent the resin from separating. To heat the resin, choose one of the following heating options:

  • Place the resin cartridge or bottle in a low heat oven at 45 °C for one hour.
  • Place the resin cartridge or bottle in a water-tight bag and submerge in a water bath at 45 °C for one hour.

Notice:

Do not place the resin cartridge directly in the water. Submerging the resin cartridge in water may damage the RFID sticker and prevent the printer from properly detecting the cartridge.

  • Place the resin cartridge or bottle in a resin/filament warmer at 45 °C for 30–60 minutes.
  • Third-party resin bottles only: Place the resin bottle in the microwave for 30 seconds.

Notice:

Do not place Formlabs resin cartridges in the microwave, as it damages the RFID sticker and prevents the printer from properly detecting the cartridge.

Once the resin is warm, shake the resin cartridge or bottle vigorously for 30 seconds to fully incorporate the wax into the resin. Warm resin has a low viscosity and may be prone to staining. Handle with care.

Formlabs does not recommend reheating True Cast Resin already present in Formlabs resin tanks. The resin thins and liquifies when the printer heats the resin tank during the preprint process. For third-party resin tanks, users may need to remove True Cast Resin from the tank while not in use to prevent the wax from solidifying.

Design guidelines

Casting is both a skill and an art form. The design of the piece to be cast is as important as the material properties for successful results. Pay attention to the design of individual features, the flow of material in the investment, and the printing configuration. Learn more about the best design parameters for common jewelry features, such as prongs, filigree, engraving, surfaces, raised text, and milgrain, in the white paper Jewelry 3D Printing: Basic Design Parameters, Supports, and Orientation [EN] [DE] [FR] [IT] [ZH] from Formlabs.

Print feature recommendations

When printing with True Cast Resin, Formlabs recommends designing models with wall thickness between 500 microns and 5 mm.

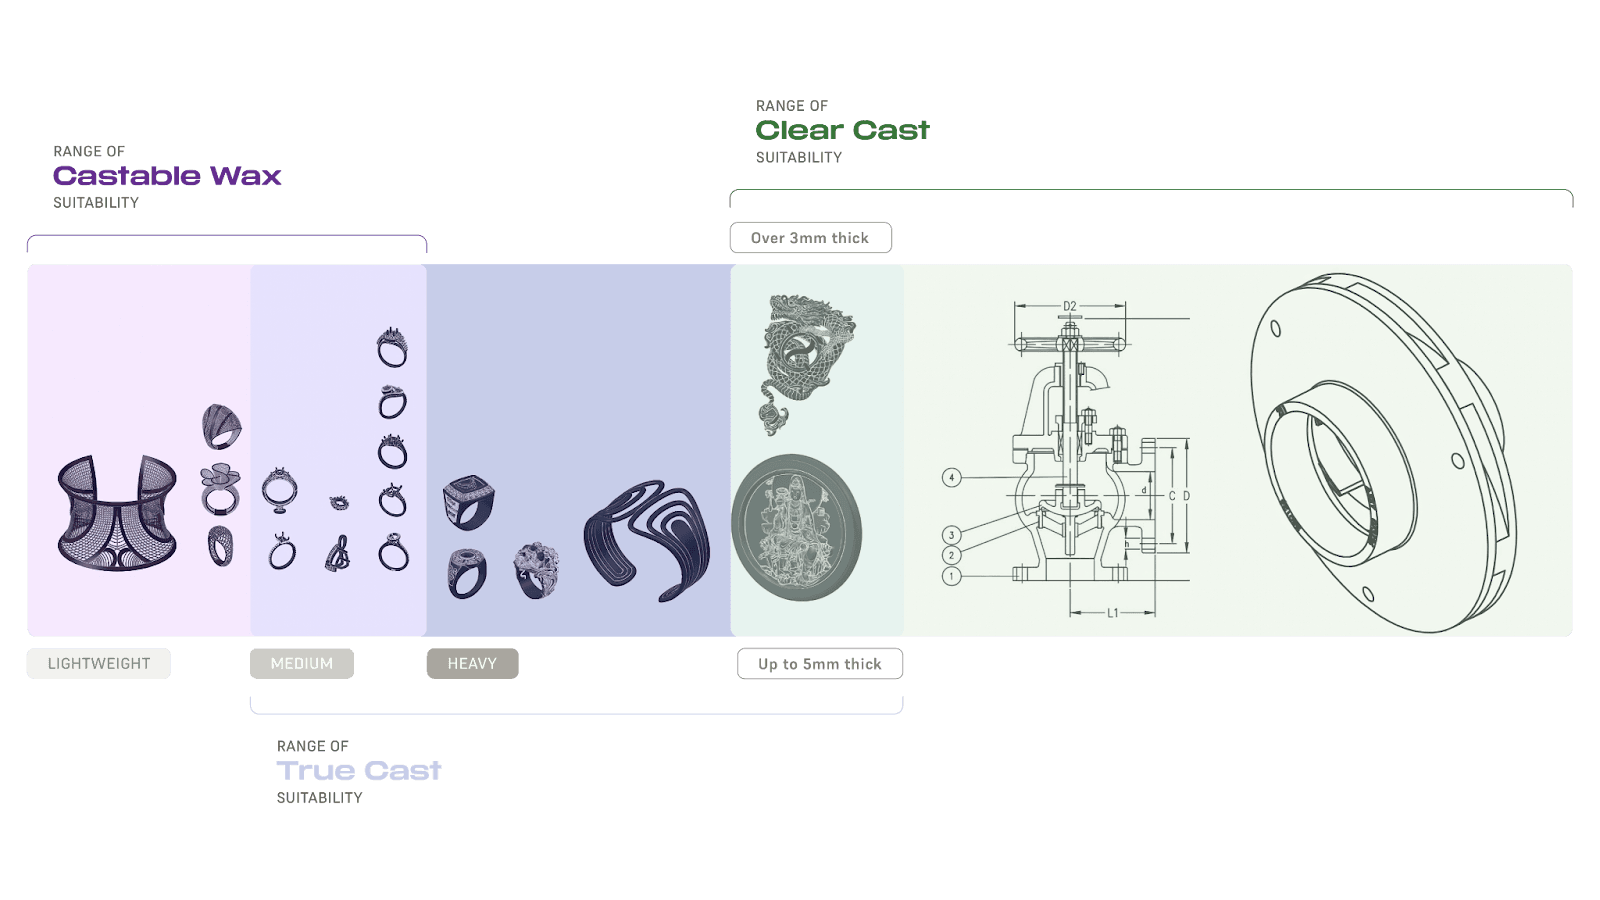
When choosing a casting resin, take the casting properties of each material into consideration. For smaller parts or wire filigree, use Castable Wax Resin. For medium to heavy jewelry or small engineering components, use True Cast Resin. For larger investment casting, use Clear Cast Resin.


Suitability range for Formlabs castable resins

Avoid investment breakage

Design models with a smooth surface flow. Avoid creating sharp corners and edges. Sharp edges not only increase metal turbulence, but they also concentrate expansion stresses in the mold.

Concentrated expansion stress causes investment breakage. Signs of investment breakage are filled-in negative features such as engraves and stone holes in the cast part. Investment breakage is usually accompanied by rough cast surfaces or pitting, resulting from investment debris.

Examples of models with knife edges, stone holes, or engraves.