
Caution:
Do not use compressed air or an air gun to clean the print enclosure, build chamber, or any other component. Mobilizing loose powder increases the risk of unintentional inhalation or ingestion.

The recoater distributes powder in an even layer as it moves across the print bed. Clean the recoater roller after 100 hours of printing to prevent divots and drag marks at the top surface of parts.

Caution:
Do not use compressed air or an air gun to clean the print enclosure, build chamber, or any other component. Mobilizing loose powder increases the risk of unintentional inhalation or ingestion.
Required supplies
Estimated time required: 5 minutes
Supplies:
Cleaning the recoater roller
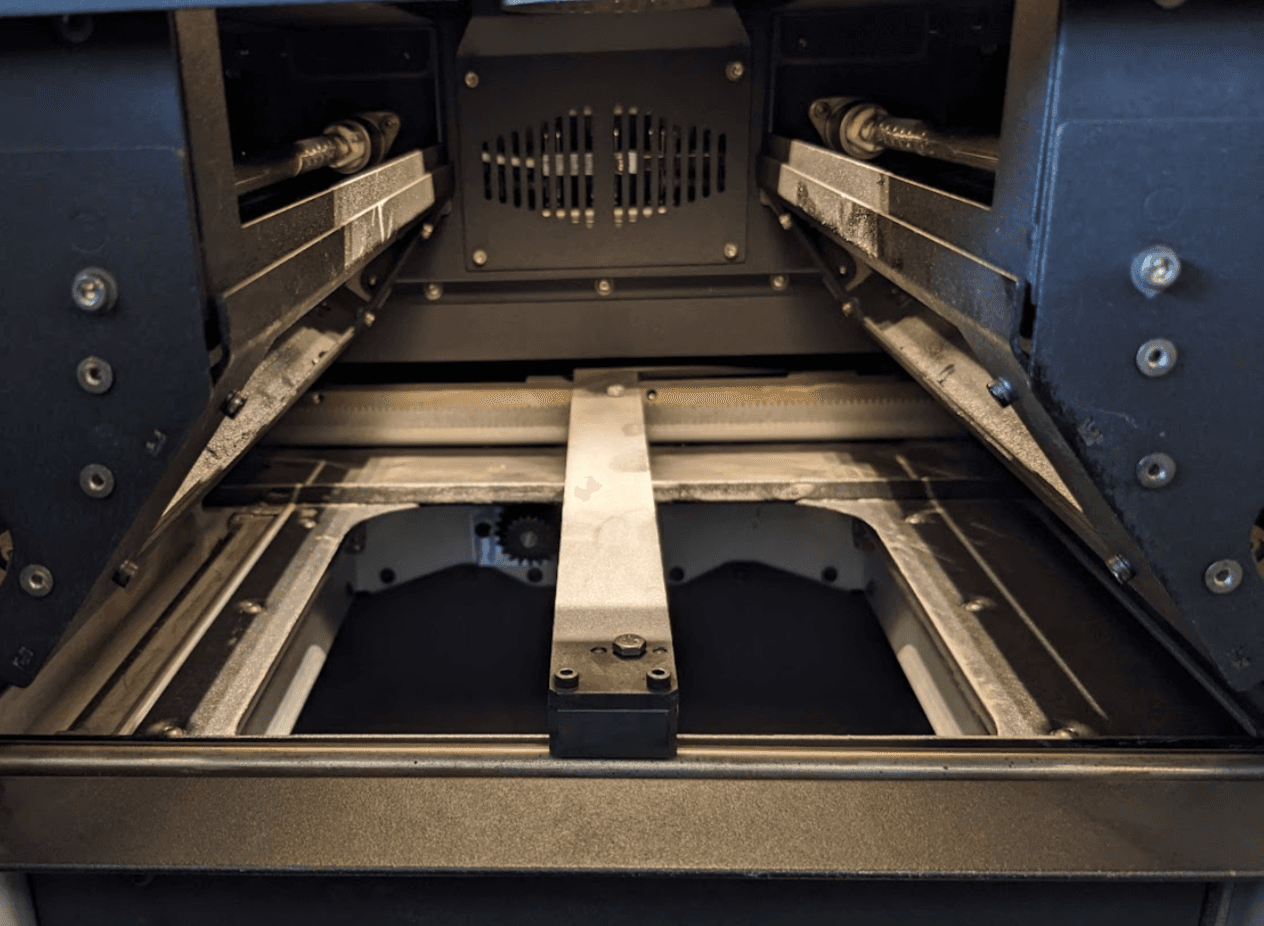
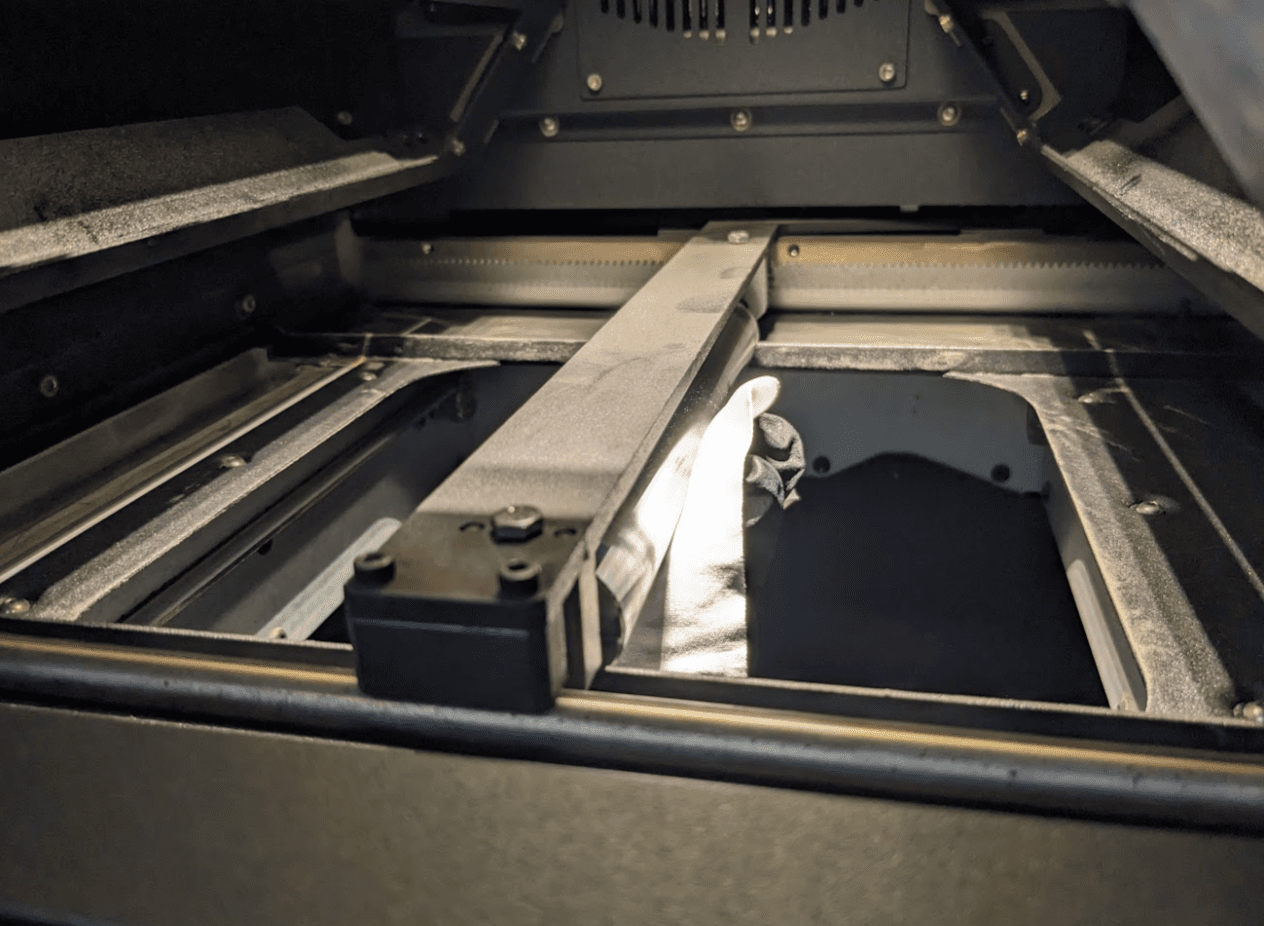
Remove the build chamber, and move the roller to the middle of the printer. Wipe the surface of the roller with a microfiber cleaning cloth. For a deeper clean, wet the cloth with ethanol.
Step 1: Remove the build chamber
It is easier to clean the full surface of the roller when there is no build chamber in the printer.
Use Motor Moves to move the recoater to the middle for easier access to the roller surface.
On the touchscreen, navigate to Maintenance > Motor moves
Touch and hold the appropriate directional toggle that will move the recoater out into the middle of the printer.
Step 3 (optional): Soak the recoater roller
Inspect the recoater roller. If there is only a light coating or buildup on the recoater roller, proceed to step 4. Otherwise,if there is significant buildup, remove it from the printer and soak it before wiping:
Using a microfiber cleaning cloth, wipe the full surface of the roller. If there is hardened debris on the surface, wet the cloth with ethanol for a deep clean.
The recoater does not need to be manually homed after cleaning. It will automatically home during pre-print.
Note:
If there are deep scratches or burrs on the recoater roller, replace the recoater roller to avoid part defects. The component is available for purchase on the Formlabs Store. Follow the steps in the guide Replacing the Fuse 1 generation recoater roller to install the new recoater roller.