WHITE PAPER
Formlabs Logo

Curling (SLS)

Curling (SLS)

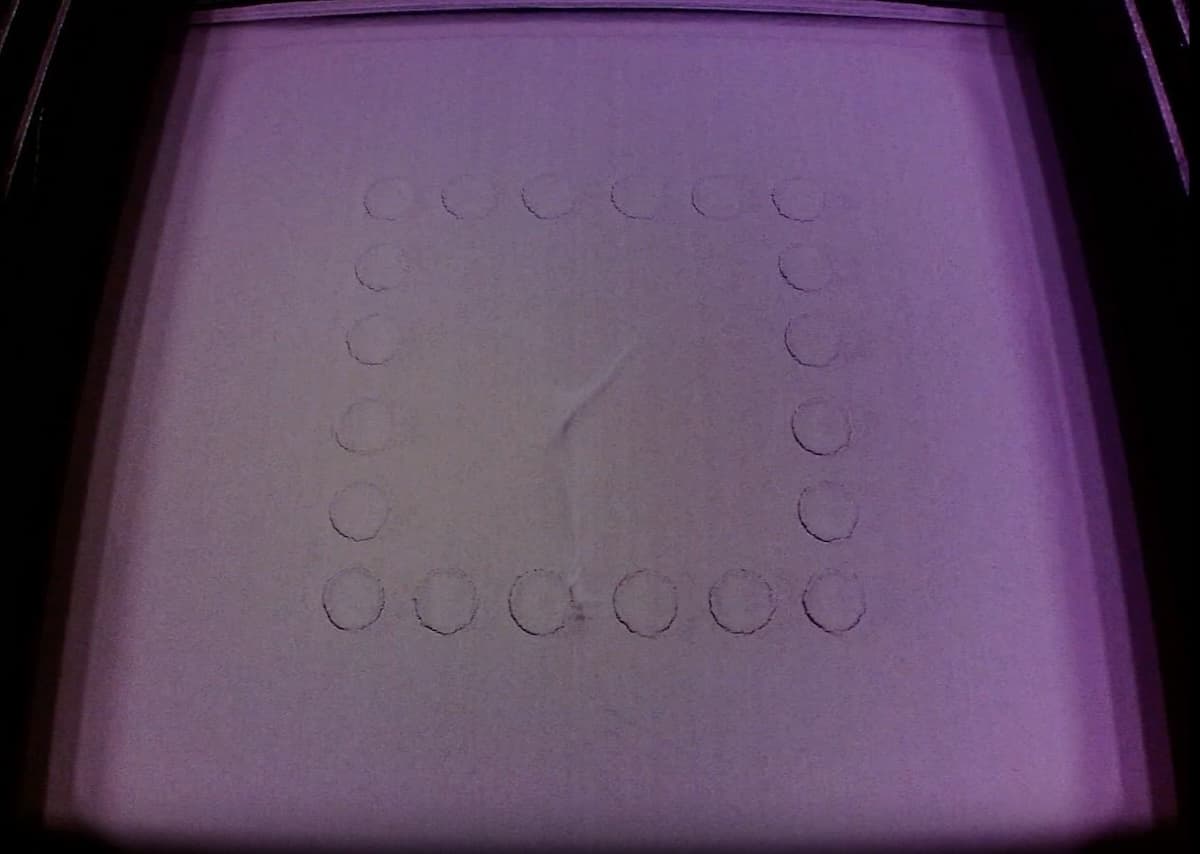
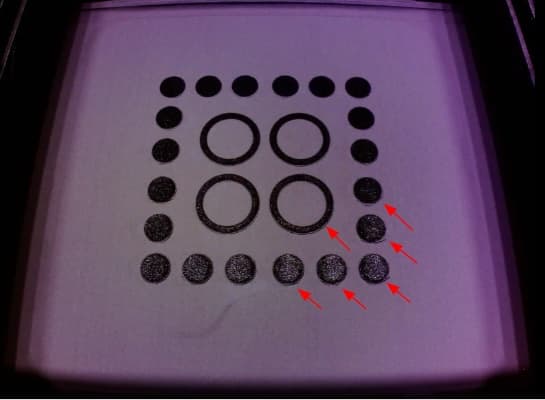
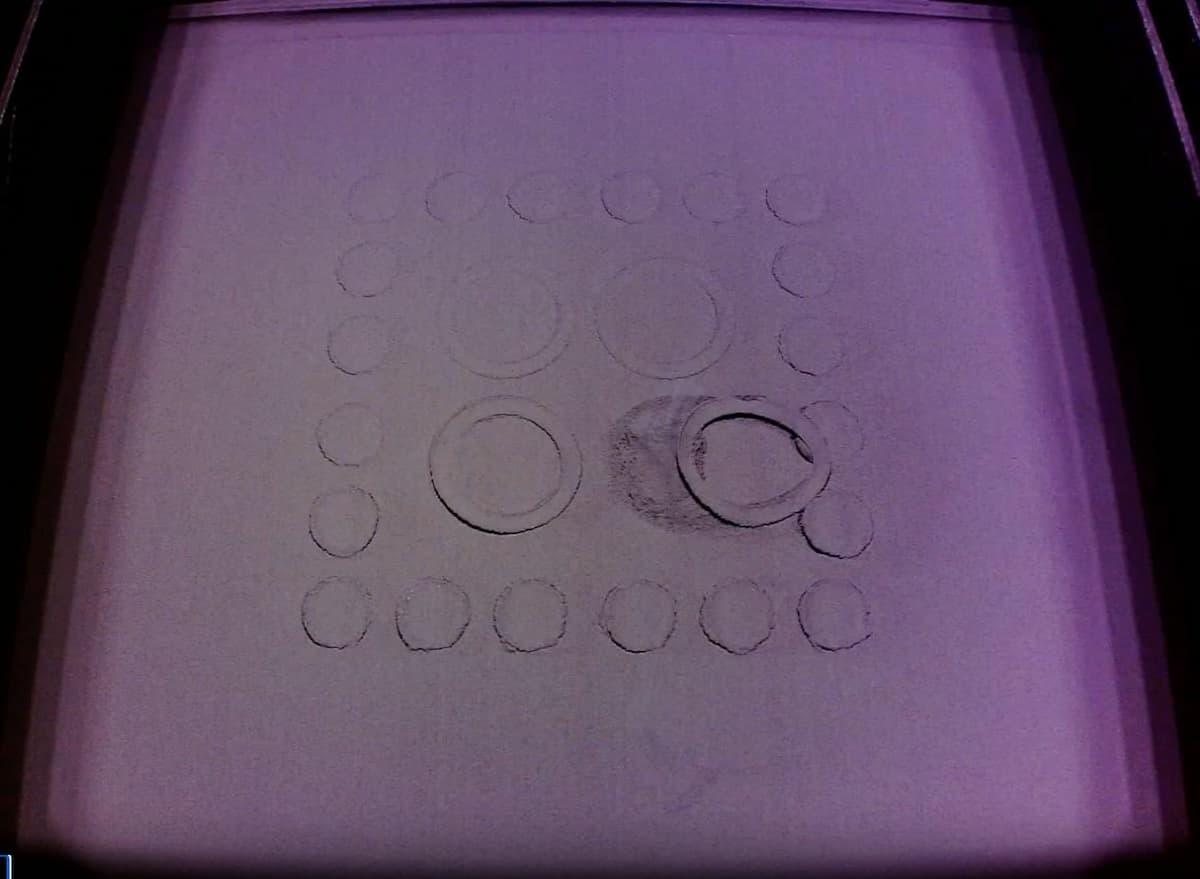
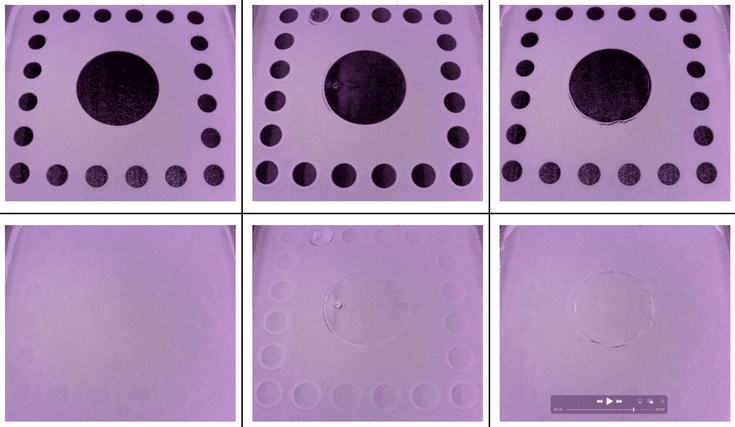
During a print, each fresh layer of powder is held at a temperature lower than the sintering temperature for the material. The printer’s laser then selectively sinters sections of powder to form the printed parts. If the temperature difference between the lased area and the rest of the powder bed is too large, the lased area will shrink more than the surrounding powder. This uneven shrinkage can allow the printed layers or the Surface Armor to curl and rise up from the print bed, where it may then be caught and dragged by the recoater.

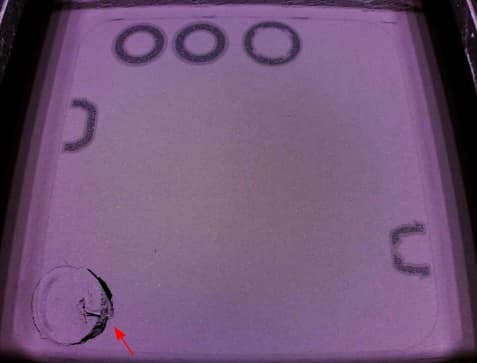
Curling visible after recoating
Curling visible during lasing
Curled layer caught and dragged by the recoater roller
Curling visible after recoating
Curling visible during lasing
Curled layer caught and dragged by the recoater roller

Curling should be distinguished from failures caused by debris. The presence of fibers, hair, or other contaminants in the powder can lead to print failures that may appear similar to curling. However, the troubleshooting steps for these issues differ. For more information on handling contaminants in parts, refer to the article Powder contamination (SLS).

External debris in powder
Curling-like failure caused by debris
External debris in powder
Curling-like failure caused by debris

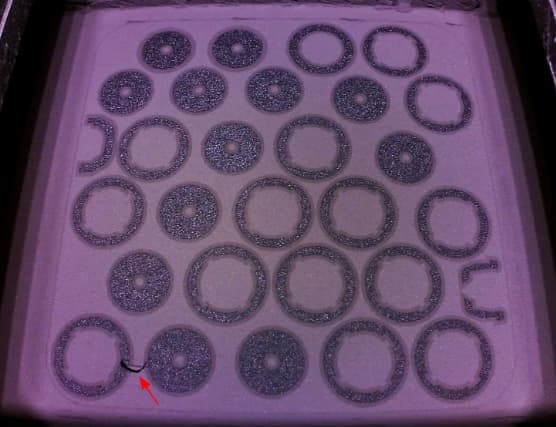
There is also a print defect called early layer curling where the first several layers curl at the edges and create a cumulative warped area. The rest of the part is unaffected. Parts printed at the bottom of the build volume are most susceptible to early layer curling.

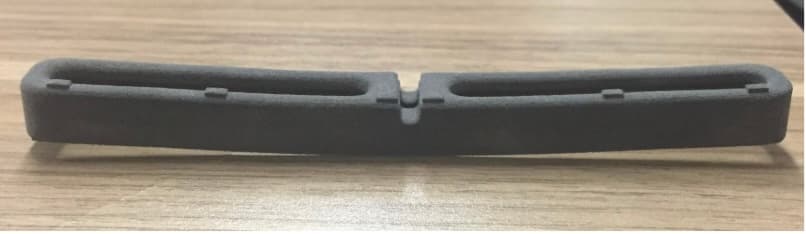
This issue is different from macroscale warping, where entire parts shrink unevenly when cooling in their solid state.

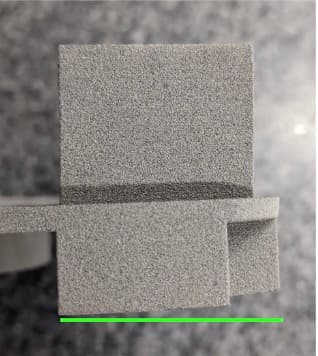
Early layer curling
Macroscale warping where the entire parts shrink unevenly
Early layer curling
Macroscale warping where the entire parts shrink unevenly

Symptoms

  • Printed layers or the Surface Armor curls and rises up from the print bed
  • Print ends with Error 112

Causes

  • Dirty infrared sensor
  • Clogged exhaust filter or exhaust lines
  • Improperly-tuned print bed temperature

Troubleshooting steps

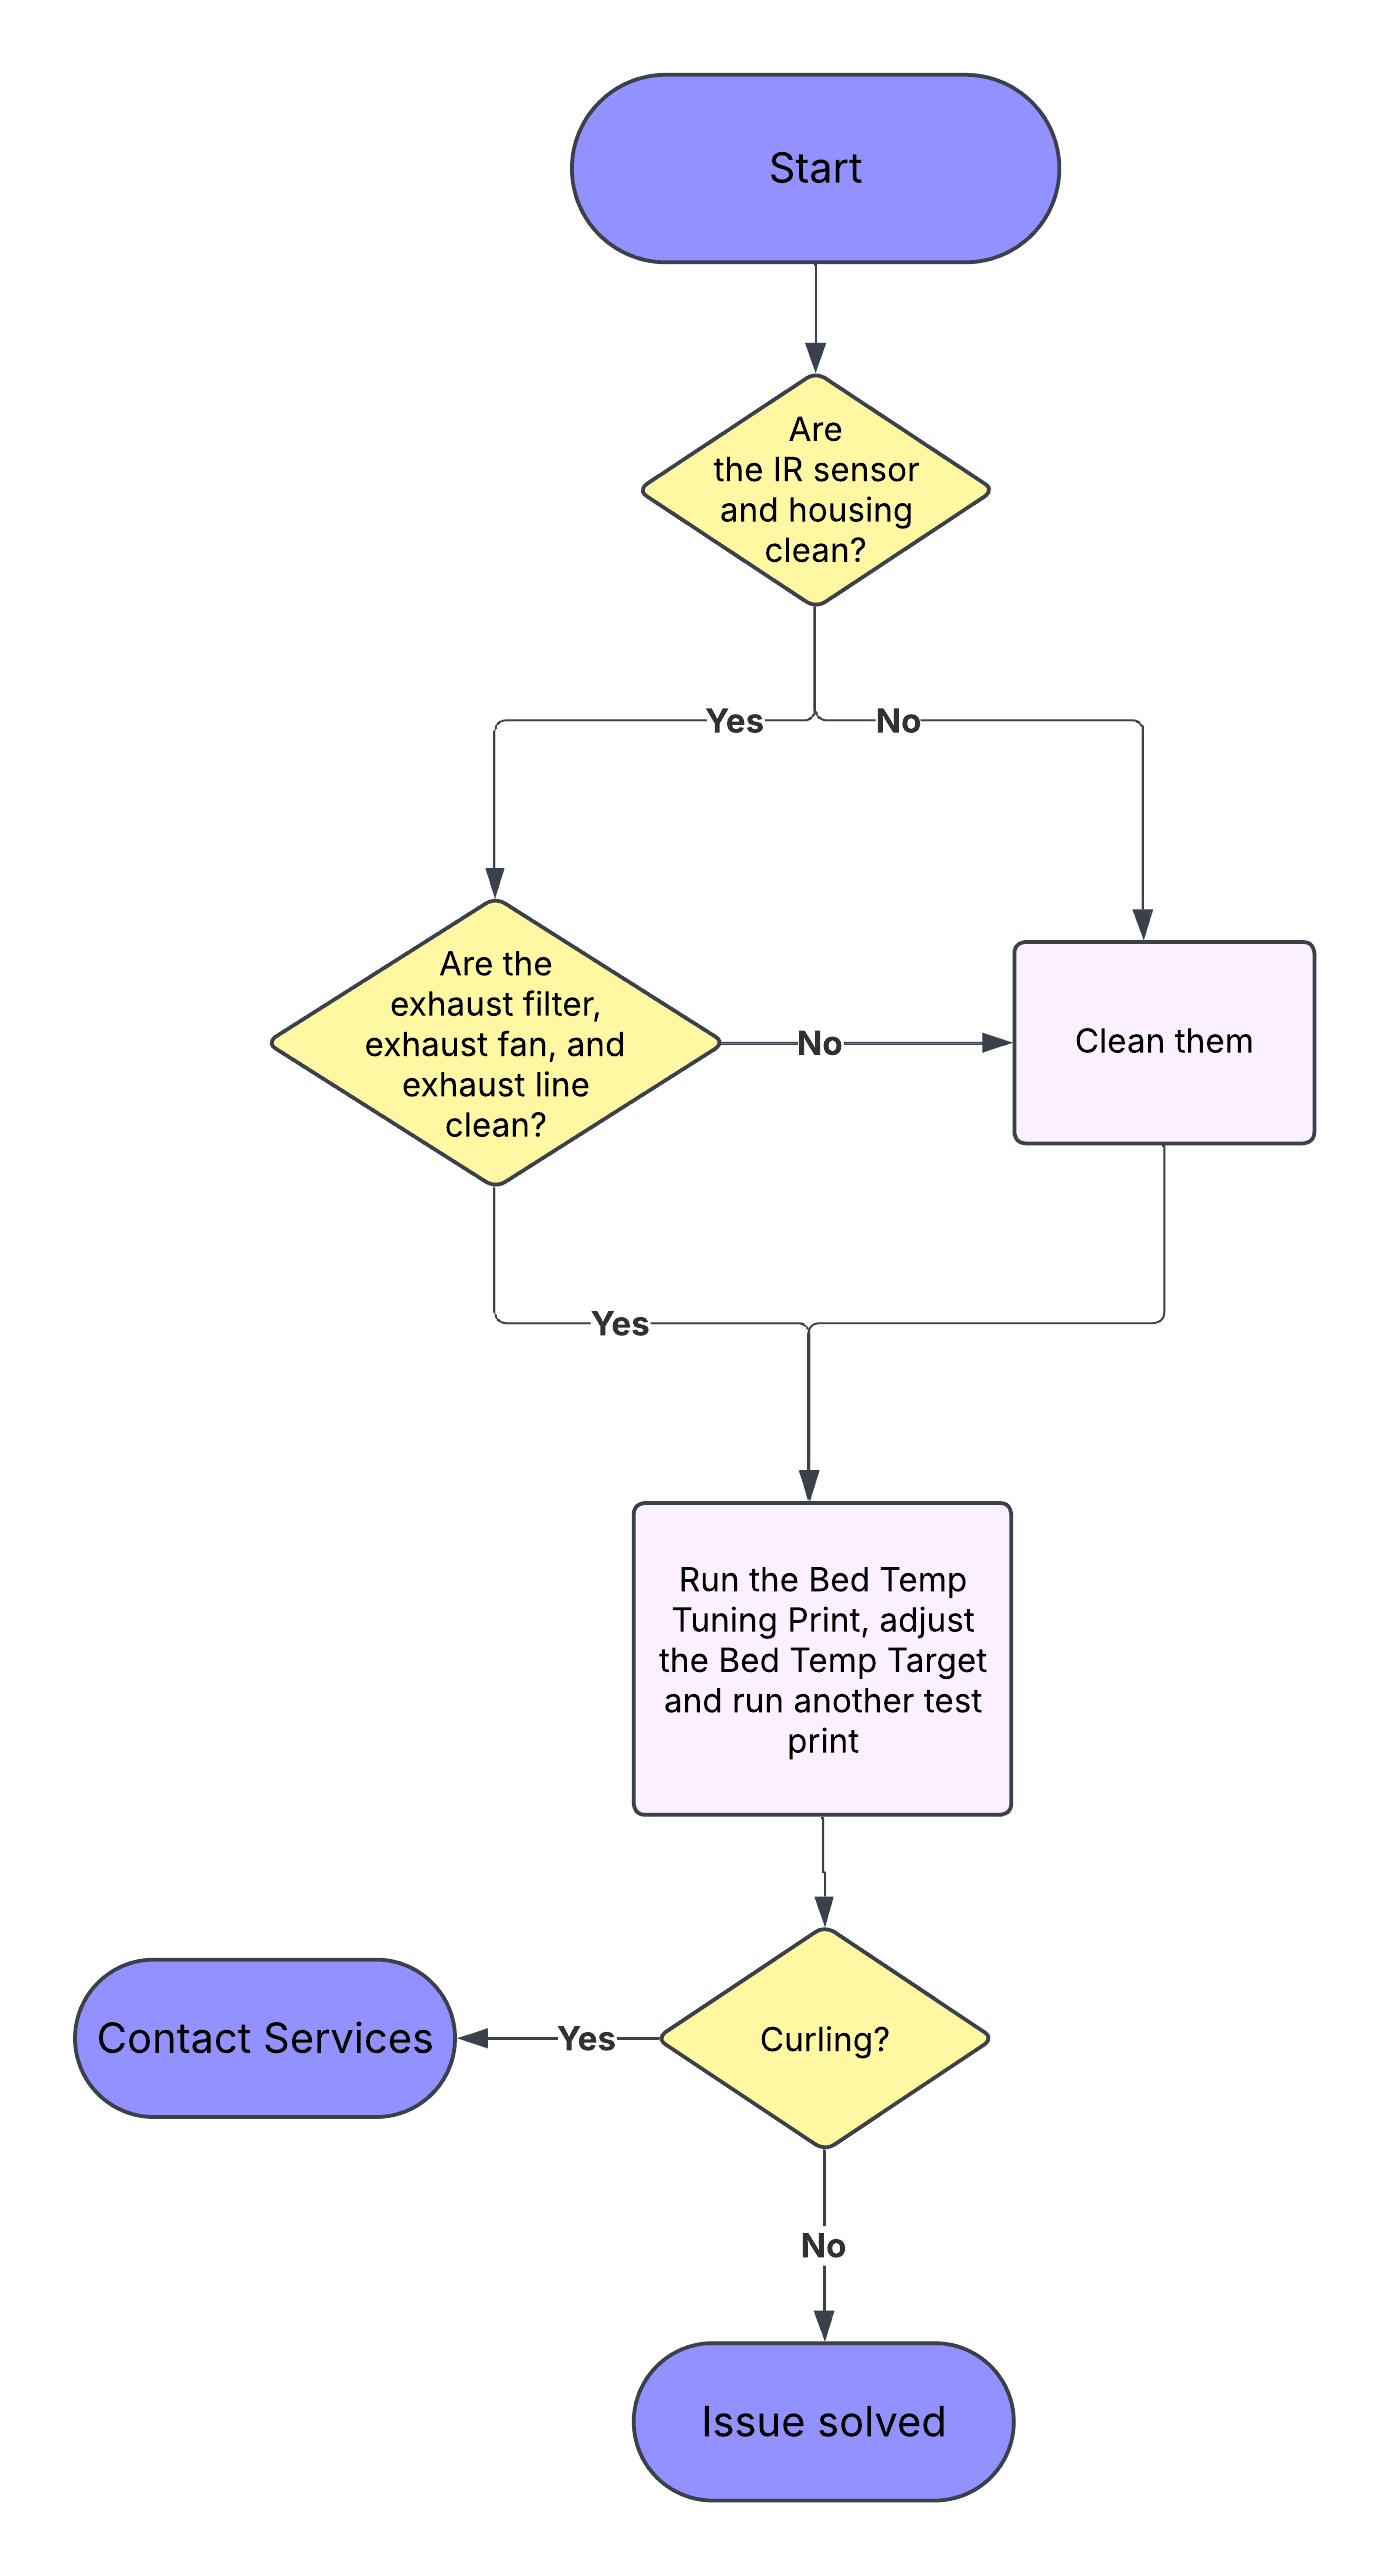
Troubleshooting flowchart for curling
  1. Clean the IR sensor lens and IR sensor housing. Ensure there is no white residue obstructing the IR sensor lens.
    • Fuse 1+ 30W only: Ensure that the rubber O-ring around the base of the IR sensor probe is present and undamaged.
  2. Thoroughly clean the exhaust filter, exhaust fan, and exhaust line.
  3. Run the Bed Temperature Tuning Print for your selected material, if available:

Note:

If curling occurs with other powders, contact Formlabs Support or your certified service provider.

  1. Based on the results of the print, tune your primer’s bed temperature offset and run a test print.
  2. If curling occurs again, contact Formlabs Support or your certified service provider.

Polypropylene Surface Armor whitening and curling

When printing with Polypropylene Powder, curling and whitening isolated to the Surface Armor regions around your parts can present and be resolved differently than for other powders.
Polypropylene Surface Armor whitening and curling

Surface Armor whitening and curling occurs as a result of the Surface Armor regions overheating, due to one or more of the following factors:

  • Bed temperature: If the bed temperature is too hot, the laser will overheat the Surface Armor.
  • Laser power: Variation between laser units or issues with the laser’s calibration could cause the laser to deliver more energy than anticipated, overheating the Surface Armor regions.
  • Part packing: Heat dissipates from the main part into the Surface Armor regions more readily in Polypropylene Powder than in Nylon 12-based materials. Tightly-packed parts can transfer excess heat to the Surface Armor, overheating it.

Variation between printers and batches of Polypropylene Powder can also affect your results.

To address Surface Armor whitening and curling with Polypropylene Powder:

  1. Set your printer’s Bed Temperature Offset to -2 °C and try a test print.
  2. If Surface Armor whitening and curling persists, continue to reduce the Bed Temperature Offset in 1 °C increments until you reach -5 °C, testing again after each adjustment.
  3. Reset the Bed Temperature Offset to 0, then use the Print Settings Editor to reduce the Armor Laser Power parameter by 20–40%.
    • If reducing the Armor Laser Power resolves Surface Armor whitening and curling but causes bulk part curling or rough surface texture, continue to use your modified print setting but increase the Bed Temperature Offset in 1 °C increments until you reach 5 °C, testing again after each adjustment.
    • If Surface Armor whitening and curling persists, increase part spacing to at least 6 mm.
  4. If Surface Armor whitening and curling continues to occur after these steps, your printer’s laser may need to be adjusted. Enable remote assistance by tapping Settings > System > Remote Assistance and toggling Remote Assistance to ON, then contact Formlabs Support for assistance.