
Note:
Formlabs has sunsetted this material, and it is no longer available for purchase. For information about other Formlabs materials, visit Choosing the right material.

Note:
Formlabs has sunsetted this material, and it is no longer available for purchase. For information about other Formlabs materials, visit Choosing the right material.
Notice:
To avoid damage to equipment, check the resin tank compatibility table in Choosing the right material to confirm you are using a resin tank that is compatible with this material.
Dental SG Resin is specialized for dental professionals. The resin is a Class I resin (EN-ISO 10993-1:2009/AC:2010). Dental SG can be printed only with the Formlabs Form 2 or Form 3B 3D printer. It is designed for dental surgical guides or similar applications, in compliance with industry standards and testing protocols. Dental SG can be steam sterilized using an autoclave, allowing it to be used directly in the operating room. Dental SG can be used for up to 24 hours in the mouth in a single use.
Notice:
Avoid storing this material for longer than one month in a standard resin tank or two months in a Resin Tank LT or Form 3B resin tank to prevent resin leaks and subsequent damage.
Dental SG Resin prints at 50 microns and 100 microns on the Form 2 and Form 3B. Learn to print, sterilize, and cure Dental SG parts to prepare for surgeries using our application guide, 3D Printing Surgical Guides with the Form 2 [en].
Note:
To learn more about the performance or specific material properties of Dental SG Resin, please refer to the Safety Data Sheet (SDS) and Technical Data Sheet (TDS). Always consult the SDS as the primary source of information to understand safety and handling of Formlabs materials.
Required resources
Made by Formlabs
Made by third parties
Workflow overview
Notice:
This is an abbreviated version of the instructions in 3D Printing Surgical Guides with the Form 2 [en]. Read the application guide for detailed instructions about design, settings, and part orientation for Dental SG Resin.
Treatment planning and surgical guide design
Implant treatment planning
3D printed surgical guides are designed based on the patient’s anatomy using implant treatment planning software. Cone beam computer tomography (CBCT) captures the patient osteotomy, while intraoral scanners or desktop optical scanners can capture accurate optical scans of the patient’s dentition.
In implant planning software, clinicians plan the implant treatment using the patient’s CBCT data and a template of the desired final prosthetics. Depending on the type of guide being designed, clinical design considerations include position, angulation, depth, the specific implant system, and the surgical kit. The patient’s surface dentition can also be incorporated.
Learn how Daniel Whitley DDS and Sompop Bencharit DDS, MS, FACP perform dental implant surgery with Dental SG in this Digital Implantology white paper [en], including in-depth information on implant planning and placement accuracy with the Form 2.
Surgical guide design and export
Once the treatment is planned, generate a surgical guide model to cover a partial or full arch, depending on the clinical preferences. From the fully designed guide, export a digital model of the surgical guide, in STL/OBJ/3MF file format. Select an implant treatment planning software that allows for open model export.
Notice:
In 3D Printing Surgical Guides with the Form 2 [en], Formlabs recommends wall thicknesses of 3 mm or greater for oral surgical guides printed in Dental SG Resin.
Notice:
To avoid damage to equipment, check the resin tank compatibility table in Choosing the right material to confirm you are using a resin tank that is compatible with this material.
To print precisely with Dental SG Resin, follow two main design requirements:
Install or update PreForm, then set up the next print job.
To prepare a model for printing in PreForm:
Wherever PreForm generates a support touchpoint, there will be local areas of inaccuracy, which require post-processing. Verify the placement of support touchpoints during the Orient and Support print preparation steps.
Shake the Dental SG resin cartridge for 5 minutes to ensure complete mixture of the resin’s chemical formulation. Insert the cartridge along with a resin tank and build platform, and start the print.
Notice:
For full compliance and biocompatibility, Dental SG Resin requires a dedicated resin tank, build platform, and finishing kit, which should not be mixed with any other resins.
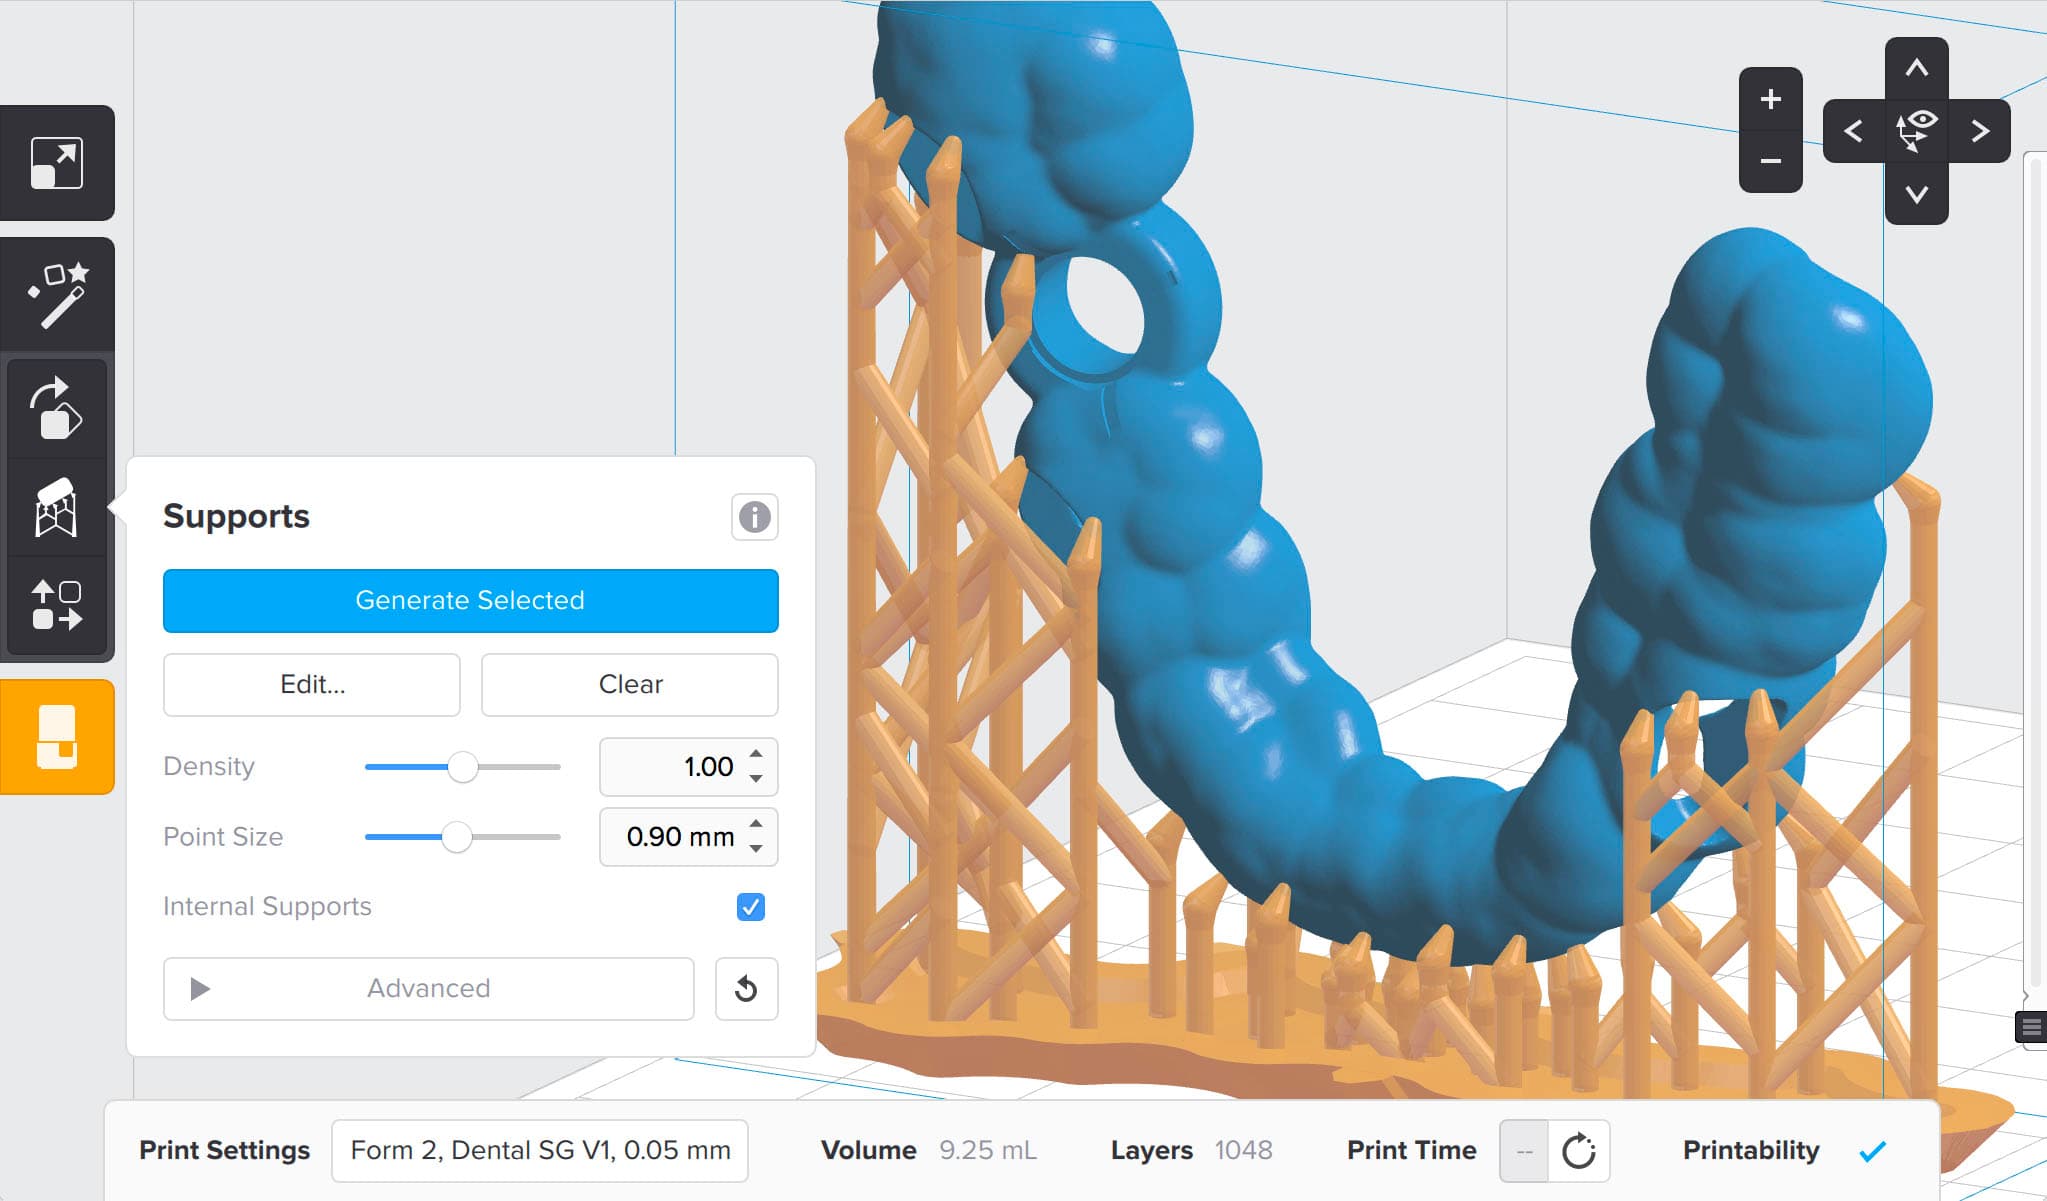
An example of a well-supported surgical guide prepared in PreForm
Resin tank wear and Dental SG Resin
Dental SG resin causes Form 2 standard resin tanks to cloud and wear faster than other Formlabs resins. This clouding will eventually have an effect on the accuracy of prints. Use a new standard resin tank with each new Dental SG resin cartridge when printing on a Form 2. For extremely high accuracy, switch resin tanks more often.
Washing
Follow the Dental SG Instructions for Use to ensure biocompatibility. Parts can also be steam sterilized in an autoclave.
If the alcohol is dirty or partially concentrated with resin, use a second bath with clean, unsaturated IPA, to ensure that all liquid resin is removed. Do not leave parts in IPA for more than 20 minutes, as this may cause micro-cracks and abrasions in the printed part.
Allow parts to air dry completely, or use compressed air to blow IPA away from part surfaces. Inspect parts closely to ensure all liquid resin has been removed.
Remove supports after post-curing to ensure that parts do not warp during post cure.
Post-curing requirements
Post-cure Dental SG parts according to the Dental SG instructions for use. During post-curing, the part color changes from translucent yellow to translucent orange.

Stages from left to right: Printed, Post-cured, Finished, Assembled, Sterilized.
Removing Supports
Use flush cutters included in the Formlabs Finish Kit or other cutting instruments to carefully cut the supports at the point where they attach to the model. Use caution when cutting the supports, as the post-cured material may be brittle. Wear safety glasses when cutting supports, as the material may be brittle and small pieces can fly off. Supports can also be removed using dental handpieces like cutting discs, burs, and polishing wheels.
For a smoother surface finish, use high grit sandpaper to smooth support marks. For higher part translucency, polish guides using pumice and a rag wheel or other specialized appliances.
For instructions on post-processing and assembly, consult 3D Printing Surgical Guides with the Form 2 [en].
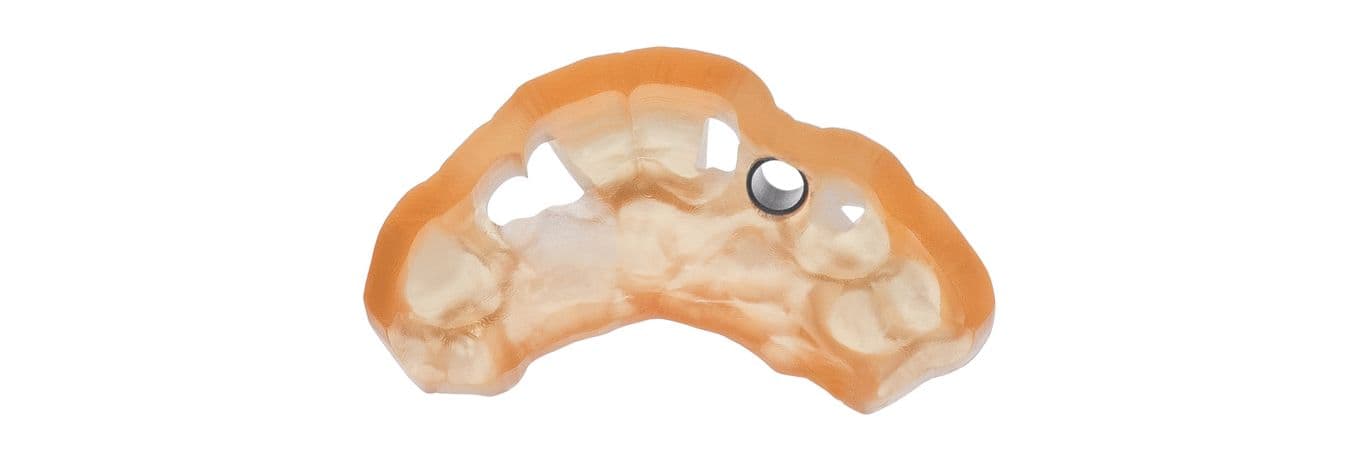
Fully finished guide assembled with metal guide sleeve, ready for sterilization.
Additional resources