
Notice:
To avoid damage to equipment, check the resin tank compatibility table in Choosing the right material to confirm you are using a resin tank that is compatible with this material.

Notice:
To avoid damage to equipment, check the resin tank compatibility table in Choosing the right material to confirm you are using a resin tank that is compatible with this material.
Surgical Guide Resin is a material designed for 3D printing Class I devices such as surgical guides, drilling templates, pilot drill guides, and device sizing templates. Developed specifically for Formlabs printers and rigorously tested with autoclaves, solvents, and implant systems, this material was designed to work with Formlabs SLA printers for improved part quality, accuracy, and mechanical properties.
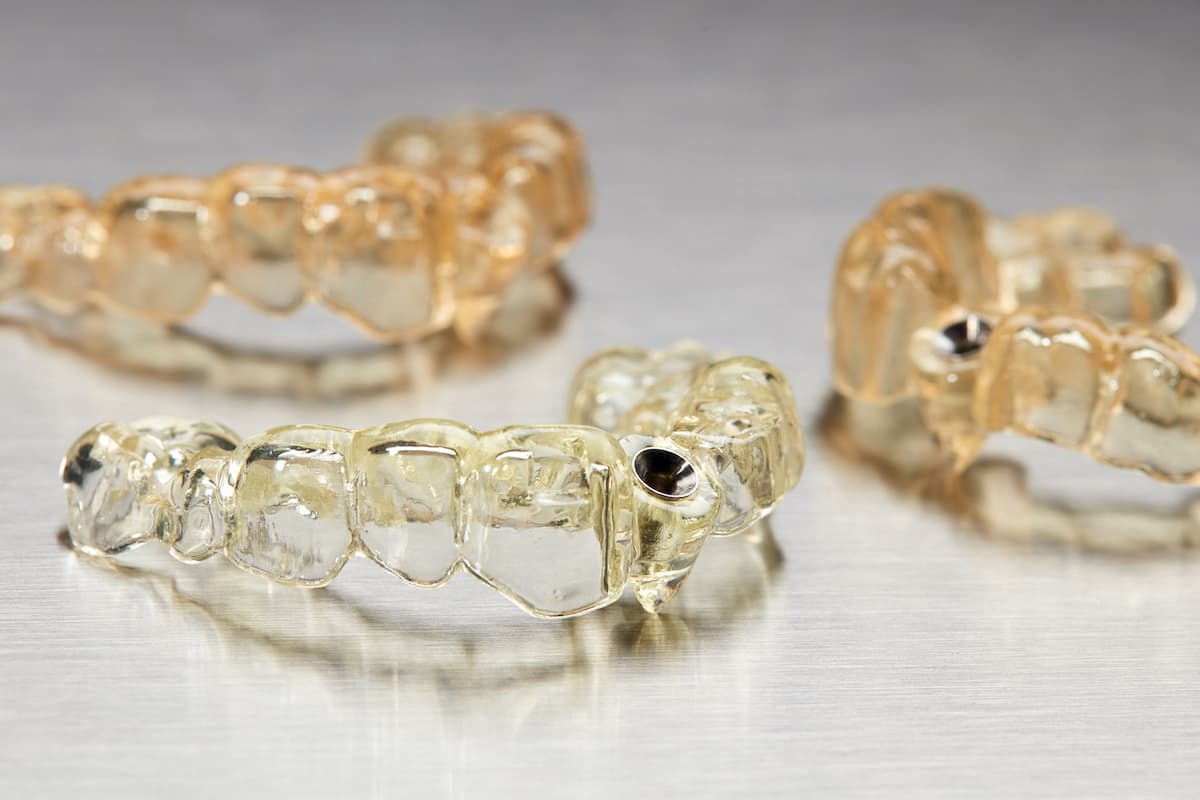
Recommended for:
Note:
To learn more about the performance or specific material properties of Surgical Guide Resin, please refer to the Safety Data Sheet (SDS) and Technical Data Sheet (TDS). Always consult the SDS as the primary source of information to understand safety and handling of Formlabs materials.
Comparison with other materials
Surgical Guide Resin is designed with relatively high elongation and ultimate tensile strength to minimize brittleness and breakage seen in similar materials. When compared to Dental SG Resin, the higher flexural strength and flexural modulus of Surgical Guide Resin exceed ISO standard requirements to deliver a stronger performance with the consistency needed for dental guided surgeries. See the table below for a comparison of relevant material properties that meet minimum ISO standards:
| Mechanical Property | Dental SG Resin | Surgical Guide Resin |
|---|---|---|
| Flexural Strength | ≥ 50 MPa | ≥70 MPa |
| Flexural Modulus | ≥1500 MPa | ≥2000 MPa |
To learn more about the performance properties of Formlabs resins, refer to the library of material properties datasheets.
Required resources
Made by Formlabs:
Made by third parties:
Workflow overview
Notice:
This is an abbreviated version of the application guide 3D Printing Surgical Guides [en]. Read the application guide for detailed instructions about the workflow for Surgical Guide Resin.
Scan
Collect anatomical data of the patient’s dentition using an optical scanner. Scan the patient's dentition directly with an intraoral scanner or use a desktop optical scanner to scan a polyvinyl siloxane (PVS) impression or model. To make a fully limited surgical guide, also capture the anatomy of the patient’s osteotomy with a cone-beam computed tomography (CBCT) scanner.
Align the intraoral scan and the CBCT scan using both manual point-of-interest identification tools and automatic tools for detailed alignment. Identify the mandibular nerve, if applicable.
Design
Use a dental CAD software package to design the surgical guide. For the best retention and accuracy, use full arch guides. The exact design steps vary for each software package, so contact the software provider for details on generating a splint from patient scans. Choose software that offers open STL file export.
Adjust design settings carefully for each guide to ensure safety, precision, and comfort. Design surgical guides on the Form 2 by following the guidelines below to ensure strong, durable results. Modify the recommended design setting values based on the brand and size of the guide sleeves being used.
| Design Setting | Recommended Minimum Default Value | Recommended Maximum Default Value |
|---|---|---|
| Wall Thickness Ensures structural stability, should be large enough for sufficient strength and durability. | 2.0 mm | n/a |
| Offset From Teeth Impacts how tightly the guide fits on the patient’s teeth—higher values will fit more loosely, lower values will fit more tightly. | 0.050 mm | 0.070 mm |
| Offset From Sleeve Ensures a tight press fit when inserting the metal guide sleeve. | 0.000 mm | 0.040 mm |
Printing with Surgical Guide Resin
Notice:
To avoid damage to equipment, check the resin tank compatibility table in Choosing the right material to confirm you are using a resin tank that is compatible with this material.
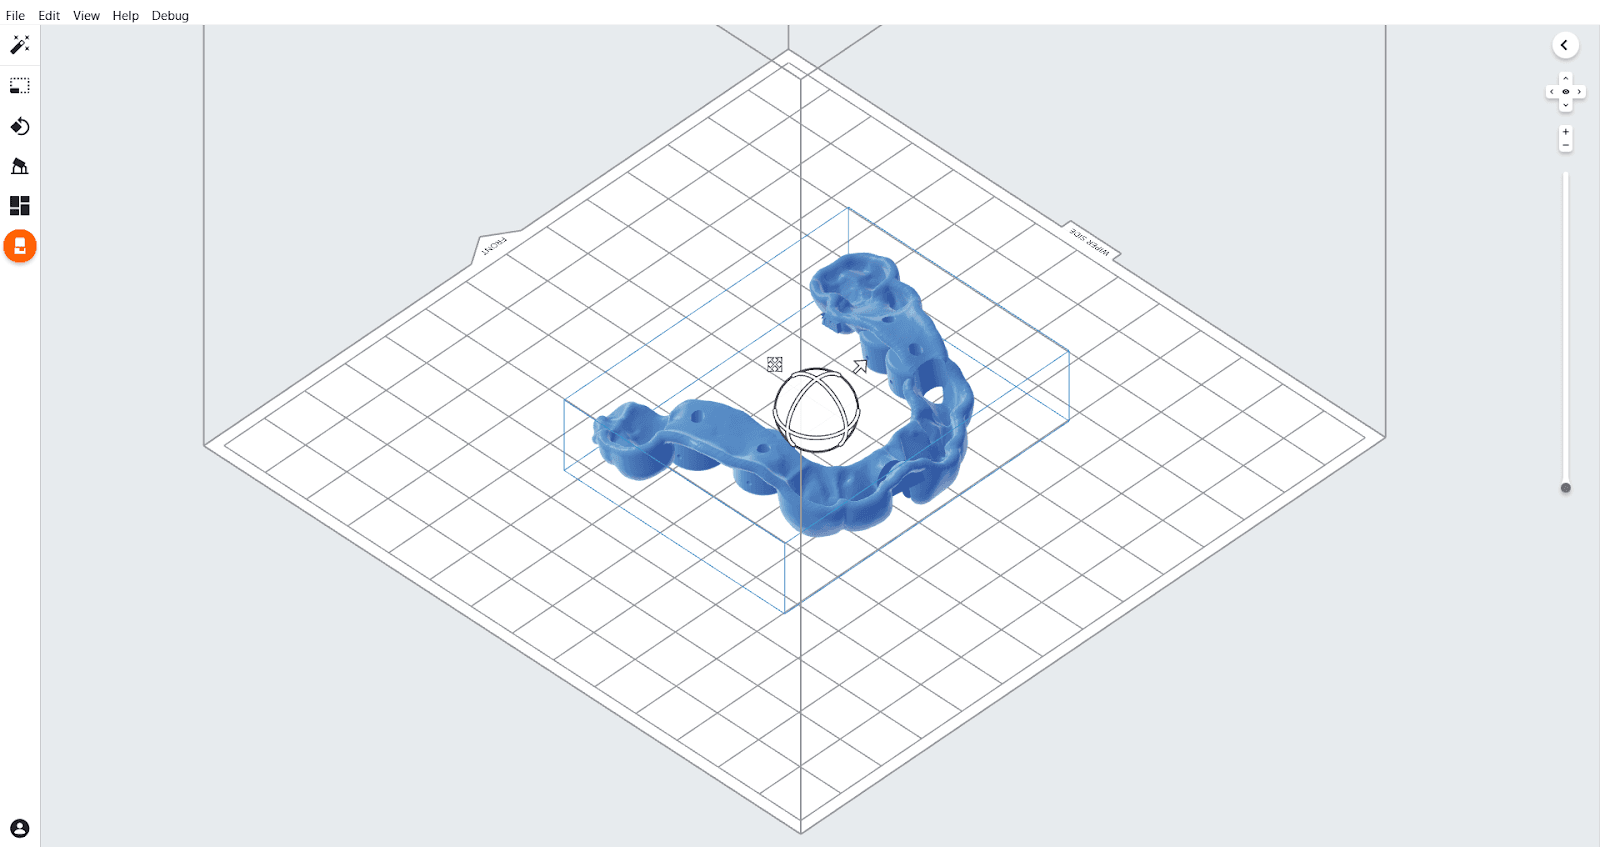
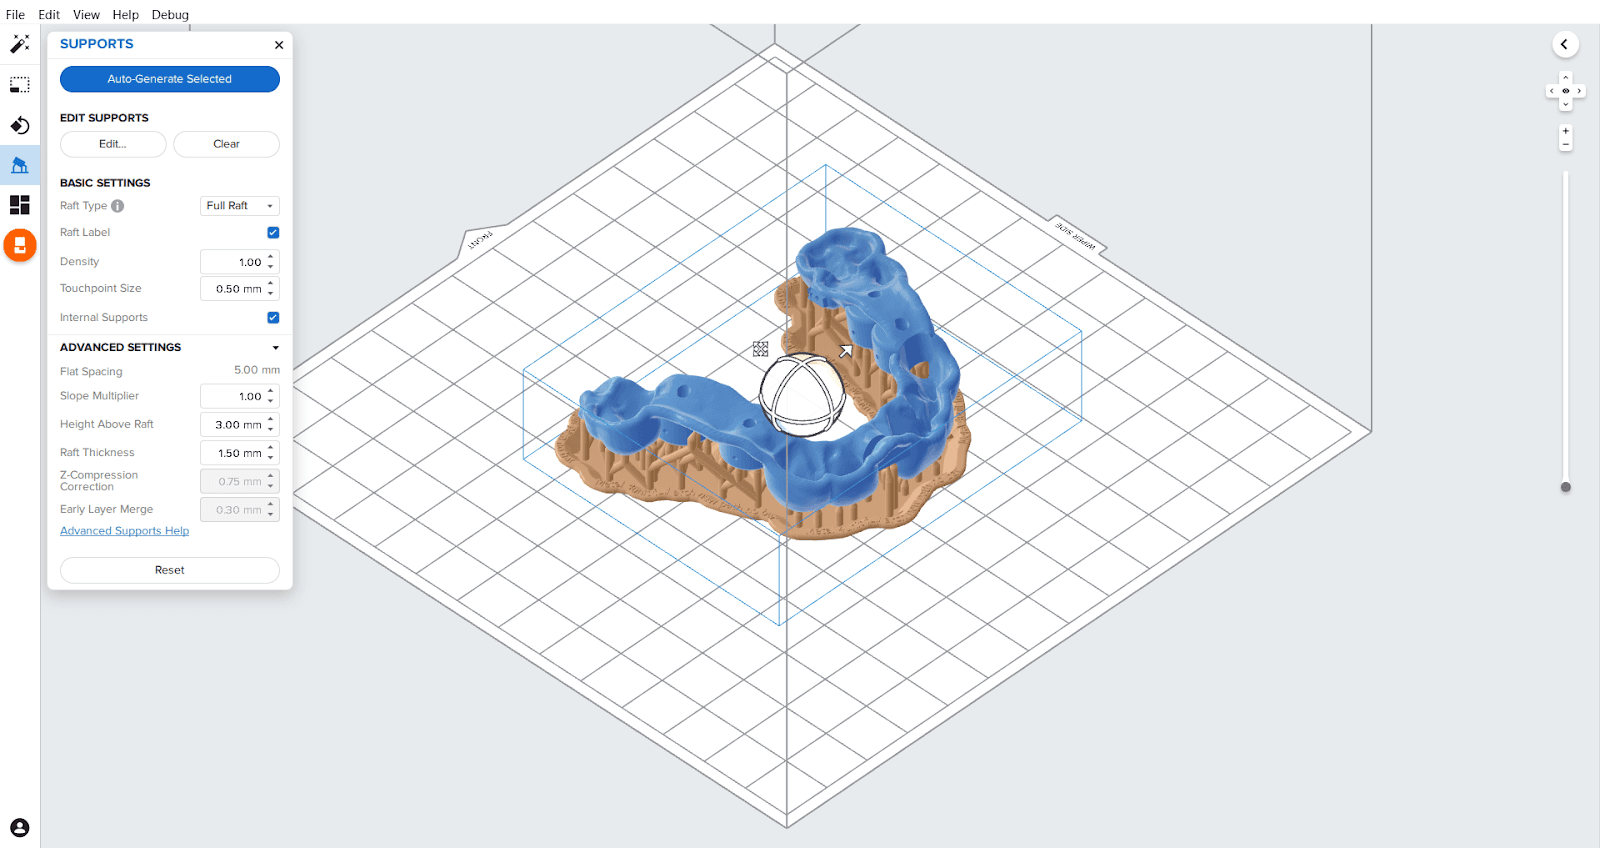
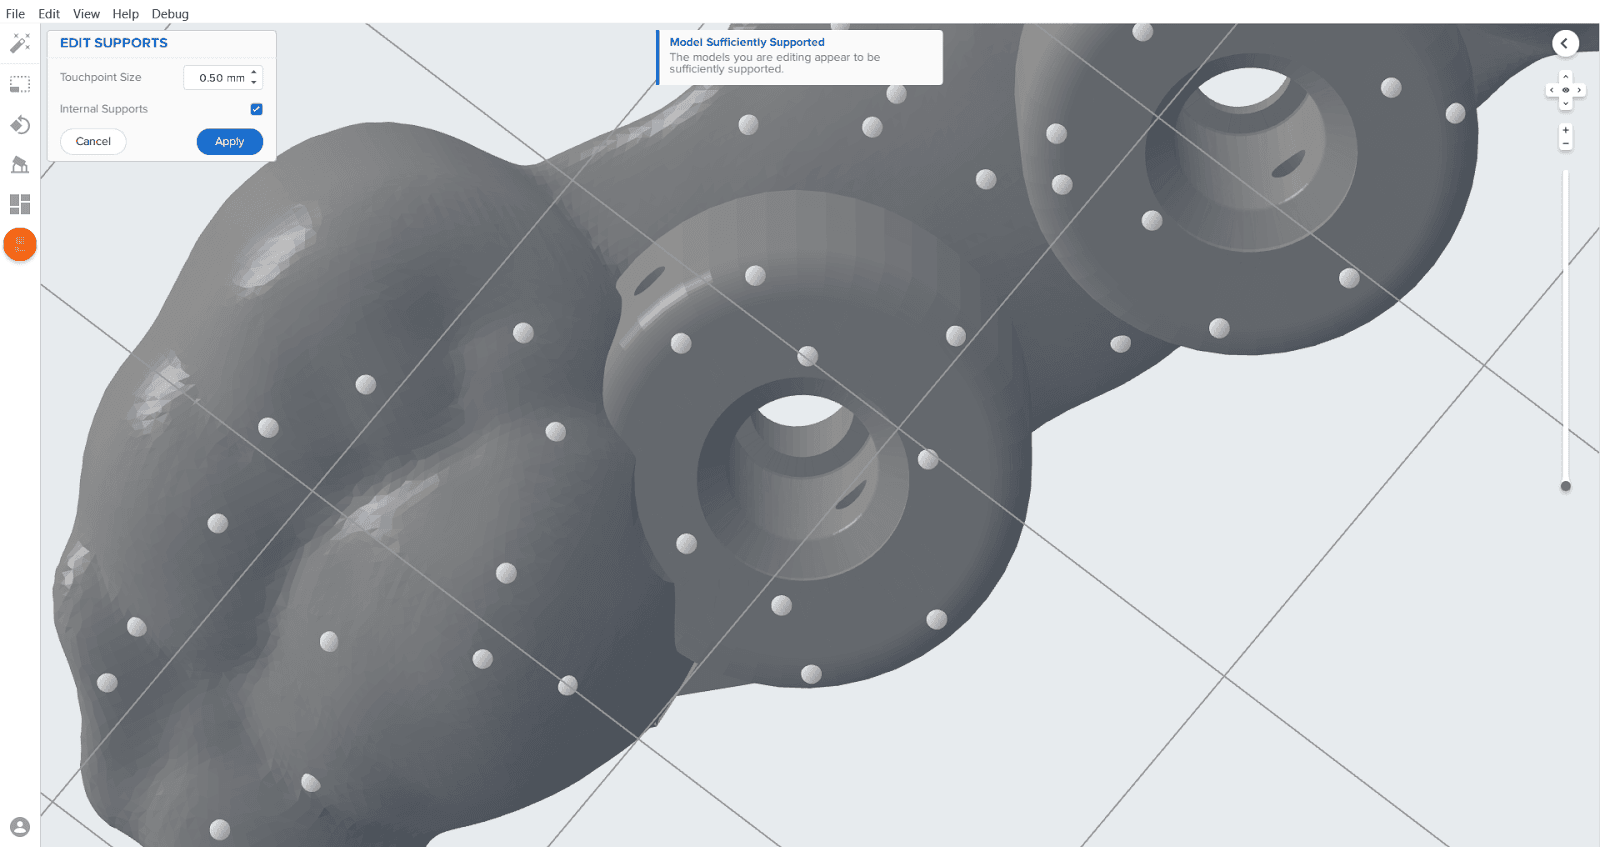
Thoroughly agitate the resin cartridge by shaking and rotating it several times. Insert the resin tank, resin cartridge, and build platform into the printer.
Notice:
For full compliance and biocompatibility, Surgical Guide Resin requires a dedicated resin tank, build platform, and finishing kit, which should only be used with other Formlabs resins for biocompatible applications.
Washing
Follow the part washing recommendations in the manufacturing guide for the clearest and best possible results. Improper washing can lead to suboptimal mechanical and biocompatibility properties.
Post-curing requirements
Follow the post-curing recommendations in the manufacturing guide for the clearest and best possible results. Improper post-curing can lead to suboptimal mechanical and biocompatibility properties.
Removing supports
Notice:
Remove supports only after post-curing to prevent parts from warping.
Use the flush cutters included in the Formlabs Finish Kit or other part removal tools to carefully cut the supports at touch points attached to the surgical guide. Use caution when removing supports, as the post-cured material may be brittle. Supports can also be removed using other specialized appliances, such as cutting disks or round cutting instruments like carbide burs.
For instructions on post-processing, disinfection, sterilization and assembly, consult the application guide 3D Printing Surgical Guides [en].
Biocompatibility
Surgical Guide Resin is non cytotoxic, not a sensitizer, non irritating and complies with ISO 10993-1:2018.
Additional resources