
Notice:
To avoid damage to equipment, check the resin tank compatibility table in Choosing the right material to confirm you are using a resin tank that is compatible with this material.

Notice:
To avoid damage to equipment, check the resin tank compatibility table in Choosing the right material to confirm you are using a resin tank that is compatible with this material.
Use Formlabs Castable Resin to produce detailed fine jewelry through the investment casting process. Developed specifically with investment casting in mind, Castable Resin burns out cleanly with no ash or residue.
Notice:
Avoid storing this material for longer than one month in a standard resin tank or two months in a Resin Tank LT to prevent resin leaks and subsequent damage.
Castable Resin is an acrylate photopolymer, which requires a different process from a traditional wax schedule. Instead of melting at low temperatures, Castable Resin transitions to a gas. The recommended burnout schedule is designed and tested to allow Castable Resin to transition into a gas gradually. The slow transition reduces the possibility of the investment cracking due to rapid expansion of the printed part.
Some customers have reported success in casting Formlabs Clear Resin. More advanced casting houses familiar with successfully casting photopolymers may want to try this material, which offers high detail, good surface finish, and a faster cure cycle.
Required resources
Made by Formlabs:
Made by third parties:
Note:
To learn more about the performance or specific material properties of Castable Resin, please refer to the Safety Data Sheet (SDS) and Technical Data Sheet (TDS). Always consult the SDS as the primary source of information to understand safety and handling of Formlabs materials.
Workflow overview
Notice:
This is an abbreviated version of the complete instructions in the application guide Introduction to Casting for 3D Printed Jewelry Patterns [en]. Read the application guide for detailed instructions about design, settings, and part orientation for Castable Resin.
Design for casting
Casting is both a skill and an art form. For successful results, the design of the piece to be cast is as important as the material properties. Learn more in our white paper Jewelry 3D Printing: Basic Design Parameters, Supports, and Orientation (English only).
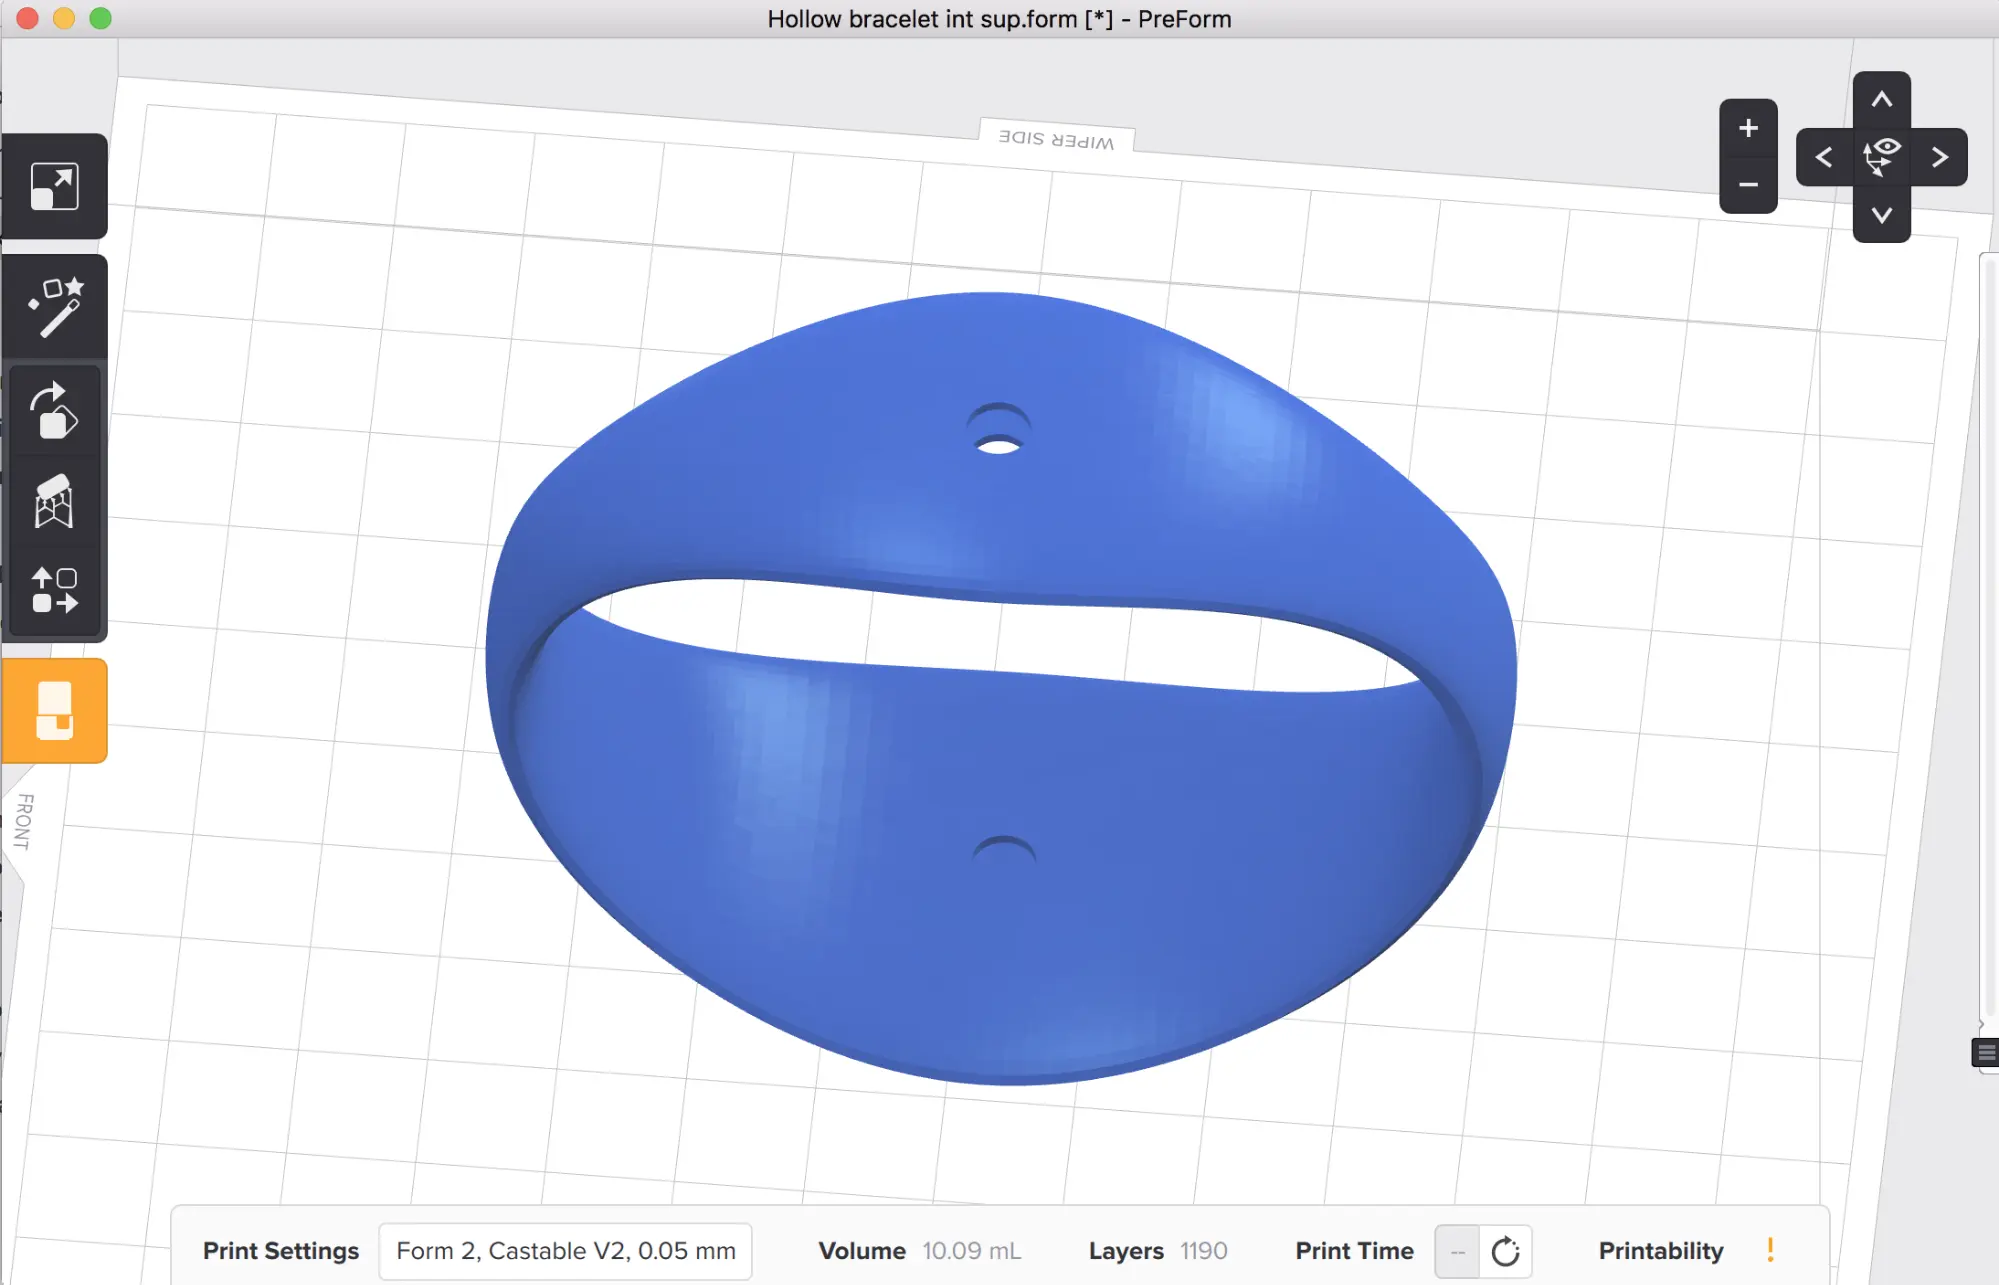
Design airflow vents in thick geometries to allow sufficient ventilation during burnout.
Print and prepare parts
Install or update PreForm, then set up the next print job.
To prepare a model for printing in PreForm:
Castable Resin print settings are optimized for printing jewelry, with a focus on achieving the features and detail that matter to jewelers. For the majority of designs, printing with the 50 micron layer height provides the best results and superior print speeds.
Agitate Castable Resin by shaking the cartridge and mixing resin in the resin tank before printing. Castable Resin contains a component, called titanium dioxide, that separates from the rest of the mixture when left unused. The separation appears as white crystalline or flake-like deposits, often on the outside of the resin tank or printed part. Mix the resin regularly to maintain normal resin performance.
Finishing
The Form Wash agitates the solvent bath and removes parts from the bath after a set time. Wash parts according to the support article Form Wash time settings. Pay particular attention to information that affects mechanical properties or biocompatibility requirements.
Make sure the IPA is fully evaporated prior to post-curing and casting, as it could interfere with the investment and cause pitting.
Post-curing requirements
To maximize part strength and increase part integrity in the investment, prints made with Castable Resin should be fully and evenly post-cured on all surfaces. Post-cure the parts under 405 nm light and heat until the surface is hard and rigid.
Post-curing solutions vary widely in terms of heating capability, light wavelength, and output. When using the Form Cure, post-cure Castable Resin parts at 60 °C for at least four hours. Small UV sources like home UV nail dryers use UV light (0–400 nm) and may take up to eight hours to properly post-cure parts, while industrial UV curing ovens may take only two hours.
Note:
UV nail salons prove an effective entry-level solution, partly because the parts are typically placed very close to the bulbs. The parts get very hot (sometimes greater than 60 °C) and the heat helps the parts fully cure. Higher cure temperatures provide a faster cure, but make sure to inspect parts for warping.
Rotate parts during post-curing to ensure even exposure to the light and heat. The Form Cure will automatically rotate parts, but if using another method, it may be necessary to manually flip or rotate parts during the post-cure.
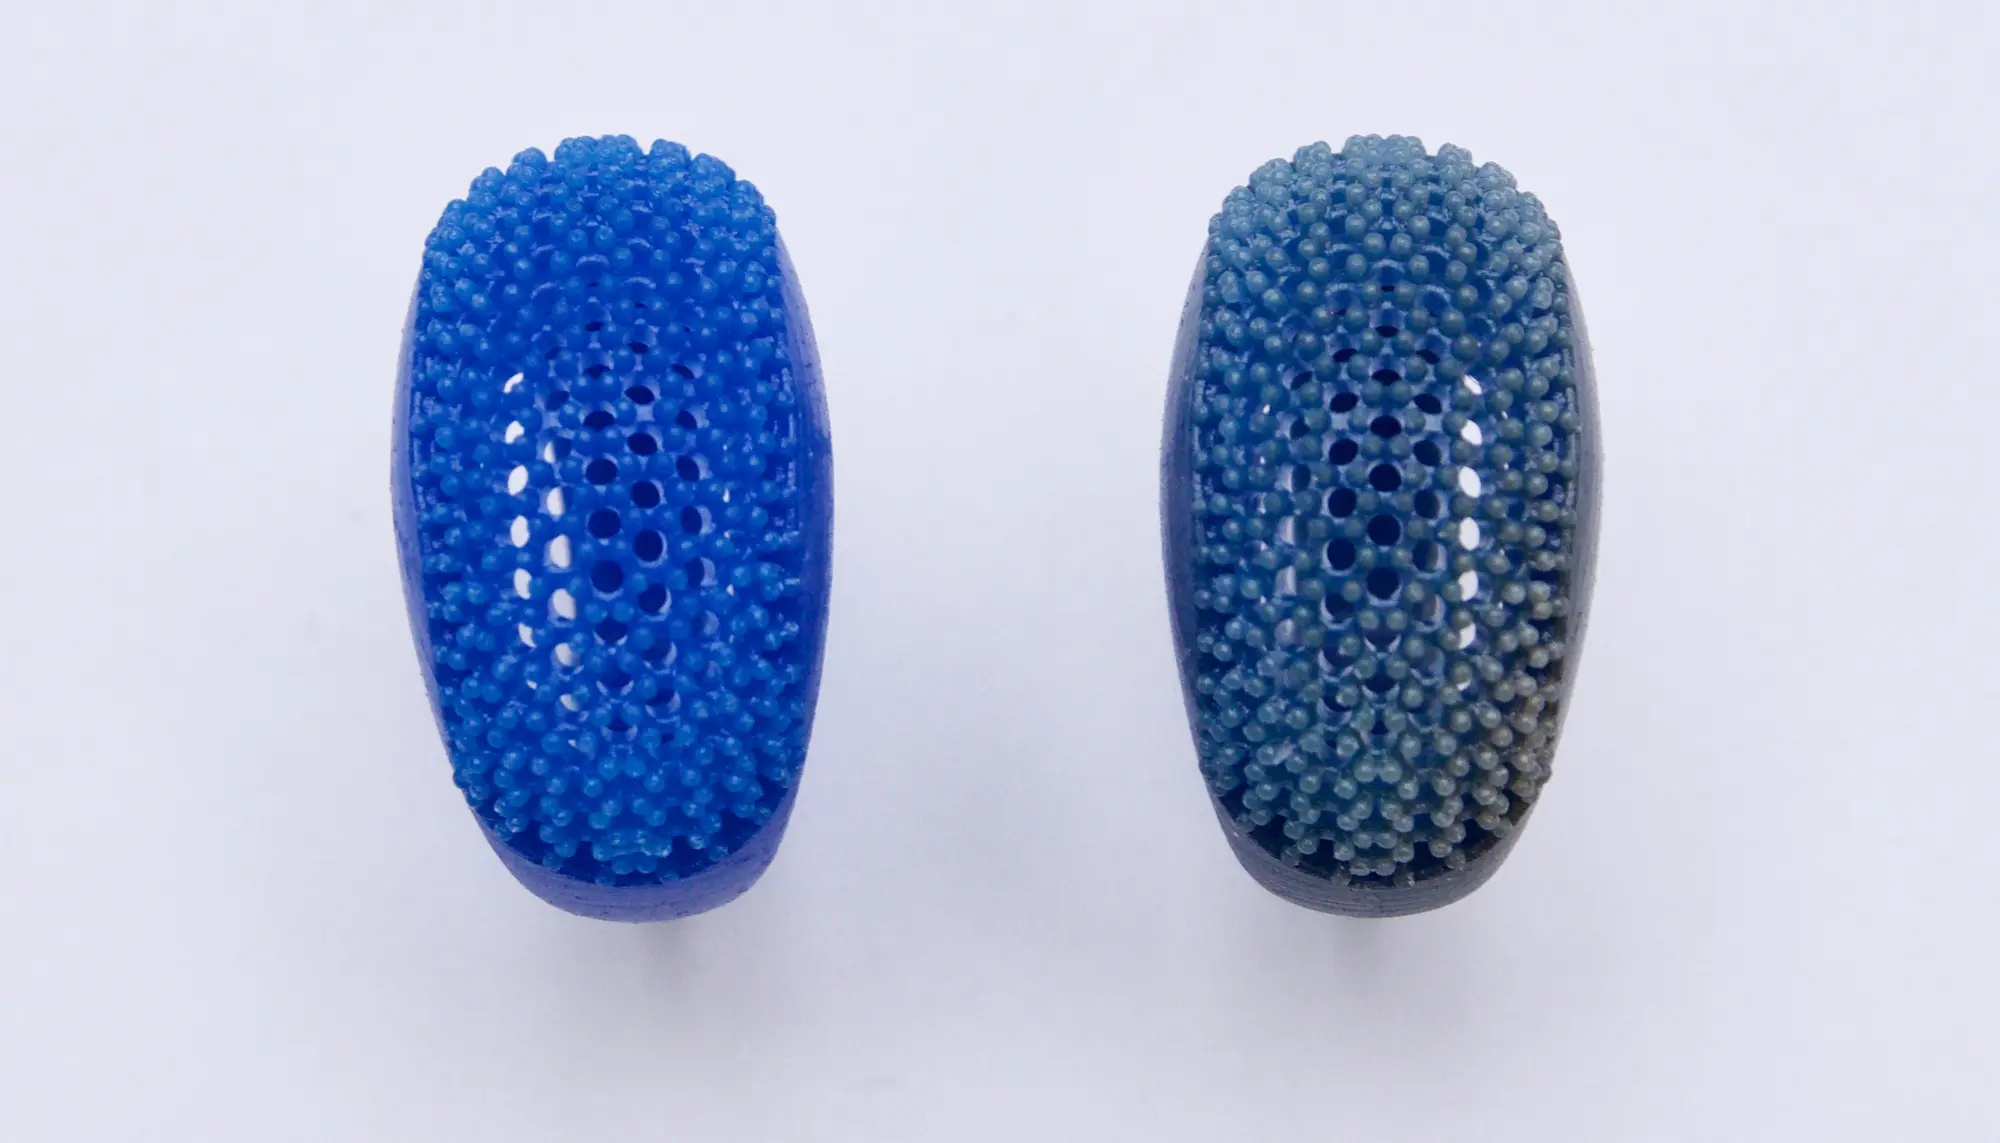
Comparison of green (before post-curing) Castable Resin (left) and the post-cured Castable Resin (right).
During post-curing, part color might change from bright blue to dark, matte blue. This photobleaching is a natural effect of some types of light. If a portion of the part is photobleached, this is one indicator of sufficient light exposure. When post-curing the part with supports still attached, add 30 minutes of additional post-cure time after removing supports to fully post-cure the touchpoint surfaces.
It is important for all surfaces under the supports to be cured evenly. For larger parts like bracelets, it can be beneficial to cure on supports to counteract any possible warping and help the part retain its original shape at higher temperatures.
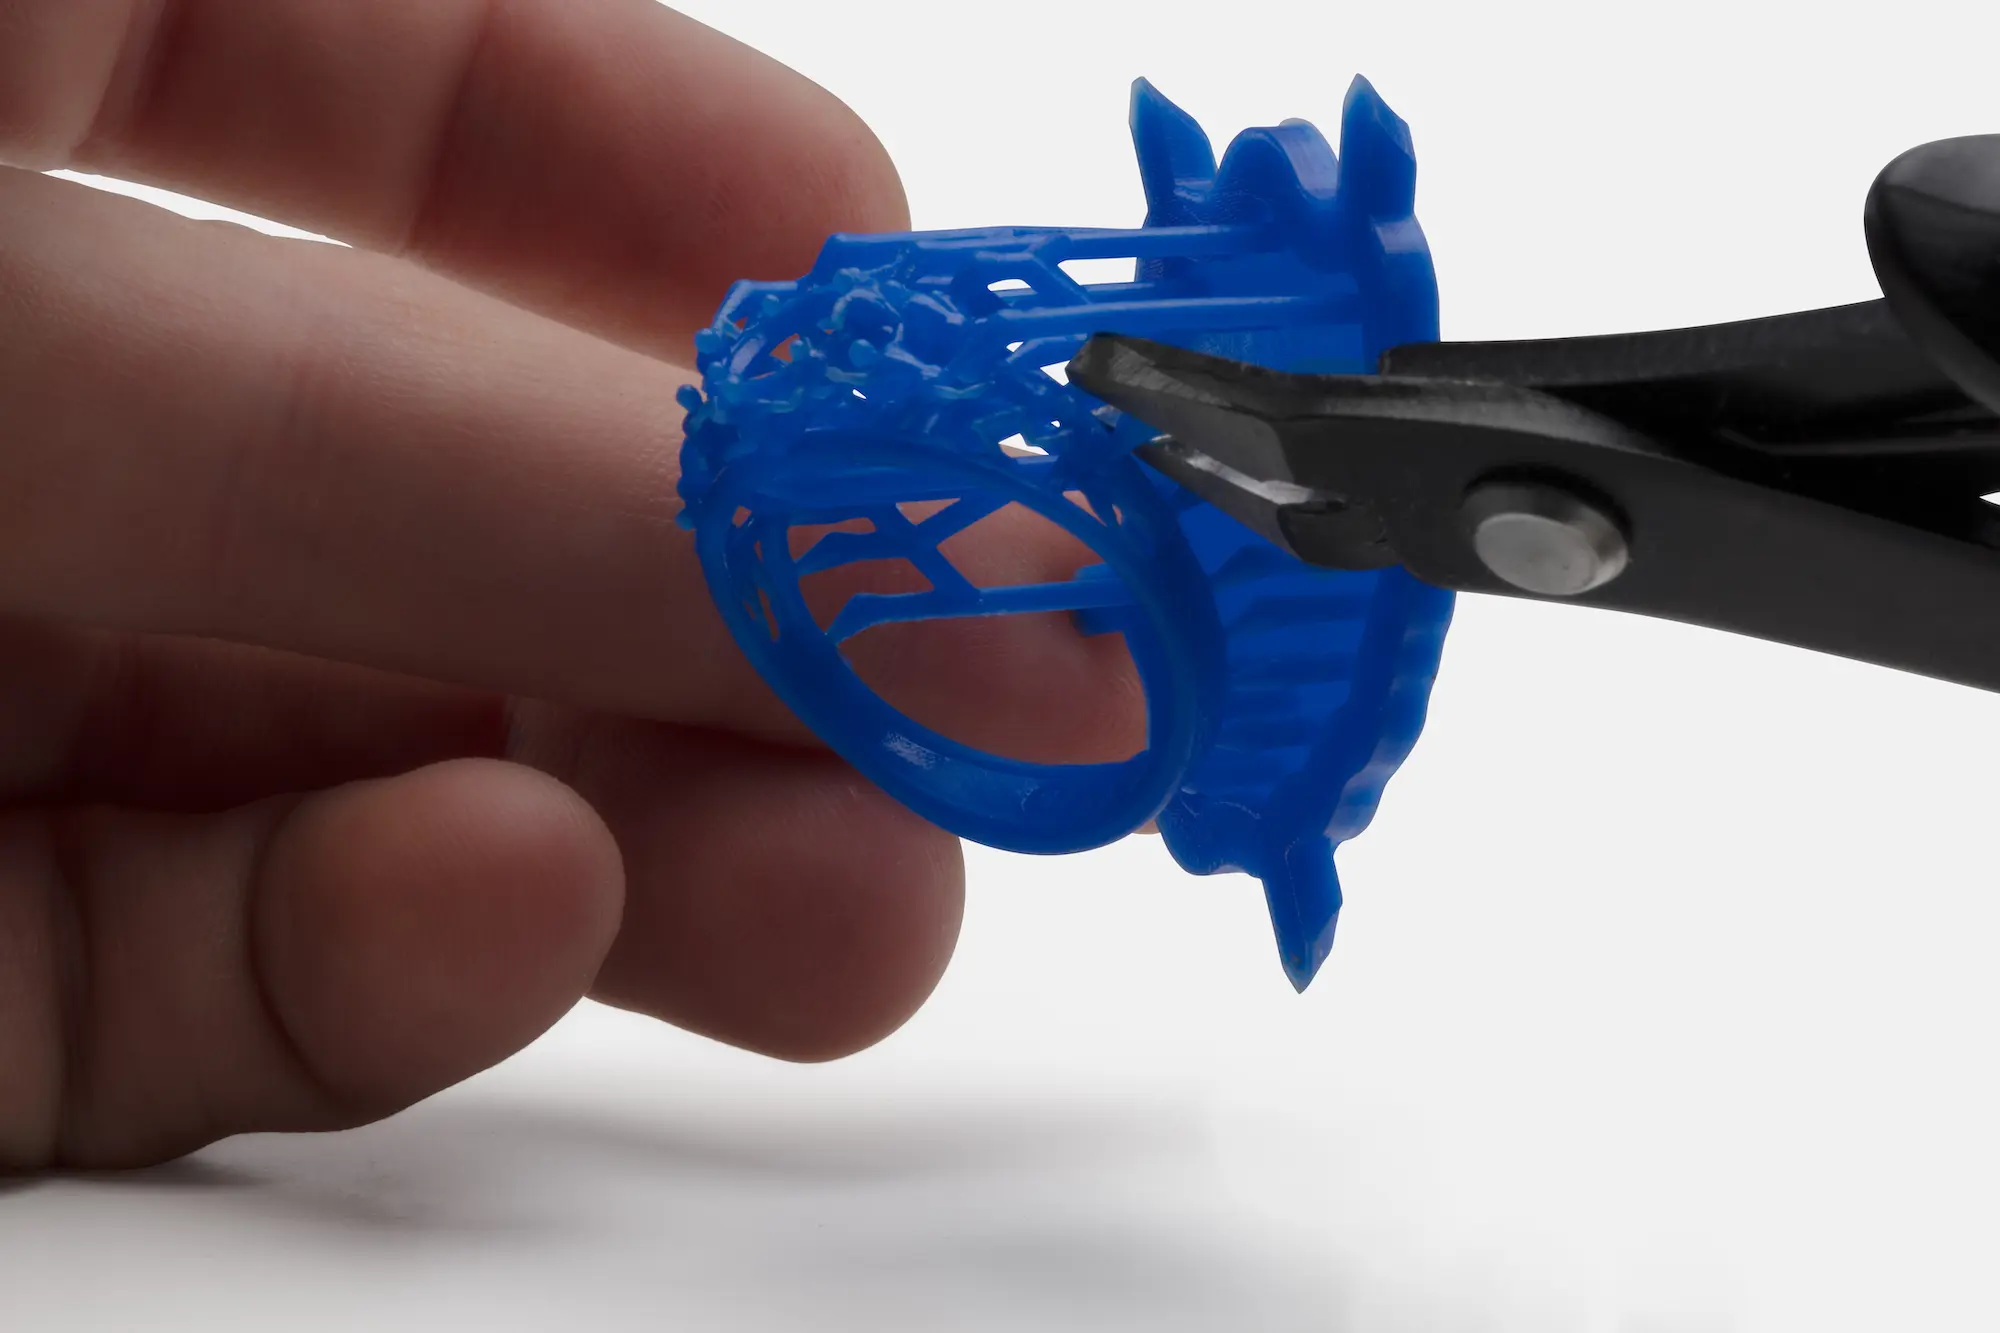
Using flush cutters to remove supports from a part.
Carefully remove any support material from your print after post-curing. Use fine sandpaper (400 grit and above) to gently sand support marks.
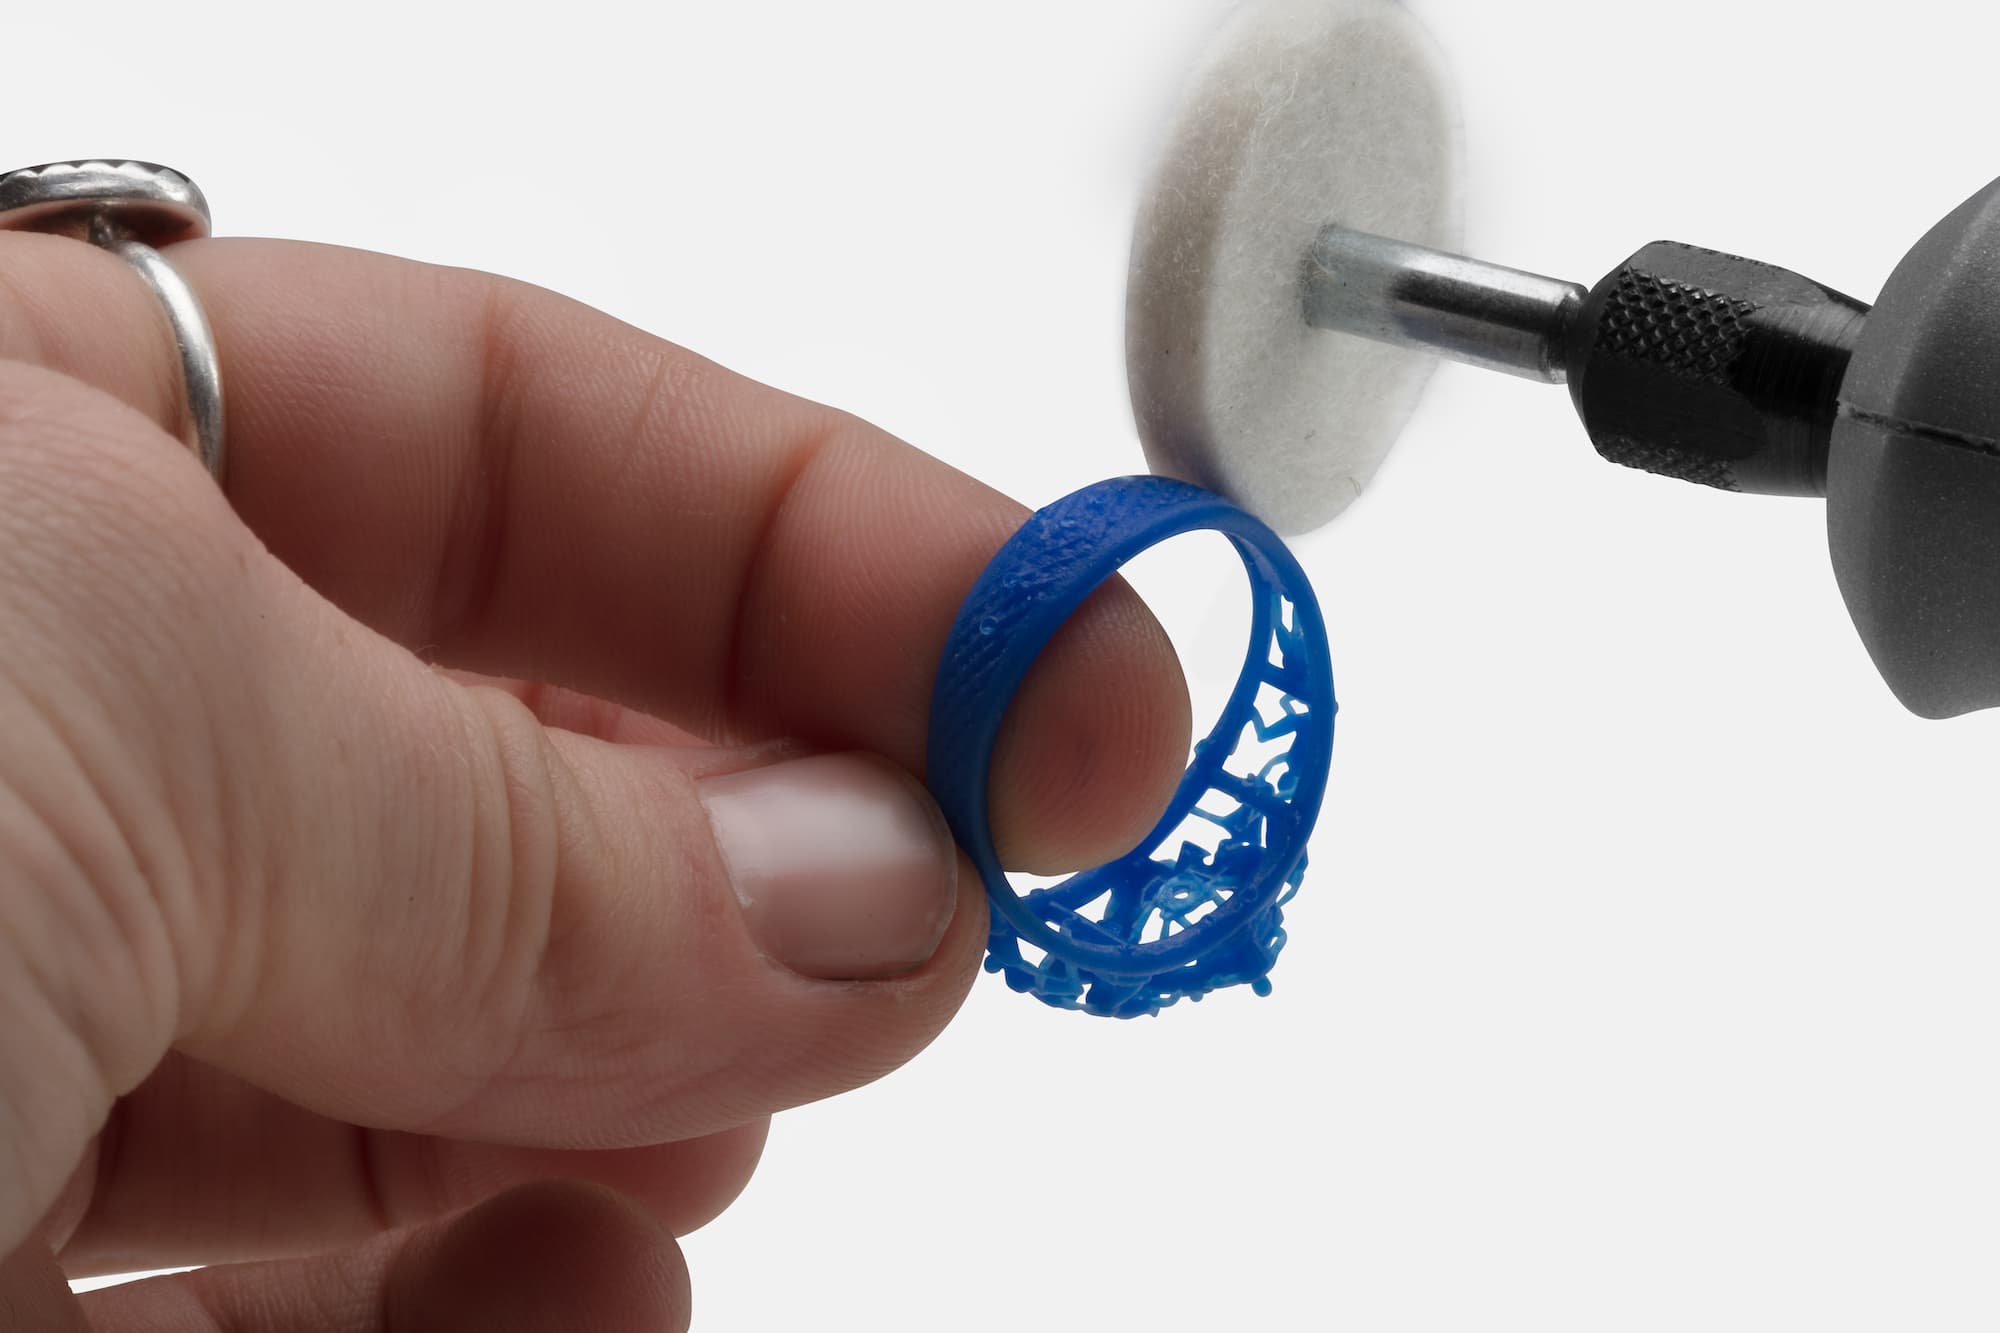
Using a buffing attachment to polish a part.
Polish the surface using polishing paper or a rotary tool with a buffing attachment. Do not finish the print with mineral oil after sanding.
Casting with Castable Resin
For detailed steps about casting with Formlabs resins, read the support article Introduction to casting with Formlabs resins and other Formlabs resources.
Notice:
Follow the investment manufacturer's safety recommendations.
Troubleshooting
Success with Castable Resin depends on more variables than other Formlabs materials due to the additional steps in the casting workflow. Consider the tips and recommendations at each step of the process when evaluating or troubleshooting issues.
Additional resources