
Notice:
To avoid damage to equipment, check the resin tank compatibility table in Choosing the right material to confirm you are using a resin tank that is compatible with this material.

Notice:
To avoid damage to equipment, check the resin tank compatibility table in Choosing the right material to confirm you are using a resin tank that is compatible with this material.
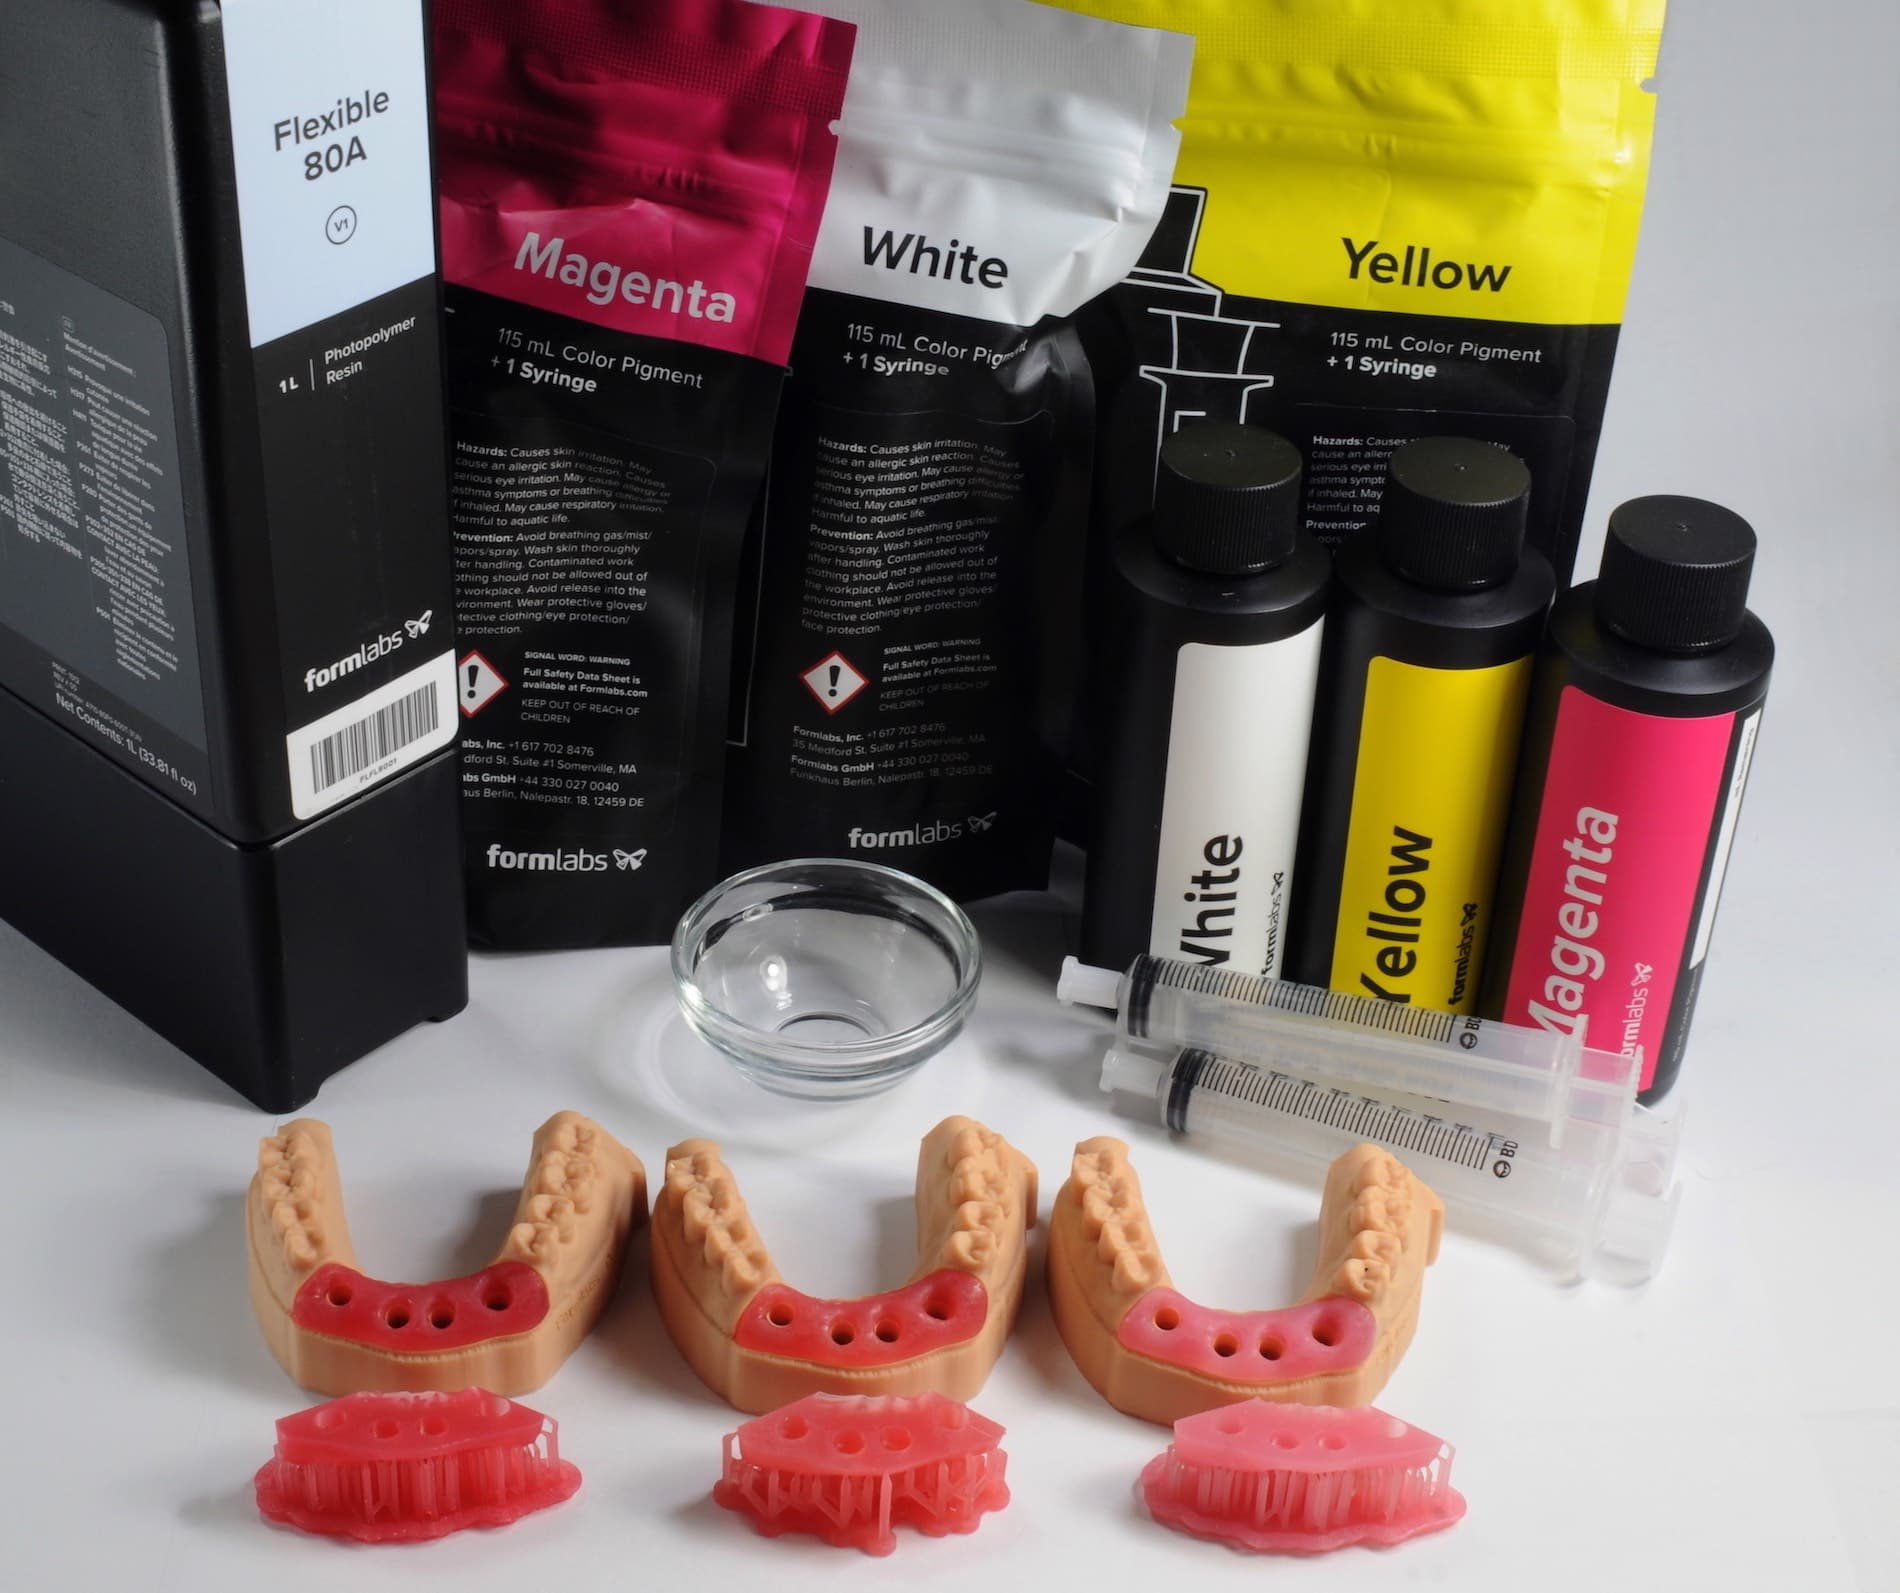
Using Flexible 80A Resin and color pigments as part of a digital implant prosthetic workflow, healthcare professionals can now 3D print soft tissue parts that better simulate the gingiva for dental implant modeling purposes. Customizable color pigments allow you to tailor the color and opacity of your final printed model.
Soft Tissue Resin prints at 50 microns and 100 microns.
Note:
To learn more about the performance or specific material properties of Soft Tissue Resin, please refer to the Safety Data Sheet (SDS) and Technical Data Sheet (TDS). Always consult the SDS as the primary source of information to understand safety and handling of Formlabs materials.
Required resources
Made by Formlabs:
Workflow overview
Notice:
This is an abbreviated version of the application guide, 3D Printing Soft Tissue for Gingiva Mask on Dental Models [en]. Read the application guide for detailed instructions about the workflow for Soft Tissue Resin.
Scan
In order to 3D print a permanent crown or other restoration, use a scanner to collect anatomical data of the patient's dentition. Either scan the patient directly with an intraoral scanner, or use a desktop optical scanner to scan a polyvinyl siloxane (PVS) impression or stone model.
Design
Use a dental CAD software package to process and design the restoration before printing. Choose software that offers open STL file export.
Notice:
To avoid damage to equipment, check the resin tank compatibility table in Choosing the right material to confirm you are using a resin tank that is compatible with this material.
Follow the instructions in the application guide, 3D Printing Soft Tissue for Gingiva Mask on Dental Models [en], to mix the appropriate shade of Soft Tissue Resin.
Install or update PreForm, then set up the next print job.
To prepare a model for printing in PreForm:
Use the PreForm settings for Flexible 80A Resin: 50 microns and 100 microns.
Finishing
The Form Wash agitates the solvent bath and removes parts from the bath after a set time. Wash parts according to the support article Form Wash time settings. Pay particular attention to information that affects mechanical properties or biocompatibility requirements.
If the model is hollow or has internal channels, ensure liquid resin is flushed out thoroughly from these features. Allow parts to fully dry before post-curing.
Post-curing requirements
Soft Tissue Resin requires post-curing to reach its optimal mechanical properties.
Refer to the support article Form Cure time and temperature settings for post-curing recommendations.
Additional resources