
This post was written by Formlabs designer Aashman Goghari.
This February, the Formlabs design team was faced with a challenge: fabricate a 3D printed structure that can withstand Times Square during winter. Alongside design studio Aranda\Lasch and engineering firm LaufsED, the team set out to create Window to the Heart, a sculpture that would remain installed in Manhattan for one month as winner of the Times Square Valentine Heart competition.
This posed several environmental obstacles: the structure would need to be able to stand up against cold, wind, water, UV exposure, and of course, New York City crowds. 3D printed parts may not be known for their ability to withstand the elements, but with the right measures, the team was able to print and finish 1,000 tiles, and assemble and adhere them together to become the final 10-by-12-foot installation in the heart of Times Square.
Designing for Outdoor Public Space
Times Square in February hosts every inclement weather element you can imagine. Window to the Heart needed to be designed to withstand wind, rain, snow, and UV light.
At the core of the sculpture was a metal structure that helped the design remain stable. Edges of each tile were filleted to prevent anyone from being injured by bumping into sharp edges of the sculpture.

Designing against the wind is a core aspect of any structural engineering endeavor. Times Square was an especially tricky location because it is essentially an intersection where several wind tunnels meet. It is standard engineering procedure to take 100-year wind speed data (via historical weather data for NYC) and make sure that the safety factor included in the structural design can withstand the wind speeds from that historical data.

As shown in this wind deflection analysis above, the deformation is highest at the top, since the structure essentially acts as a vertical cantilever. This analysis helped us:
- Confirm that the metal structure and plastic substrate were strong enough to withstand the max deflection of 1.3”.
- Confirm that the tiles we were attaching onto the substrate would very likely pop off under severe wind, especially at the top.
Tiles popping off the structure could be incredibly dangerous, since the place where the tiles were most likely to pop off was right above the place where people were most likely to stand. We didn’t want any bruised heads due to 3D printed tiles falling from 5 feet above onto people posing for selfies).
In order to mitigate this problem, we attached a small metallic “capstone” on top of the lens, and selected an adhesive which remained flexible upon drying so that the tiles would simply bend rather than pop off in windy conditions. The weather in Times Square in February 2018 was indeed erratic, but the structure remained intact.
Selecting the Right Adhesive
Choosing the right adhesive required considering the assembly process, the sculpture’s ultimate optical clarity, and how the final part would stand up to outdoor conditions. In the end, we opted for double-sided adhesive tape on the bottom of each tile, which was then injected with Encapso® K, a two-part, UV-resistant silicone rubber that dries clear in 24 hours.
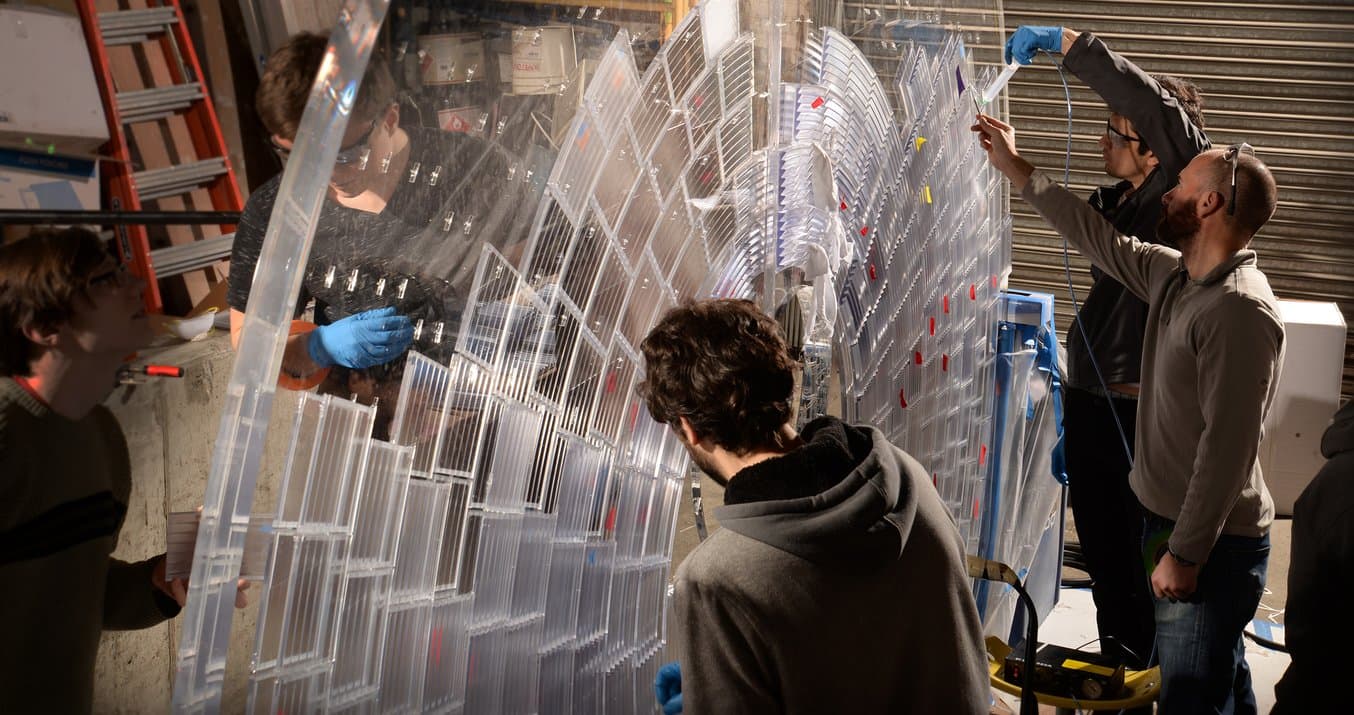
We attached the tiles with the sculpture oriented vertically so that we could attach tiles to both sides of the acrylic substrate at the center of the structure at the same time and to avoid having to flip this large structure during assembly.

This vertical orientation meant that we needed something to hold up the tiles while the adhesive dried to prevent slippage. We also needed to ensure that there was a bit of wiggle room to quickly remove a tile and reposition it if we made a mistake. To address this, we laid down a spacer to give the perfect position of the tile in the plane, then placed the tile with a bit of super glue and inject silicone.
There is always a trade off between clarity and cure time. Anything that dries clear without bubbles takes too long to cure and slides of the acrylic substrate, and anything that dries fast and strong ends up looking bubbly or milky upon curing.
It wasn’t easy to find the right silicone, and we did a lot of tests The material needed to have a refractive index similar to that of acrylic (which has a refractive index of 1.5) to create continuity, but also needed to be flexible. This flexibility helped account for thermal expansion and movement, and helped the structure stand up better to wind and touch.
Listen to Digital Factory Podcast #7 with the vice president for innovation and new business development in the Henkel Adhesives group to learn more about how adhesives can be used to create entire assemblies out of 3D printed parts, and how different adhesives can address different applications.
Designing a Manual Tiling System
Although the tiles were printed at a very high degree of accuracy, it was up to us to design a manual tiling system that would allow for the accurate placement of hundreds of tiles.
Conventional tiling methods use plastic spacers, horizontal leveling tools, and mortar as the “adhesive.” The tiles are all the same size, and are almost always laid out in an XY-grid pattern, which makes it easy to maintain accuracy over large wall spans.
In our case, we had 13 different types of tiles (not counting the 15 edge cases/one-offs) which had to be laid out in a radial pattern.

The radial grid meant that these tiles never met perfectly at a corner, so we had to find other reference points in order to maintain both local and global accuracy. We ended up designing 13 custom spacers, and laser cutting around 2,000 copies of them.

An Agile Parametric Design Process
The depth and spacing of the concentric rings on a Fresnel lens determine its optical qualities. Each ring projects outwards at a slightly different angle.
From a 3D modeling standpoint, creating a monolithic Fresnel lens isn’t too complex: you simply have to draw the 2D sawtooth pattern, then revolve it about an axis. However, we needed the 3D modeling process to be more agile, since we were simultaneously working on several key decisions:
- Breaking the lens into several hundred self-similar tiles of undefined dimensions
- Iterating on the ring spacing, lens thickness, and overall height and width of the structure
- The consequent optical effect created when any of the aforementioned parameters are altered
In order to streamline this iterative design process, we developed a parametric 3D model using Rhino 3D and Grasshopper, which allowed us to update and share new versions within hours. We used a plugin called Neon for Rhino to create a low fidelity ray-traced rendering of the final model within our CAD environment, instead of having to render each option after having modeled it, which would take a few additional hours per option.
The parametric process allowed us to easily name and export each 3D model in an organized fashion, avoiding confusion during the spray coating and construction steps.
Clear Material for 3D Printing

Stereolithography 3D printing is one of the most efficient methods for creating clear parts for applications like optically transparent camera lenses or light pipes. Learn more about Clear Resin, the material used to 3D print the tiles for Window to the Heart. Request a free sample part, or explore techniques for post-processing parts printed in Clear Resin for optical transparency.