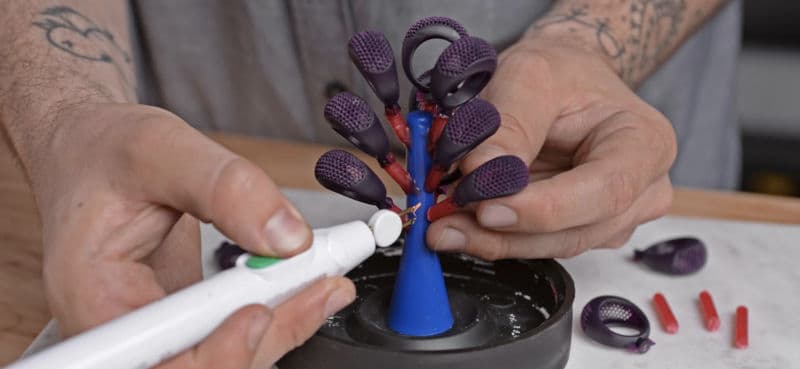
Tipps zum Erstellen eines Gussbaums
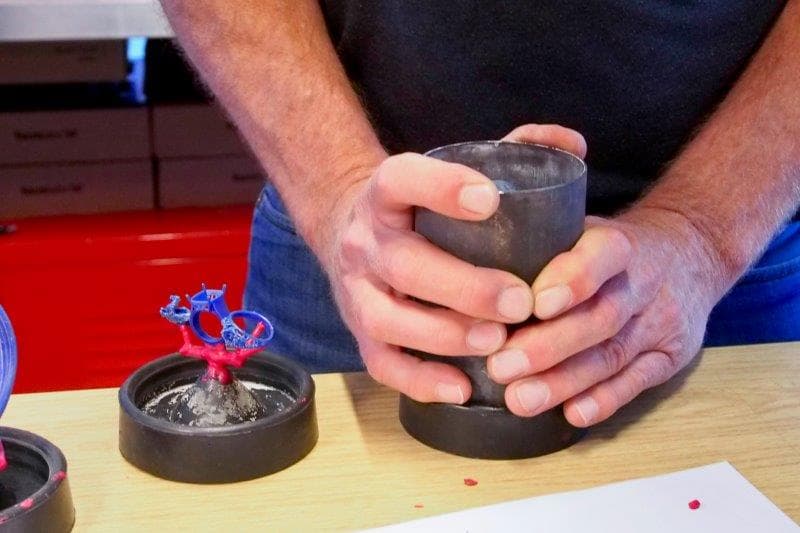
- Verwenden Sie Wachsgusskanäle für Hauptkanäle und große Zuleitungen. Entwerfen und drucken Sie Vorschübe, die vom Hauptgusskanal zu den kleinen Details im Modell führen, als Teil des Modells.
- Die ideale Position der Gusskanäle variiert je nach Druckgeometrie. Platzieren Sie dickere Teile weiter unten und dünnere Teile weiter oben am Gussbaum.
- Platzieren Sie 3D-gedruckte Teile im Baum weiter auseinander als herkömmliche Wachsmodelle. Mehr Einbettmasse in den Zwischenräumen zwischen den Teilen wirkt der Wärmeausdehnung entgegen.
- Wenn Sie Gusskanäle aus Wachs verwenden, entwerfen Sie Gusskanäle, die so dick sind wie möglich, und bringen Sie sie an der dicksten Stelle des Modells an (sofern das Design dadurch nicht beeinträchtigt wird).
- Der Durchmesser von 3D-gedruckten Gusskanälen sollte so groß sein wie die Wanddicke des Teils im Querschnitt, um eine gleichmäßige Ausdehnung beim Gießen zu ermöglichen.
- Egal ob Sie Gusskanäle aus Wachs verwenden oder die Gusskanäle direkt an das Teil drucken, die Gusskanäle sollten den kürzesten Austrittsweg für das Material ermöglichen. Gestalten Sie den Weg des Luftstroms im Gussteil so kurz wie möglich. Kleinere Bäume mit weniger Harz lassen sich leichter ausbrennen.
- Formlabs empfiehlt nicht, Modelle aus Castable Wax 40 Resin in einen „Gussbarrieren“-Film zu tauchen. „Gussbarrieren“-Filme können die Fähigkeit des Kunstharzes einschränken, beim Erhitzen flüssiges Wachs abzugeben.
- Wenn möglich, höhlen Sie dickere Teile aus - siehe Whitepaper 3D-Druck in der Schmuckherstellung: Grundlegende Designparameter, Stützstrukturen und Orientierung[ [en]]. Fügen Sie Belüftungslöcher im Teil ein, damit beim Ausbrennen ein ausreichender Luftstrom vorhanden ist. Verschließen Sie diese Löcher mit Wachs, bevor Sie die Gusskanäle anbringen, damit keine Einbettmasse in das Modell gelangt.