Tipp:
Besuchen Sie die interaktive Tour des Form 3L für eine 3D-Ansicht vieler der unten aufgeführten Komponenten.


Tipp:
Besuchen Sie die interaktive Tour des Form 3L für eine 3D-Ansicht vieler der unten aufgeführten Komponenten.
Außenkomponenten
| Artikel | Beschreibung | Abbildung |
|---|---|---|
| Gehäuse | Fünf schützende Außengehäuse schützen die internen Komponenten des Druckers:
|  |
| Nivellierfüße | Jede Ecke des Druckers wird von einem Gummifuß gestützt, der in den Boden des Geräts eingeschraubt ist. Wenn Sie vom Touchscreen dazu aufgefordert werden, heben oder senken Sie die einzelnen Füße mit der Nivellierscheibe, um sicherzustellen, dass der Drucker ausreichend nivelliert ist. |  |
Displaybaugruppe
| Artikel | Beschreibung | Abbildung |
|---|---|---|
| Displaybaugruppe | Die Displaybaugruppe enthält den Touchscreen und die Displayplatine. Ein Flachbandkabel verbindet die Displaybaugruppe mit der Hauptplatine. |  |
| Touchscreen | Die kapazitive LCD-Touch-Benutzeroberfläche zeigt Druckinformationen, Einstellungen und Fehlermeldungen an. |  |
| Display-Leiterplatte | Diese von der Hauptplatine getrennte Platine steuert den Touchscreen. |  |
| Displaykabel | Ein flaches, flexibles Kabel verbindet die Displaybaugruppe mit der Hauptplatine. | 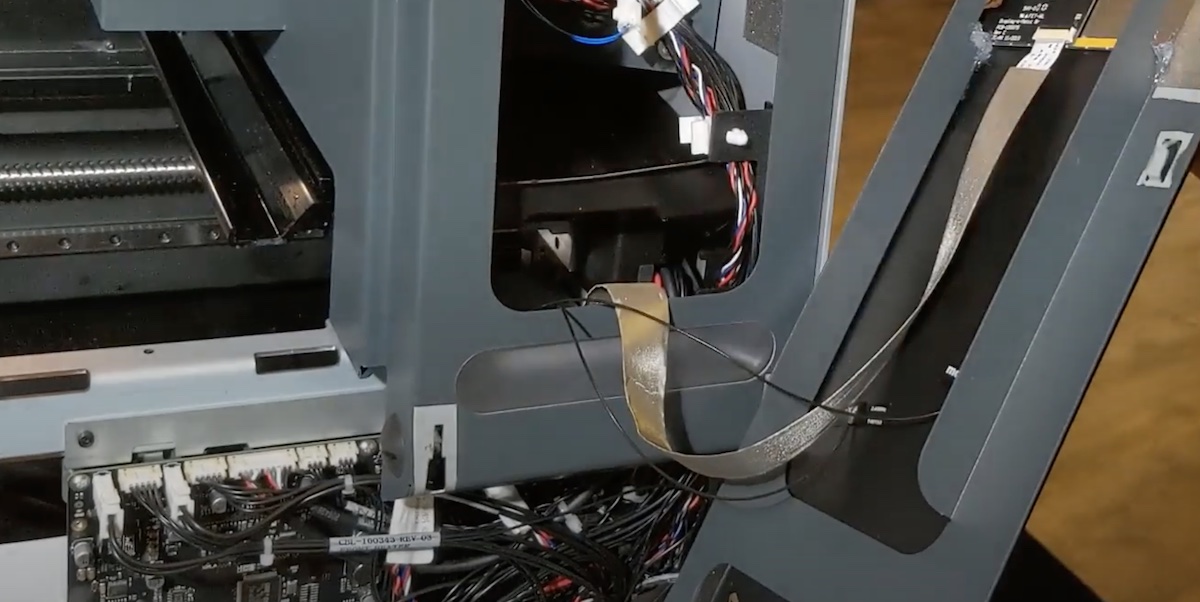 |
Abdeckung
| Artikel | Beschreibung | Abbildung |
|---|---|---|
| Abdeckung | Der Druckerdeckel aus Metall und einem starken, orangefarbenen Material blockiert die Laserstrahlung und schützt das Harz vor Aushärtung durch Umgebungslicht. |  |
| Verriegelungsmagnete | Der Verriegelungssensor erkennt diese Magnete, um festzustellen, wann die Abdeckung geschlossen ist. Dieser Sicherheitsmechanismus löst die Meldung Abdeckung geöffnet auf dem Touchscreen aus und deaktiviert die Laser, wenn die Abdeckung geöffnet ist. |  |
Harzkartusche
| Artikel | Beschreibung | Abbildung |
|---|---|---|
| Harzkartusche | Zwei Behälter, in denen das Harz vor der Abgabe in den Harztank aufbewahrt wird. Schütteln Sie die Harzkartuschen regelmäßig, damit das Kunstharz gut vermischt wird. |  |
| Entlüftungskappe | Der Deckel an der Oberseite der Kartusche ermöglicht den Luftaustausch, um eine ordnungsgemäße Harzabgabe zu gewährleisten. Öffnen Sie die Entlüftungskappe vor dem Druck. |  |
| Kartuschen-ID-Chip | An jedem Kartuschenrand ist ein EEPROM-Chip (Electrically Erasable Programmable Read-Only Memory) angebracht, der mit dem Harztyp programmiert ist. Dieser Chip kommuniziert über die Federkontakte auf dem Kartuschenboden mit dem Drucker. | 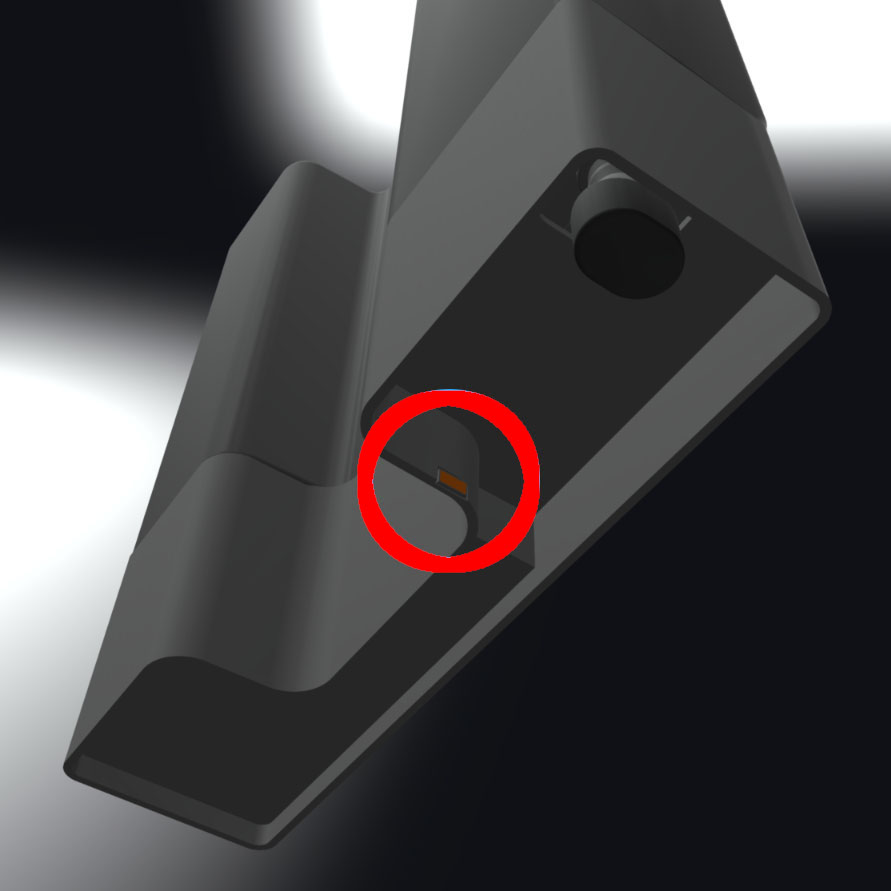 |
| Beißventil | Eine flexible Gummidichtung, die die Harzabgabe reguliert. Kunstharz fließt aus, wenn der Abgabearm der Kartusche das Beißventil aufdrückt. |  |
Baugruppe am Kartuschenboden
| Artikel | Beschreibung | Abbildung |
|---|---|---|
| Kartuschenfederkontakte | Zwei elektrische Kontakte bilden die Federkontakte auf dem Kartuschenboden. Der physische Kontakt sorgt für eine elektrische Verbindung mit dem Kartuschen-ID-Chip, wodurch die Harzkartusche erkannt wird. |  |
| Kartuschenabgabearm | Kunststoffhaken drücken gegen das Beißventil, um Harz aus der Harzkartusche in den Harztank abzugeben. |  |
Z-Achse
| Artikel | Beschreibung | Abbildung |
|---|---|---|
| Z-Turm | Dieser vertikale Turm an der Rückseite des Geräts bietet Unterstützung für viele Komponenten des Form 3L/Form 3BL. Die Konstruktionsplattform wird entlang der Z-Achse im Z-Turm angehoben und abgesenkt. |  |
| Z-Achsen-Leitspindel | Die Z-Achsen-Leitspindel steuert die vertikale Bewegung des Konstruktionsplattformwagens. | |
| Heizelement | Das Harz im Harztank wird durch heiße Luft erwärmt, die aus der rechten Seite des Druckers neben den Harzkartuschen geblasen wird. Die warme Luft in der Druckkammer erwärmt das Kunstharz und die Lufttemperatur wird durch einen Temperatursensor am Lufteinlass gemessen. | 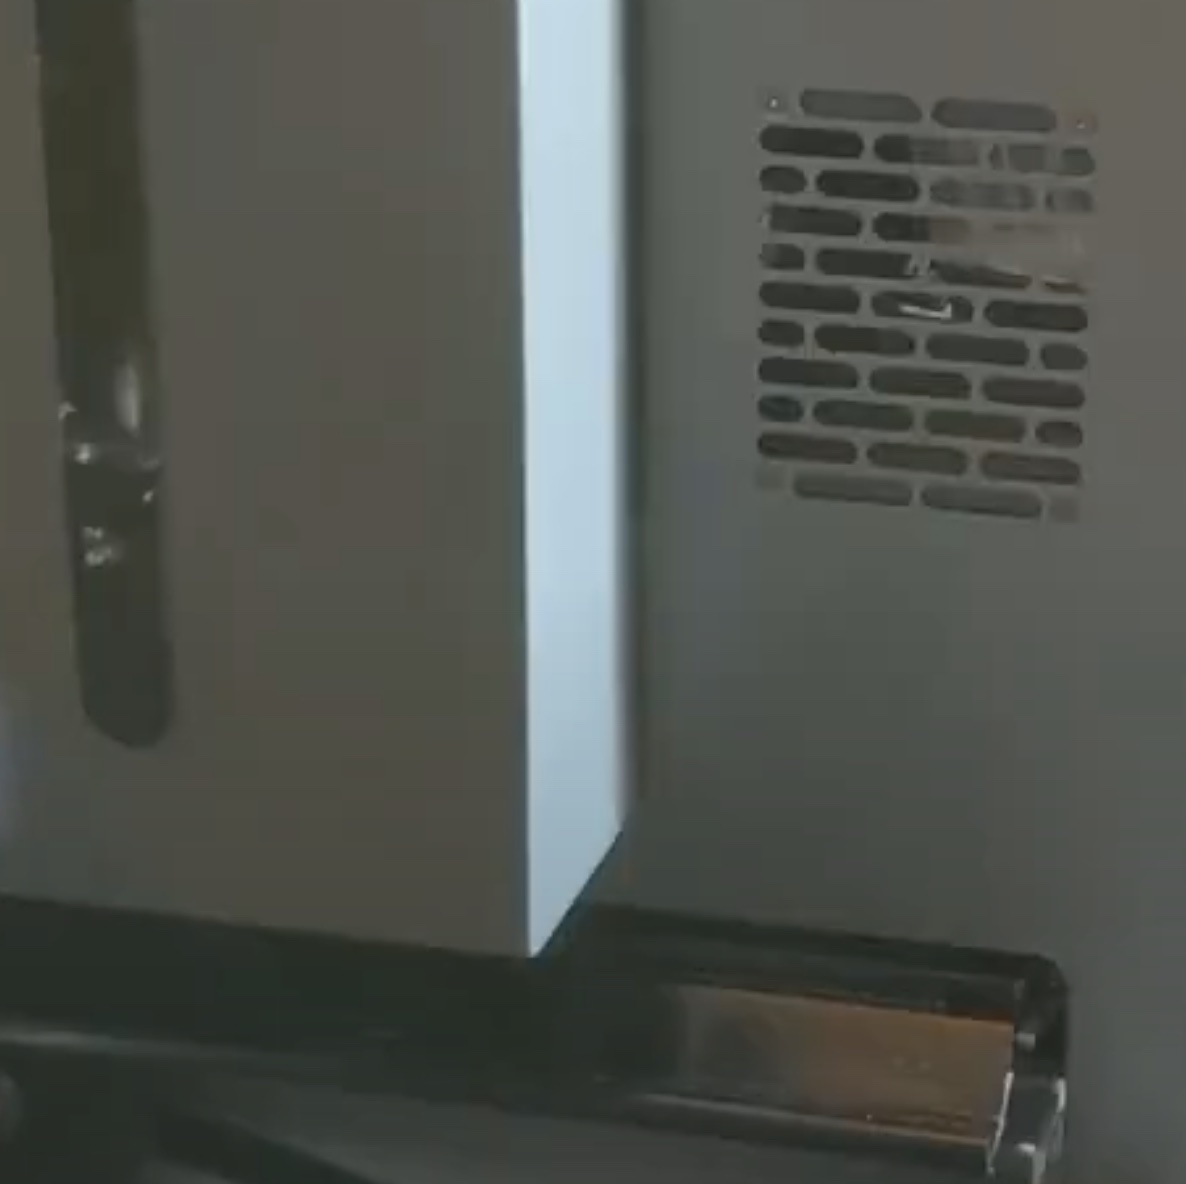 |
| Lüfter | Zwei Heizlüfter blasen Luft durch das Heizelement in den Harztank. | |
Plattform
| Artikel | Beschreibung | Abbildung |
|---|---|---|
| Konstruktionsplattform | Die Aluminiumplattform bietet eine Oberfläche, an der sich die Drucke anhaften. |  |
| Konstruktionsplattformverriegelung | Ein Hebel, der Teil des Verriegelungsmechanismus ist, der die Konstruktionsplattform sichert. Wenden Sie sich vor dem Einstellen der Plattformverriegelung an den Formlabs-Kundenservice oder Ihren autorisierten Vertriebspartner, da eine unsachgemäße Einstellung das Gerät beschädigen kann. | 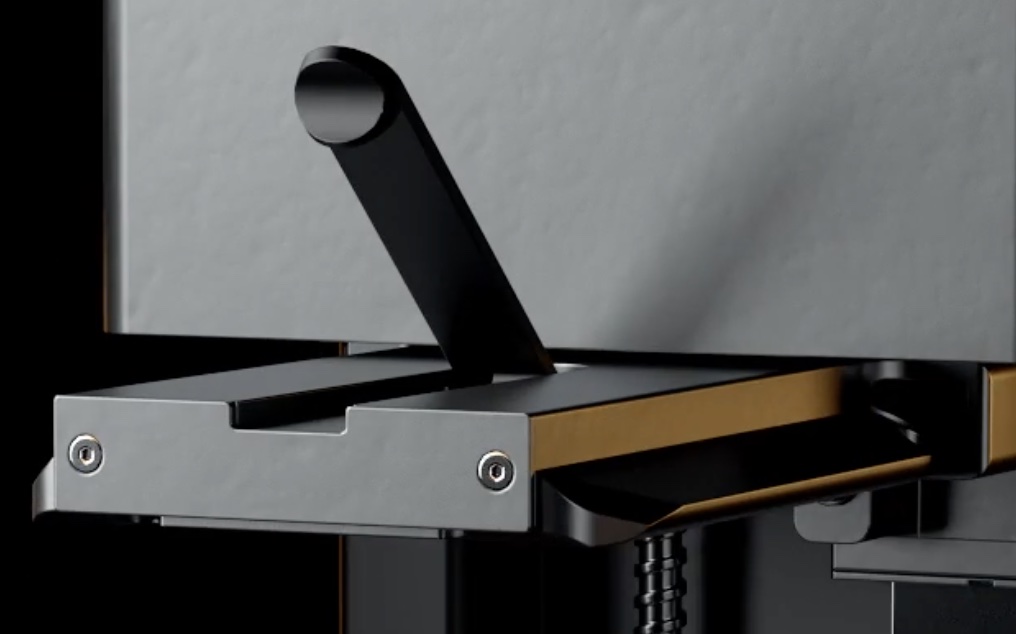 |
| Konstruktionsplattformschlitten | Der Metallarm, auf den die Konstruktionsplattform aufgeschoben wird. | |
| Konstruktionsplattform-Sensor | Jede Konstruktionsplattform des Form 3L/Form 3BL ist mit einem RFID-Aufkleber versehen. Der Drucker liest den RFID-Aufkleber aus und erkennt, ob die Konstruktionsplattform korrekt eingesetzt ist. |  |
| Konstruktionsplattformverriegelungsfeder | Der Federmechanismus im Konstruktionsplattformschlitten ermöglicht es der Konstruktionsplattformverriegelung, sich nach oben und unten zu bewegen. Er verriegelt und entriegelt außerdem die Konstruktionsplattform. |  |
Harztank
| Artikel | Beschreibung | Abbildung |
|---|---|---|
| Harztank | Das Harz wird aus den Harzkartuschen in den Harztank abgegeben. Während des Druckvorgangs dringen zwei Laser durch den flexiblen Film des Harztanks nach oben und härten Kunstharz auf der Konstruktionsplattform aus, um ein Druckteil zu formen. Verwenden Sie nur zugelassene Materialien und Verfahren zur Reinigung des Harztanks. |  |
| Tankgriffe | Griffe an jeder Seite des Harztanks ermöglichen das einfache Einsetzen, Herausnehmen und Tragen des Harztanks. Dank der Tankgriffe vermeiden Sie es, den Boden des Harztanks zu berühren, da Fingerabdrücke Schlieren hinterlassen können, die den optischen Pfad blockieren. | 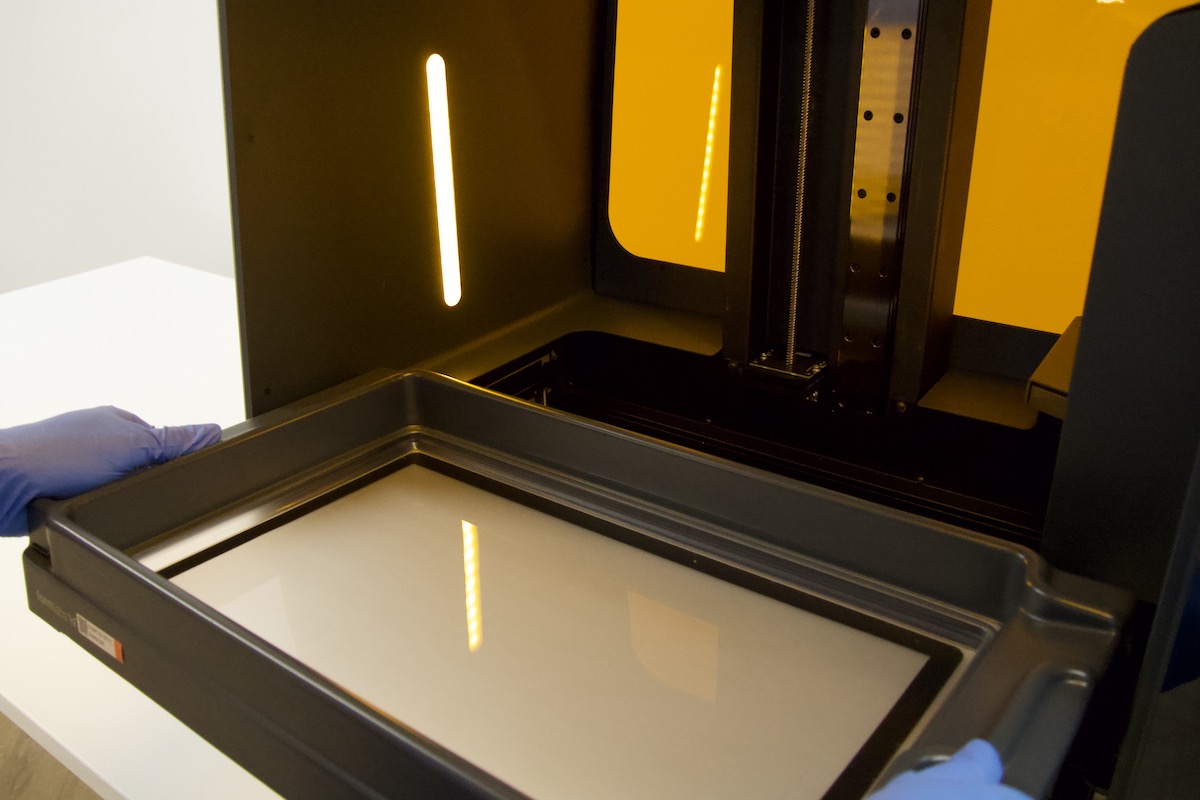 |
| Tankausguss | Ein Ausguss rechts vom Harztank sitzt unterhalb der Kartuschenabgabeöffnung und nimmt Harz aus der Harzkartusche auf. | 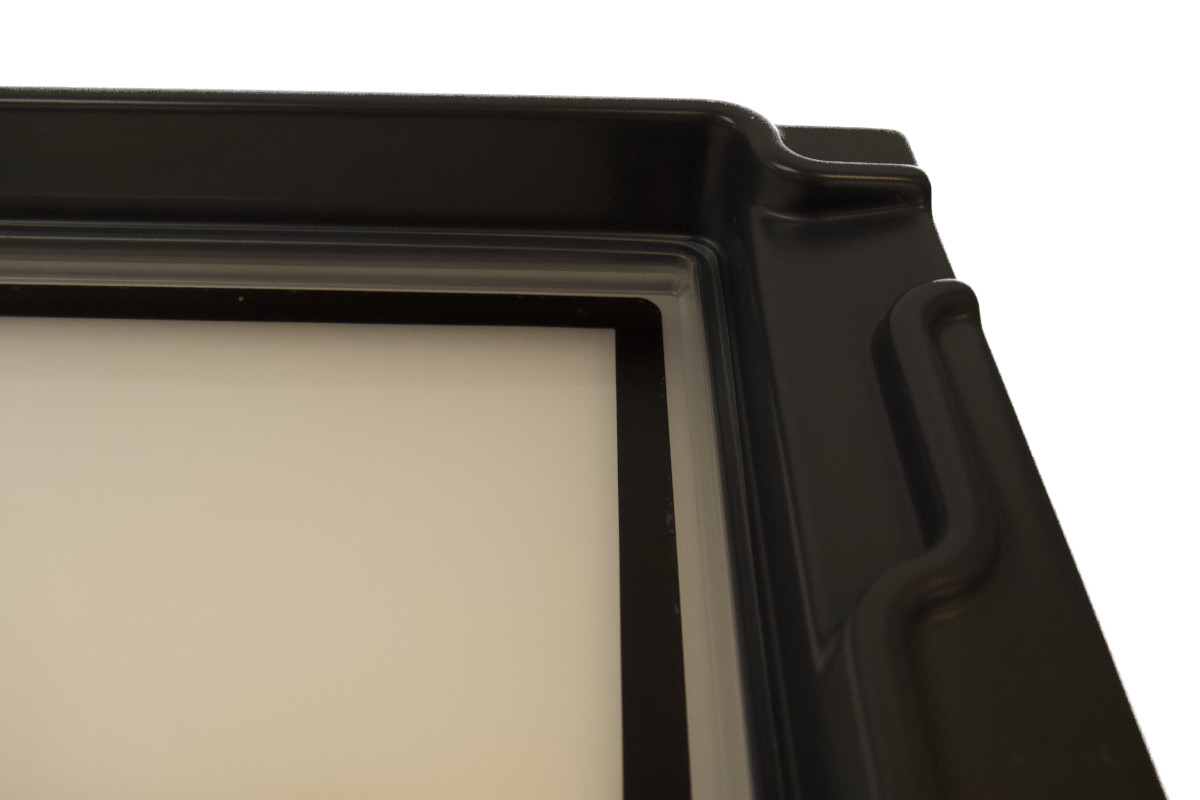 |
| Flexible Folie | Eine strapazierfähige, zweilagige Folie bildet die Unterseite des Harztanks. Die Teile werden im harzgefüllten Spalt zwischen dem flexiblen Film und der Konstruktionsplattform gedruckt. Die Druckqualität hängt davon ab, ob der Film sauber und frei von Beschädigungen und Ablagerungen ist. | 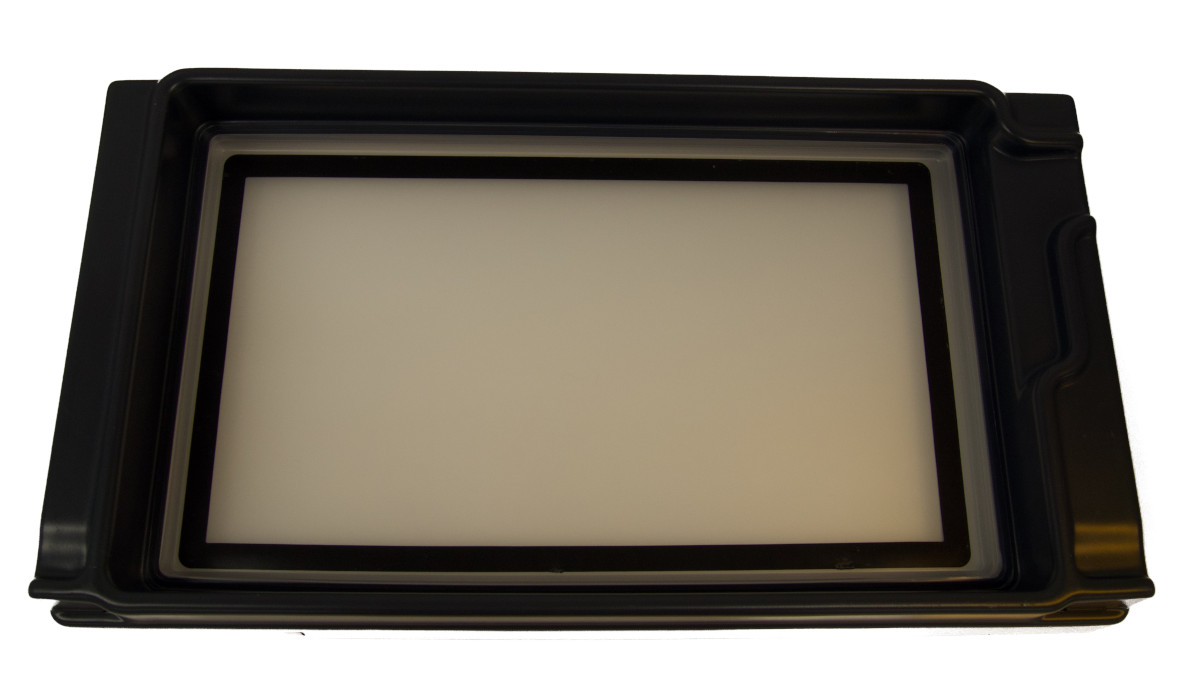 |
| RFID-Aufkleber des Harztanks | Jeder Harztank ist mit einem RFID-Aufkleber an der Rückwand des Tankrahmens versehen. Der Drucker liest den RFID-Aufkleber für die einzigartige Tank-ID und den aktuellen Harztyp aus. |  |
| Mischer | Jeder Harztank enthält einen Mischer, der die Druckkonsistenz verbessert, indem er den Bauraum freimacht und das Harz zirkulieren lässt. Der Mischer bewegt sich über eine Magnetkupplung gemeinsam mit dem LPU-Gehäuse und befindet sich bei Nichtgebrauch auf der rechten Seite des Harztanks. Schaber auf der Ober- und Unterseite des Mischers halten die Konstruktionsplattform bzw. den flexiblen Film frei. |  |
| Behälter für den Tank | Jeder Harztank enthält einen Behälter und einen Deckel zur Aufbewahrung des Harztanks, wenn er nicht in Gebrauch ist. |  |
| Tankwerkzeug | Ein zweiteiliger Schaber zur Inspektion und Reinigung des Harztank-Innenraums. Trennen Sie das Werkzeug, um es als Spachtel zu verwenden, oder kombinieren Sie es als Zange. Es ist neben dem Reinigungssieb das einzige Werkzeug zur Reinigung des flexiblen Films auf der Innenseite des Harztanks. | 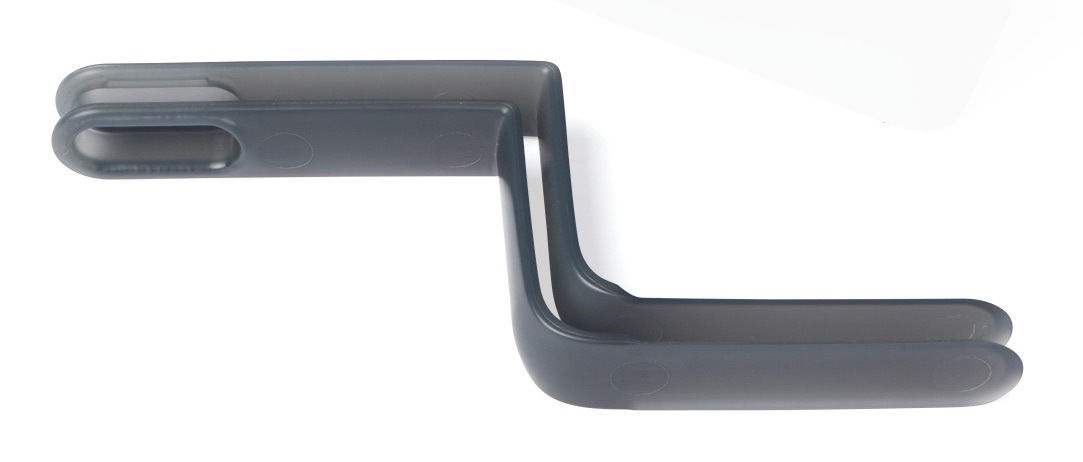 |
Tankträger
| Artikel | Beschreibung | Abbildung |
|---|---|---|
| Tankträger-Schienen | Die Seitenwände des Harztanks sitzen auf Schienen auf jeder Seite des Tankträgers. Während des Drucks ziehen die Tankträgerschienen an den Tankwänden und spannen den flexiblen Film. |  |
| Filmspannvorrichtung | Ein Motor zieht an den Tankseitenwänden nach außen, um eine straffe Filmoberfläche im Harztank zu erzeugen. | 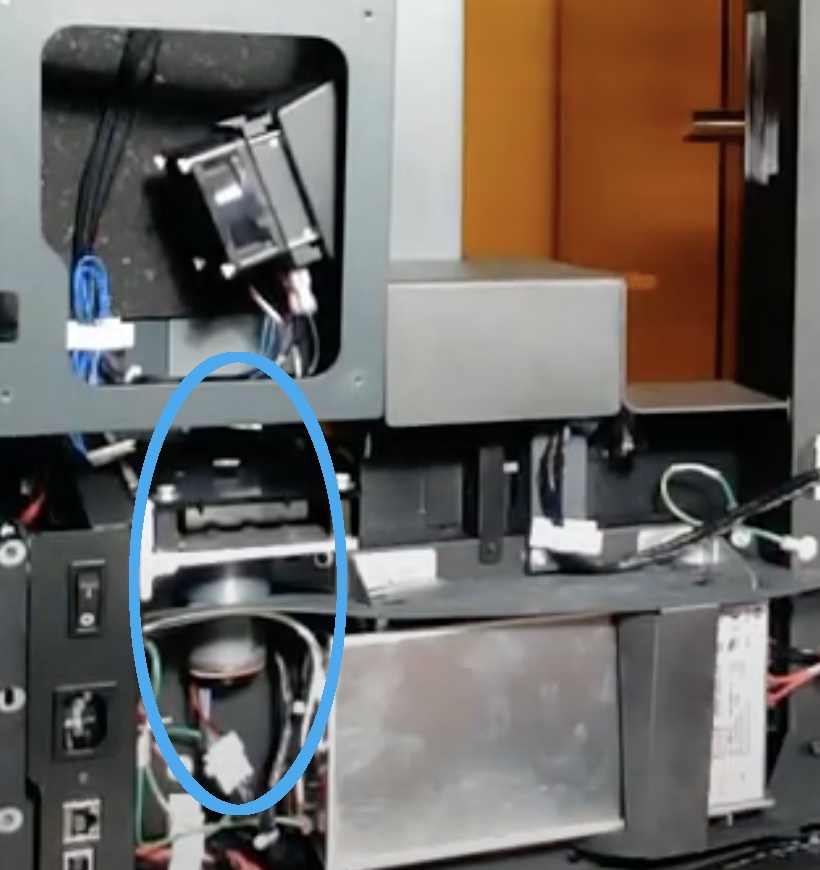 |
| RFID-Sensor des Tanks | Ein RFID-Sensor auf der Rückseite des Druckers liest den RFID-Aufkleber des Harztanks aus, um Daten wie den Harztyp und die Lebensdauer des Tanks zu ermitteln. | 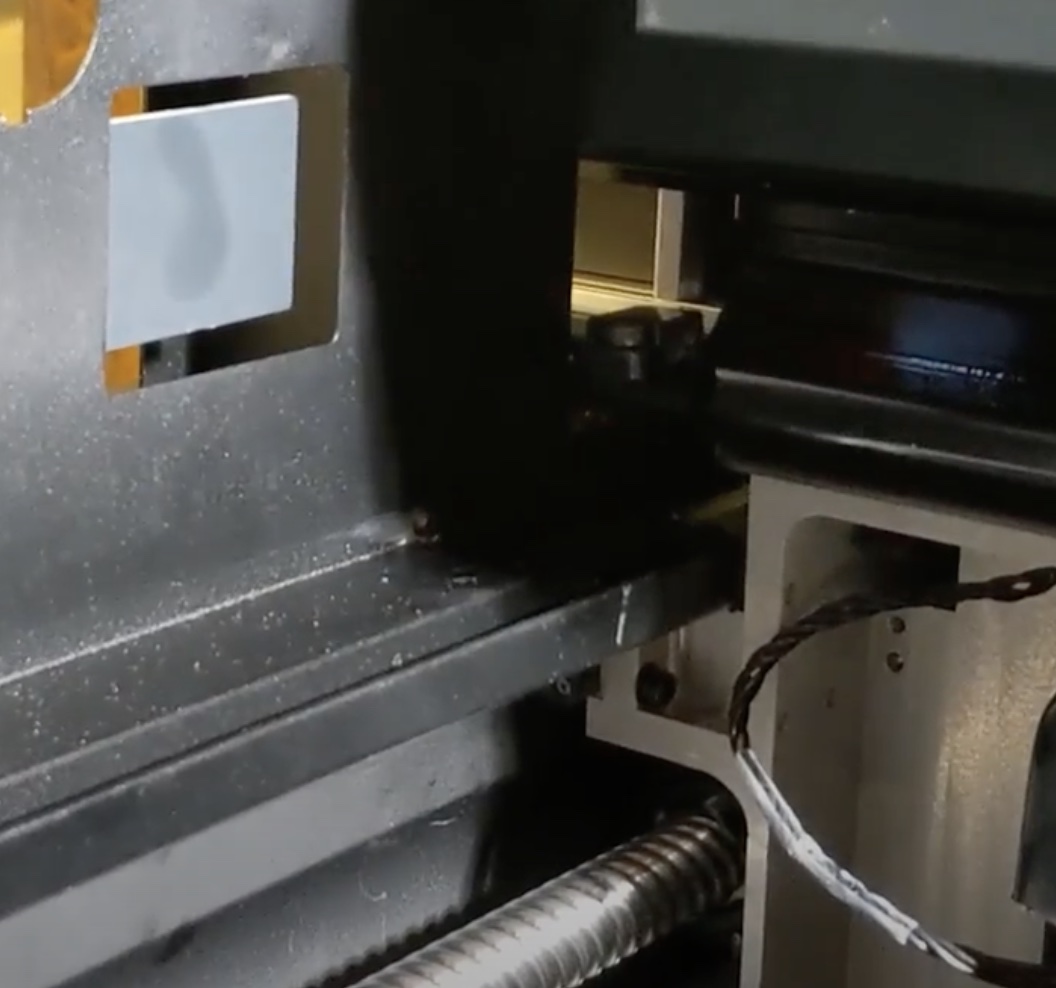 |
| Tank-Induktionssensor | Ein Induktionssensor an der Rückseite des Druckers erkennt das Vorhandensein eines eingesetzten Harztanks. |  |
Hauptplatine
| Artikel | Beschreibung | Abbildung |
|---|---|---|
| Hauptplatine | Die Hauptplatine, über die alle Systeme im Drucker kommunizieren. | 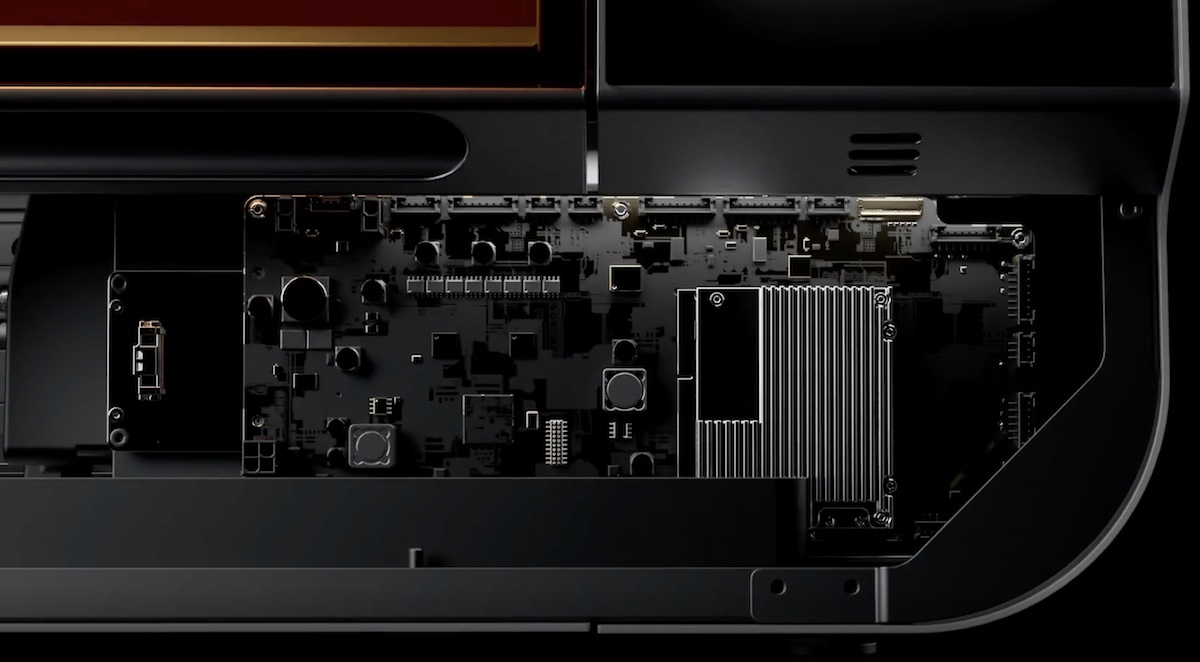 |
| Stromversorgung | Der Form 3L/Form 3BL verwendet eine Stromversorgung mit 100–240 V. Das interne Netzteil wandelt die Netzspannung in eine Gleichspannung von +24 V um. | 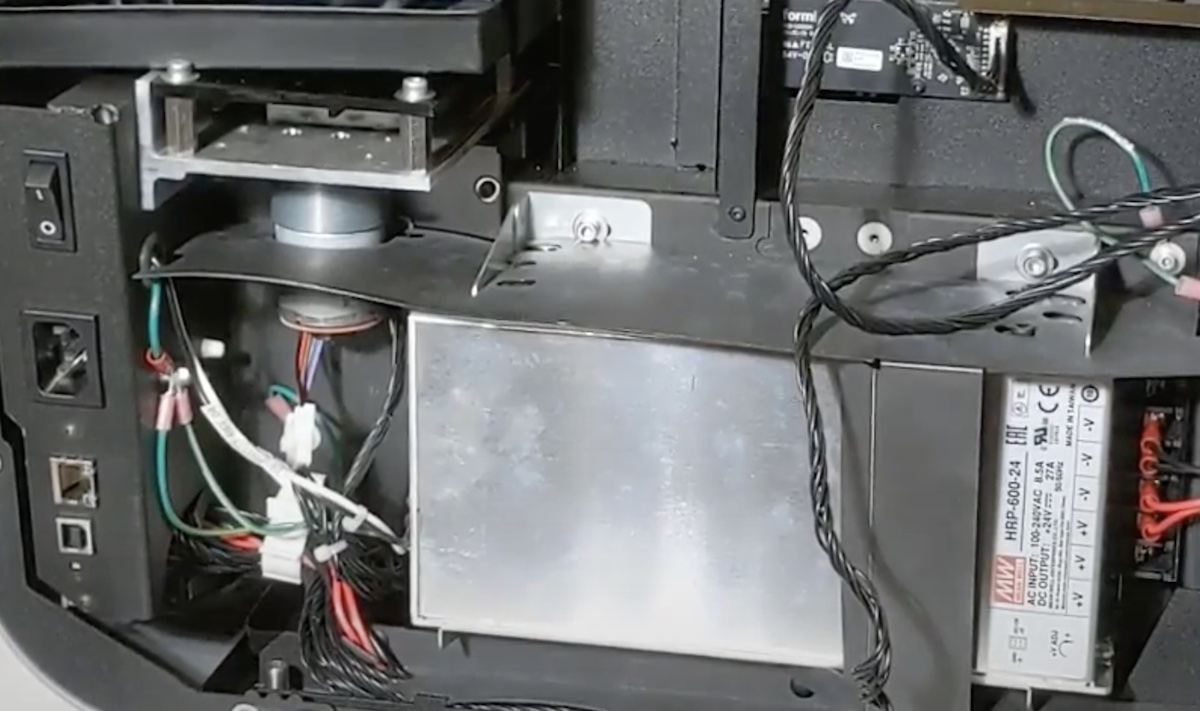 |
| Anschluss für die Frontanzeige | Dieser Anschluss verbindet die Anzeige über ein Flachbandkabel mit der Hauptplatine. |  |
| WLAN-Antenne | Die WLAN-Antenne ermöglicht die drahtlose Verbindung des Form 3L/Form 3BL. Die Antenne ist mit der Hauptplatine des Druckers verbunden. | 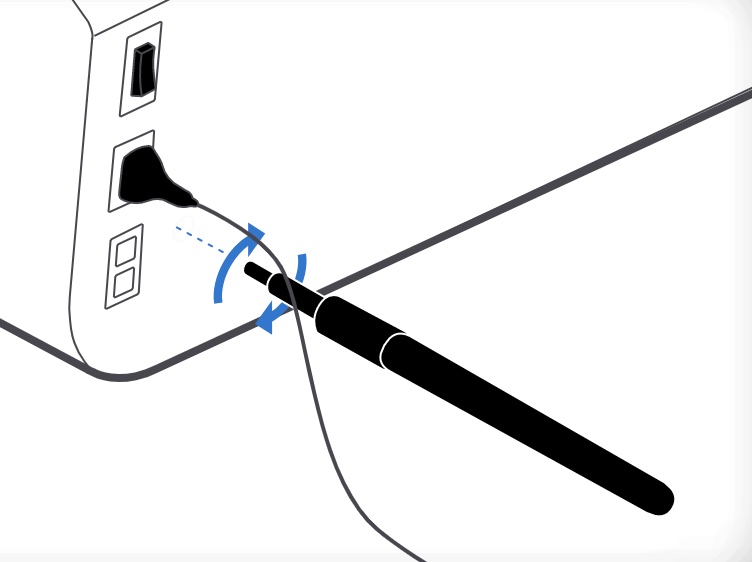 |
| Ethernet-Anschluss | Der Form 3L/Form 3BL kann über Ethernet mit einem Netzwerk verbunden werden. Der Anschluss ist mit der Hauptplatine verbunden und ist von der Rückseite des Geräts zugänglich. |  |
| USB-Anschluss | Der Form 3L/Form 3BL kann über USB mit einem Computer verbunden werden. Der Anschluss ist mit der Hauptplatine verbunden und ist von der Rückseite des Geräts zugänglich. | |
| Lüfter | Kühlgebläse saugen warme Luft von den elektronischen Komponenten weg. |  |
LevelSense
| Artikel | Beschreibung | Abbildung |
|---|---|---|
| LevelSense | Ein Ultraschallsensor, der sich über der hinteren rechten Ecke des Harztanks befindet, erkennt die Harzmenge im Harztank. |  |
Optik
| Artikel | Beschreibung | Abbildung |
|---|---|---|
| Light Processing Units (LPUs) | Diese beiden austauschbaren Baugruppen enthalten die Laser und die Spiegel, die den Weg der Laser steuern und einen sauberen, klaren Laserpunkt gewährleisten. Das LPU-Gehäuse beherbergt zwei LPUs. | 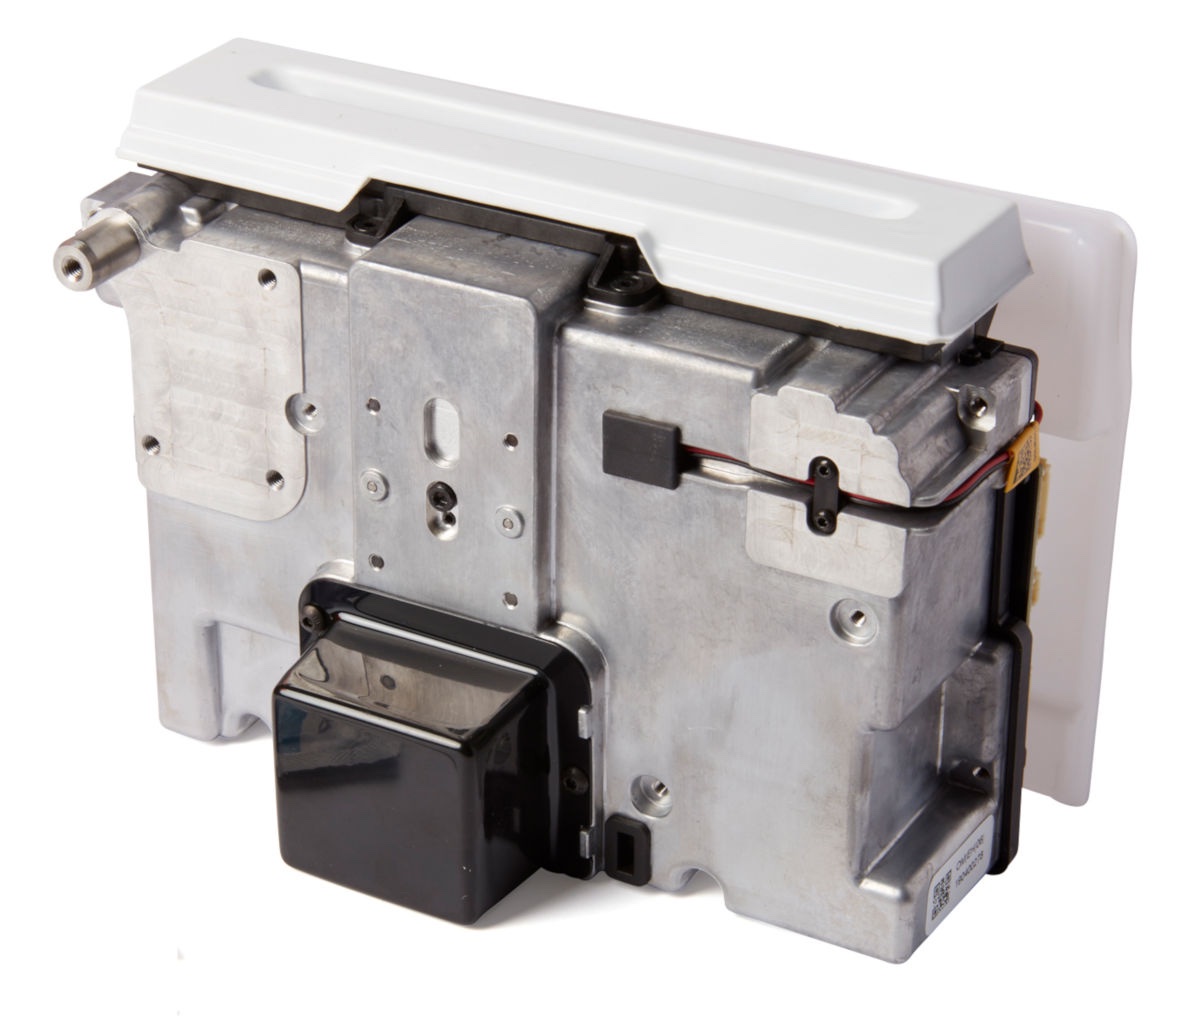 |
| Laser | Abkürzung für „Lichtverstärkung durch stimulierte Emission von Strahlung“. Die Laser dienen dem Drucker als Energiequelle zum Aushärten von Druckteilen, mit einer Wellenlänge von 405 nm und einer Maximalleistung von 250 mW pro Laser. Der Form 3L/Form 3BL ist ein Laserprodukt der Klasse 1. | 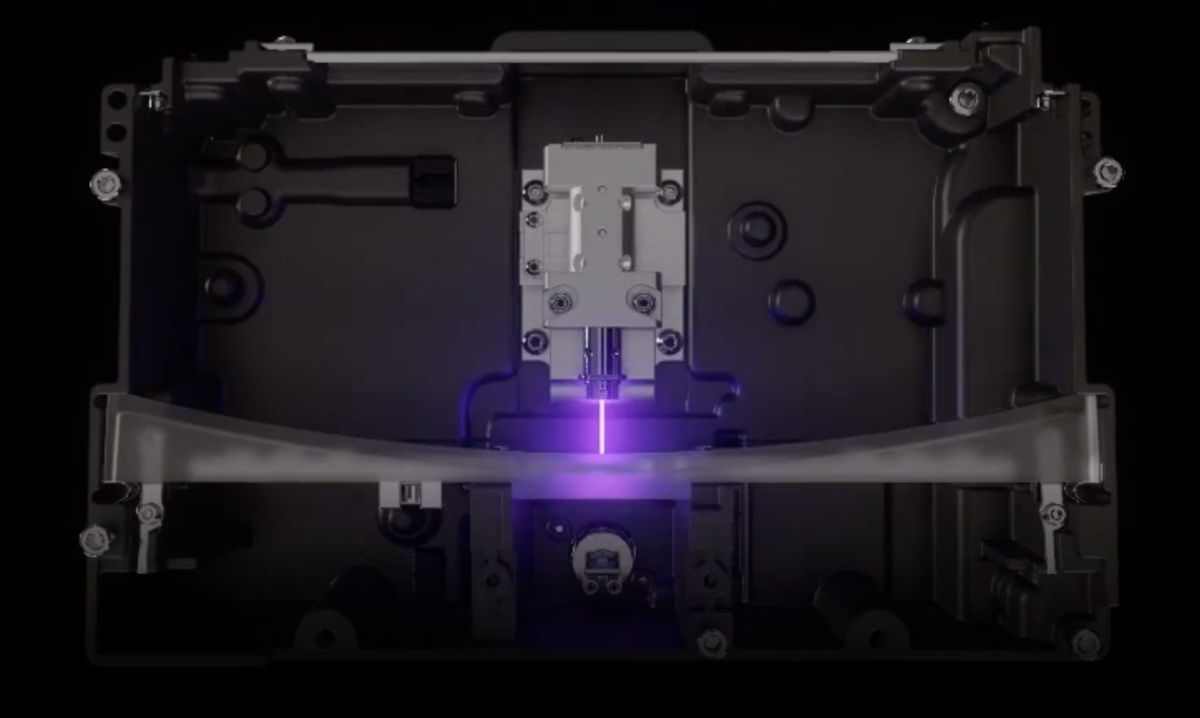 |
| Kabel der Light Processing Unit (LPU) | Ein flaches, flexibles Kabel verbindet die LPU mit der Hauptplatine. | 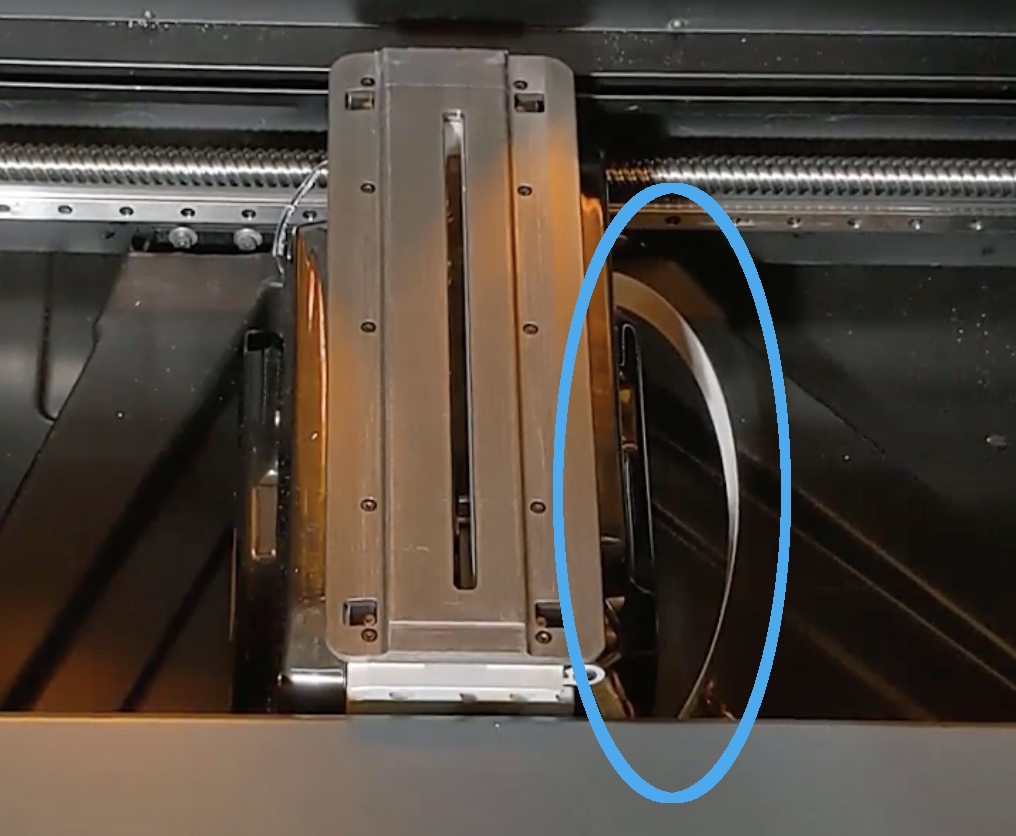 |
| Gehäuse der Light Processing Unit (LPU) | Das Aluminiumgehäuse für die Optikeinheit bewegt sich nach links und rechts und fährt entlang der X-Achsen-Kugelrollspindel. Die LPUs, der Rollenhalter und der Mischer werden alle innerhalb des LPU-Gehäuses gesteuert. |  |
| Rollenhalter | Der Rollenhalter ist eine Metalloberfläche, die eine reibungslose Bewegung des LPU-Gehäuses über den flexiblen Film ermöglicht. Der Rollenhalter umschließt das optische Glasfenster. Ein sauberer Rollenhalter schützt den flexiblen Film und sorgt für eine gleichbleibende Druckqualität. |  |
| Optisches Glasfenster | Ein schmales Stück Glas mit Antireflexbeschichtung, das von der Rollenhalterung umgeben ist. Das optische Glasfenster schützt die empfindlichen Spiegel im Inneren der LPUs vor Staub und anderen Verunreinigungen. Halten Sie das Glasfenster der Optik sauber, um Fehldrucke zu vermeiden. | |
| Kugelrollspindel der X-Achse | Die Kugelrollspindel der X-Achse steuert die horizontale Bewegung des LPU-Gehäuses. |  |