Required supplies:
Formlabs:
- Replacement impeller (RP-WA2-IMP-01)
Third-party:
- 2 mm hex driver
- Small flat-blade screwdriver
- Nitrile gloves
- Solvent storage container (15 L)


Der Form Wash (2. Generation) enthält ein Laufrad, das das Lösungsmittel im Waschbehälter zirkulieren lässt und so die Reinigung der Druckteile unterstützt. Beschädigungen am Laufrad des Form Wash (2. Generation) können dazu führen, dass das Gerät laute Klickgeräusche von sich gibt oder nicht richtig funktioniert.
Verwenden Sie diesen Leitfaden, um das Laufrad des Form Wash (2. Generation) zu ersetzen.
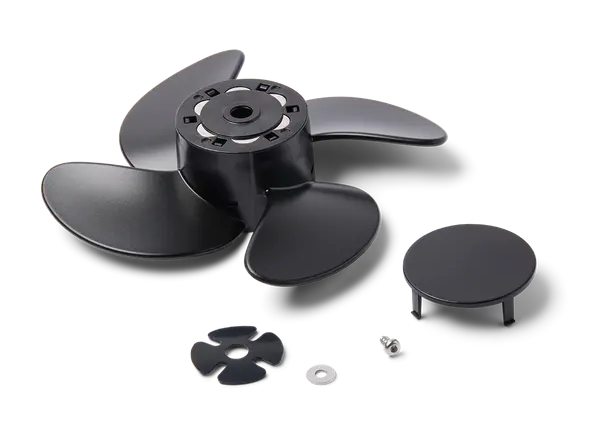
Required supplies:
Formlabs:
Third-party:
Geschätzte Zeit: 30 Minuten
Vorbereitung des Arbeitsbereichs
Überblick: Bereiten Sie den Form Wash und einen ebenen Arbeitsbereich für den Austausch des Laufrads vor.
WARNUNG:
Kunstharz kann Hautreizung oder allergische Hautreaktionen hervorrufen. Tragen Sie bei der Handhabung von flüssigem Kunstharz oder kunstharzbeschichteten Oberflächen stets Handschuhe. Waschen Sie Ihre Haut mit reichlich Wasser und Seife.
Step 1: Raise the Form Wash elevator
Turn the Form Wash knob to select Raise on the display. Push the knob to confirm. The Form Wash raises the elevator and basket out of the wash bucket.
Step 2: Remove the wash bucket and inner lid
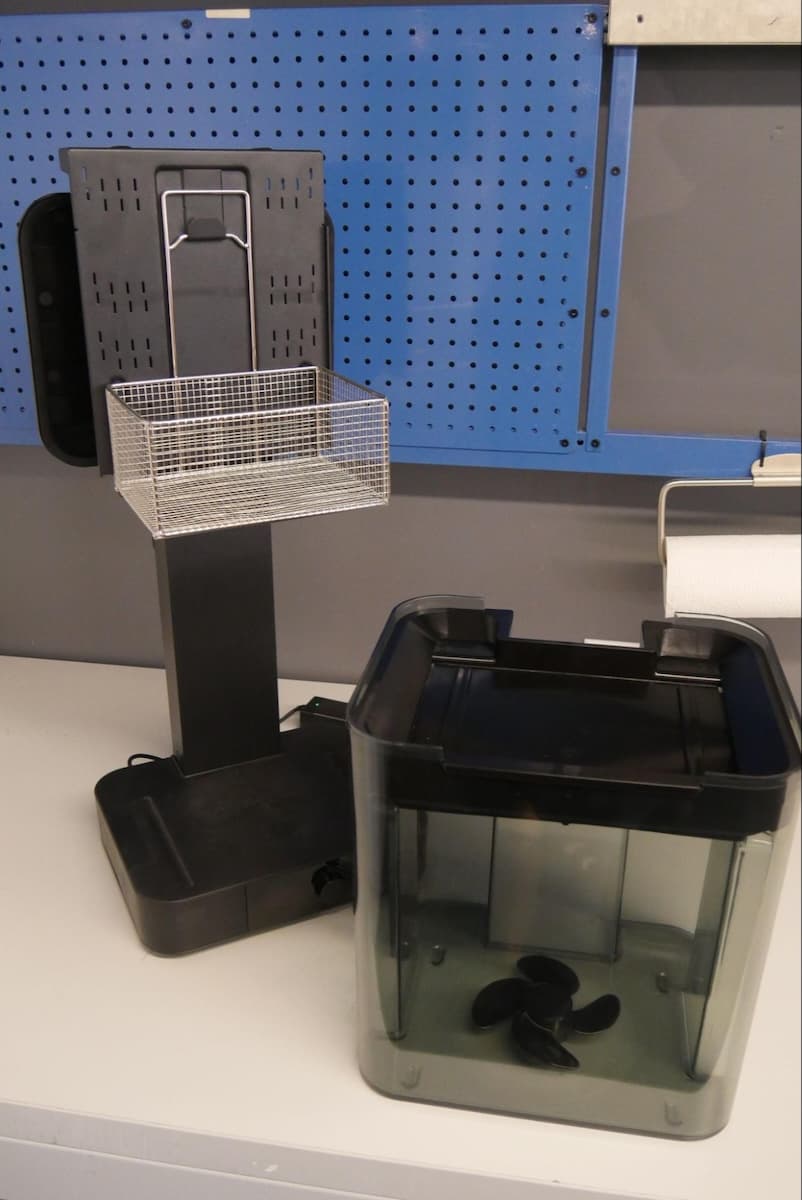
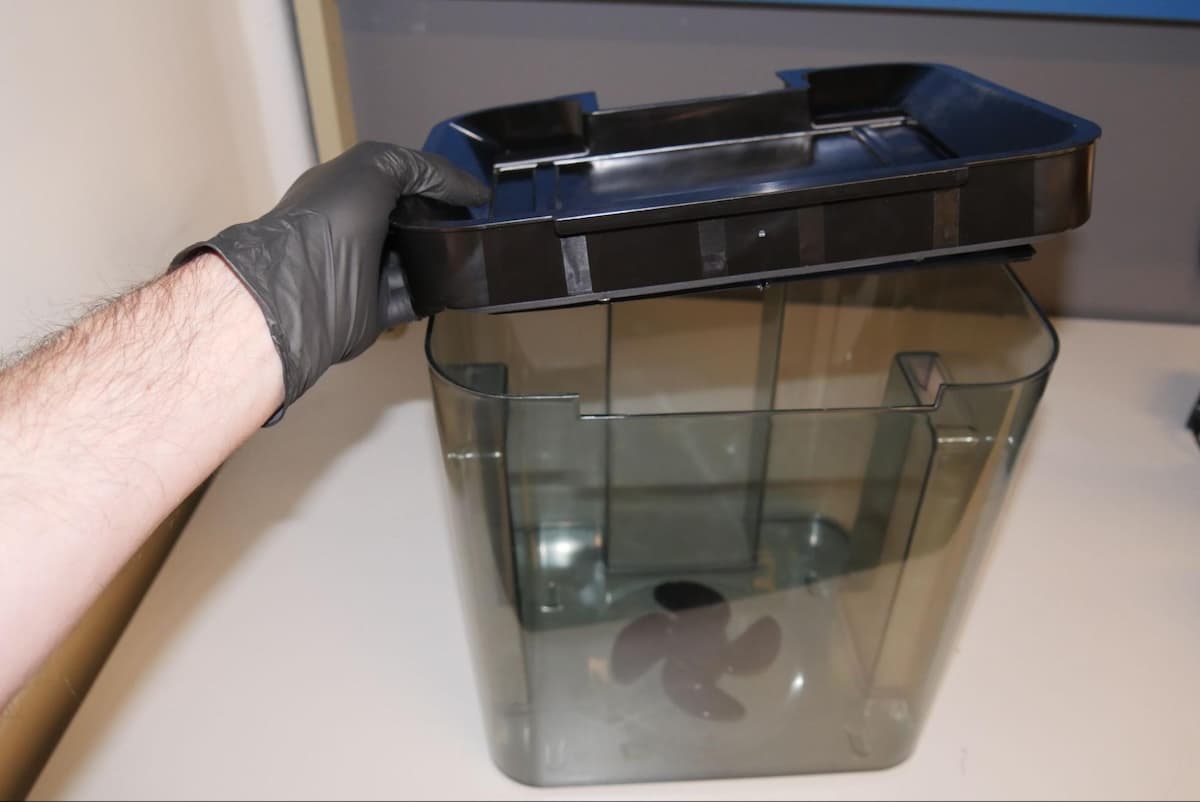
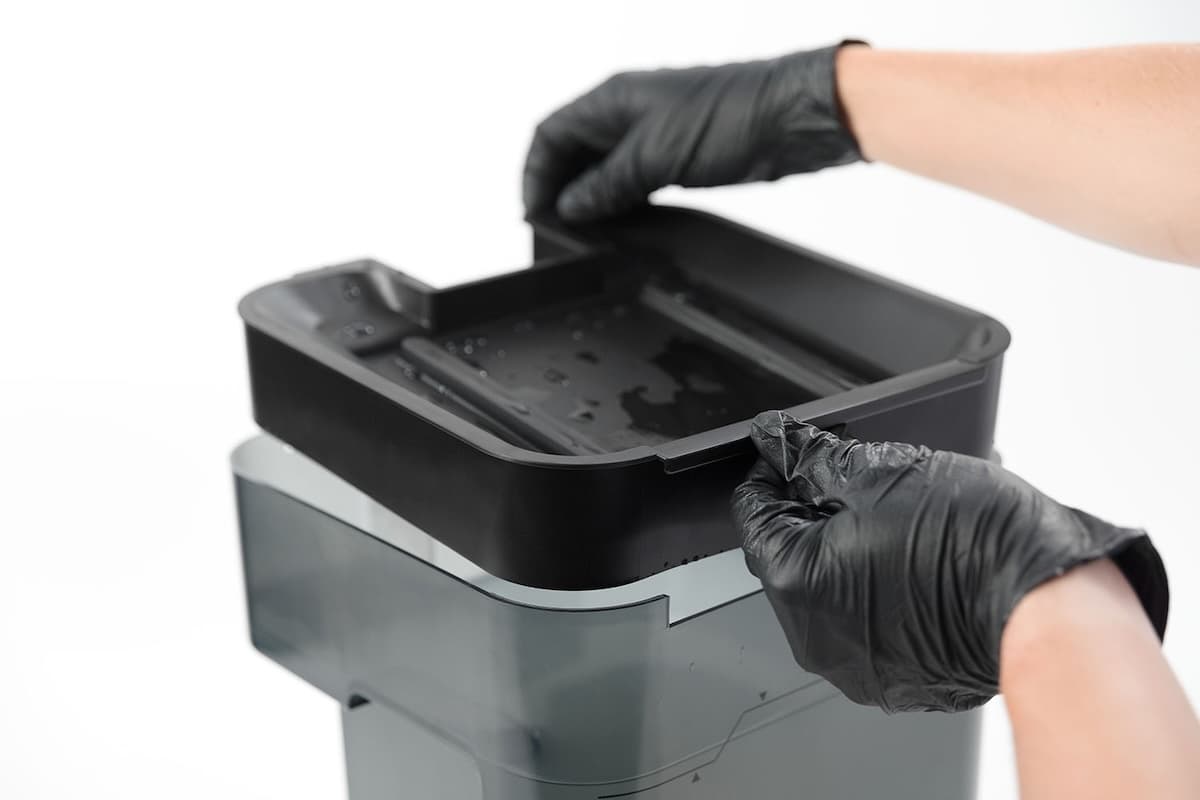
Nehmen Sie den Waschbehälter vom Sockel und stellen Sie ihn auf einer stabilen, ebenen Fläche ab. Heben Sie den Innendeckel an, um ihn zu entfernen, und stellen Sie ihn beiseite.
Schritt 3: Übertragen des gebrauchten Lösungsmittels in einen leeren Behälter
Gießen oder saugen Sie das Lösungsmittel aus dem Waschbehälter in einen leeren Behälter mit einem Fassungsvermögen von mindestens 15 l.
GEFAHR:
Isopropylalkohol ist entzündlich. Bewahren Sie Behälter geschlossen und außerhalb der Reichweite von Kindern auf.
Schritt 4: Waschbehälter spülen
Spülen Sie den Waschbehälter mit Wasser aus und wischen Sie eventuelle Rückstände mit einem Papiertuch ab.
Laufrad auswechseln
Overview: Remove the impeller and install the replacement impeller.
Using a small flat-blade screwdriver or other similar tool, pry the cap loose from the impeller.
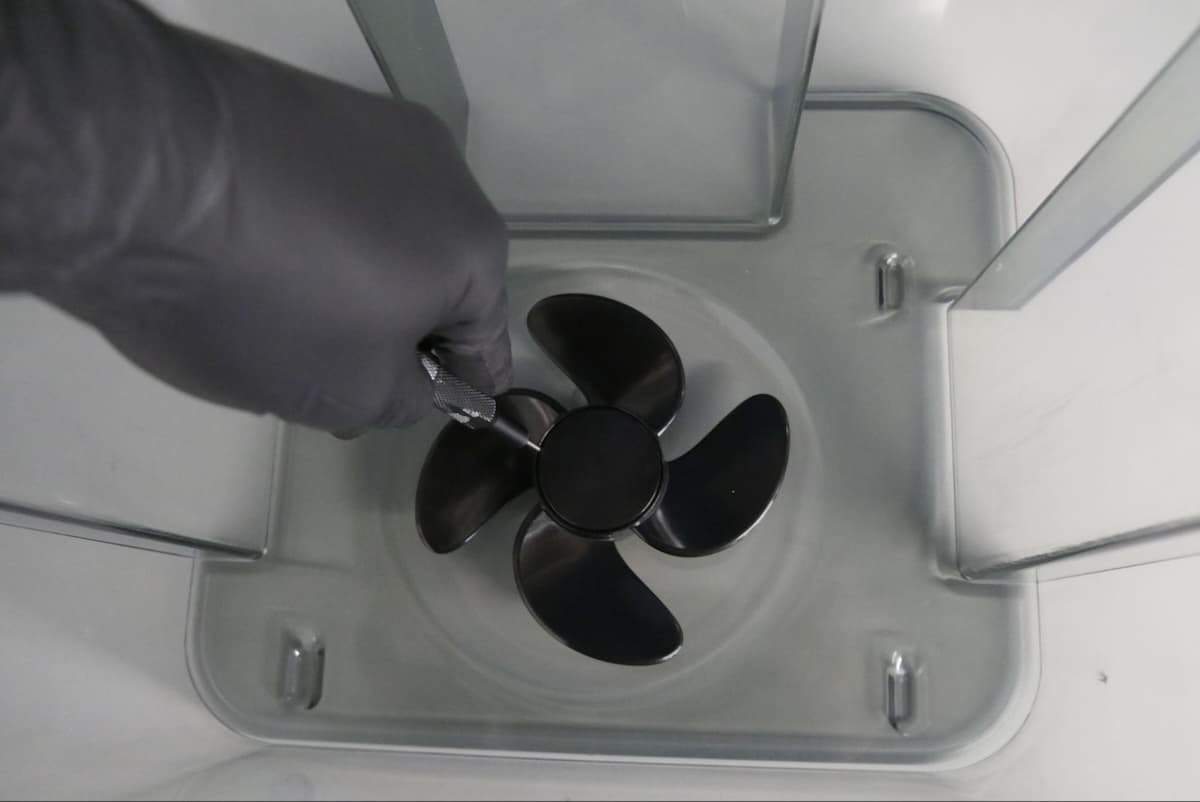
Step 2: Remove the impeller
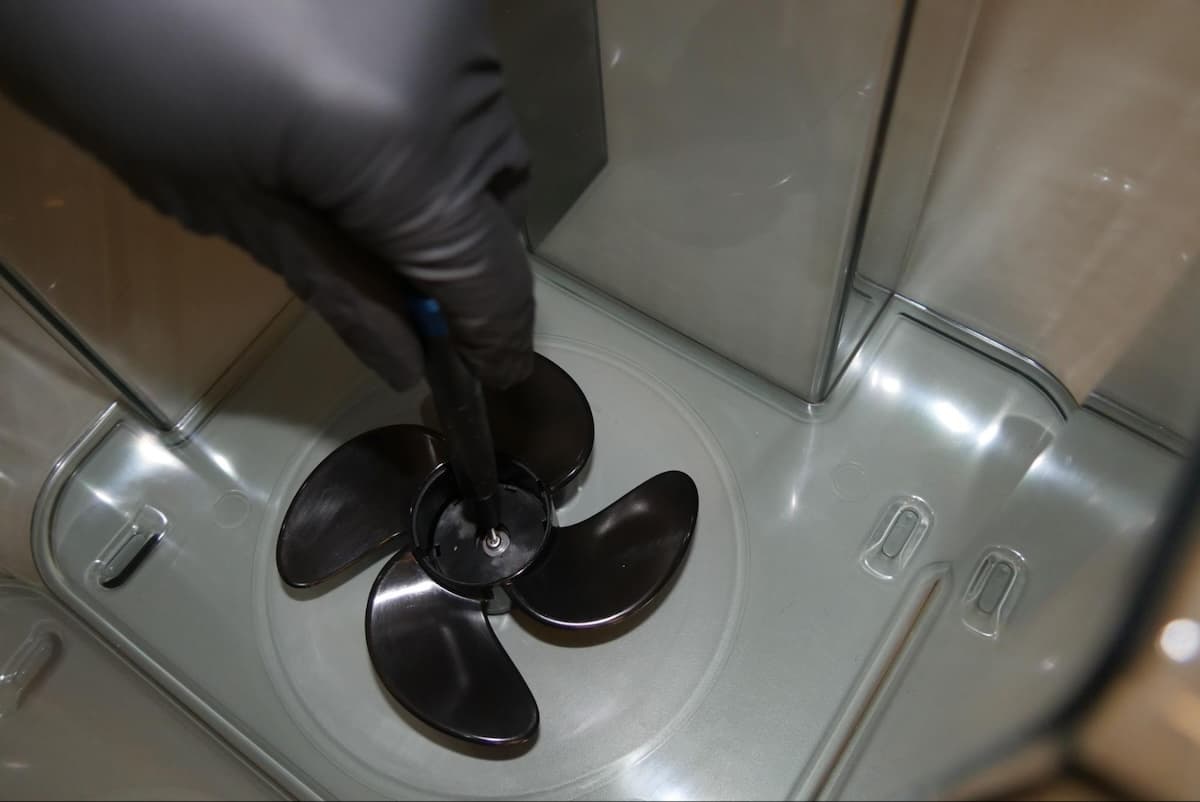
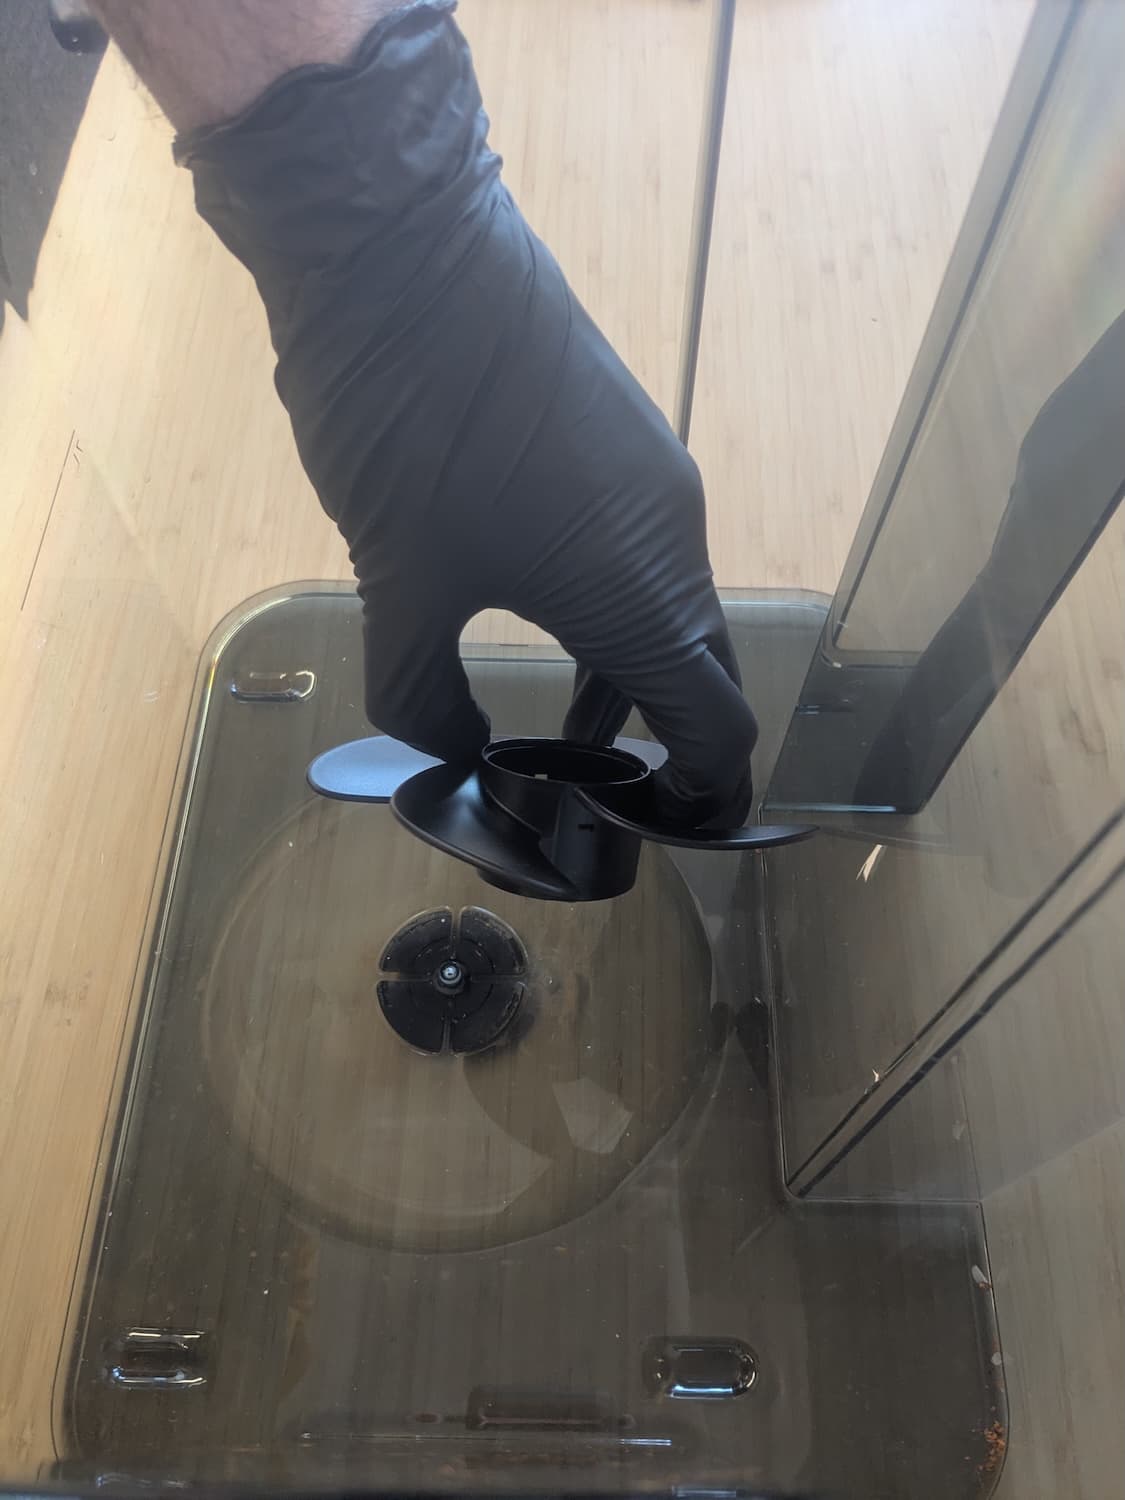
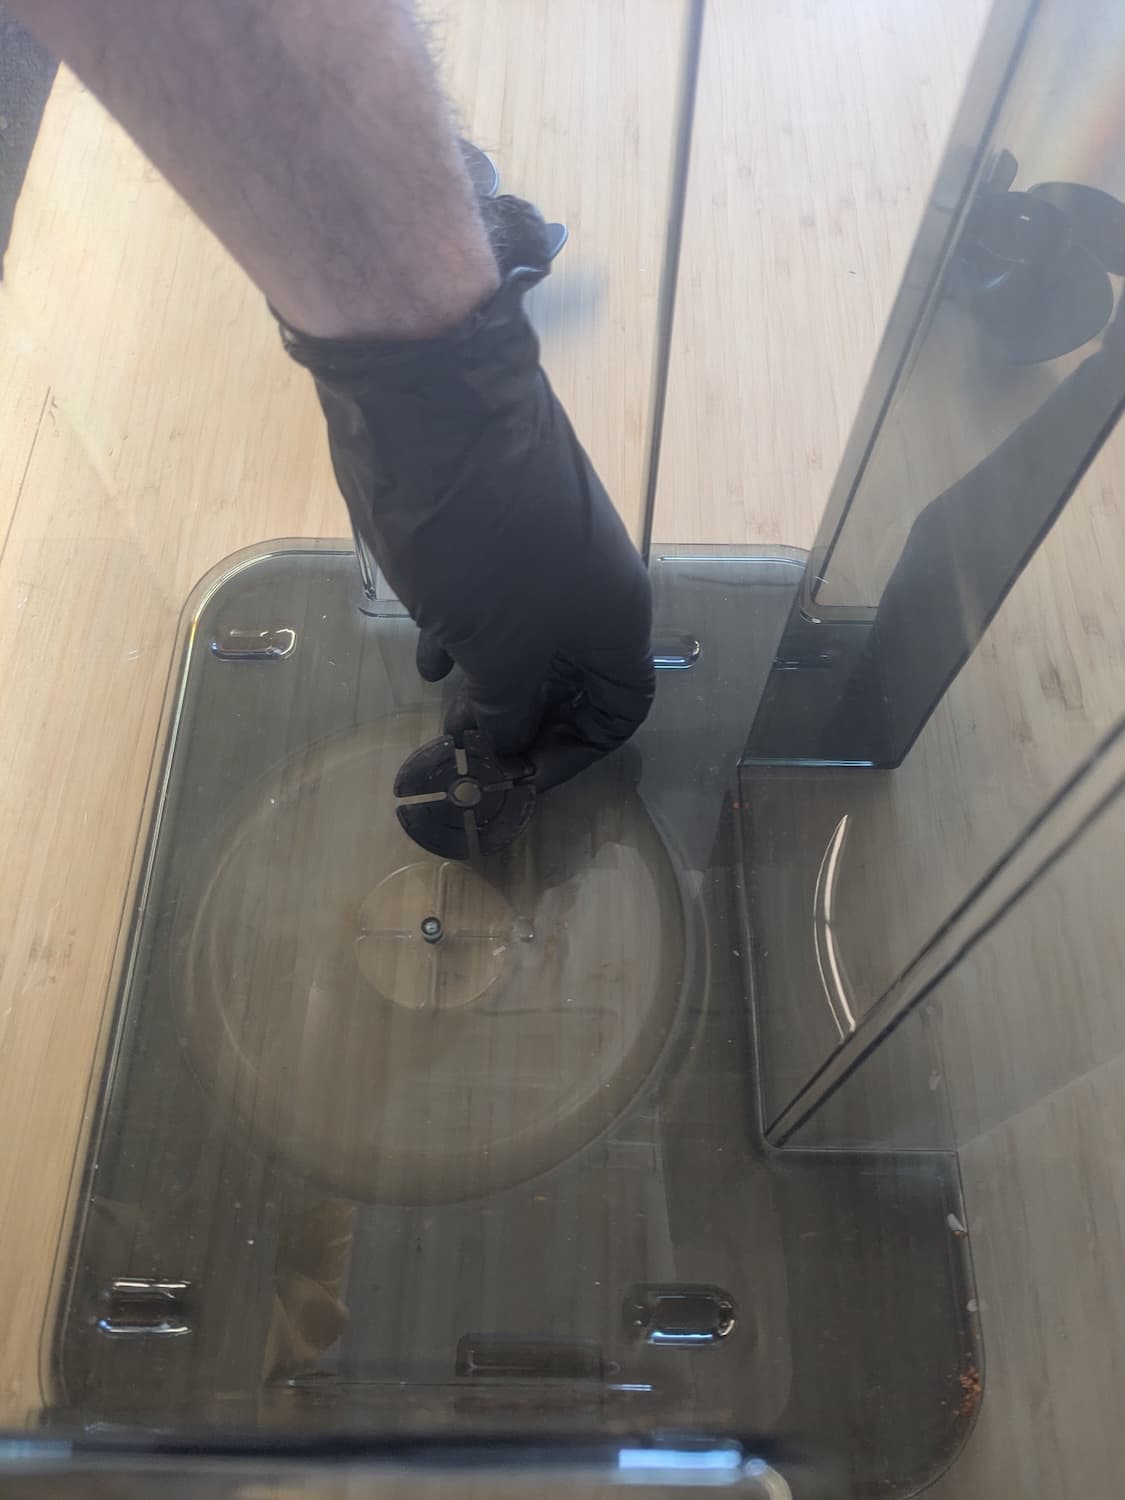
The impeller is secured by one screw with a washer. Use a 2 mm hex driver to remove the screw. Remove the washer, the impeller, and the flat four-lobed bearing below the impeller. Set the components aside for disposal.
Step 3: Install the replacement impeller
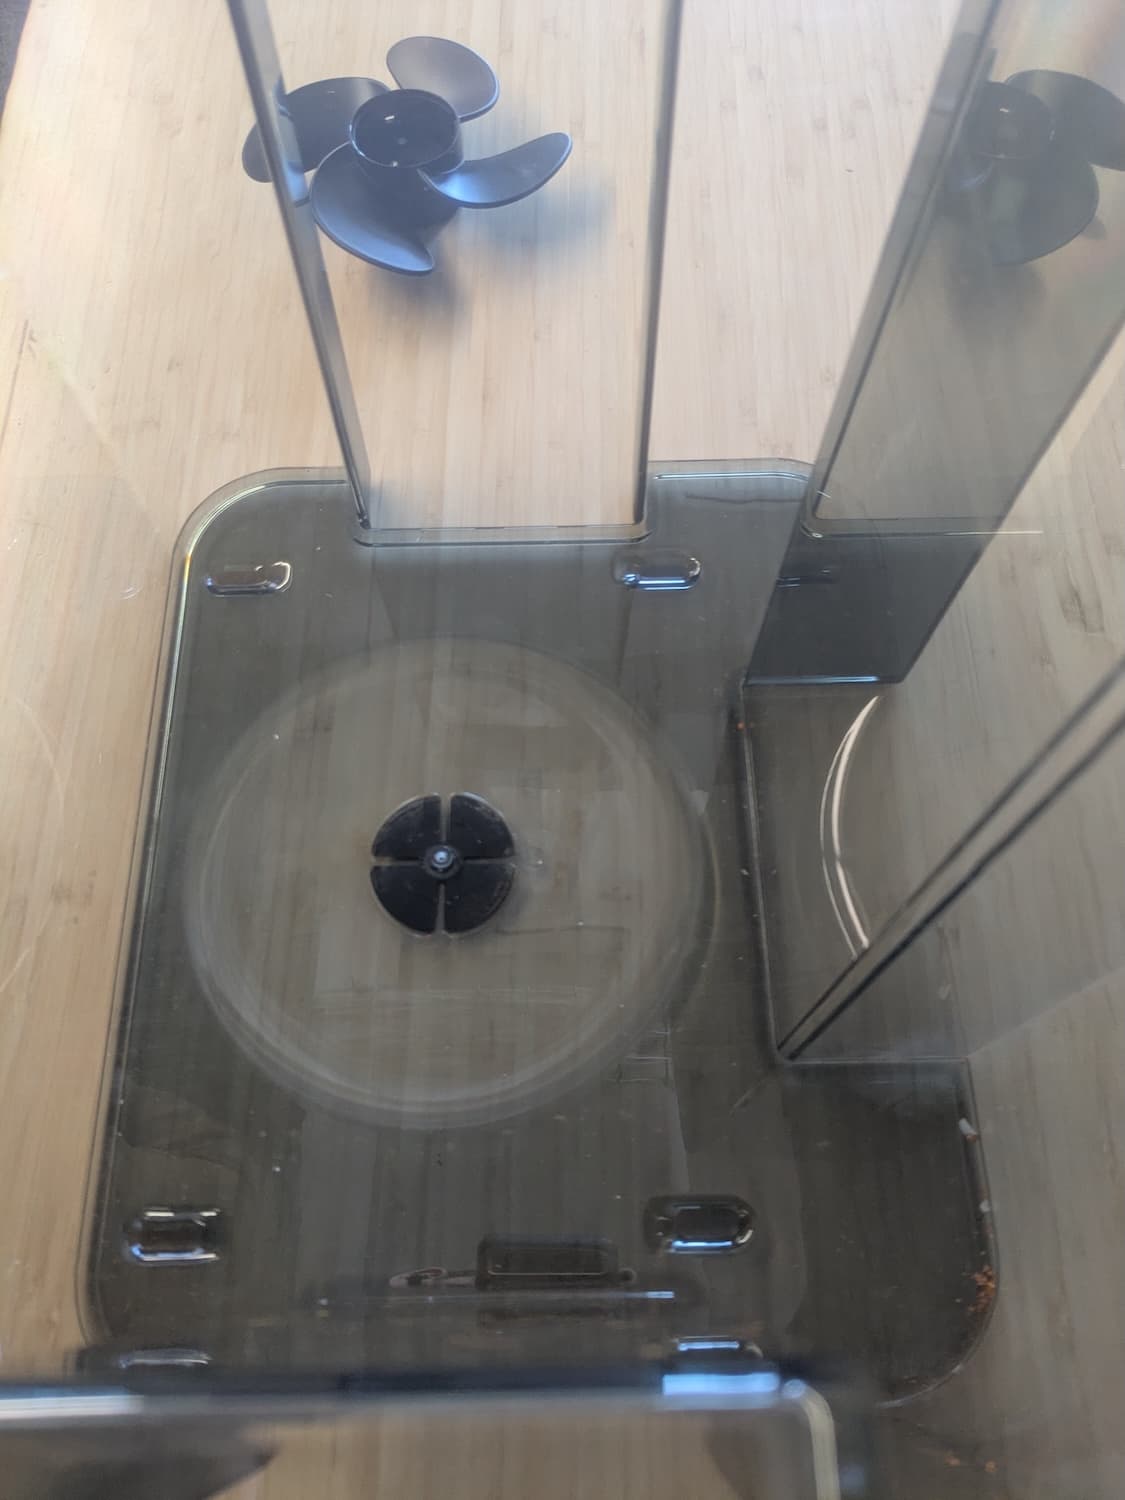
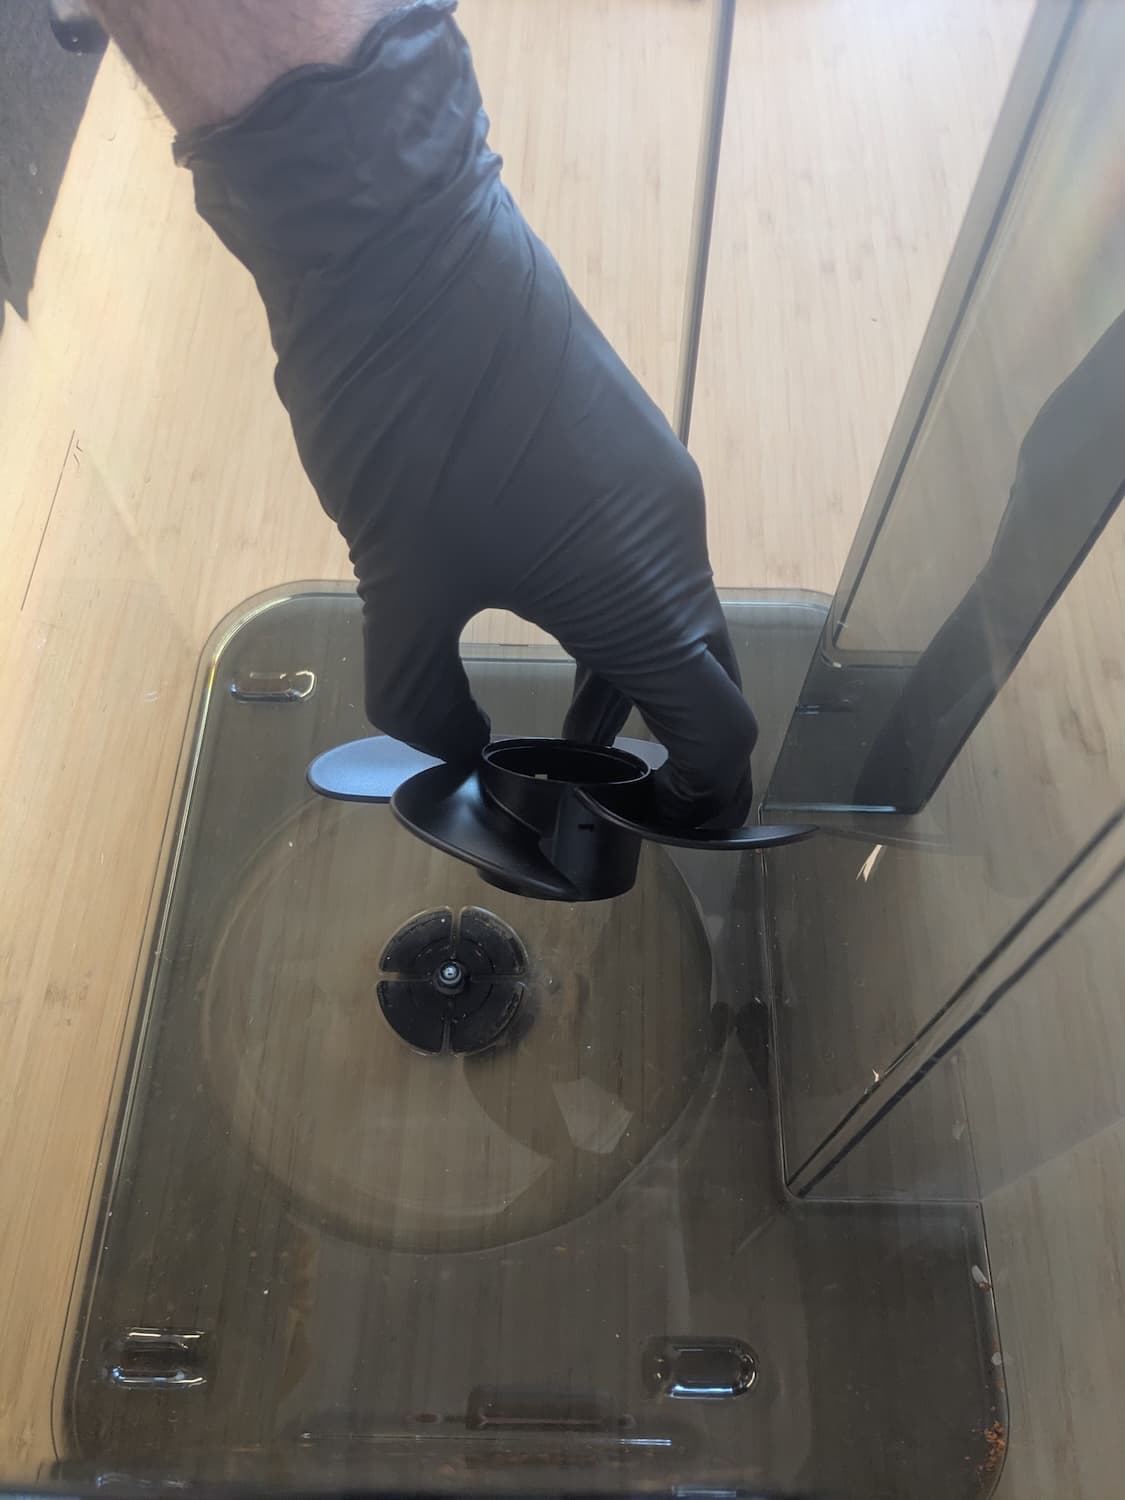
The wash bucket has an engraved depression shaped to hold the flat four-lobed bearing. Place the new bearing into this depression. Insert the new impeller into the wash bucket. Align the impeller’s screw hole with the corresponding screw hole in the wash bucket. The impeller should sit flat against the bottom of the wash bucket.
Step 4: Reinstall the impeller screw
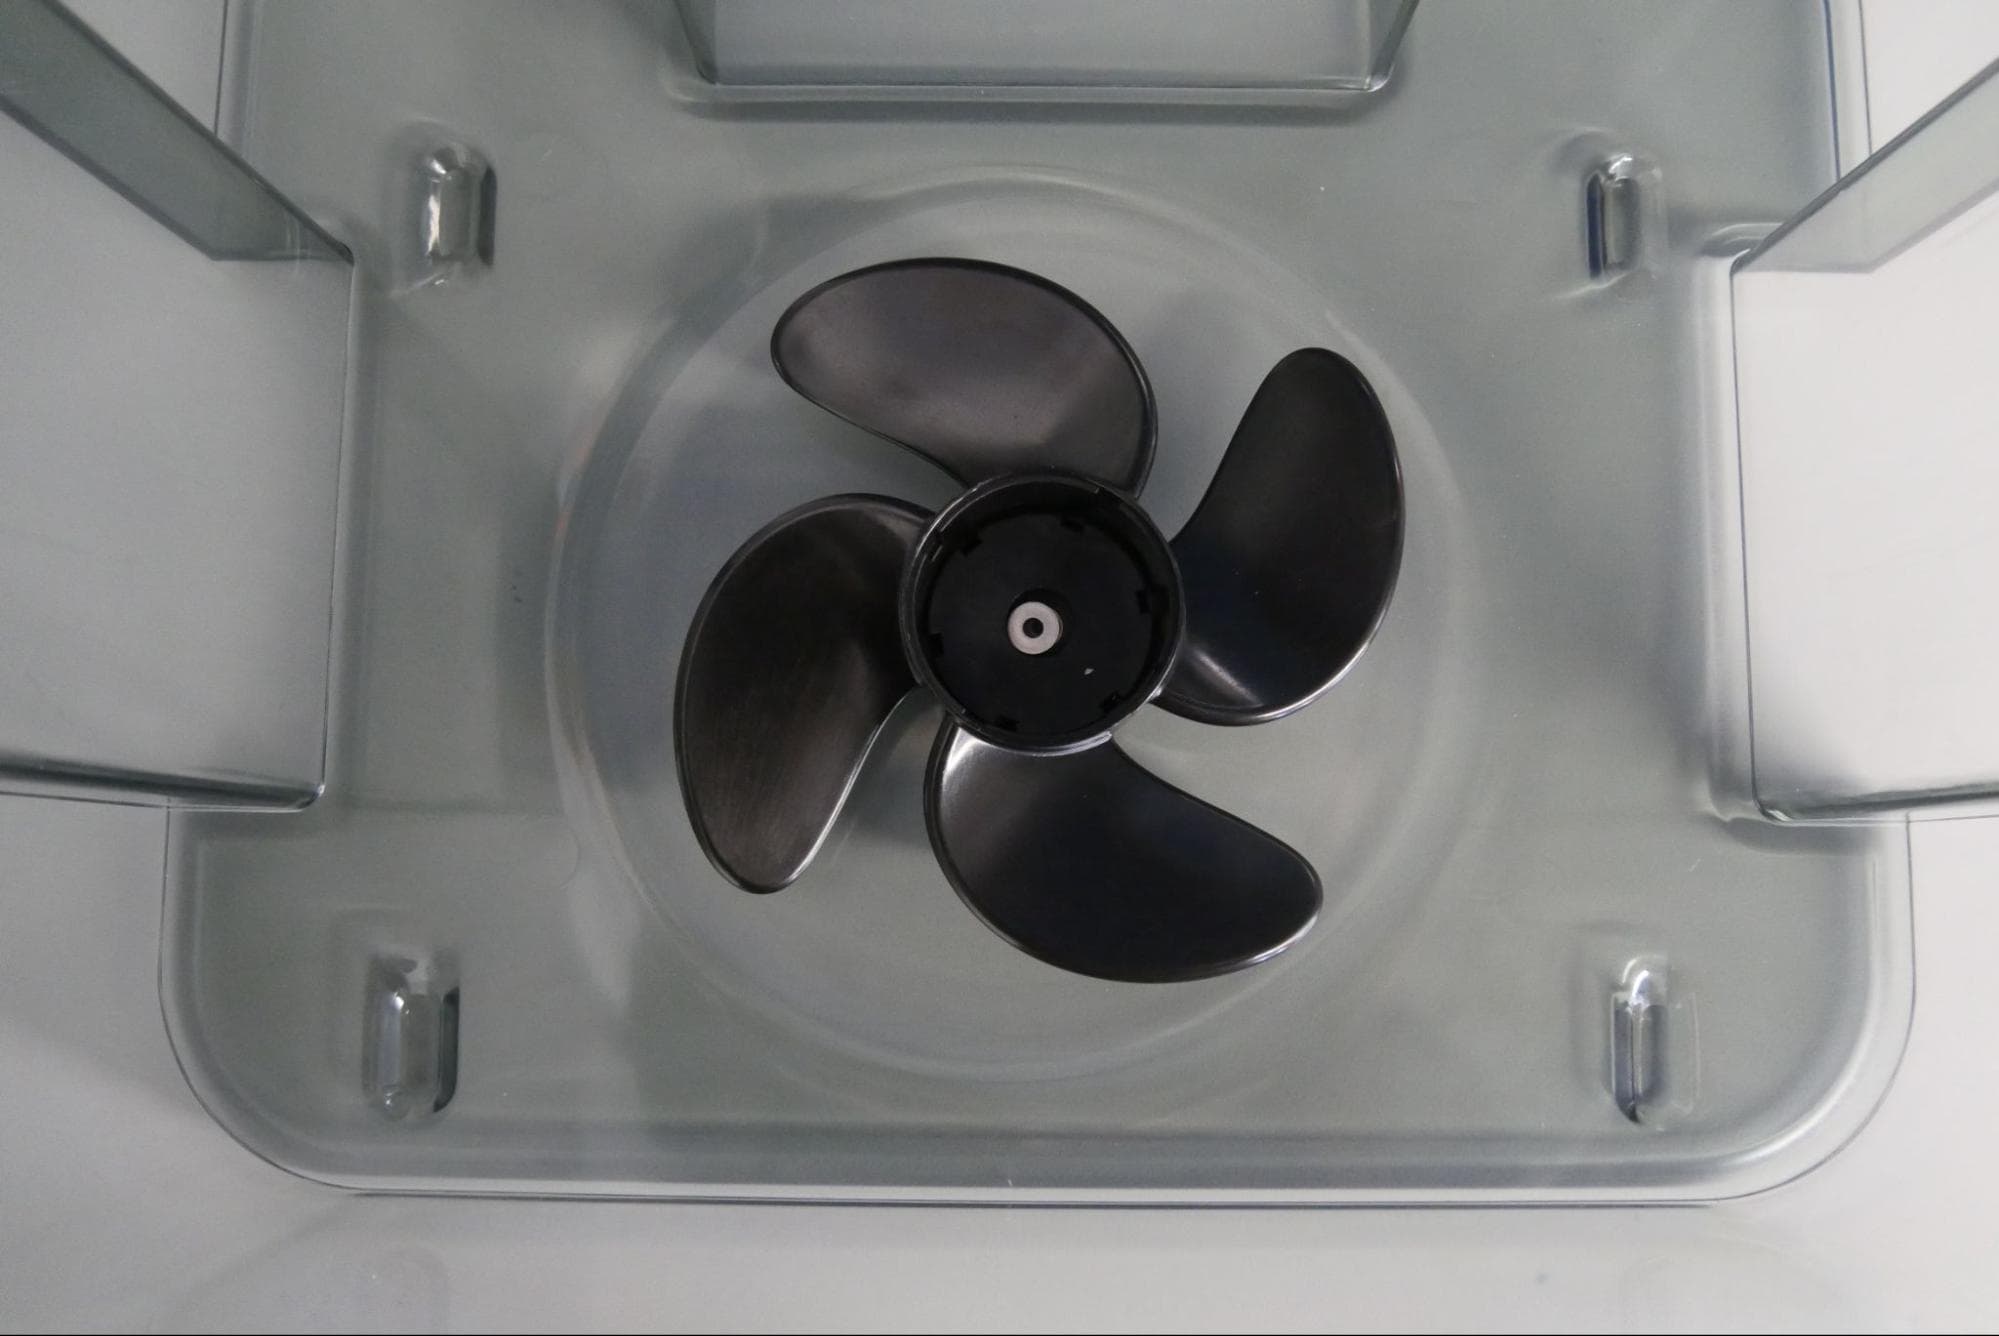
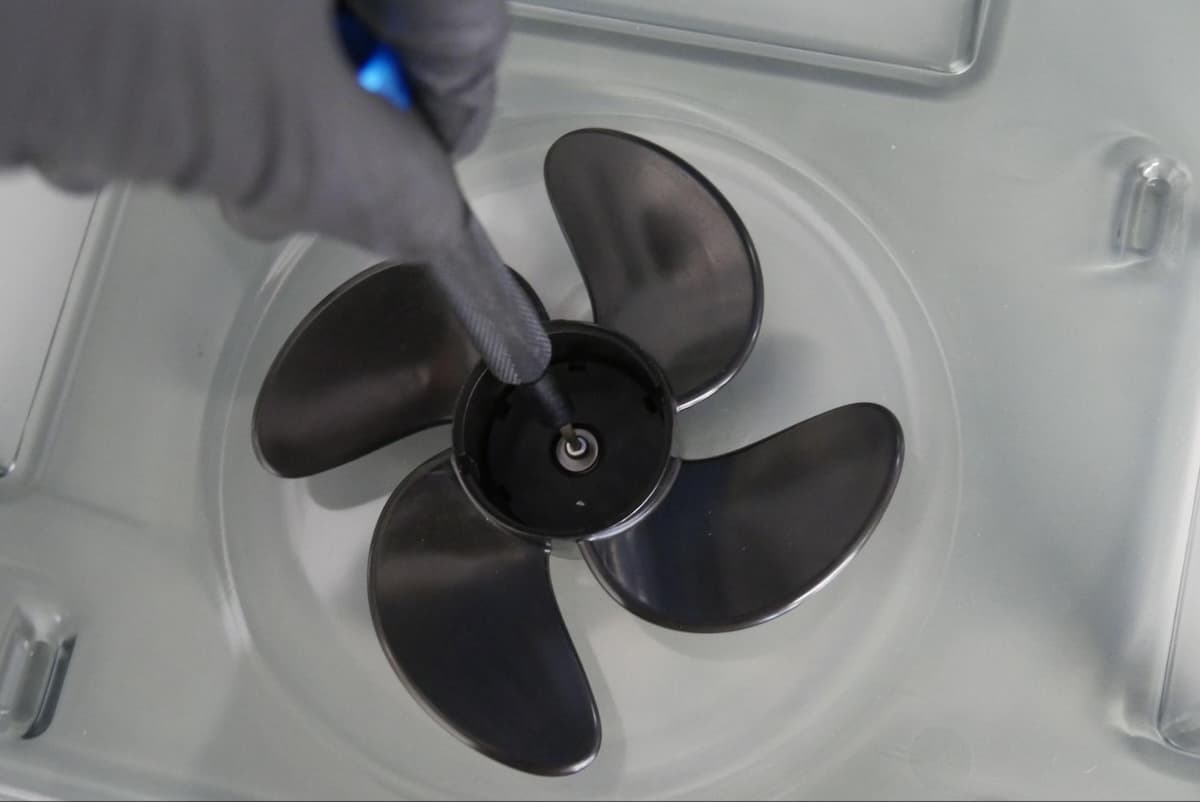
Place the washer onto the impeller’s screw hole. Thread the screw into the Form Wash impeller’s screw hole. Using a 2 mm hex driver, tighten the screw until finger tight. Take care to not overtighten or strip the plastic threads in the wash bucket.
Spin the impeller by hand. It should spin freely. If it does not, loosen the screw half a turn and check again. Repeat as needed.
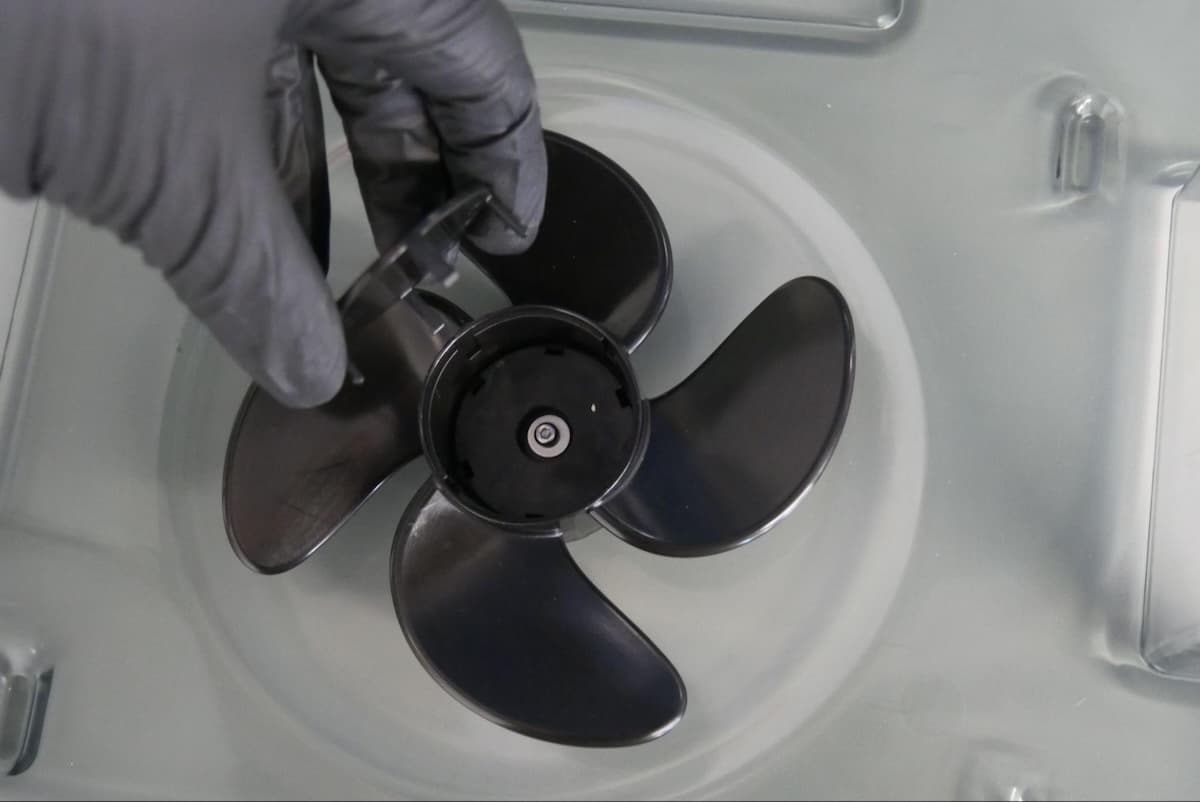
Align the posts on the impeller cap with the grooves of the impeller. Gently press the impeller cap into place.
Abschließen der Reparatur
Overview: After installing the new impeller, power on the machine and perform final checks.
Step 1: Refill the wash bucket
Refill the wash bucket to your desired fill level.
Align the front edge of the inner lid with the wash bucket’s edge and lower the inner lid directly into the top of the wash bucket.
Insert the wash bucket into the Form Wash.
Turn the Form Wash knob to select Lower on the display. Push the knob to confirm. The Form Wash lowers the elevator and basket into the wash bucket.
Step 5: Test the repair
Turn the knob to navigate the display menu and set the Time. Push the knob to select or confirm. Select Start. Check to see that the wash cycle starts normally and that the Form Wash does not make any unusual noises and that the impeller is moving properly. Contact Formlabs Support or your authorized reseller to share the results of the procedure.