Hinweis:
Lösen Sie den Riegel, bevor Sie den Drucker an das Stromnetz anschließen.


Vorbereiten des Drucks mit dem Form 3/Form 3B. Erlernen Sie bewährte Praktiken der Einrichtung und Verwendung des Form 3L/Form 3BL, seines Harztanks, der Konstruktionsplattform und des Harzabgabesystems.
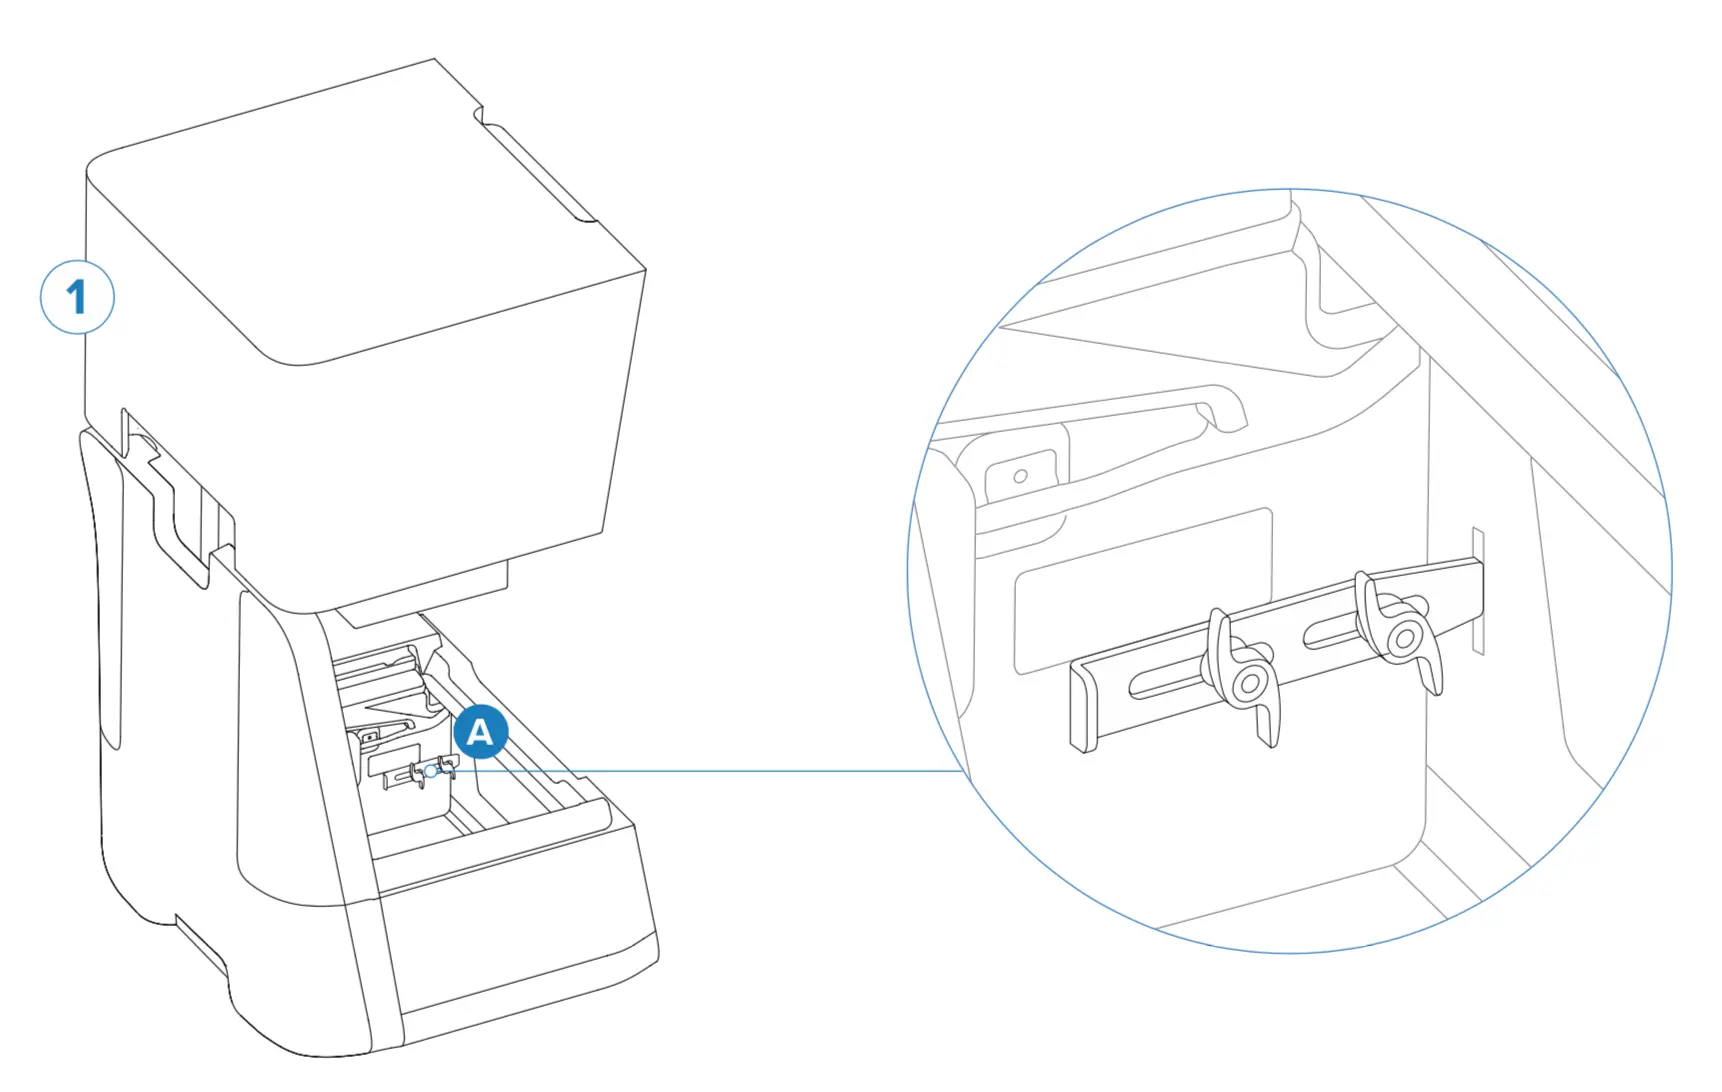
Entriegeln der Light Processing Unit (LPU)
Hinweis:
Lösen Sie den Riegel, bevor Sie den Drucker an das Stromnetz anschließen.
Ein Riegel sichert die Light Processing Unit (LPU) im inneren des Druckers während des Versands. So lösen Sie das LPU-Gehäuse aus seiner Transportposition:

Einschalten des Druckers
Schließen Sie das Netzkabel an den Drucker und eine Stromquelle an.
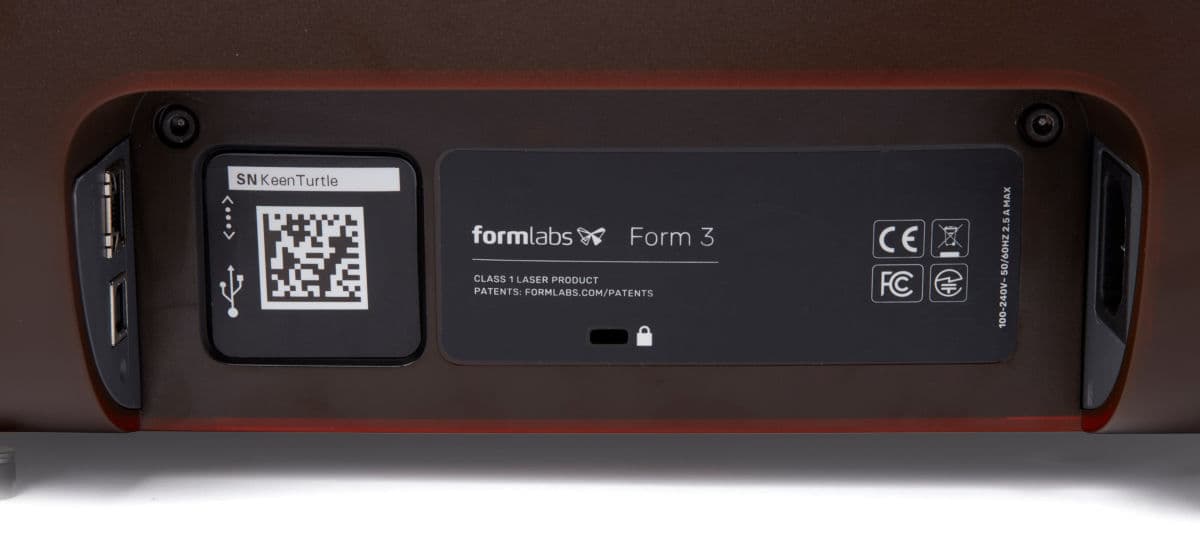
Wenn der Drucker zum ersten Mal an die Stromversorgung angeschlossen wird, zeigt er eine Reihe von Einführungsschritten auf dem Touchscreen an. Die Einführungsschritte beinhalten Anweisungen zum Einsetzen von Verbrauchsmaterialien (Harztank, Harzkartusche und Konstruktionsplattform) in den Form 3. Weitere Details sind unten aufgeführt. Befolgen Sie diese Schritte, um den Form 3/Form 3B für den Gebrauch vorzubereiten.
Einsetzen des Harztanks
Warnung:
Kunstharz kann Hautreizung oder allergische Hautreaktionen hervorrufen. Tragen Sie bei der Handhabung von flüssigem Kunstharz oder kunstharzbeschichteten Oberflächen stets Handschuhe. Waschen Sie Ihre Haut mit ausreichend Wasser und Seife.
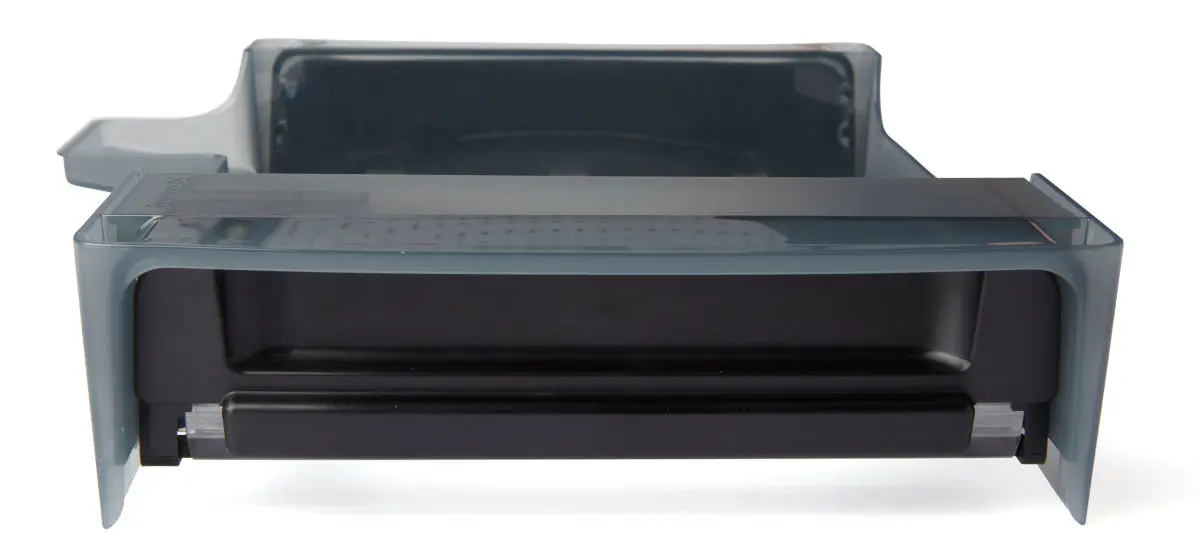
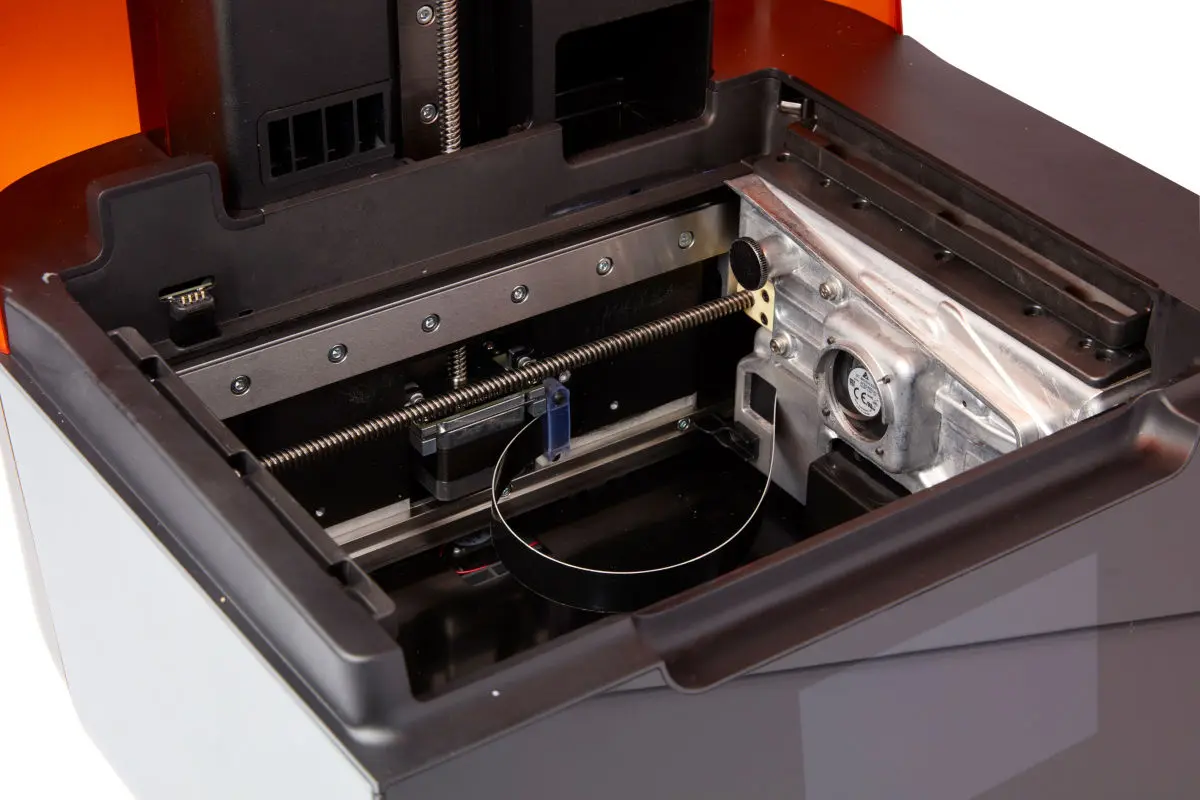
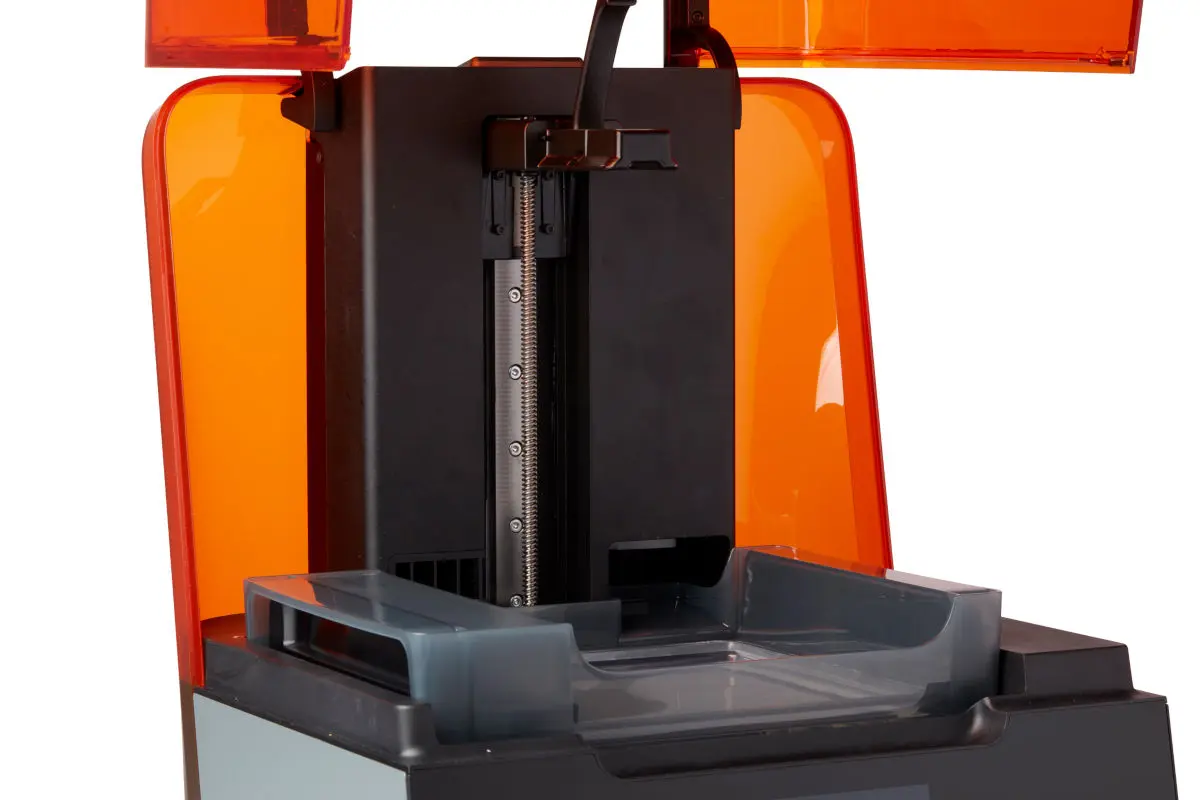
Der Harztank ist der Hauptbehälter für das aus der Kartusche abgegebene Kunstharz. Das Harz wird auf der Konstruktionsplattform ausgehärtet, wenn der Laser durch den Tankbodenfilm fällt. So setzen Sie den Harztank ein:
Einsetzen des Mischers
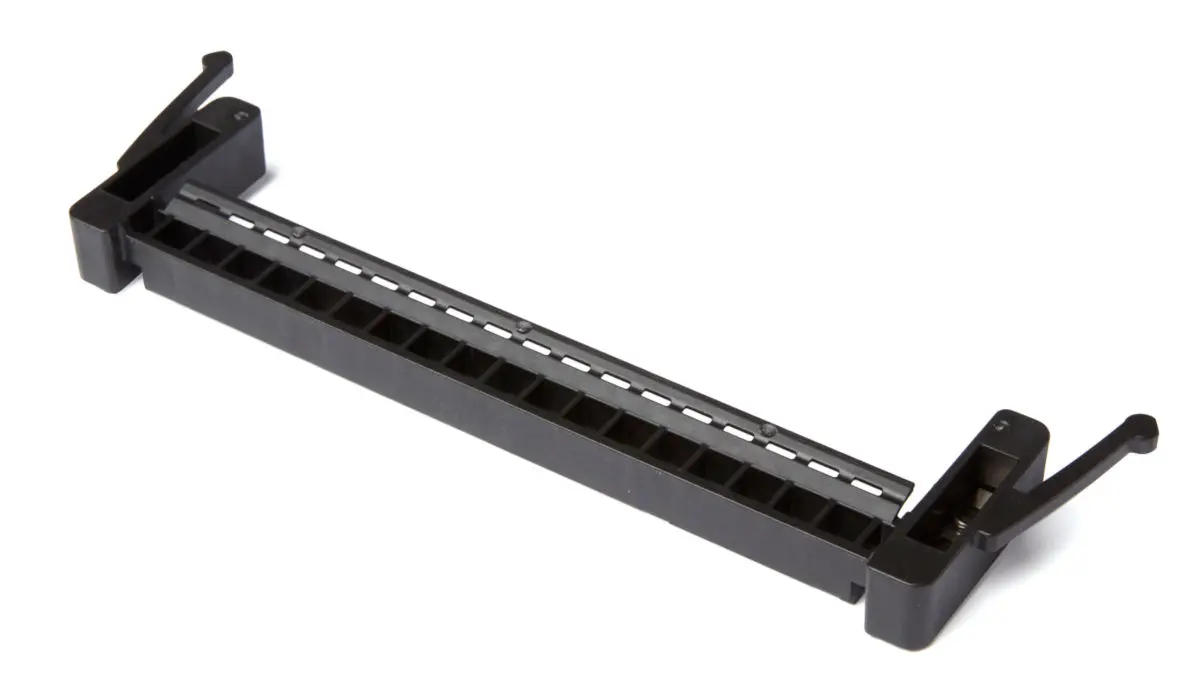
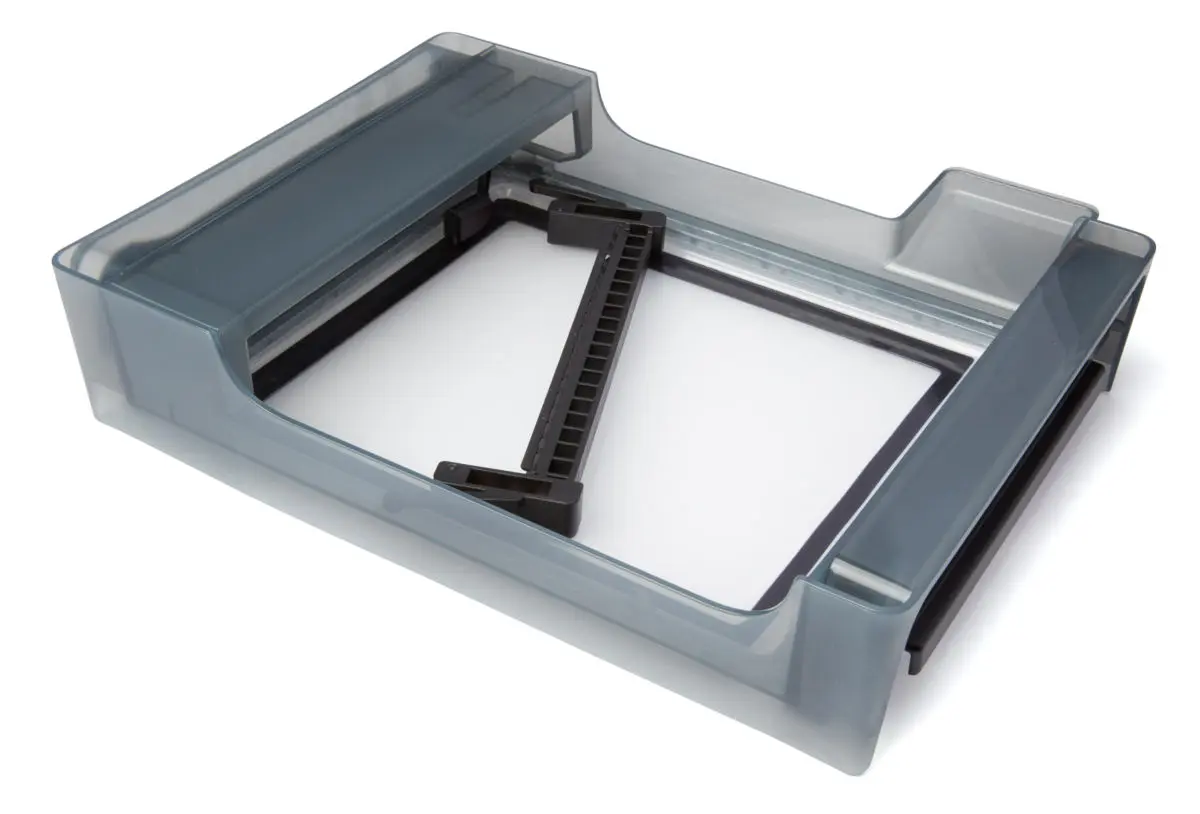
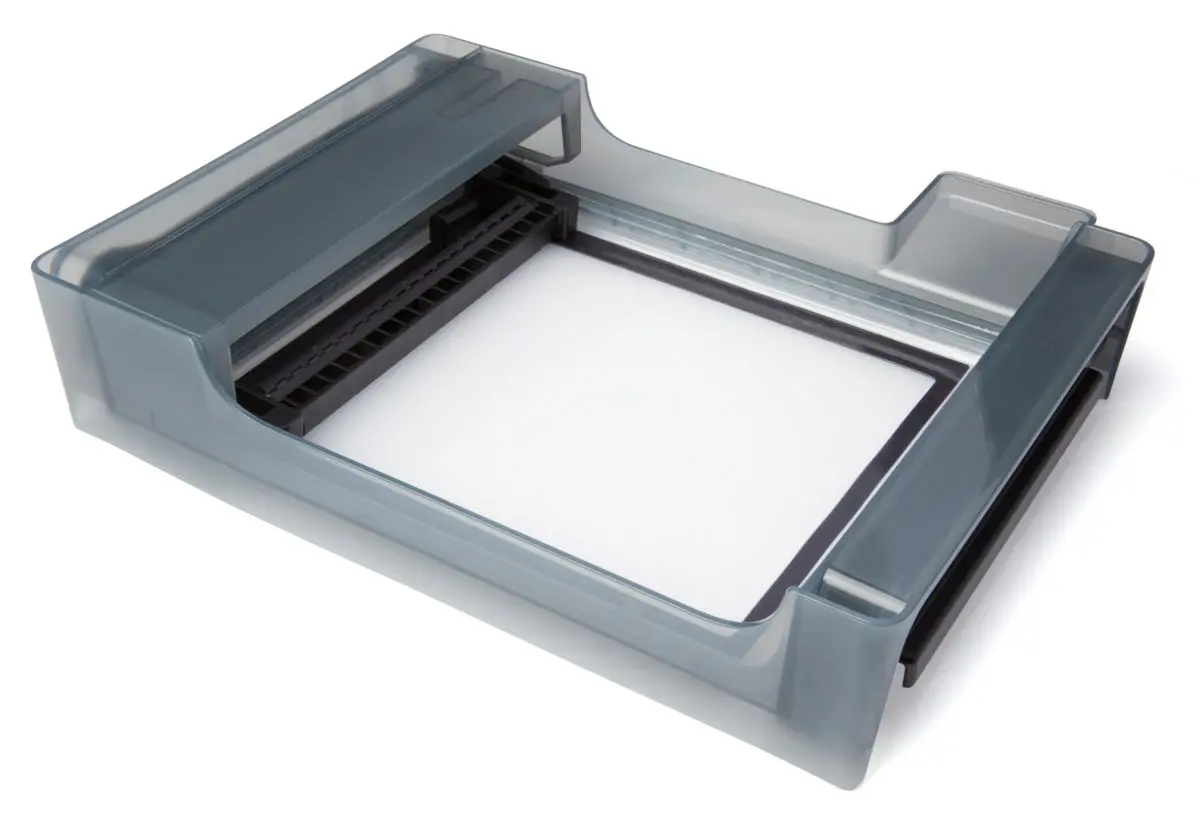
Jeder Harztank ist mit einem Mischer ausgestattet. Der Mischer verbessert die Gleichmäßigkeit der Drucke, indem er den Konstruktionsbereich freihält und das Kunstharz zirkulieren lässt. Schaber auf der Ober- und Unterseite des Mischers halten jeweils die Konstruktionsplattform und den Film frei. So setzen Sie den Mischer ein:
Einsetzen der Bauplattform
Die Bauplattform ist die Oberfläche, auf der die Teile gedruckt werden. So setzen Sie die Konstruktionsplattform ein:
Vorbereiten der Harzkartusche
Die Harzkartusche enthält das in den Harztank abzugebende Harz. So bereiten Sie die Harzkartusche vor:
Hinweis:
Entfernen Sie nicht das Beißventil aus Gummi auf der Unterseite der Kartusche. Dieses Beißventil steuert die Harzabgabe. Das Entfernen des Beißventils aus Gummi hätte einen stetigen Harzfluss zur Folge und würde das Gerät schwer beschädigen. Diese Schäden werden nicht durch die Garantie abgedeckt.
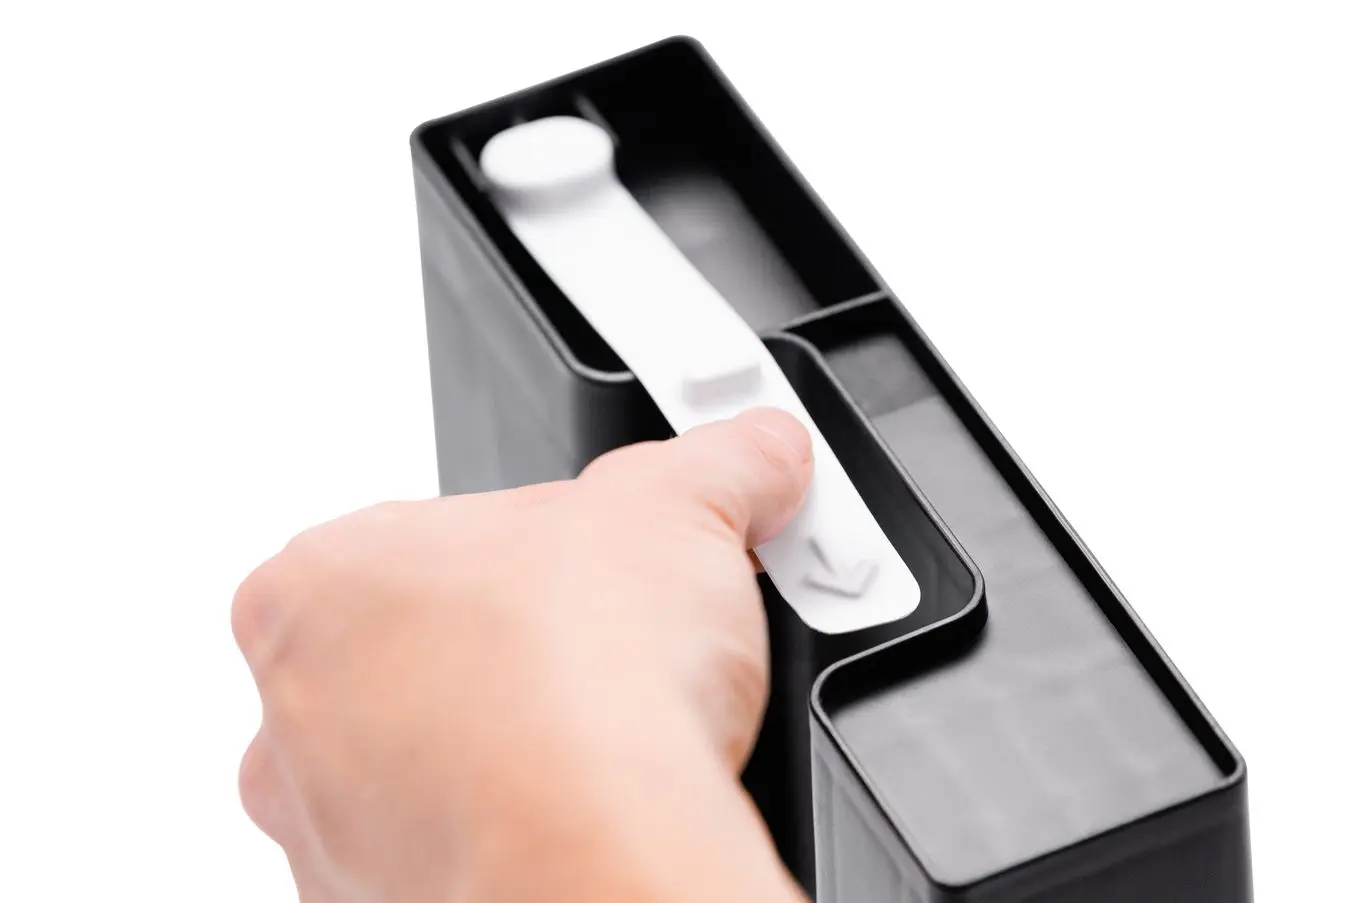
Einsetzen der Harzkartusche
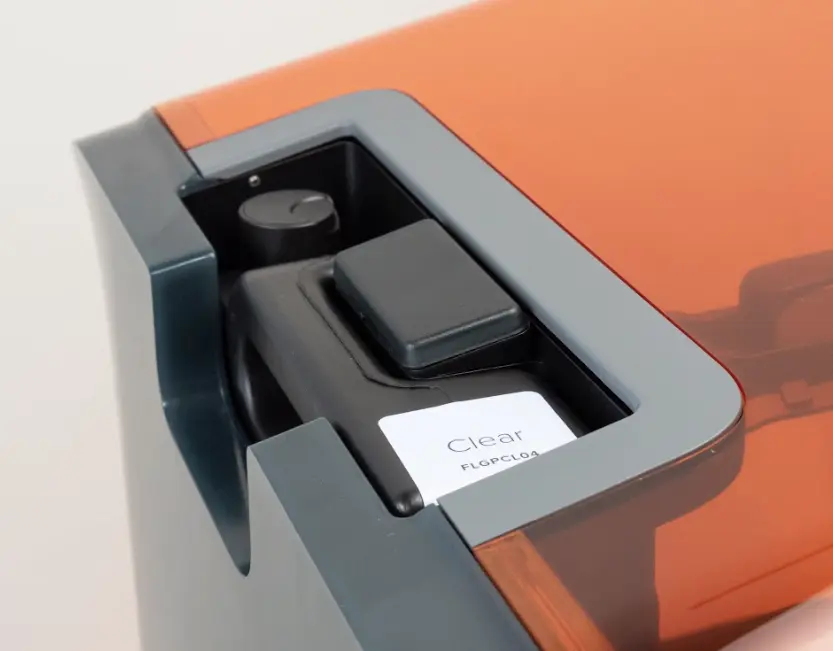
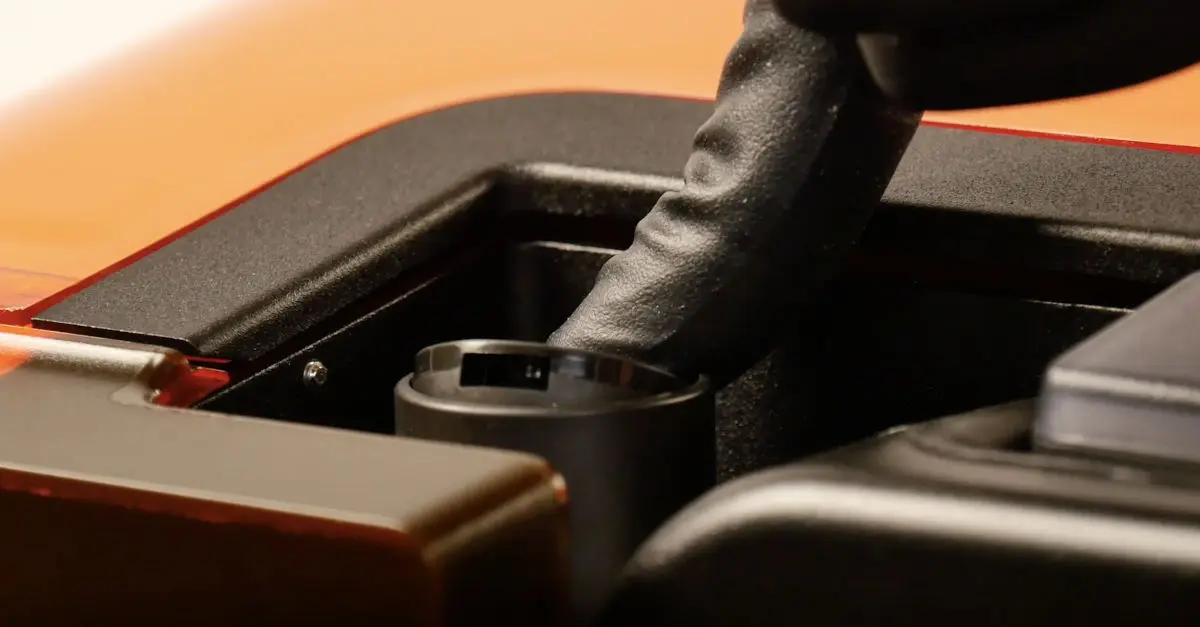
So setzen Sie die Harzkartusche ein:
Tipp:
Vergewissern Sie sich, dass das Material im Harztank immer mit dem Harztyp in der installierten Kartusche übereinstimmt.
Drucken mit dem Form 3/Form 3B
Jetzt, da der Drucker eingerichtet ist: