WHITE PAPER
Formlabs Logo

Using Nylon 12 Tough Powder

Using Nylon 12 Tough Powder

Notice:

To avoid damage to equipment, check the compatibility table in Choosing the right powder to confirm you are using a printer that is compatible with this material.

Nylon 12 Tough Powder requires aging and printer bed temperature tuning before first use. Read the section Preparing to print with Nylon 12 Tough Powder for more information.

Nylon 12 Tough Powder offers high ductility and high dimensional accuracy across the build chamber, allowing you to print more durable parts with less warpage, without sacrificing strength.

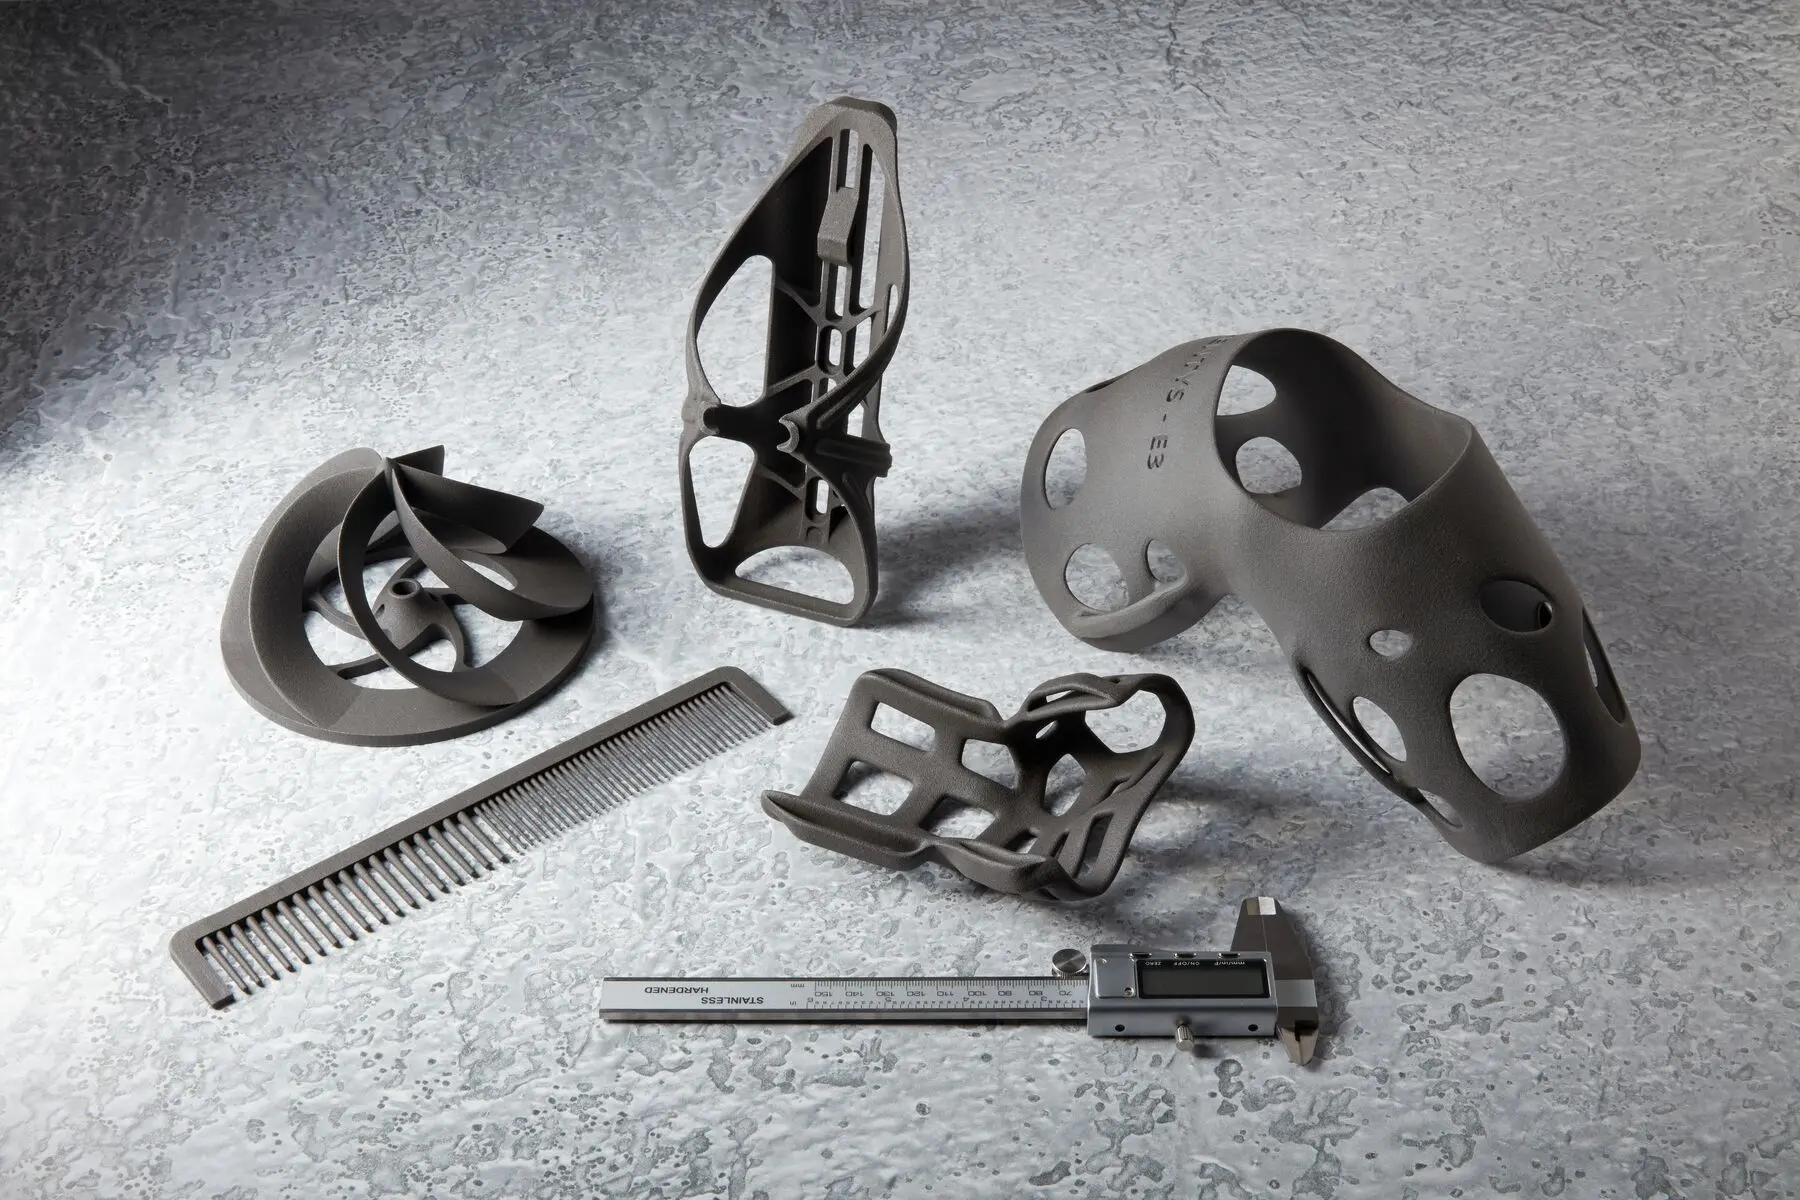
Parts printed in Nylon 12 Tough

Formlabs recommends printing with Nylon 12 Tough Powder in air at a 20% refresh rate.

Recommended for:

  • High performance, impact-resistant prototypes
  • Long parts that are susceptible to warping
    • Long parts printed along the Z-axis have reduced warping in Nylon 12 Tough as compared to standard Nylon 12.
  • Parts requiring ductility like snaps, ratchets, hinges
  • Prototyping, proof of concept, minimum viable products (MVPs)

Comparison with other materials

See the table below for a comparison of relevant material properties:

 Nylon 12 ToughNylon 11
Ultimate tensile strength (MPa)4249
Tensile modulus (GPa)1.451.6
Elongation at break (%) - X/Y2540
Elongation at break (%) - Z15-
Flexural modulus (GPa)1.11.4
IZOD impact strength (J/m)6071
Heat deflection temperature (HDT) @ 1.8 MPa4646
Heat deflection temperature (HDT) @ 0.45 MPa161182

To learn more about the performance properties of Formlabs materials, refer to the library of material properties data sheets.

Preparing to print with Nylon 12 Tough Powder

Nylon 12 Tough Powder requires aging and bed temperature tuning before first use.

Follow the instructions in the support article Aging Nylon 12 Tough Powder before first use to age and sift powder, then follow the instructions in the support article Tuning the bed temperature of your Fuse 1+ 30W printer for improved part yield with Nylon 12 Tough Powder.

Note:

The bed temperature tuning process should be completed on each printer that will use Nylon 12 Tough Powder. Different printers of the same model and in the same room may require different offset temperatures.

Printing with Nylon 12 Tough

Notice:

Nylon 12 Tough Powder requires aging and bed temperature tuning before first use.

For the best results, follow Formlabs design specifications for SLS printing. Refer to the support article Starting a print (SLS) to open the model in PreForm, orient it, and send it to the printer.

Nylon 12 Tough has a stiffer powder cake than regular Nylon 12, which may be slightly more difficult to break apart. When printing with Nylon 12 Tough Powder, a small amount of material is vaporized and will condense in the exhaust of the printer. This is known and expected but does not impact performance.

Between prints

Accumulated powder and condensed airborne particulates can cause print failures in future print jobs if not properly cleaned out after each print. Clean the following areas between prints:

Cleaning the top of the print enclosure

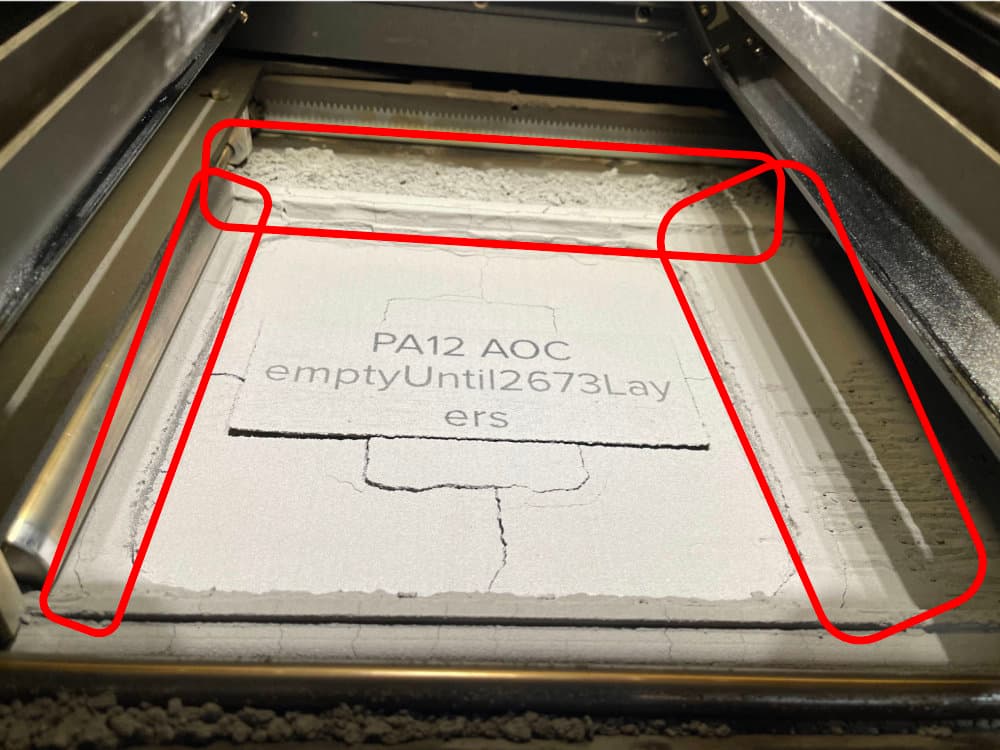
Powder can accumulate at the top of the print enclosure, particularly on the runways, the areas between the powder troughs and the top of the build chamber. This excess powder may fuse and be dragged into the build chamber during subsequent prints. Vacuum this area thoroughly to help prevent print failures.

The area around the top of the build chamber

Vacuuming the troughs

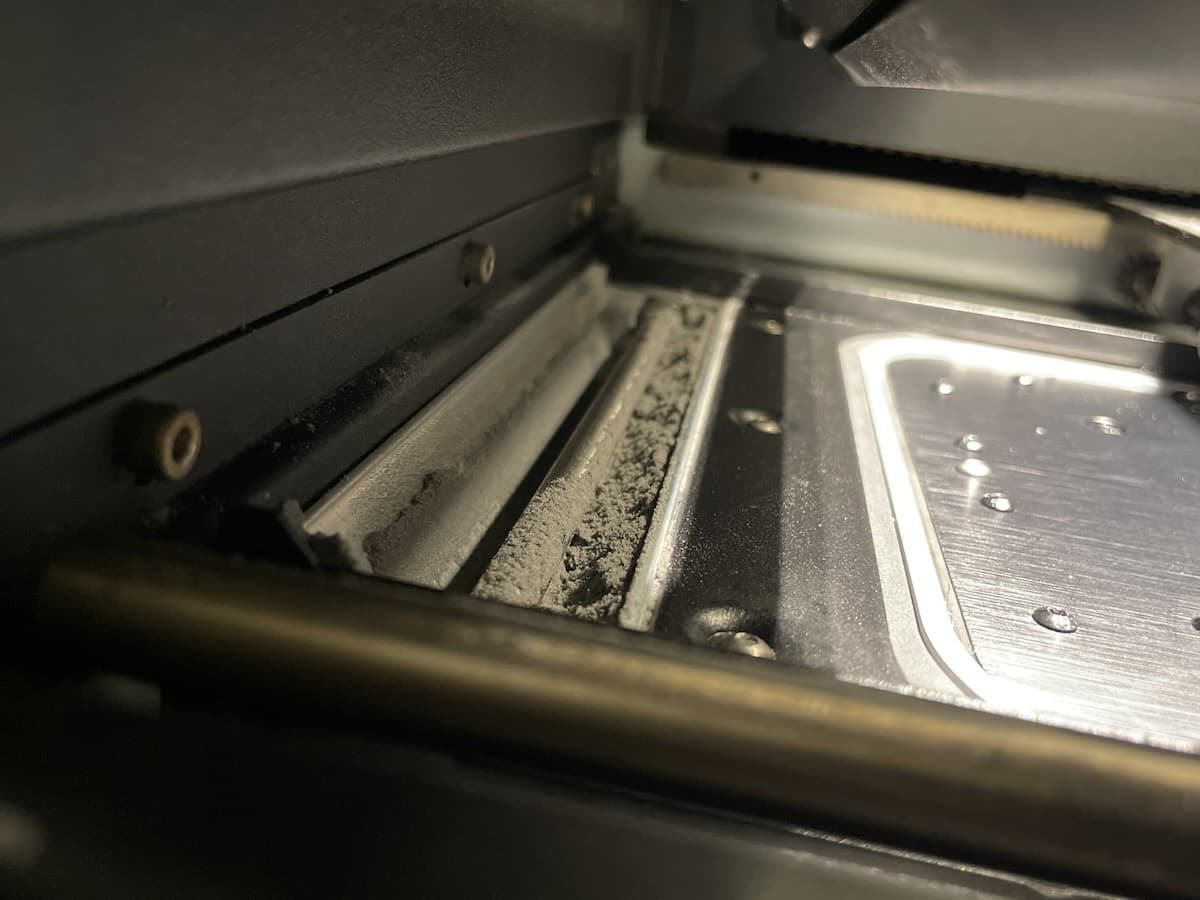
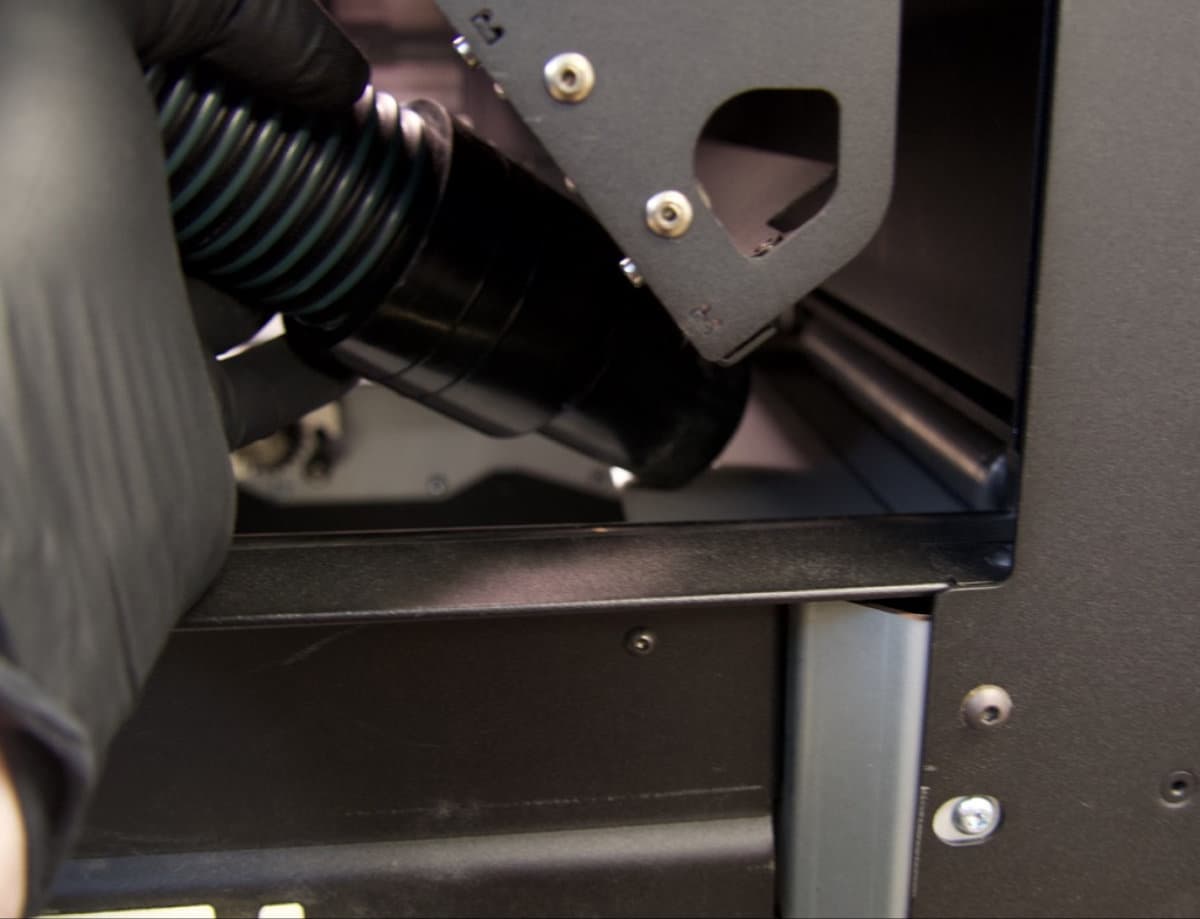
Between prints, clean both troughs and the area around the recoater’s path using a compliant vacuum with static dissipative components. Use the vacuum, fitted with a small brush attachment or the flexible hose attachment, to clean all powder out of the troughs. If needed, use compressed air or a gas duster to remove powder from hard-to-reach areas. Check in particular for powder buildup along the inner walls and corners of the troughs.

TPU 90A Powder buildup in a Fuse 1+ 30W printer trough
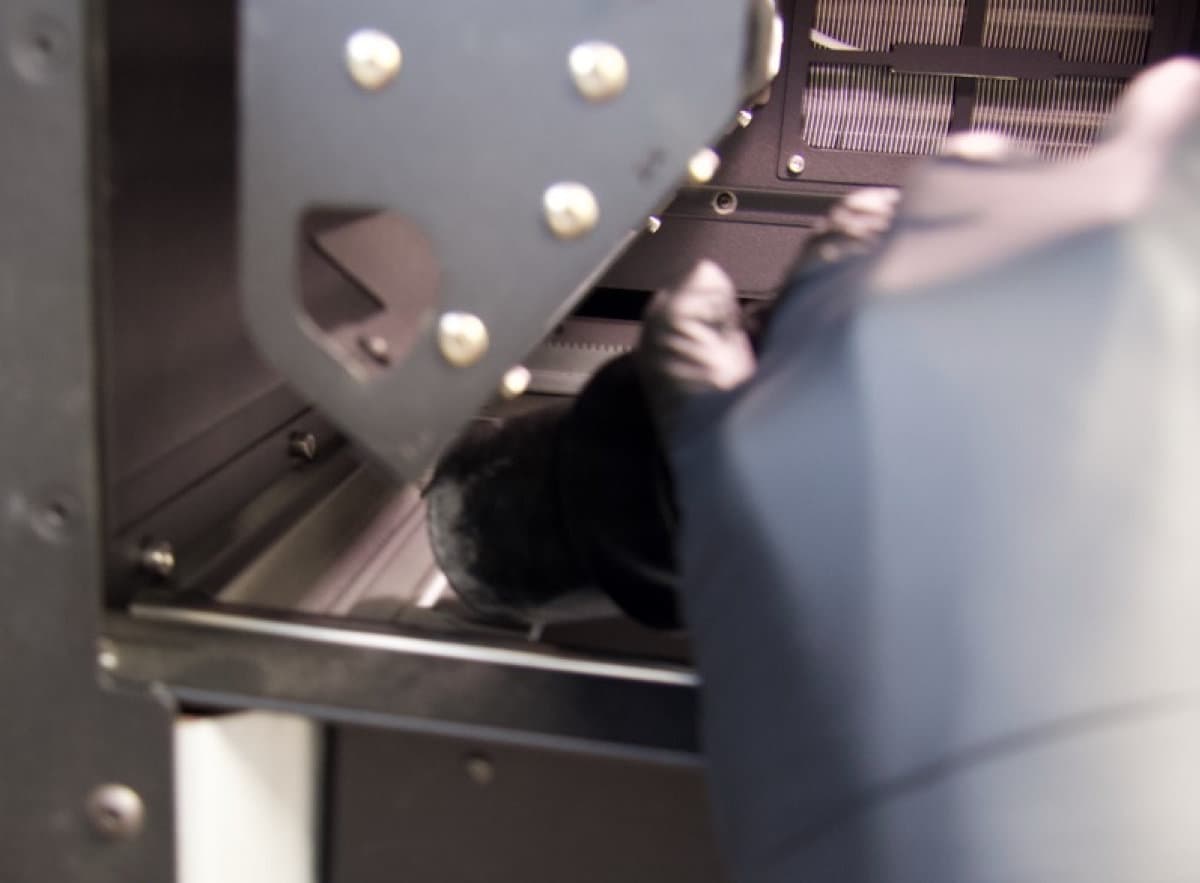
Vacuuming the left powder trough
Vacuuming the right powder trough

Close the print enclosure door and move the flipper motors to dislodge powder for cleaning.

To move the flipper motors:

  1. Close the print enclosure door.
  2. On the touchscreen, tap the wrench icon. The Maintenance menu appears.
  3. Tap Motor Moves. The Motor Moves screen appears, which allows you to manually activate various motors in the print enclosure.

Caution:

Unless specifically advised, do not select any of the options in the Motor Moves menu while the print enclosure door is open or any objects are in the path of the powder handling mechanisms at the top of the print enclosure. Moving parts present a crushing or tangling hazard. If necessary, tap the Stop button on the touchscreen to stop a motor movement.

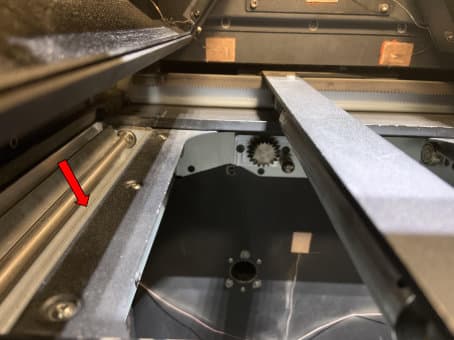
  1. Tap the CW, CCW, and Home arrows under the Flipper (Left) and Flipper (Right) headers to rotate the left and right flippers clockwise, counterclockwise, or back to their home positions. Repeatedly move the flippers and vacuum the powder troughs until they are clean. In particular, ensure that the inner edge of both powder troughs as well as any adjacent components are free of powder.
Left powder trough with an arrow pointing at the inner edge of the trough

Cleaning the recoater

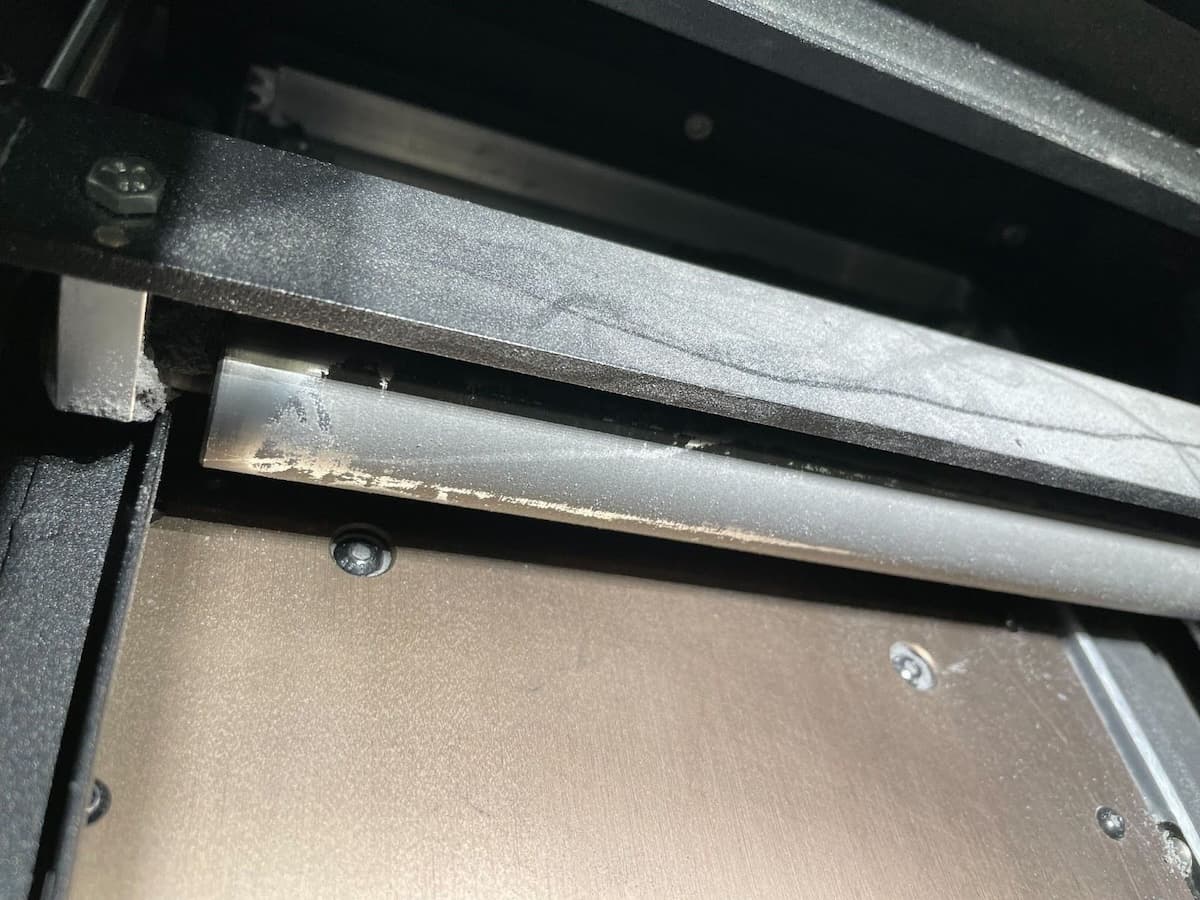
Move and inspect the recoater. If it appears coated with semi-sintered powder, clean the recoater before running another print.

To clean the recoater:

  1. On the touchscreen, tap the wrench icon. The Maintenance screen appears.
  2. Tap Motor Moves. The Motor Moves screen appears.
  3. Tap the < (Left) or > (Right) button under Recoater until you can view the recoater assembly.
  4. If the recoater is covered with semi-sintered powder, clean it with a PEC*PAD or other lint-free microfiber cloth wetted with ethanol.
TPU 90A Powder buildup on the recoater

Cleaning the exhaust filter

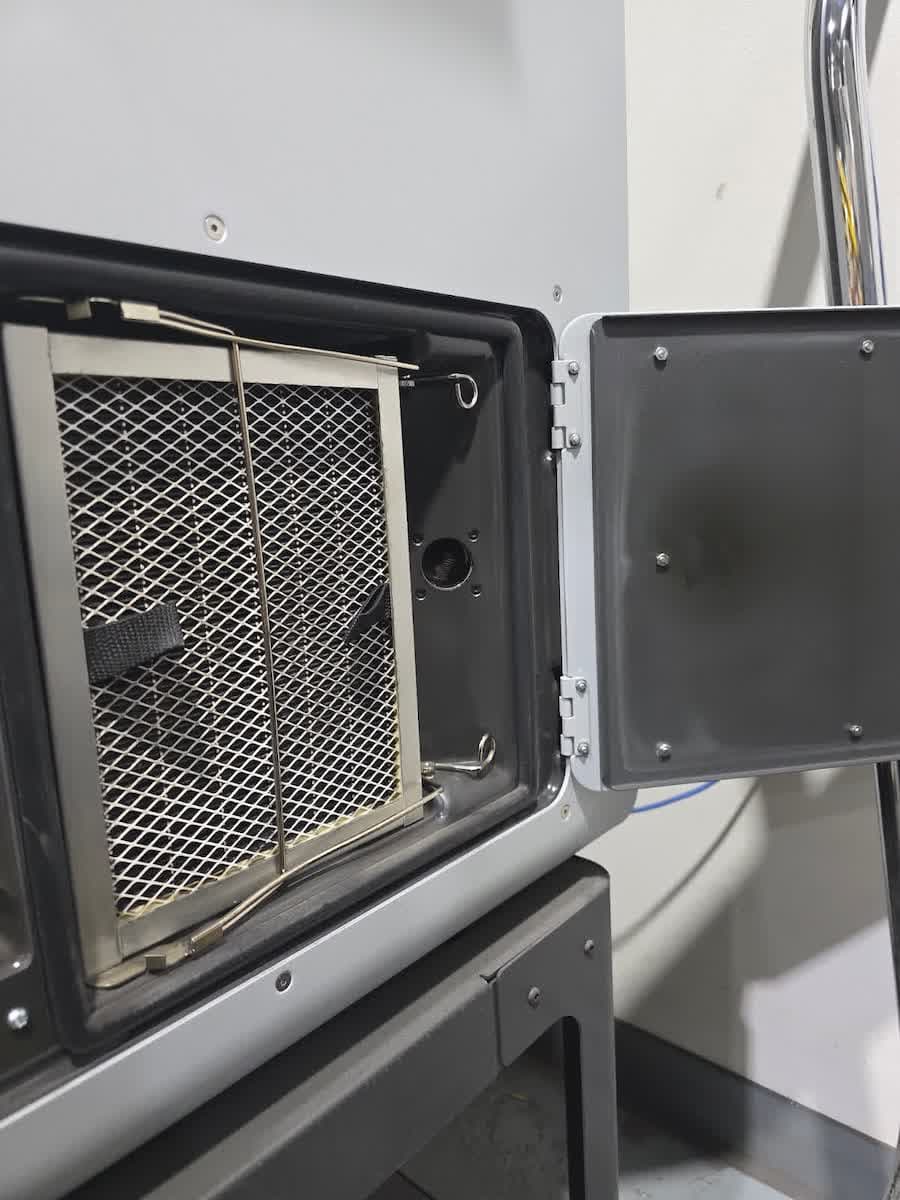
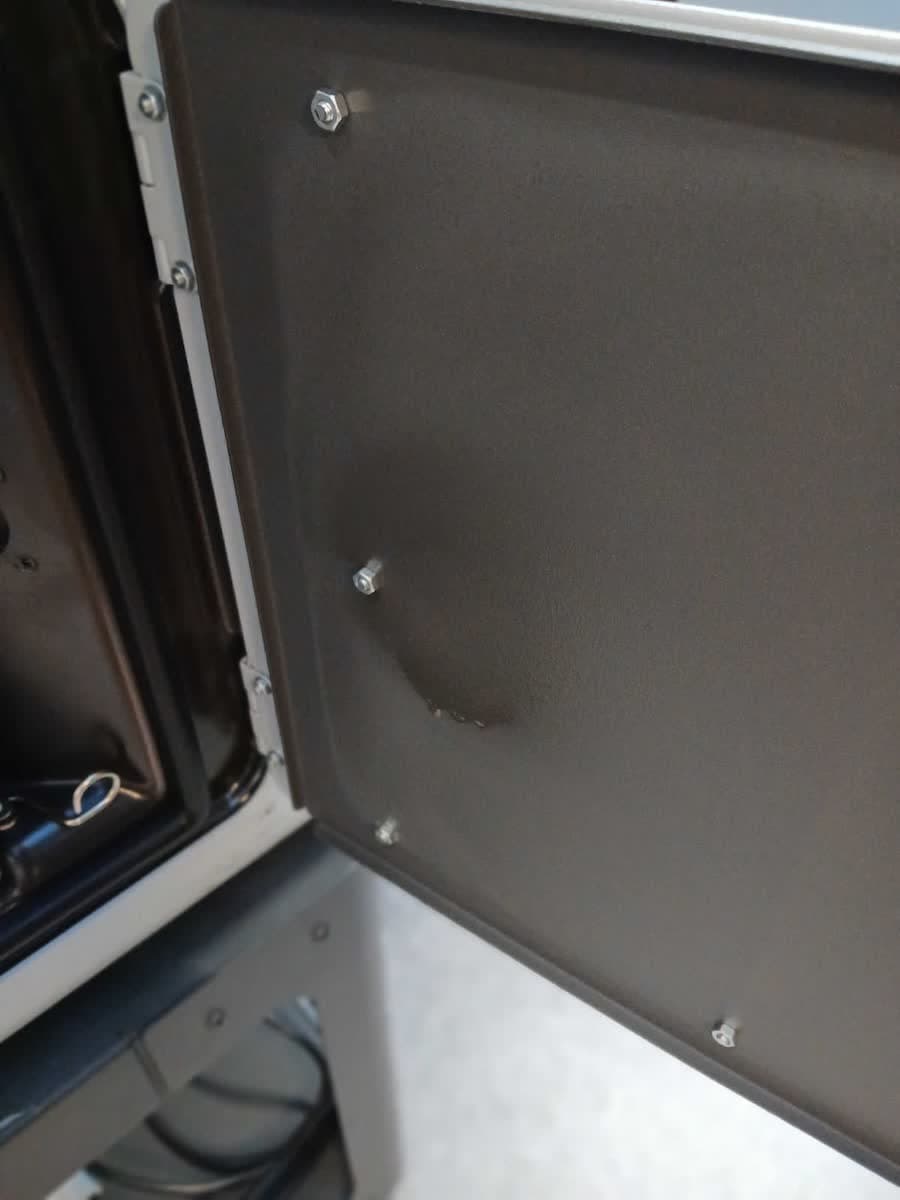
Nylon 12 Tough Powder produces an oily byproduct in addition to laurolactam that settles in the exhaust filter cabinet. This residue is normal and can be cleaned from the face of the filter and the inside of the door using a paper towel or cloth wetted with ethanol.

Exhaust filter in a Fuse 1 generation printer
Exhaust cabinet door on a Fuse 1 generation printer

Cleaning the Fuse Sift sieve mesh

Nylon 12 Tough Powder can clog the Fuse Sift sieve, reducing sifting speed. Formlabs recommends that you lightly clean the sieve after every three prints:

  1. Remove the surface grate to gain access to the sieve mesh beneath.
  2. Gently brush the mesh with the brushes included with the Fuse Sift.
  3. Vacuum the top of the sieve and the area around it.
  4. Place the surface grate back over the sieve.

If you notice a significant reduction in sifting speed, follow the full cleaning workflow described in Cleaning the Fuse Sift’s sifter mesh.

Changing materials

Fuse 1 generation printers, the Fuse Sift, and related accessories are designed to be used with only one powder type at a time. Make sure to clean each device thoroughly, following Formlabs instructions, before switching powder types. Mixing powders can lead to print failures or permanent damage to the machine.

Using a dedicated build chamber for Nylon 12 Tough Powder is highly recommended. If using a build chamber that has previously printed with a different powder, the print bed assembly should be replaced in order to prevent failures due to stuck print beds. Please contact Formlabs Support or your certified service provider for guidance on replacing this component. Swapping out the print bed is most important when the previously printed material has a lower printing temperature than the new material, for example when switching from Polypropylene to Nylon 12.

If you plan to regularly print in multiple different materials, Formlabs recommends dedicating a separate printer, build chamber, and Fuse Sift for each material type for an easier workflow.

Consult the following support articles for additional information: