WHITE PAPER
Formlabs Logo

Using the Form Wash L

Using the Form Wash L

The Form Wash L uses either isopropyl alcohol (IPA) or tripropylene glycol monomethyl ether (TPM) to remove uncured resin from the surface of printed parts. It is also compatible with water, for use as a secondary wash if you clean your parts with TPM. Choose the solvent that best suits your application.

Danger:

Always consult the safety data sheet (SDS) from the IPA supplier as the primary source of information. IPA is flammable and should be used and stored away from ignition sources. Store small quantities of IPA in appropriately labeled and sealed containers.

Before you begin

Before inserting a printed part into the Form Wash L:

Note:

Consider the size and geometry of each part when choosing a method to wash the part and the sequence of steps.

Inserting printed parts

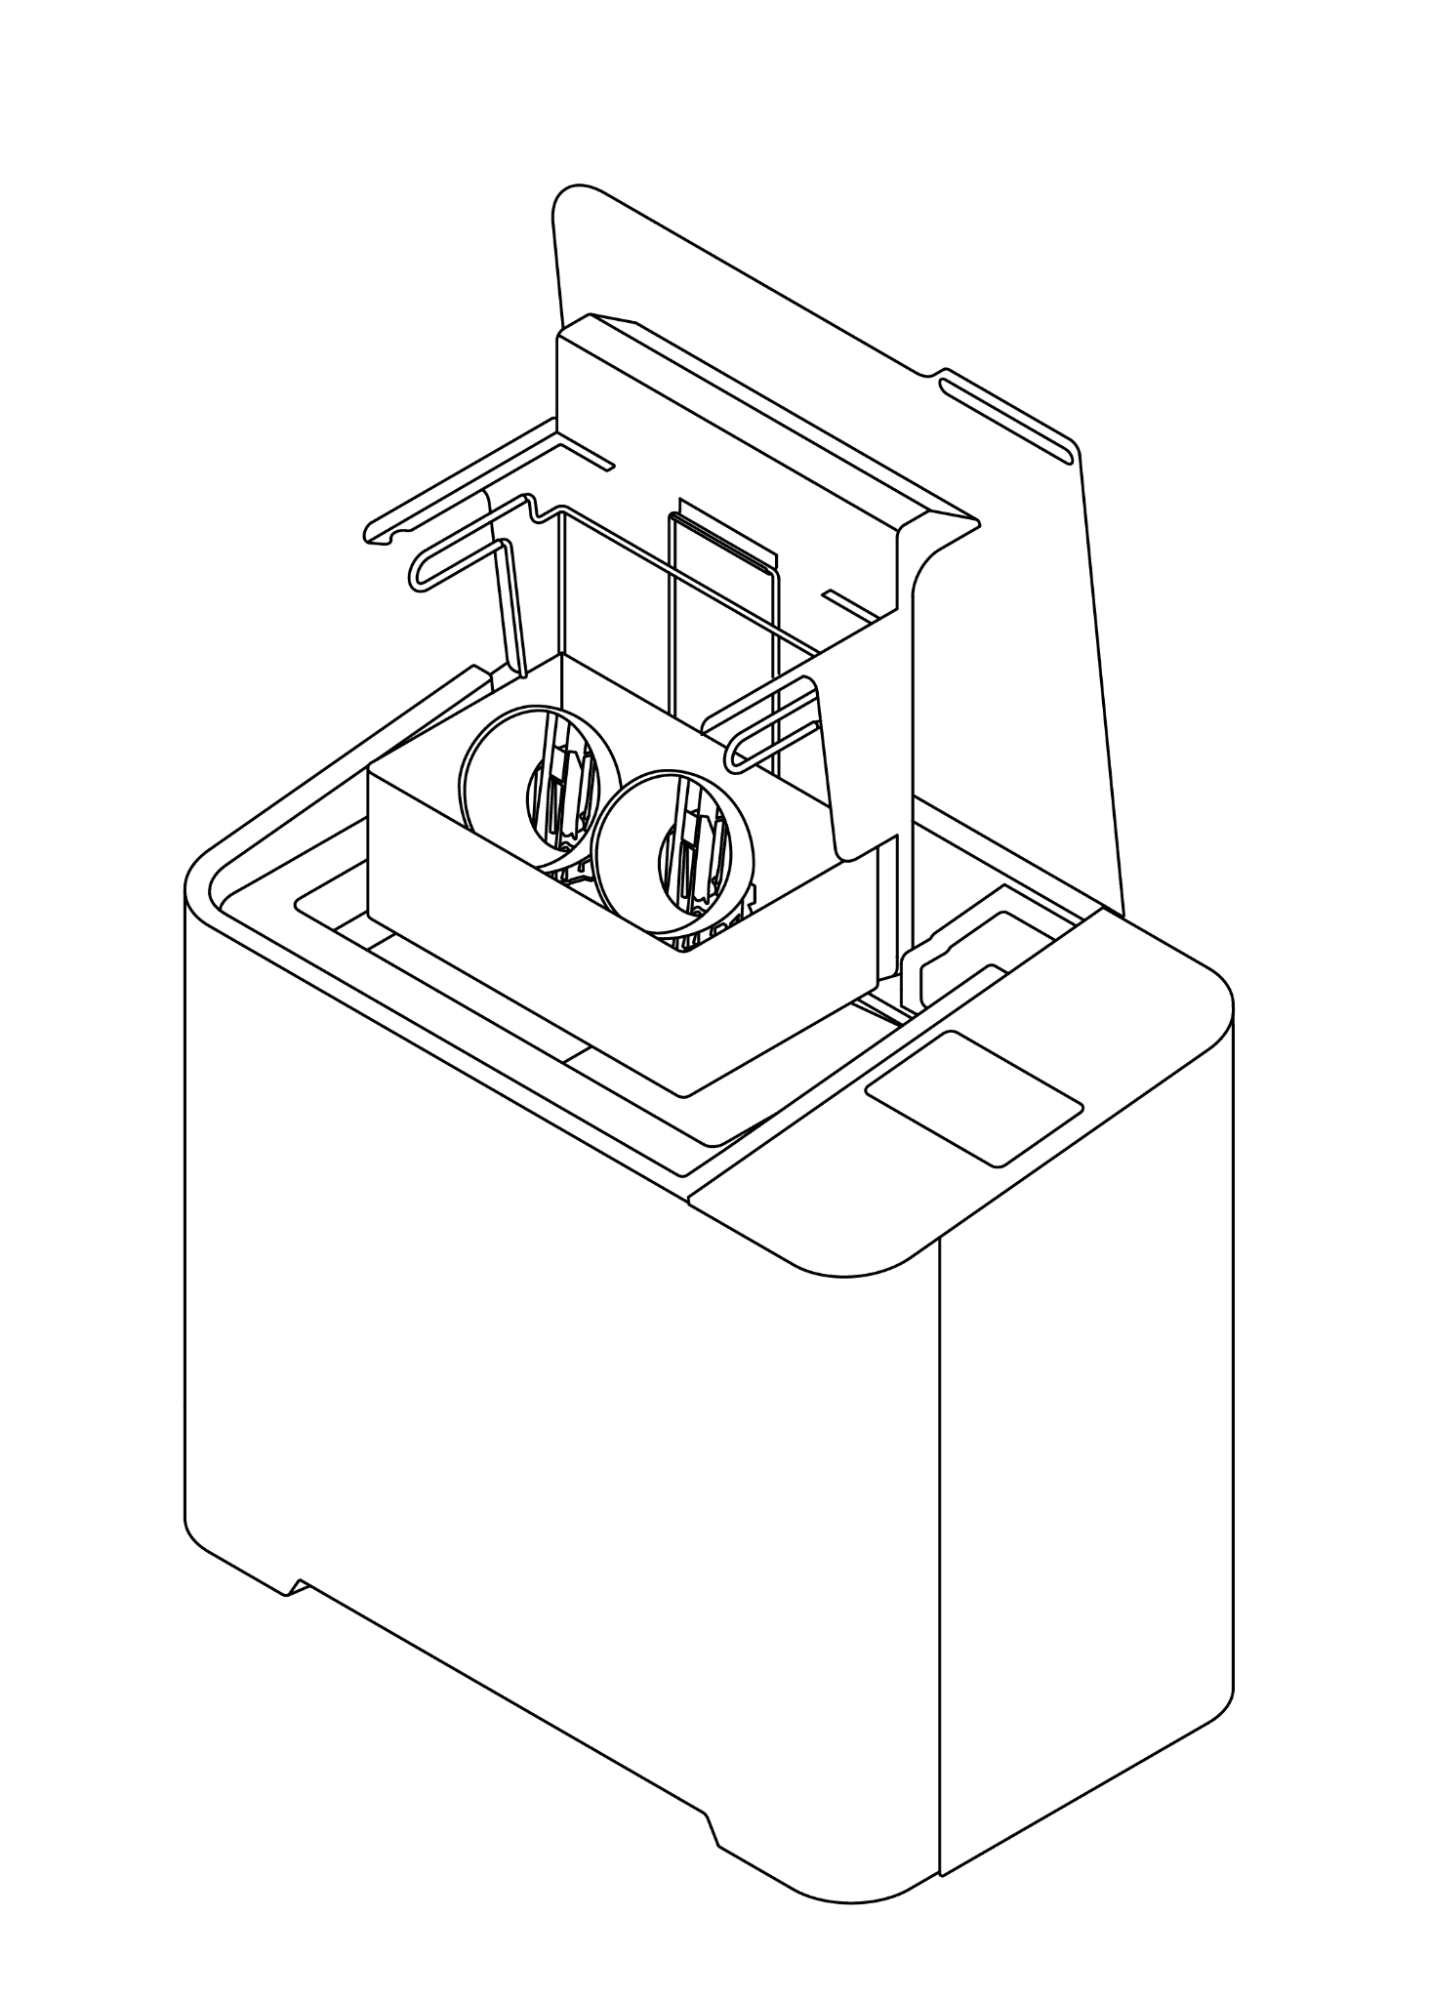
The Form Wash L can wash printed parts either before or after they have been separated from the build platform. Use the touchscreen to raise the platform and basket mounts.

Notice:

Washing loose parts directly in the wash bucket may damage printed parts, damage the machine, create noise, and interfere with solvent agitation. Wash parts on the build platform or in the basket.

To insert printed parts for cleaning:

Form 4L Build Platform

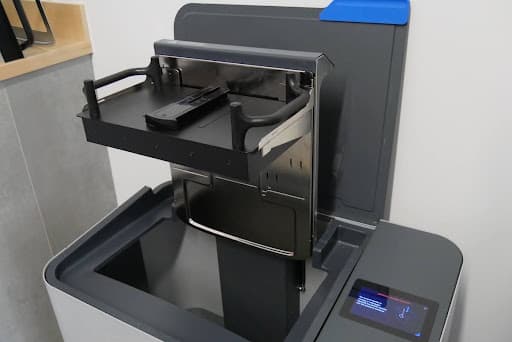
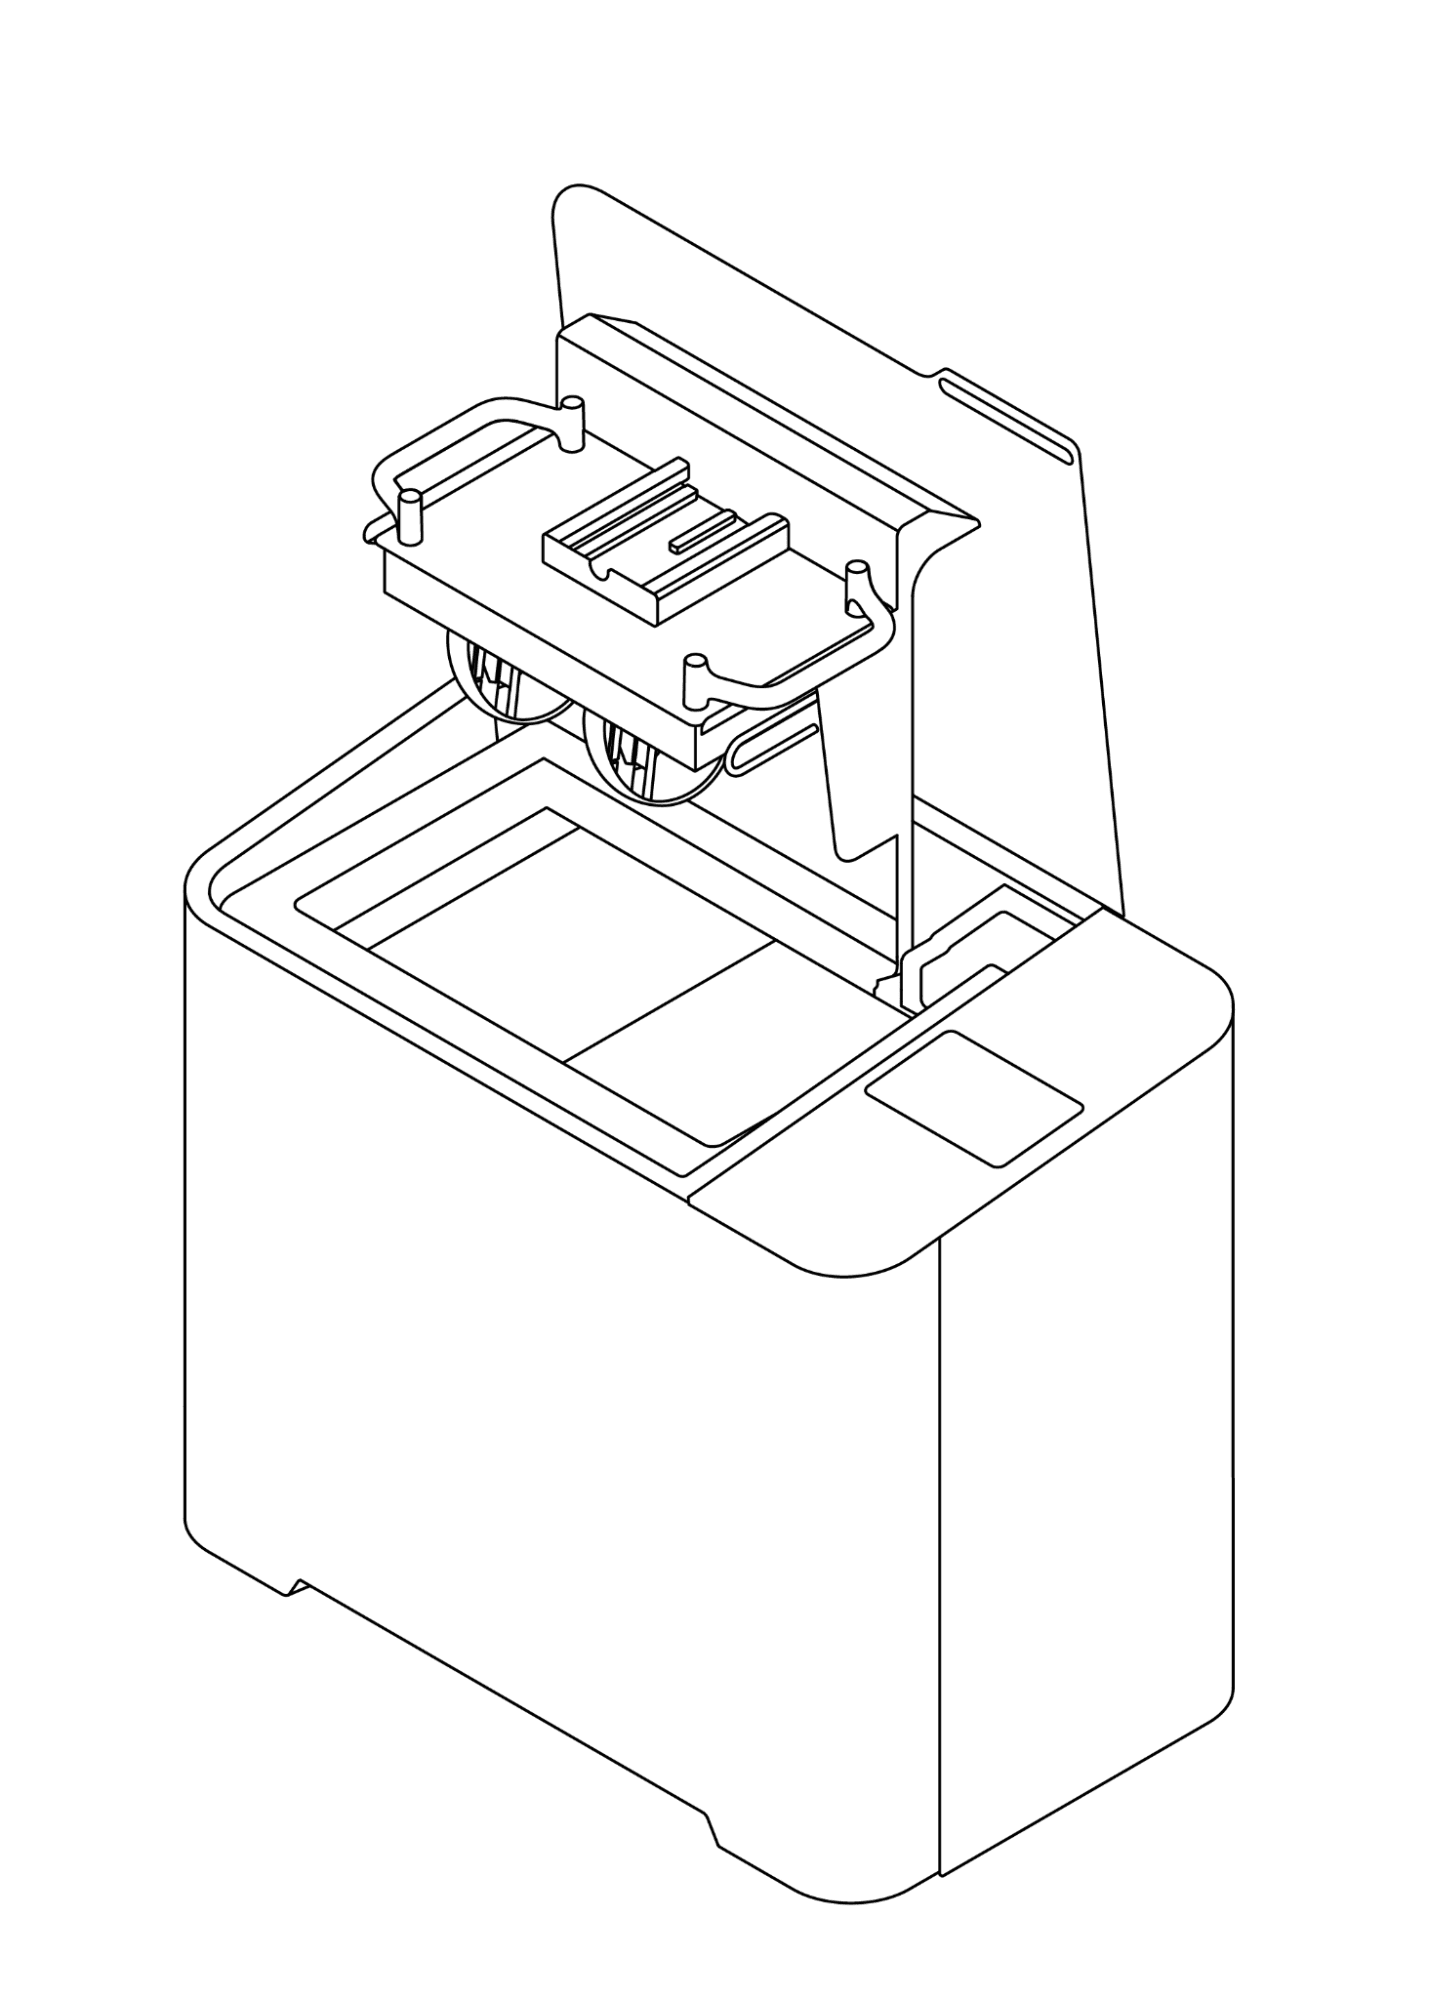
Install the Form Wash L Universal Build Platform Adapter. Place the build platform with printed parts directly in the Form Wash L to clean parts before removal. Align the top lip of the build platform with the arms of the platform mount, and fully insert to touch the back.

Form 4L Build Platform

Form 4 Build Platform

Install the Form Wash L Universal Build Platform Adapter. Place the platform mount adapter, stored on the inside of the Form Wash L door, on the arms of the platform mount. Align the top lip of the build platform with the arms of the platform mount adapter, and fully insert to touch the back.

Form 4 Build Platforms

Form 3L Build Platform

Place the build platform with printed parts directly in the Form Wash L to clean parts before removal. Align the top lip of the build platform with the arms of the platform mount, and fully insert to touch the back.

Form 3 Build Platform

Place the platform mount adapter, stored on the inside of the Form Wash L door, on the arms of the platform mount. Align the top lip of the build platform with the arms of the platform mount adapter, and fully insert to touch the back.

Individual printed parts

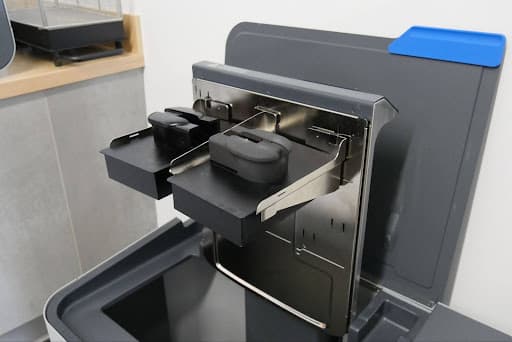
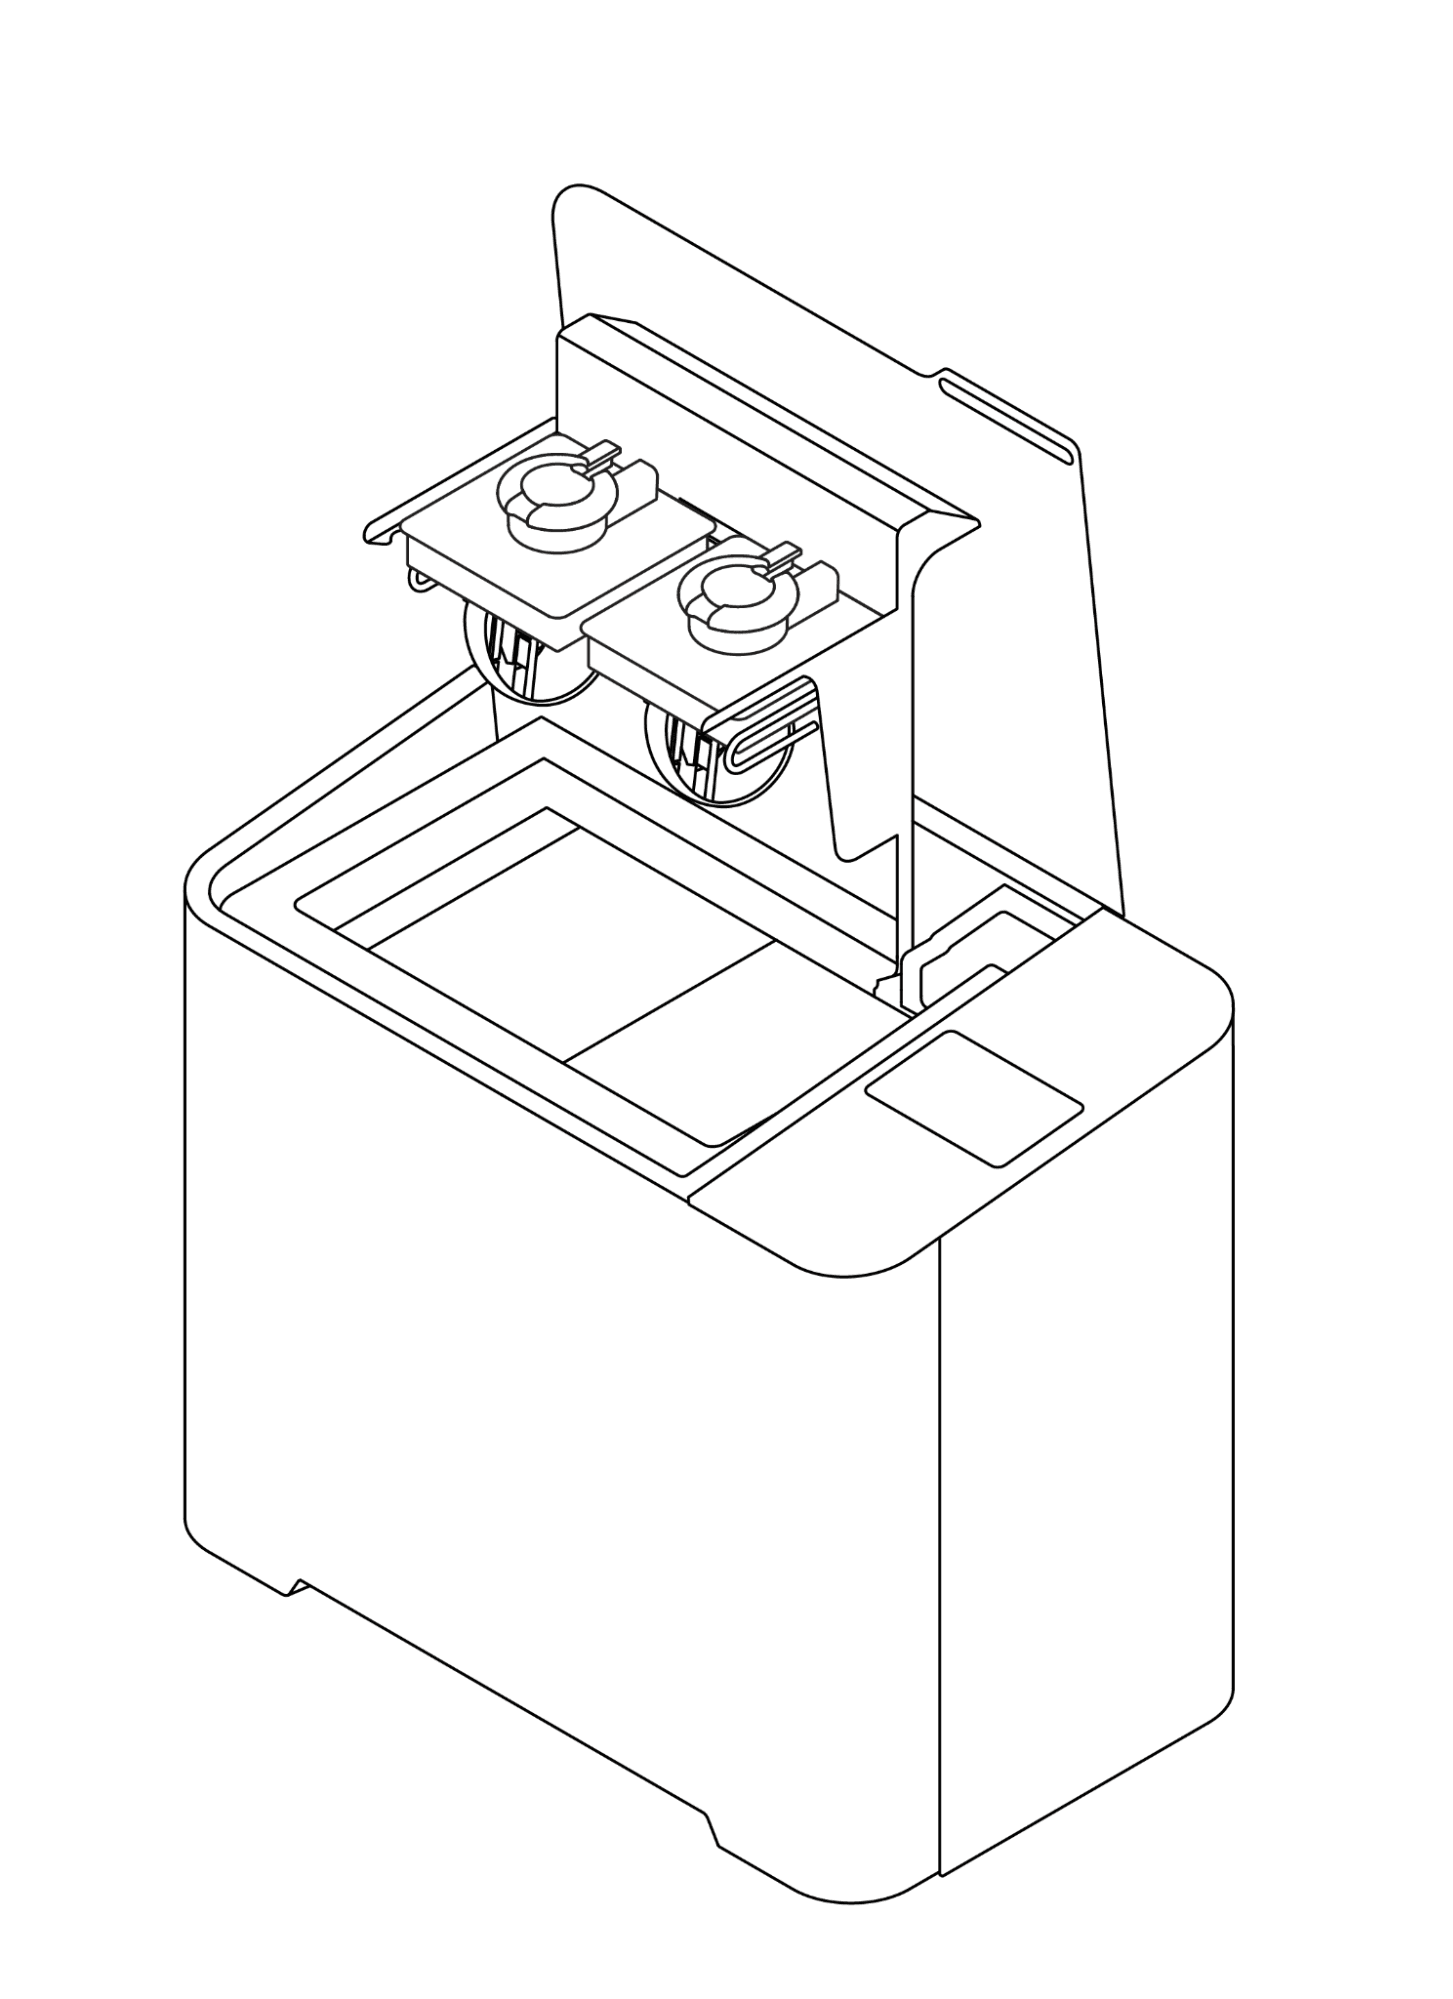
Place parts directly in the basket after removing them from the build platform using the removal tool, scraper, or flush cutters. The basket comes installed in the Form Wash L.

Setting the wash time based on part geometry

The Form Wash L has preset wash cycles including Quick, Default, and Long. There are also additional settings for resins for biocompatible applications. You can also set a custom wash time. You may need to adjust the recommended wash time depending on the size of your printed parts, their geometry, and the purity and type of your solvent.

To set the wash time based on printed part geometry:

  1. Tap Wash Type. The Select Wash Type screen appears.
  2. Depending on the geometry of the parts you are washing, tap Quick Wash, Default Wash, or Long Wash for a 5, 10, or 20 minute wash cycle, respectively.
  3. Tap the i icon under each preset to learn more about the preset, or tap Guidelines to learn more about best practices for washing printed parts.
  4. Tap Start. The wash cycle begins when the platform and basket lower. Ensure that the outer lid closes and is not obstructed.

Setting the wash time for biocompatible workflows

Note:

Always follow the relevant Instructions for Use when making a biocompatible printed part.

Resins that can be used to create biocompatible parts, such as Surgical Guide Resin and BioMed Amber Resin, have specific wash guidelines in their Instructions for Use. To set the wash time based for biocompatible workflows:

  1. Tap Wash Type. The Select Wash Type screen appears.
  2. Tap GuidelinesThe Guidelines for Best Wash Results screen appears. Scroll down to select a wash time for biocompatible workflow.
  3. Tap the i icon under each preset to learn more about the preset.
  4. Tap Start. The wash cycle begins when the platform and basket lower. Ensure that the outer lid closes and is not obstructed.

Setting a custom wash time

You may find that a custom wash time, different from the presets on the Form Wash L, best fits your workflow. To manually set a custom wash time:

  1. Tap Wash Type. The Select Wash Type screen appears.
  2. Tap Custom Time. The Custom Wash screen appears.
  3. Use the touchscreen to select your desired wash time, up to 99:99. Once you have set the wash time, tap Done.
  4. Tap Start. The wash cycle begins when the platform and basket lower. Ensure that the outer lid closes and is not obstructed.

Adjusting the wash time

Depending on the size of your printed parts, their geometry, and the purity and type of solvent, you may need to adjust the recommended wash time.

To adjust the wash cycle time:

  1. Tap the square stop icon on the Washing screen.
  2. Tap Wash Type, then adjust the wash time.
  3. Tap Start. The wash cycle continues when the platform and basket lower. Ensure that the outer lid closes and is not obstructed.

Draining and drying parts

The platform mount and basket raise automatically at the end of the wash cycle. Solvent drains into the wash bucket as parts dry.

Carefully check and drain concave or hollow geometries that may hold additional solvent. Remove residual liquid before drying to avoid fully or partially cured resin in unwanted areas. Compressed air may be helpful to empty internal channels before drying. To begin the next wash immediately, dry the parts outside of the Form Wash L.

Allow parts to dry completely after washing and draining. Solvents that do not evaporate readily, such as tripropylene monomethyl ether (TPM), should be washed off parts with a secondary water rinse.

Tilt feature

To help with drainage, the Form Wash L tilts the platform mount to the side for two minutes after the wash cycle completes.

To disable the tilt feature:

  1. Tap the wrench icon. The Settings screen appears.
  2. Tap the Tilt Mode toggle. The toggle turns grey.

After washing

When a part has completed a wash cycle in the Form Wash L:

Tip:

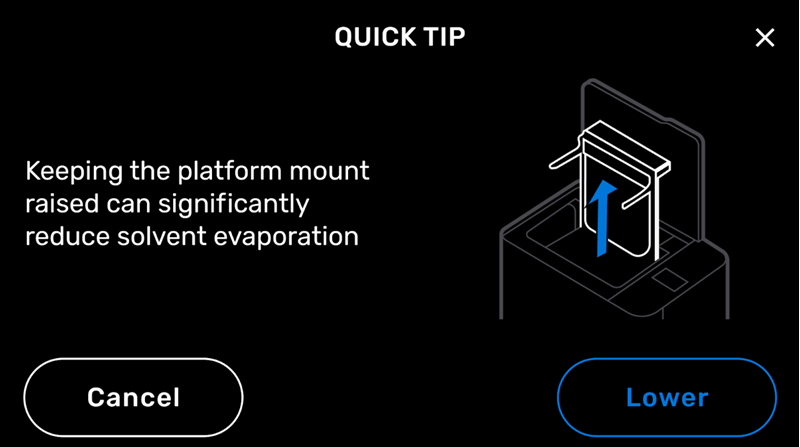
Leave the outer lid open and the platform mount in the raised position between uses to reduce the evaporation rate of your wash solvent. The inner lid produces a better seal than the outer lid while still not trapping hazardous amounts of solvent vapor. If the inner lid does not swing closed when the platform mount raises, adjust the gasket around the edge of the inner lid. Tap Cancel on the Quick Tip screen to leave the platform mount raised.