LIVRE BLANC
Formlabs Logo

Setting up your Form Auto

Setting up your Form Auto

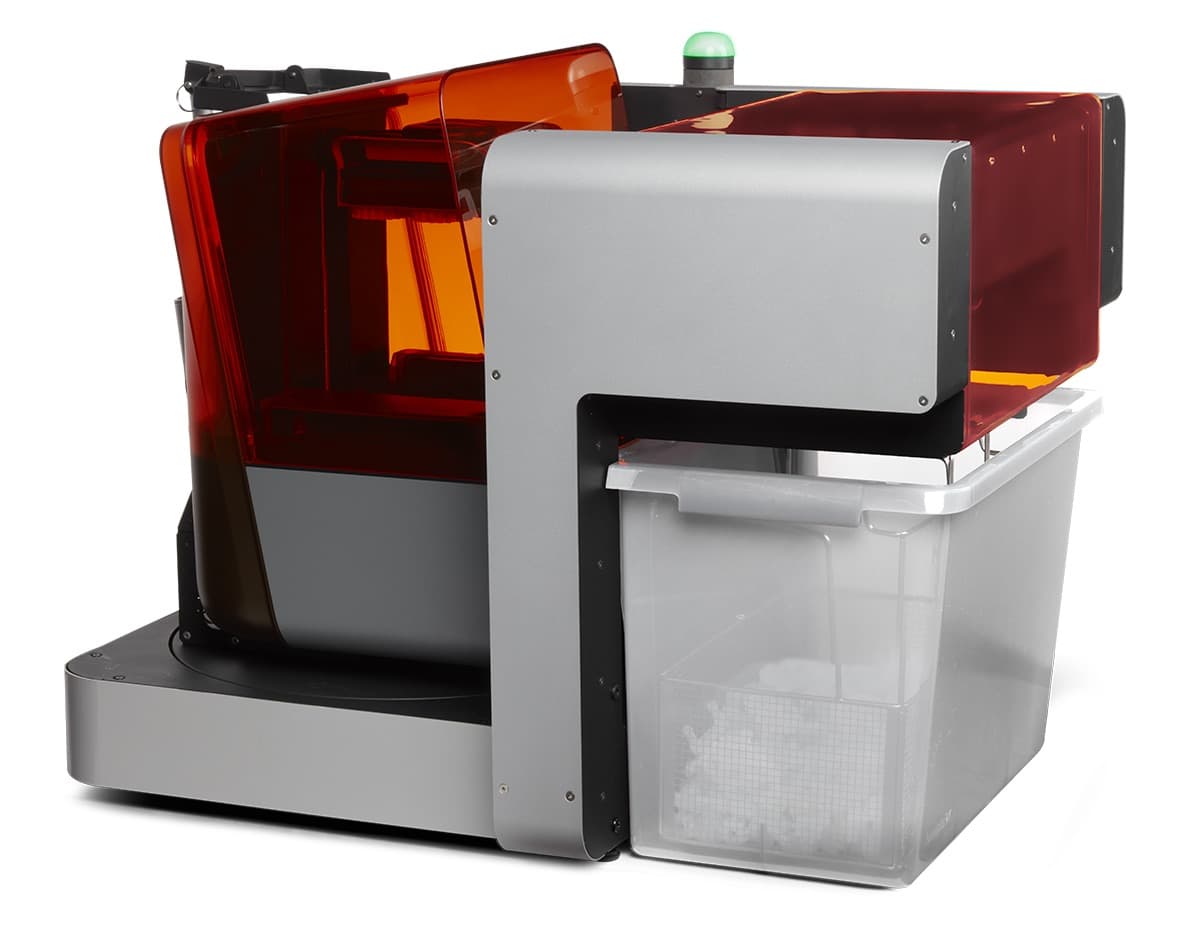
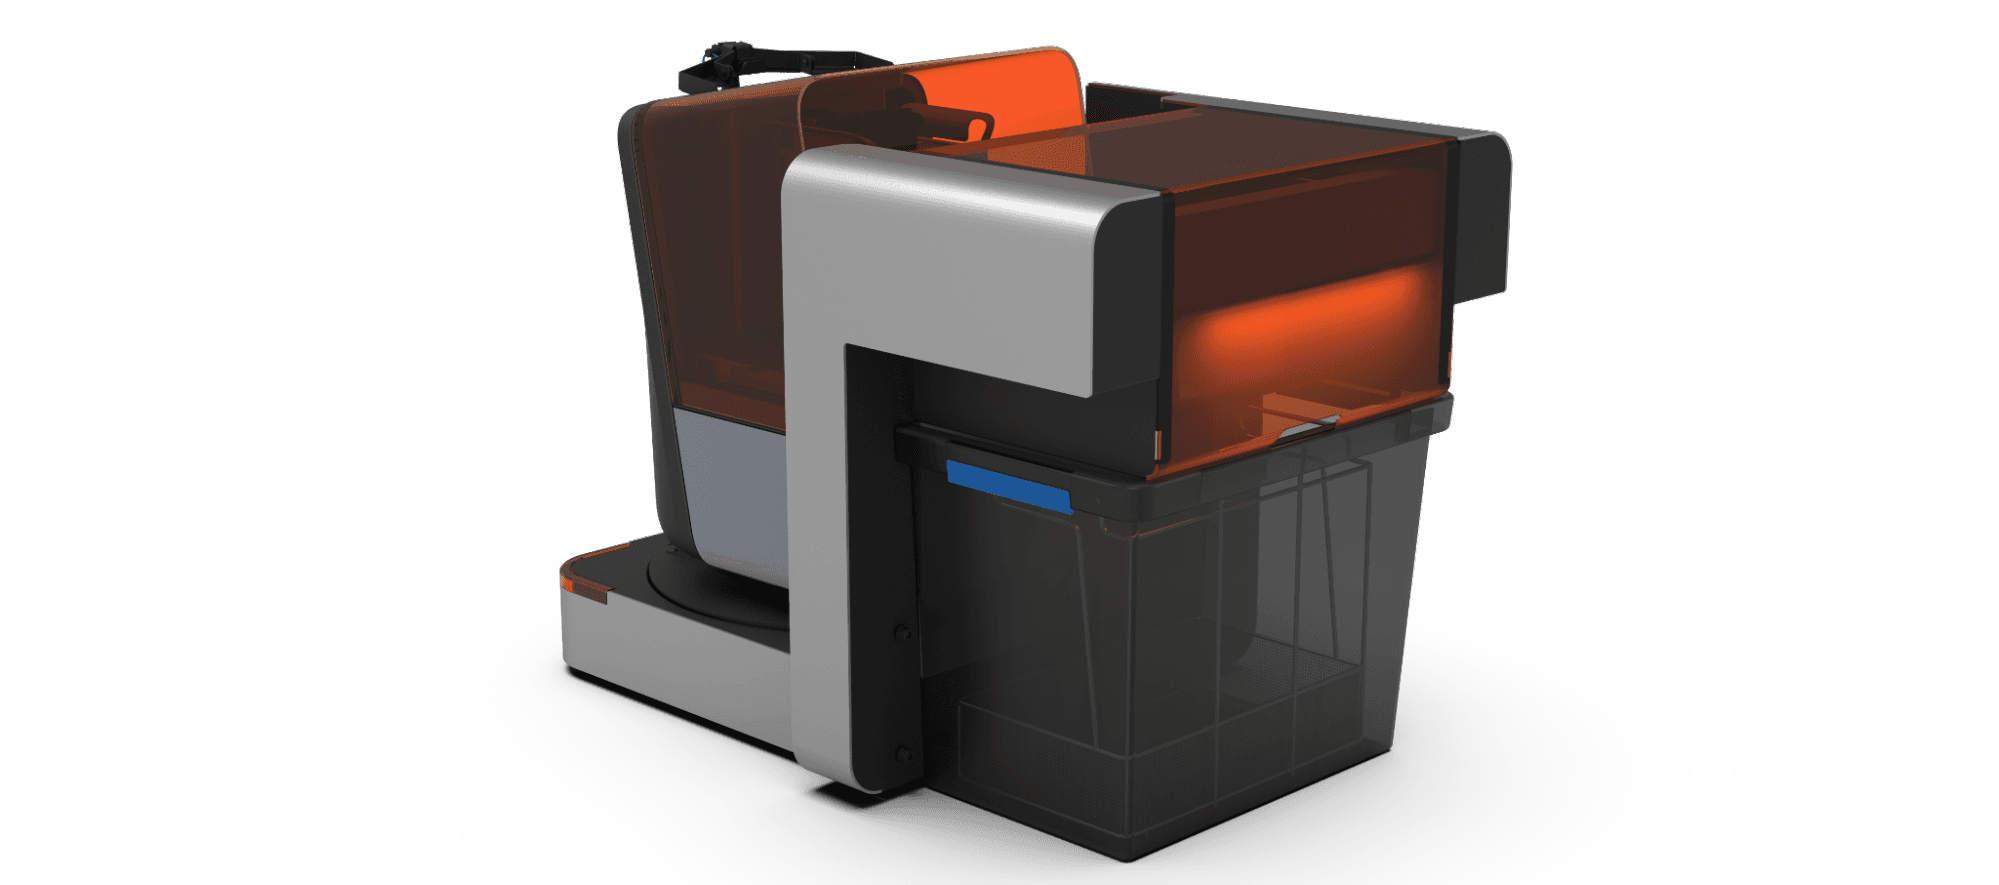
The Form Auto uses a mechanized base and part collection unit to turn a printer from the Formlabs Form 3 product line into a fully automated standalone print farm. Combine one or more Form Autos with Dashboard and Fleet Control to upload print jobs remotely, manage your print queue, and more.

Form Auto with a Form 3 installed

After receiving and unboxing your Form Auto, finish setting it up and prepare for your first print.

Installing the part removal enclosure

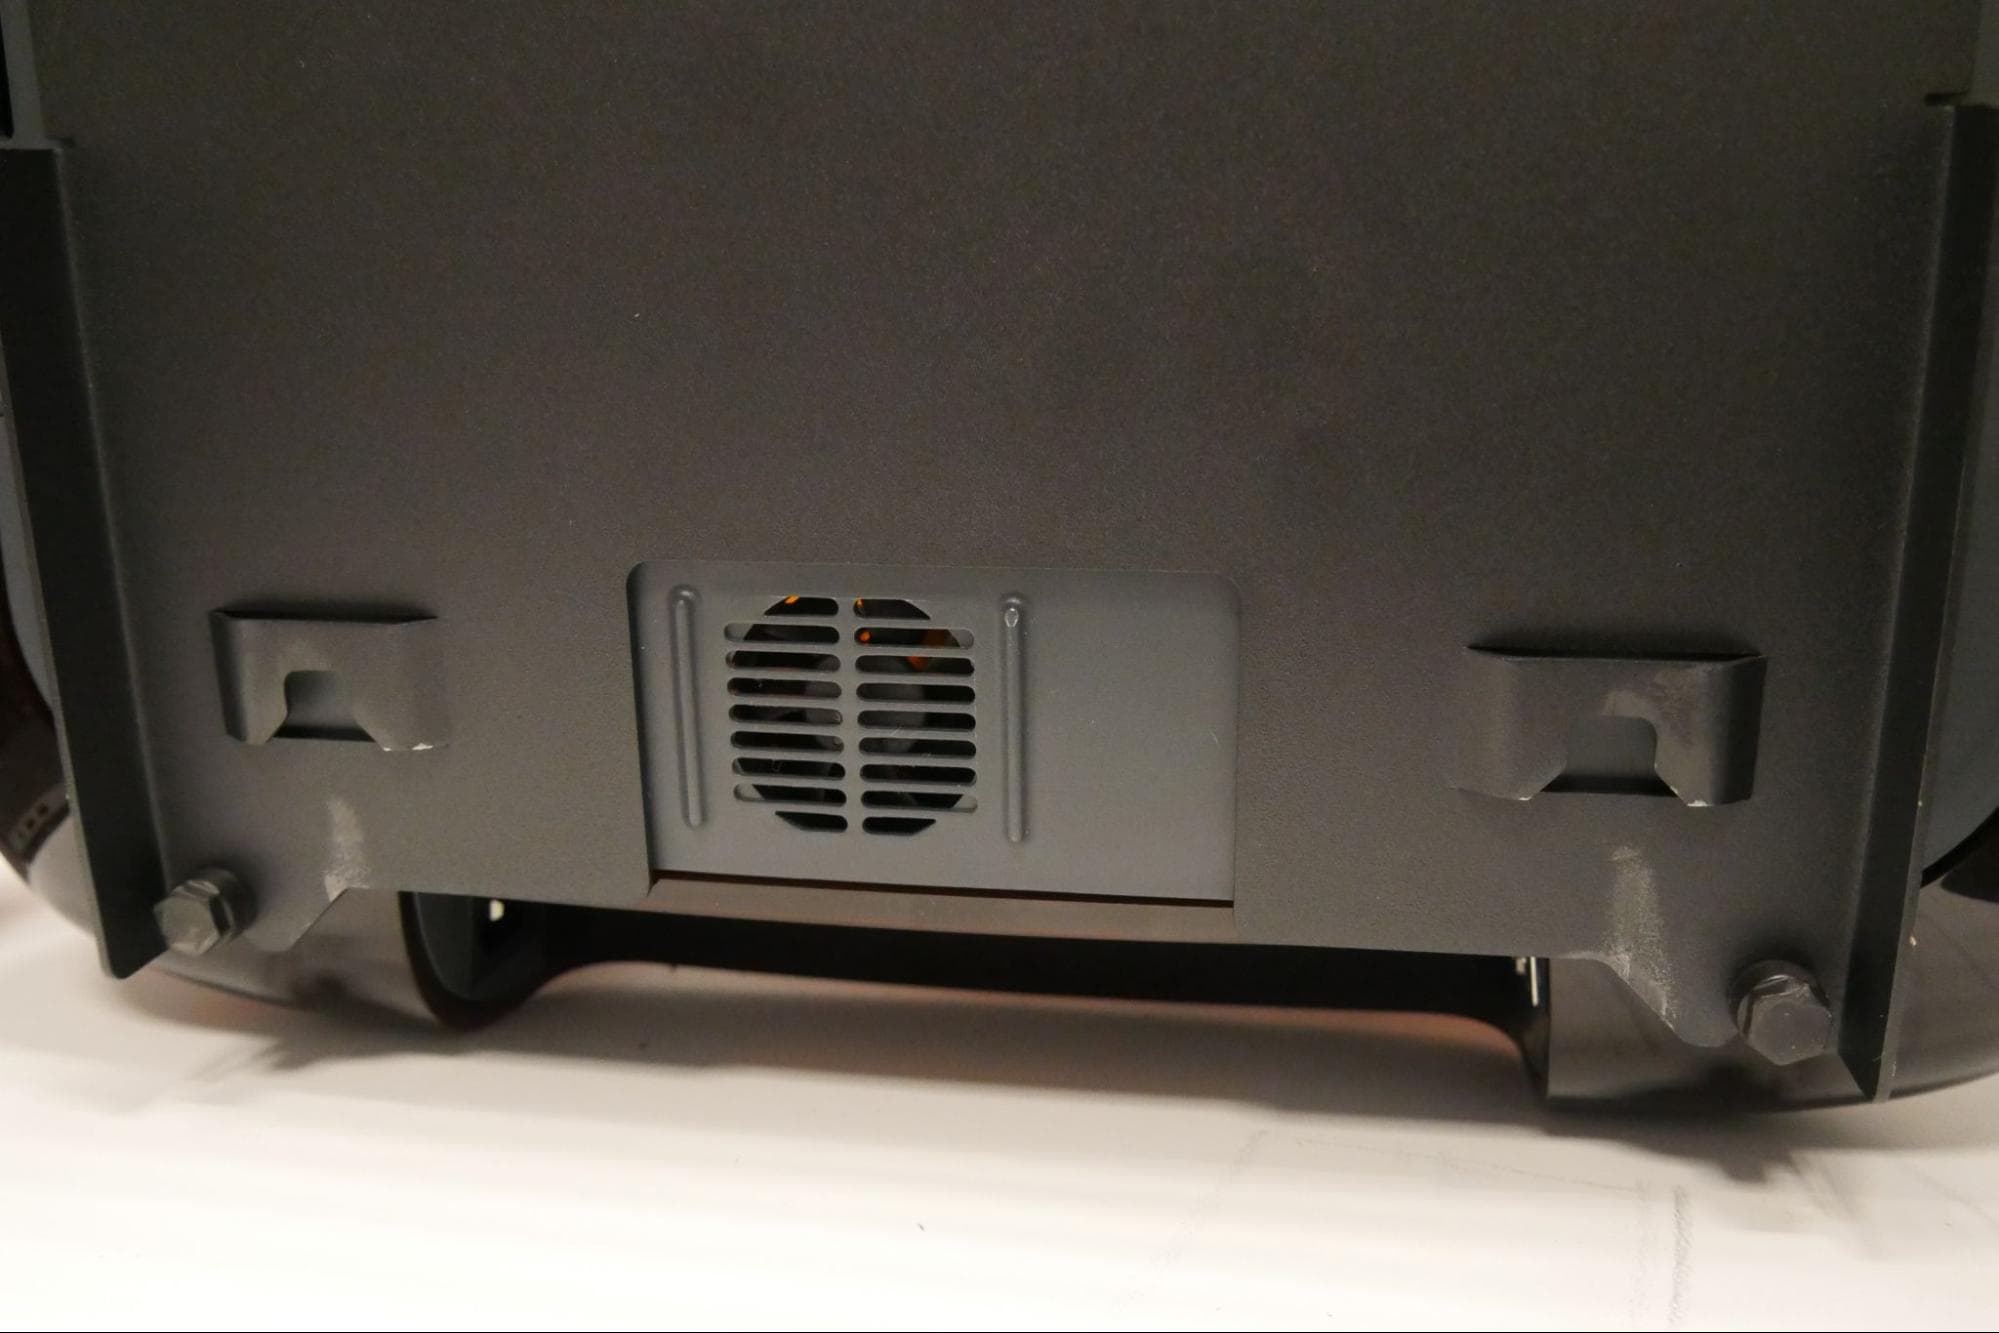
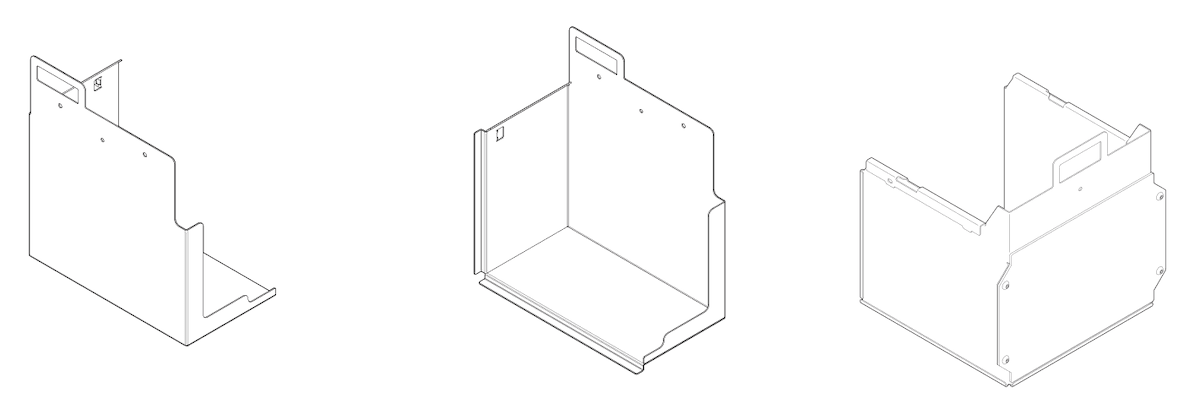
Included in the Form Auto box are three metal brackets that form the Form Auto part removal enclosure. The part removal enclosure receives the automatically-released printed parts from the printer before depositing them into the part release bin. The part removal enclosure consists of two side brackets and one rear bracket.

Form Auto part removal enclosure components

To install the part removal enclosure:

  1. Remove the part removal enclosure from the accessories box.
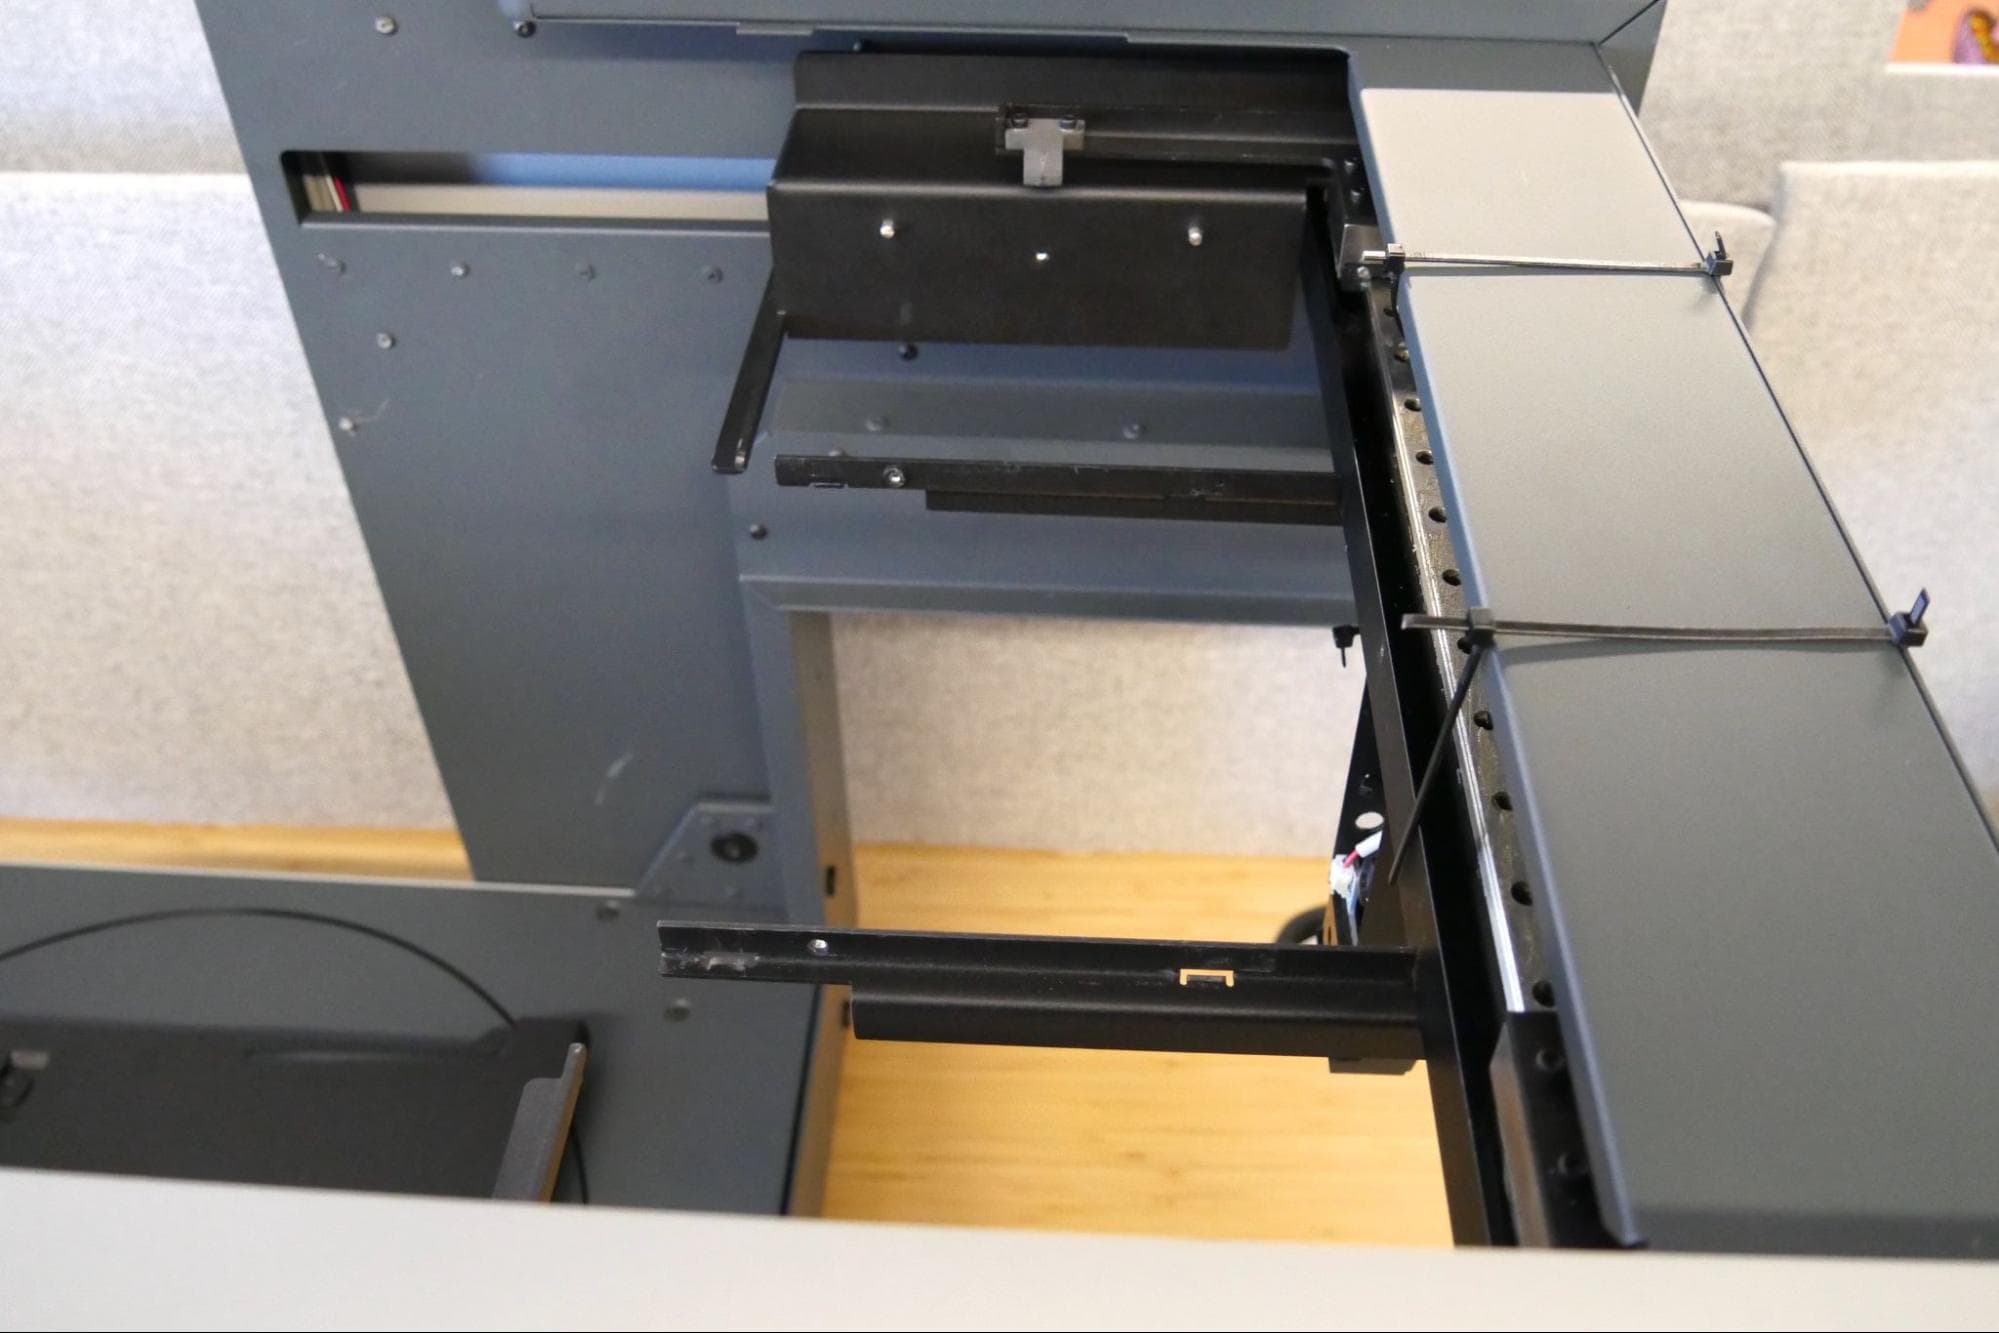
  2. Remove the zip ties from the part removal mechanism.
Unsecuring the part removal mechanism
  1. Slide the rear bracket onto the support arms on the part removal mechanism. When the rear bracket is fully installed, it sits flush against the part removal mechanism and is held in place by the hooks on the support arms.
  1. Thread a part catch thumb screw into the screw hole in the middle of the rear bracket wall. Tighten until snug.
  2. Locate the left bracket. Install the bracket by hooking it onto the two pins and the arm on the left side of the Form Auto part removal mechanism (as viewed from the Form Auto base).
  1. Thread one of the part removal enclosure thumb screws into the screw hole in the middle of the left bracket wall. Tighten until snug.
  2. Repeat steps 5 and 6 for the opposite side. Reserve the remaining two thumb screws as spares.

Installing a printer onto the Form Auto

After setting up the Form Auto, prepare your printer and install it onto the machine.

Notice:

Your Form 3 generation printer must have firmware 2.1.0 or later installed before connecting it to the Form Auto. Update your printer’s firmware before connecting it to the Form Auto. Do not connect a printer with an earlier firmware version to a Form Auto or you may damage the machine.

Preparing the printer

If you are using a new printer with your Form Auto, unbox it and remove all packaging from the machine. If your printer is already in use, be sure to clean it thoroughly before installing it onto the Form Auto.

New printerPrinter in use
  1. Unbox the printer.
  2. Uninstall the LPU shipping bracket.

Note:

Do not power on the printer at this time. Power on the printer and complete the on-screen onboarding steps after installing the printer onto the Form Auto.

  1. Remove and store the build platform, resin cartridge, and resin tank.
  2. Unplug the power, USB, and Ethernet cables from the printer.
  3. Thoroughly clean the printer of any liquid resin.

Warning:

Resin may cause skin irritation or an allergic skin reaction. Wear gloves when handling liquid resin or resin-coated surfaces. Wash skin with plenty of soap and water.

Note:

The Form Auto does not come with its own power cable. Save your printer’s power cable to use with the Form Auto.

Replacing the cover bracket

The Form Auto comes packaged with a replacement printer cover bracket that enables the cover actuator to open and close the printer cover during use. To replace the cover bracket:

  1. Remove the cover bracket, the cartridge slot cover, and the two halves of the cardboard cover brace from the accessories box.
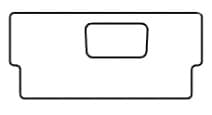
  2. Place the included cartridge slot cover onto the cartridge slot opening. It is shaped to fit the cartridge slot opening and has a cutout that fits over the printer status light. The cartridge slot cover prevents the cover bracket screws from falling into the cartridge slot.
Form Auto cartridge slot cover
  1. The cover is attached to the underside of the hinge by four 2.5 mm hex screws. Open the cover to access the screws.
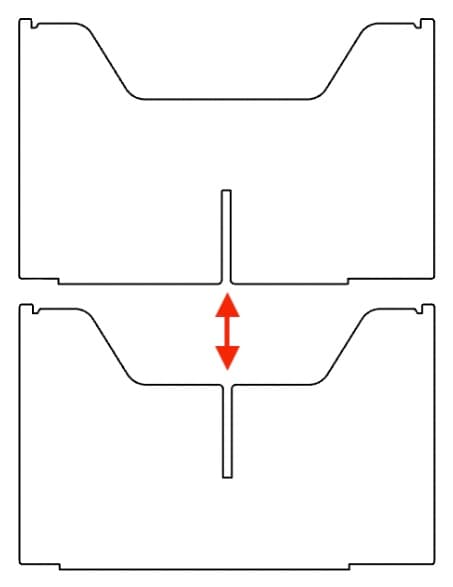
  2. Interlock the two halves of the cover brace to form an X-shaped brace.
Assembling the Form Auto cover brace
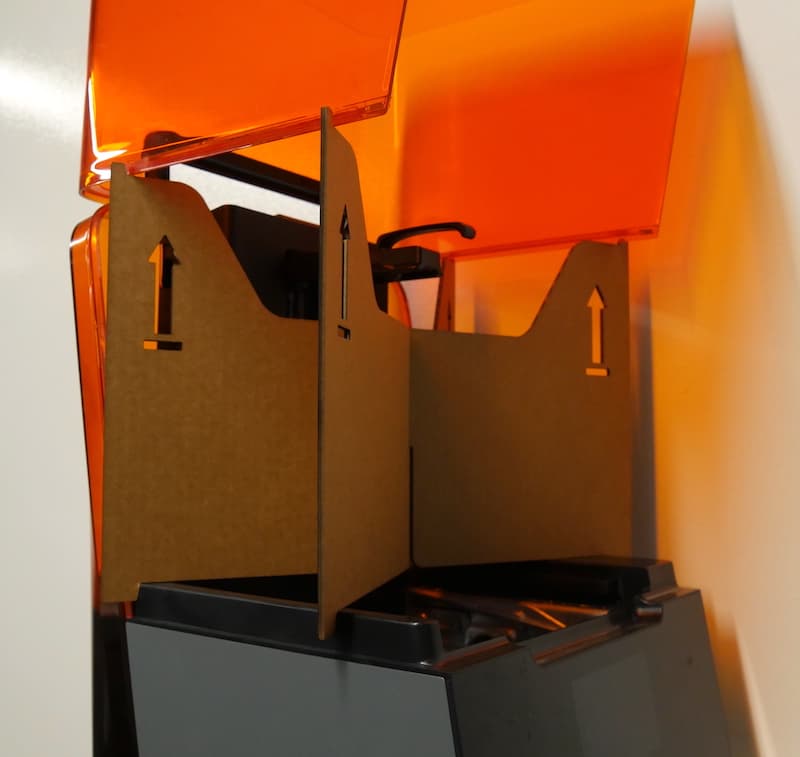
Form 3 with cover brace installed
  1. Place the brace underneath the cover so that it spans the printer cavity. Ensure that the cover is supported by all four corners of the brace.
  2. Using a 2.5 mm hex driver, fully loosen and remove the four screws holding the cover to the hinge. The cover is supported entirely by these four screws—if possible, have someone hold the cover and bracket at the top of the hinge steady while you remove them.
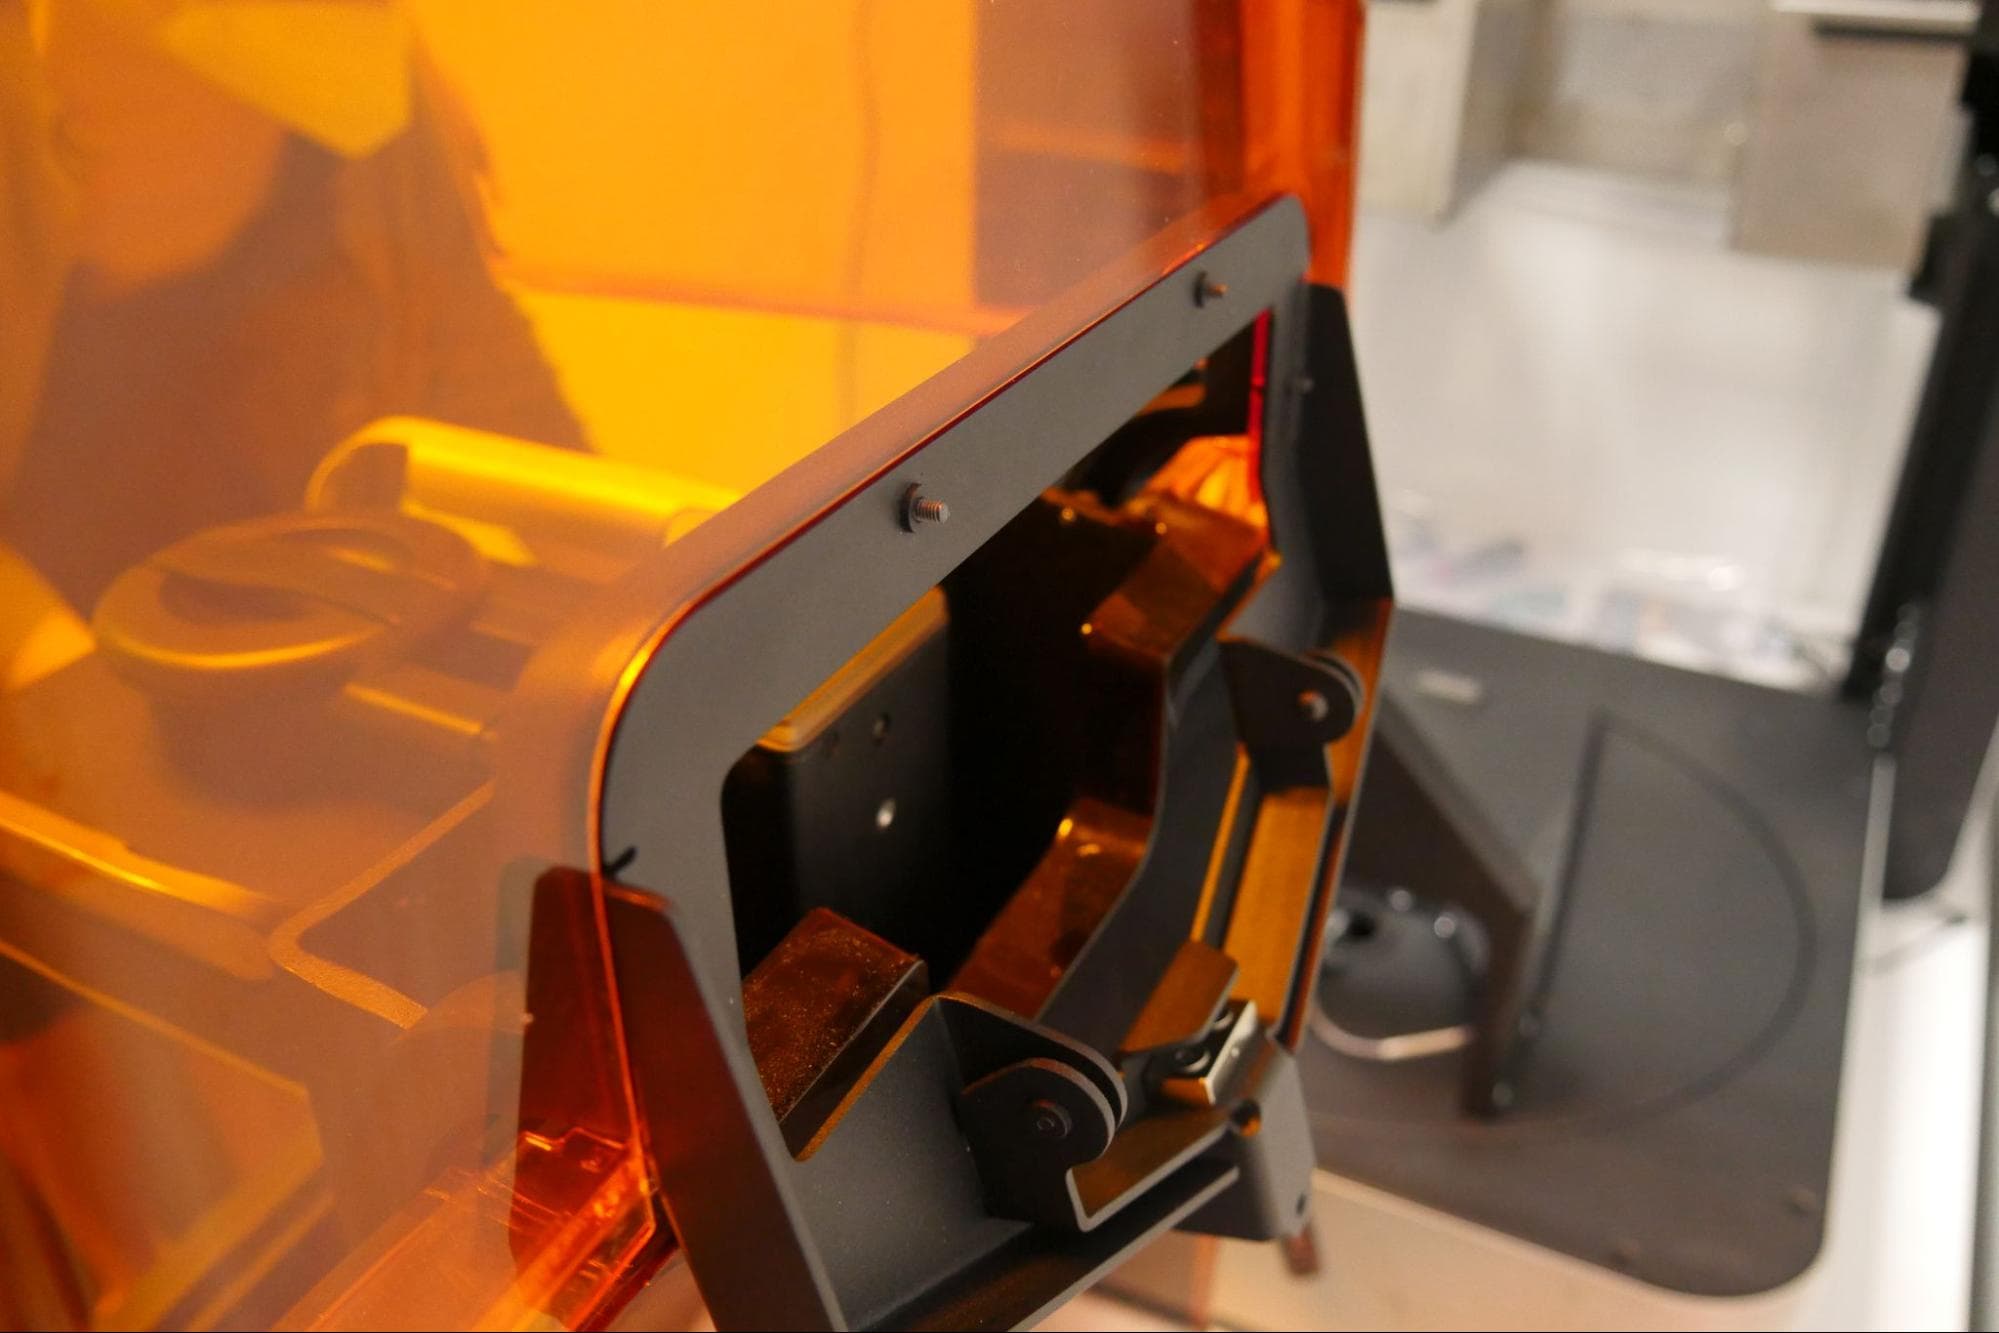
  3. Remove the bracket at the top of the hinge (now facing the back of the printer) and set aside. Leave the cover resting on the cardboard brace.
  4. Orient the printer so you can access the back of the machine.
  5. Remove the Form Auto bracket from the accessories box.
  6. With the cover resting on the cardboard brace, ensure that the four screw holes in the cover line up with the holes in the hinge.
  7. Position the Form Auto cover bracket so that the cover is sandwiched between the hinge and the flat face of the bracket. Align the four screw holes in the bracket with the four holes in the cover and hinge.
  8. Insert each of the four cover bracket screws from the accessories box (M3 x 0.5, 18 mm long) into their holes in the bottom face of the hinge (from the inside of the cover). Tighten with a 2.5 mm hex driver until snug.
replacement bracket screw

Note:

The hinge screws stick through the bracket when fully tightened.

Installing the base adapter plate

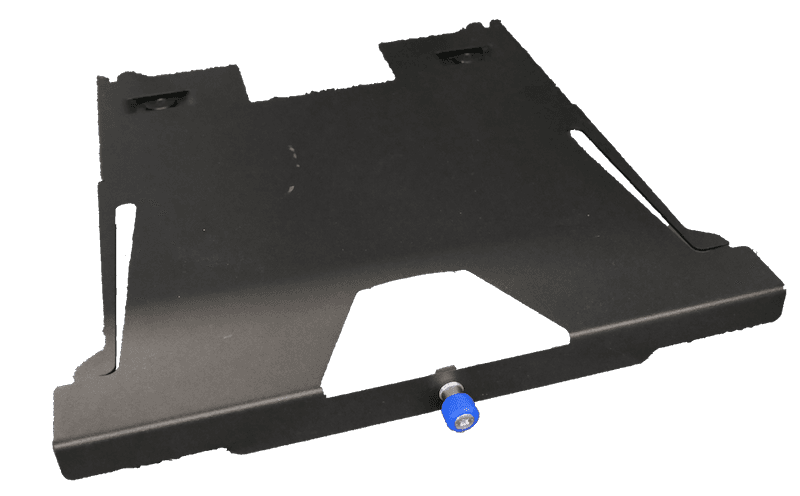
Install the included base adapter plate onto your printer in order to mount it to the Form Auto.

  1. Remove the base adapter plate from the accessories box.
  2. Gently lay the printer on its back. The printer can safely rest on the replacement cover bracket.
Form Auto base adapter plate
  1. Loosen but do not remove the four leveling feet on the bottom of the printer.
  2. For each leveling foot, slide any washers away from the bottom of the printer.
Form 3 leveling feet washers
  1. Orient the base adapter plate with the thumb screw facing up and the bent sheet metal tabs facing away from the bottom of the printer. Press the plate flush against the bottom of the printer. Align the two slots at the bottom of the plate with the two rear leveling feet. Ensure that the two flexible metal tabs along the side of the plate are behind the front leveling feet.
  2. Slide the base adapter plate downward until the two flexible metal tabs along the side of the plate click into place behind the front leveling feet.
  3. Tighten all four leveling feet until finger tight to secure the base adapter plate.
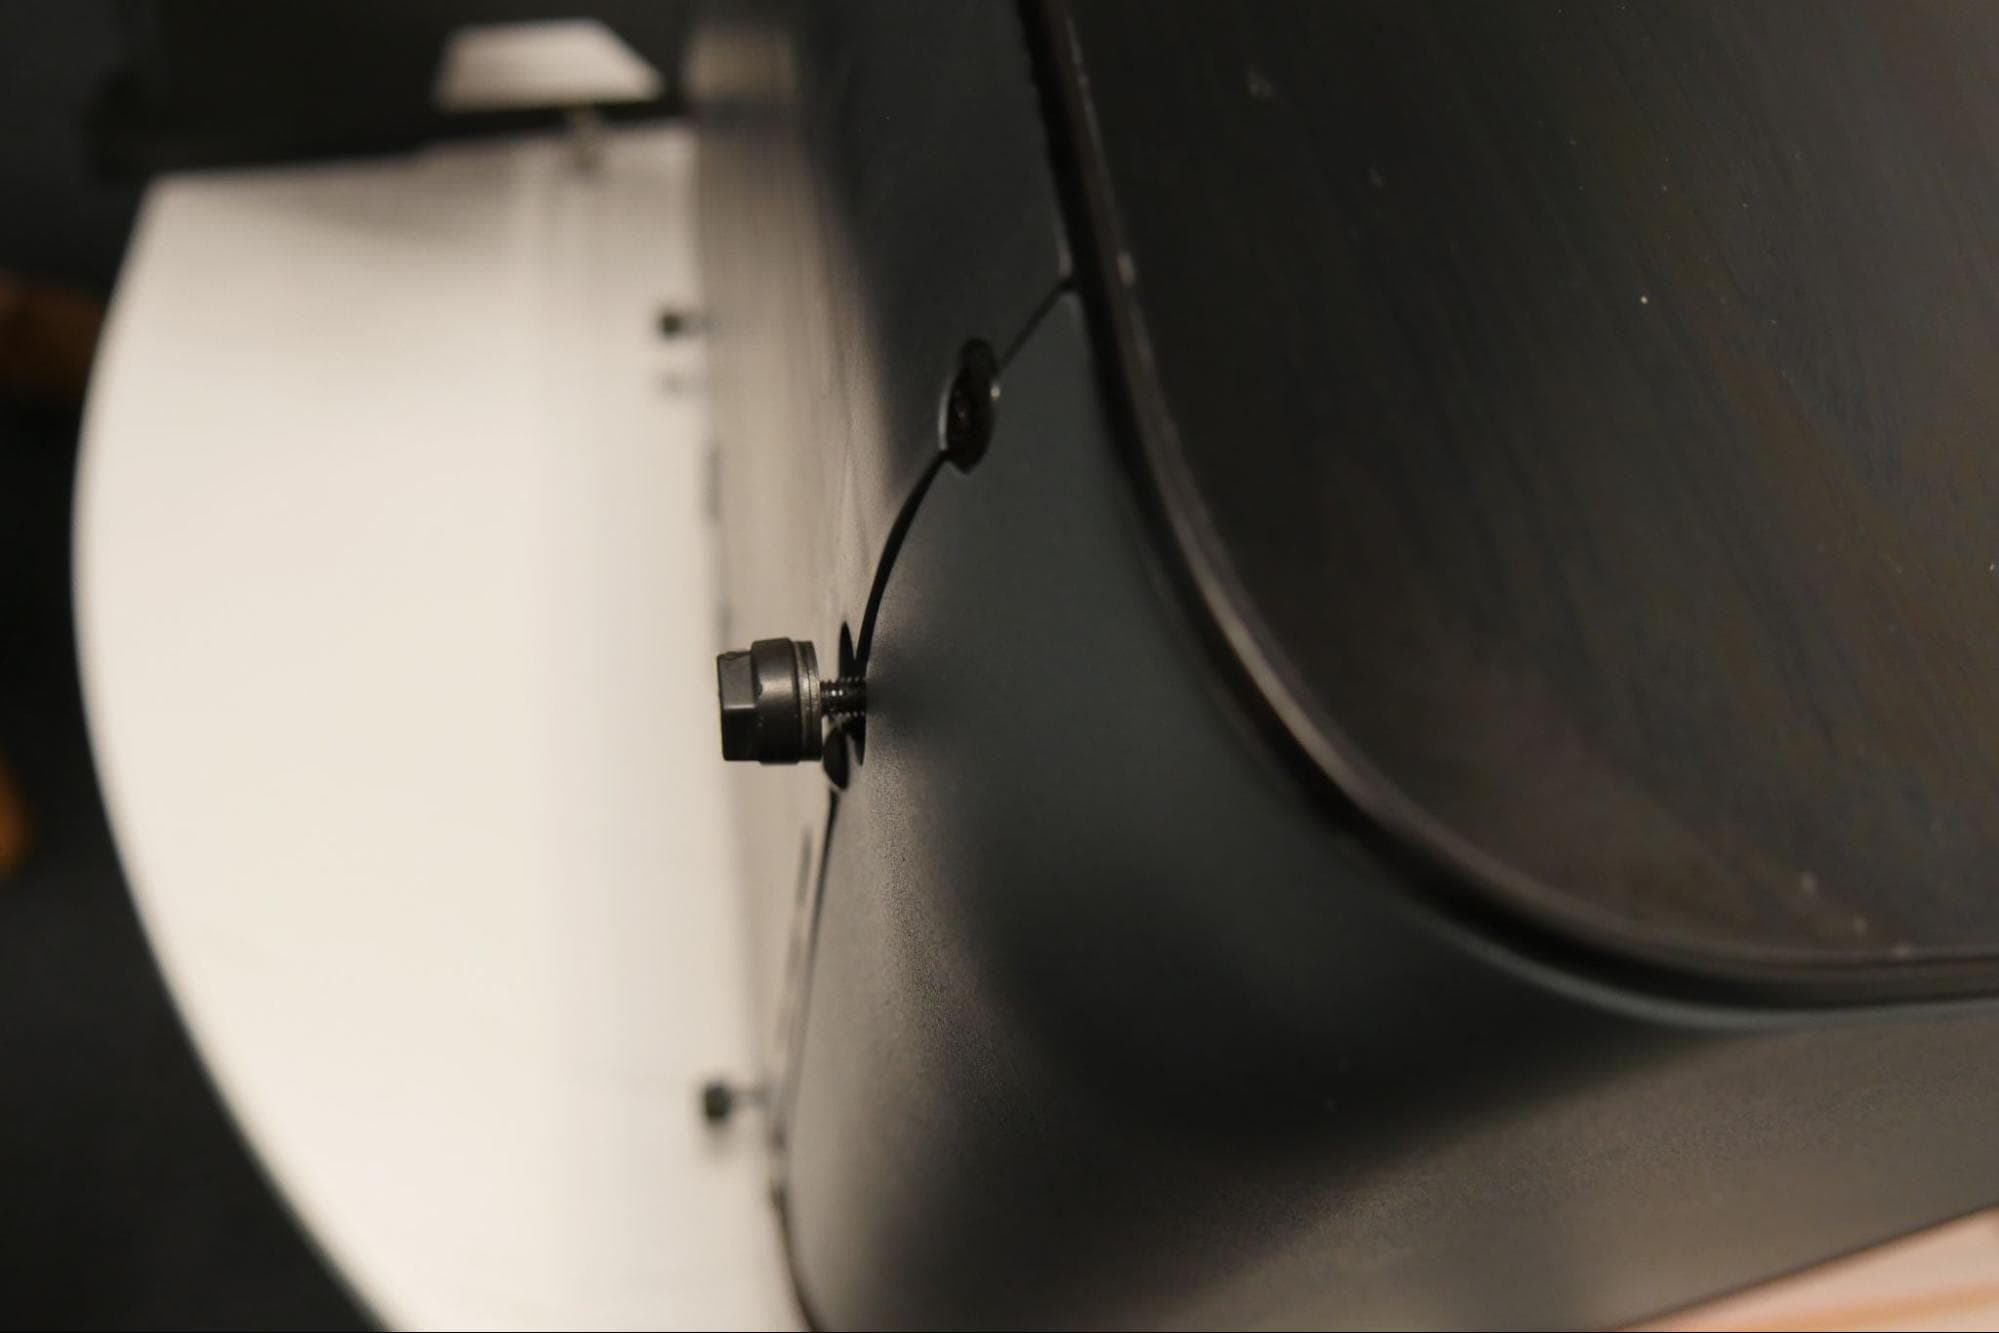
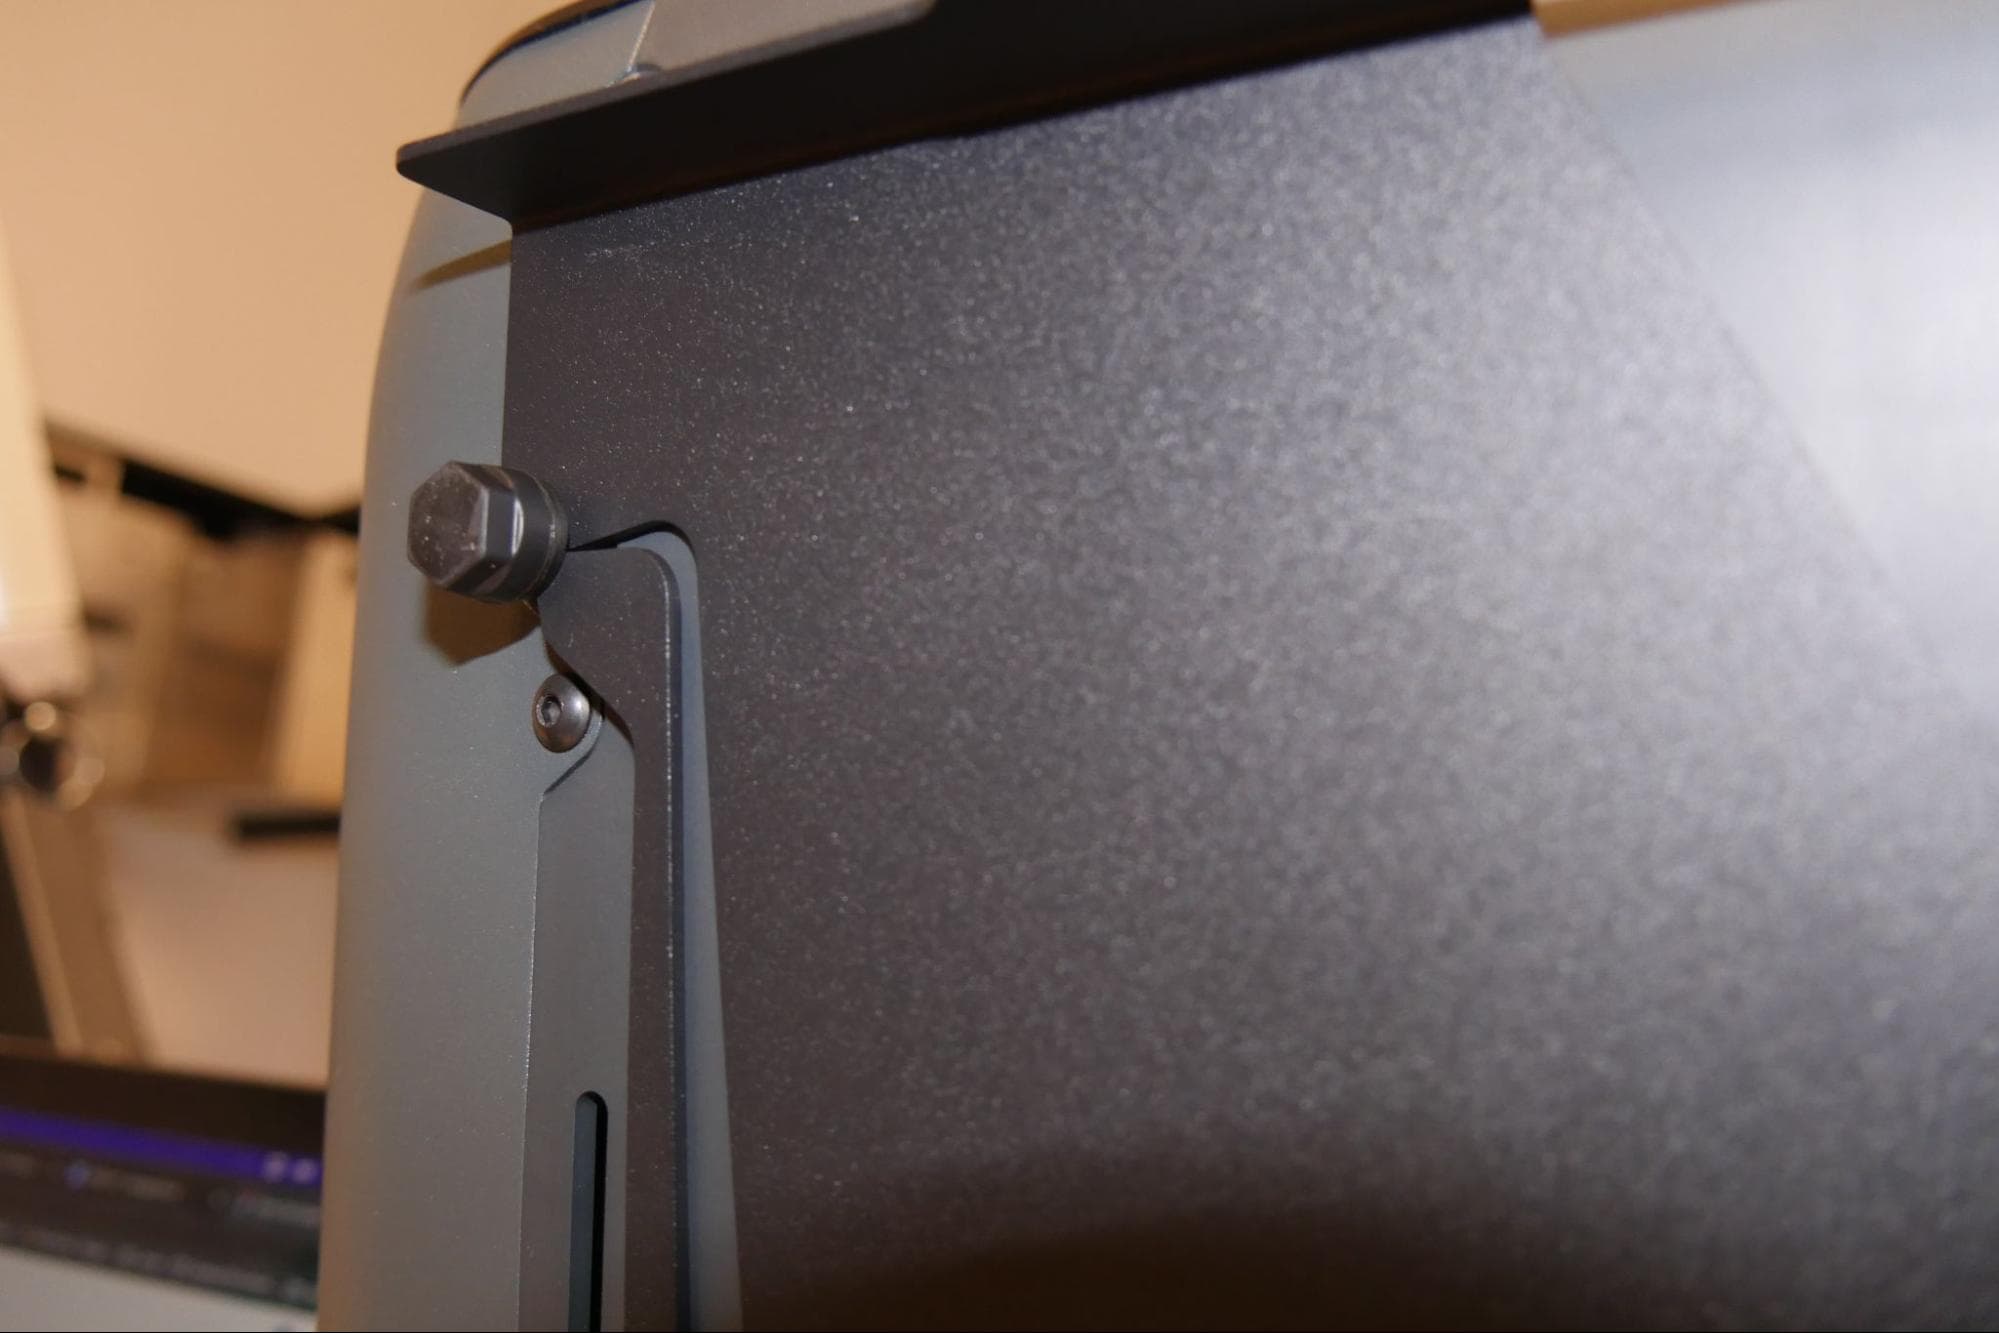
Upper mounting point for the base plate adapter
Lower mounting point for the base plate adapter

Installing the printer onto the Form Auto

After attaching the base adapter plate to your printer, slide it into place on the turntable:

  1. If you have not done so already, move the Form Auto to its final location.
  2. Stand the printer upright onto the adapter plate. To protect your work surface, consider placing the printer on a piece of cardboard or a protective sheet.
  3. Lift the printer onto the Form Auto, centering it on the front of the turntable.
  4. Slide the printer back, towards the cover actuator, until it reaches a hard stop. When fully seated, the printer does not move when pulled forward.
  5. Tighten the thumb screw at the front of the base plate by hand or with a Phillips head driver until finger tight.

Attaching the cover actuator

The Form Auto has an actuator that opens and closes the printer cover automatically. To connect the actuator to the cover bracket:

  1. Rotate the printer into the printing position.
  2. Press the plunger on the lock pin at the top of the cover actuator and slide it out of the actuator.
  3. Open the printer cover.
  4. Align the holes in the cover bracket with the hole in the cover actuator.
Aligning the Form Auto cover actuator with the printer cover bracket
  1. Press the plunger on the lock pin and insert it through the aligned holes in the cover bracket and cover actuator. Release the plunger and check that the lock pin is securely in place.
Securing the cover actuator

Adjusting the cover actuator

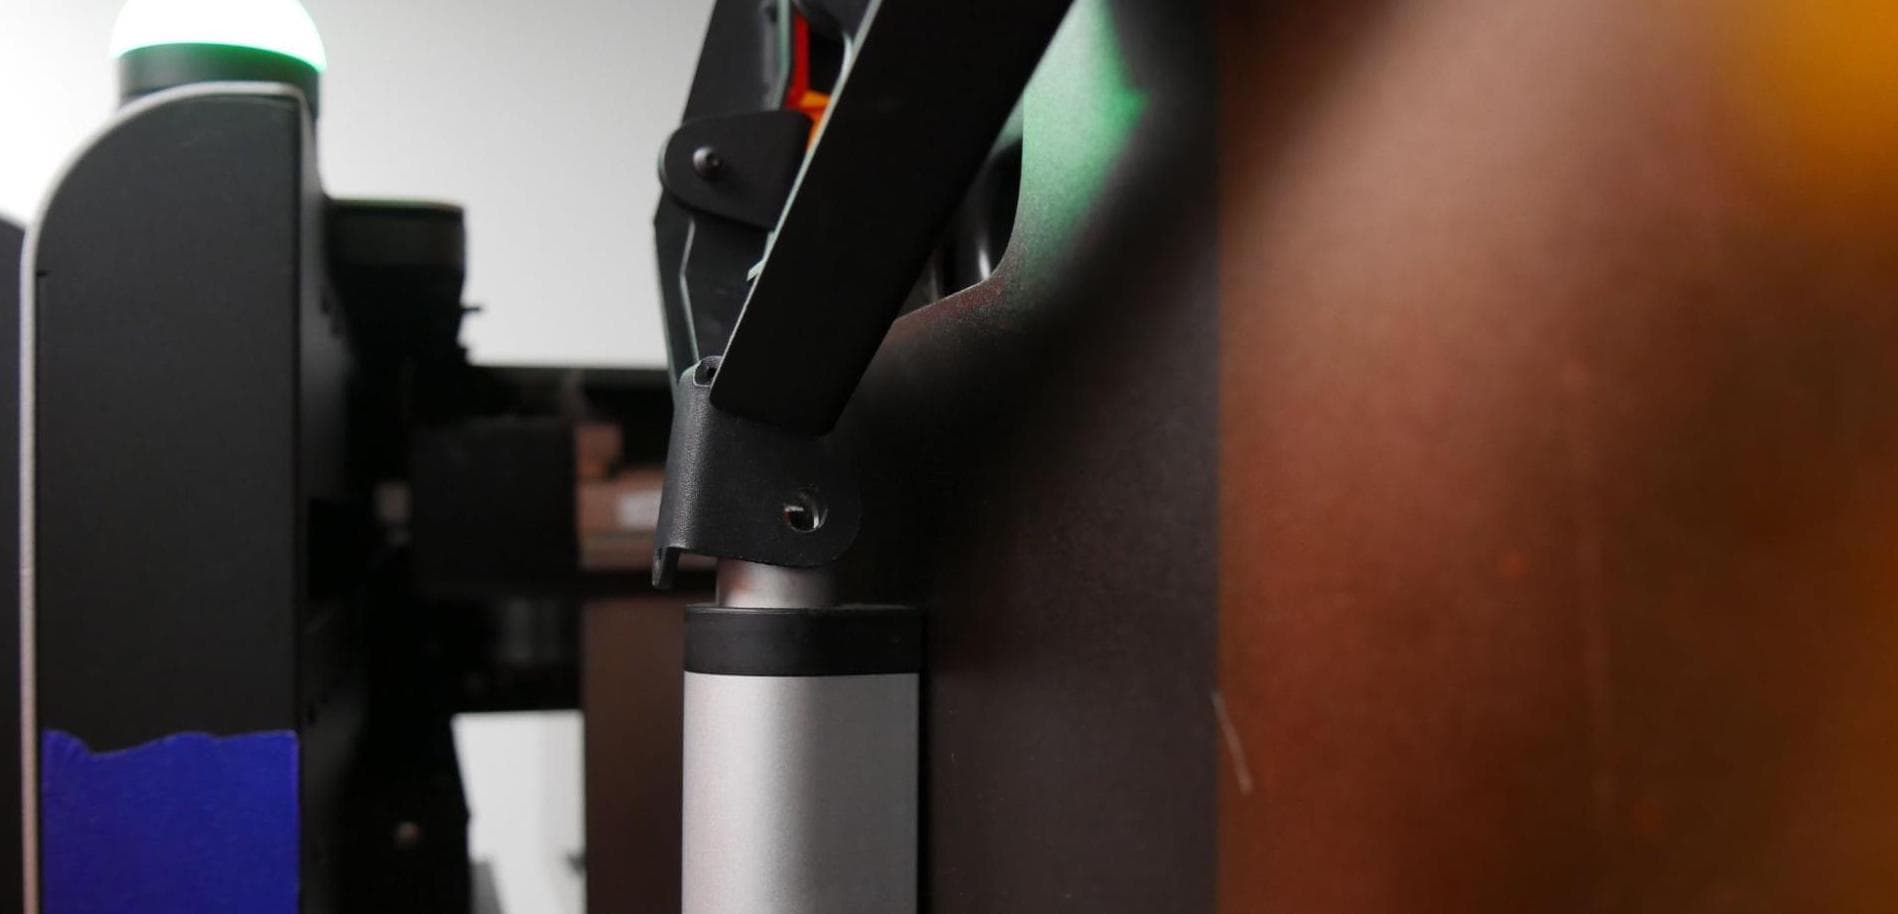
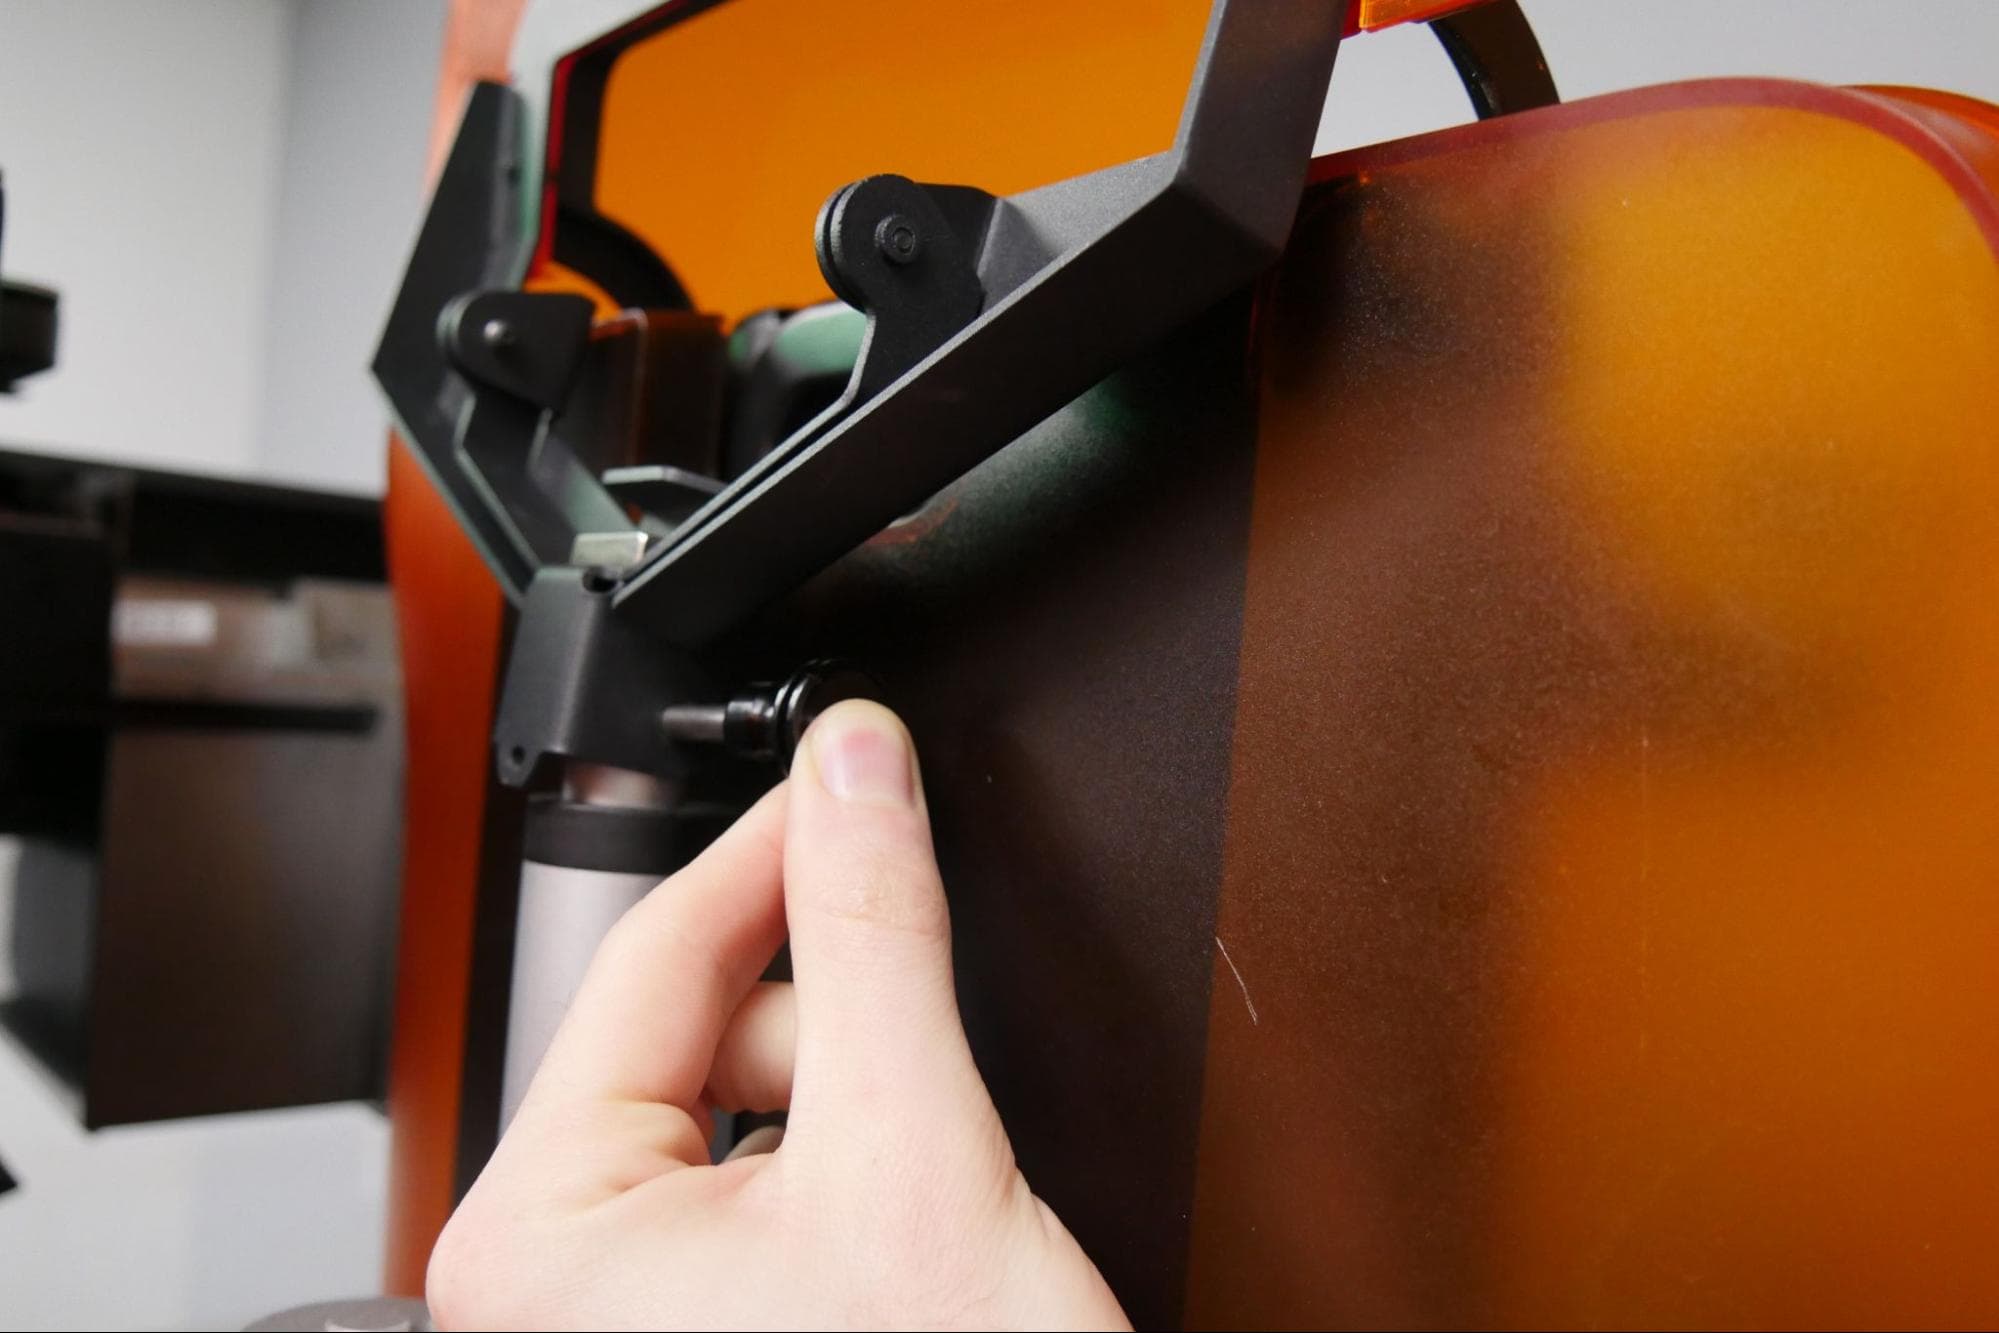
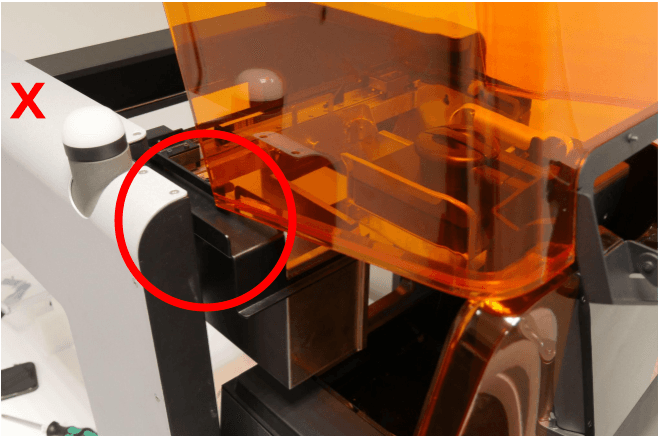
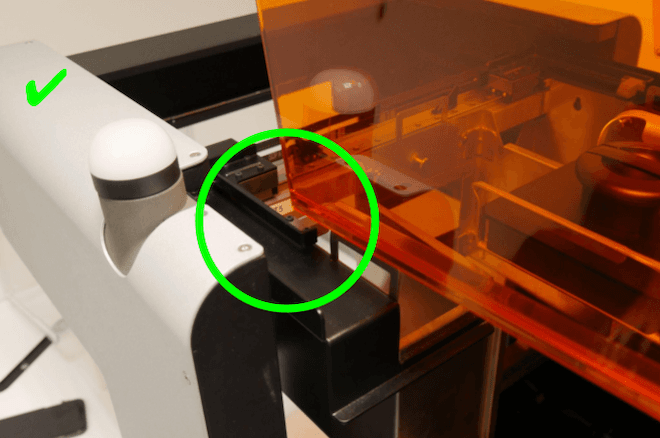
Once the part removal enclosure is installed, adjust the cover actuator to ensure that the cover can open and close smoothly without interfering with the part removal mechanism. To adjust the cover actuator:

Gently pull the part removal mechanism towards the printer. Check that the part removal mechanism does not interfere with the cover.

alttext
alttext

If the part removal mechanism makes contact with with the printer cover, adjust the cover actuator:

  1. Using a 2.5 mm hex driver, loosen the two screws at the bottom of the cover actuator.
  2. Turn the thumb screw at the bottom of the cover actuator clockwise to lower the cover actuator and raise the cover. Adjust the vertical position of the cover actuator until the printer cover is horizontal and does not touch the part removal mechanism.

Notice:

Only adjust the vertical position of the cover actuator until the printer cover is horizontal and does not touch the part removal mechanism. Do not adjust the cover actuator such that the cover tilts upwards. Doing so could damage the actuator or cause it to function improperly.

  1. Tighten the hex screws until snug.
  2. Confirm that part removal mechanism does not make contact with the printer cover.
  3. Gently push the part removal mechanism back to its initial position in the part removal enclosure.

Powering on the Form Auto

After the printer has been fully mounted and secured to the Form Auto, connect the cables and power the unit on.

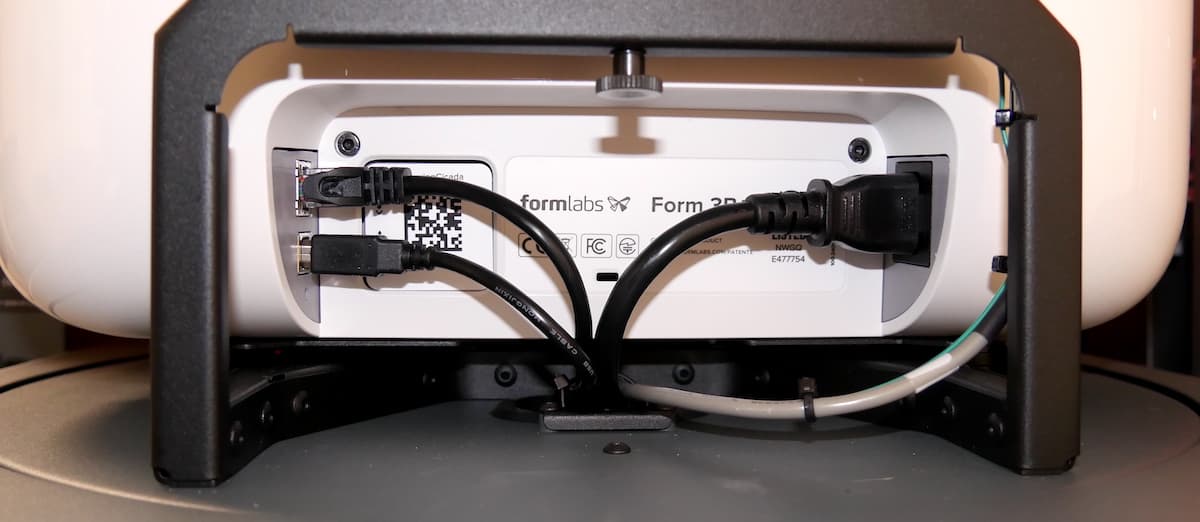
  1. Locate the Form Auto’s built-in USB, Ethernet, and power cables, accessible at the back of the printer.
  2. Connect the USB, Ethernet, and power cables from the Form Auto to the printer.
Form 3 connected to the Form Auto
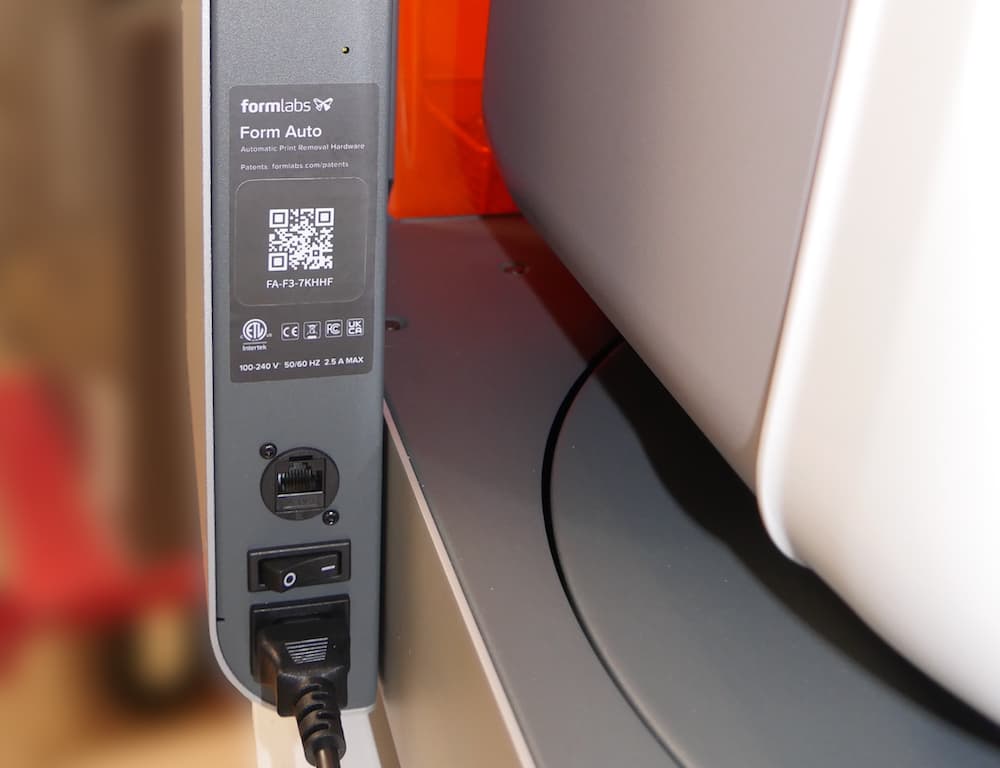
  1. Using the power cable that came with your printer, connect the Form Auto to a power source.

Notice:

Only use the printer’s original power cable to connect the Form Auto to a power source.

Form Auto power and ethernet ports
  1. If you are planning to use a wired internet connection, connect an Ethernet cable to the Form Auto.
  2. Flip the breaker switch on the Form Auto to the ON position. When the Form Auto powers on, the printer cover automatically closes.

Enabling the Form Auto

  1. If the printer has not been used before, complete the on-screen onboarding steps.
  2. Tap the wrench icon on the Home screen. The Settings screen appears.
  3. Tap Form Auto. The Form Auto screen appears. If you do not see this option, update your printer’s firmware.
  4. Toggle Enable Form Auto to ON. The toggle turns blue. If necessary, the printer updates the Form Auto’s firmware at this time.

Preparing the Form Auto for printing

  1. Level and calibrate the Form Auto.
  2. Rotate the printer to the touchscreen position and open the cover.
  3. Insert a resin tank and resin cartridge.
  4. Close the cover and rotate the printer into the printing position.
  5. Place the included orange UV shield on the part removal gantry. When installed properly, the shield sits flush with the top and front faces of the part removal gantry. It rests on the part removal gantry and does not lock into place.
  6. Remove the wash basket and part release bin from the accessories box.
  7. Place the wash basket in the part release bin. Place the part release bin underneath the part removal enclosure, flush against the part release gantry.
Form Auto with cover installed

Enabling or disabling the camera

When a print finishes, the Form Auto camera records video of the harvesting attempt. These videos can be accessed via Dashboard. The camera is enabled by default. To disable the camera (or to re-enable it at a later time), tap Settings > Form Auto > Enable Form Auto Camera on the printer’s touchscreen.

Étapes suivantes

After setting up your Form Auto and inserting consumables, you're ready to print.

  1. Prepare a model in PreForm
  2. Send the print job to an individual printer or send it to a Printer Group using Fleet Control
  3. Track your print progress with Dashboard
  4. Collect and post-process your printed parts