
Note:
Formlabs has sunsetted this material, and it is no longer available for purchase. For information about other Formlabs materials, visit Choosing the right resin.

Note:
Formlabs has sunsetted this material, and it is no longer available for purchase. For information about other Formlabs materials, visit Choosing the right resin.
Notice:
To avoid damage to equipment, check the resin tank compatibility table in Choosing the right material to confirm you are using a resin tank that is compatible with this material.
The workflow for PU Rigid 650 Resin is more complex than for other Formlabs SLA materials. Formlabs recommends purchasing additional third-party supplies to ensure printing success with polyurethane resins.
Polyurethane is used for its excellent noise abatement, chemical resistance, and physical properties. Typically, polyurethane parts are made by casting or reaction injection molding. PU Rigid 650 Resin is developed with a hybrid chemistry which allows it to be compatible with Formlabs SLA printers.
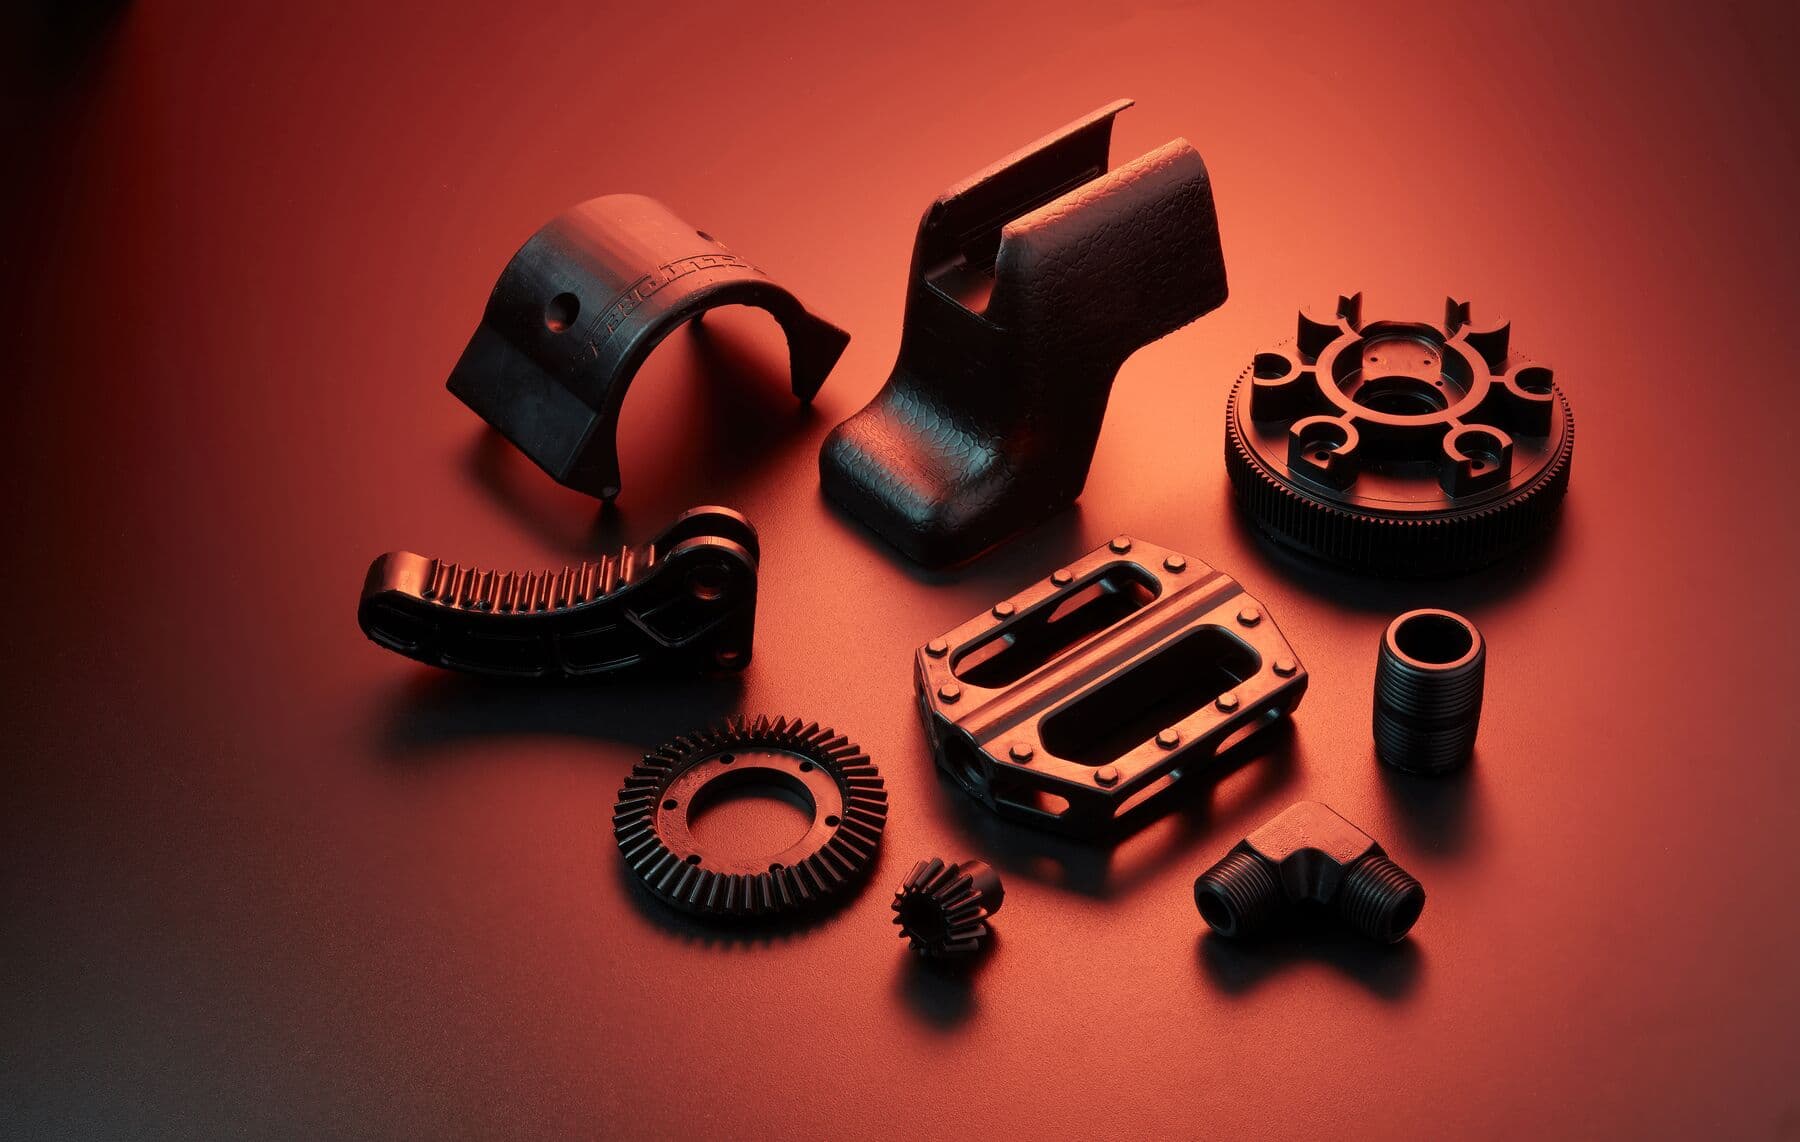
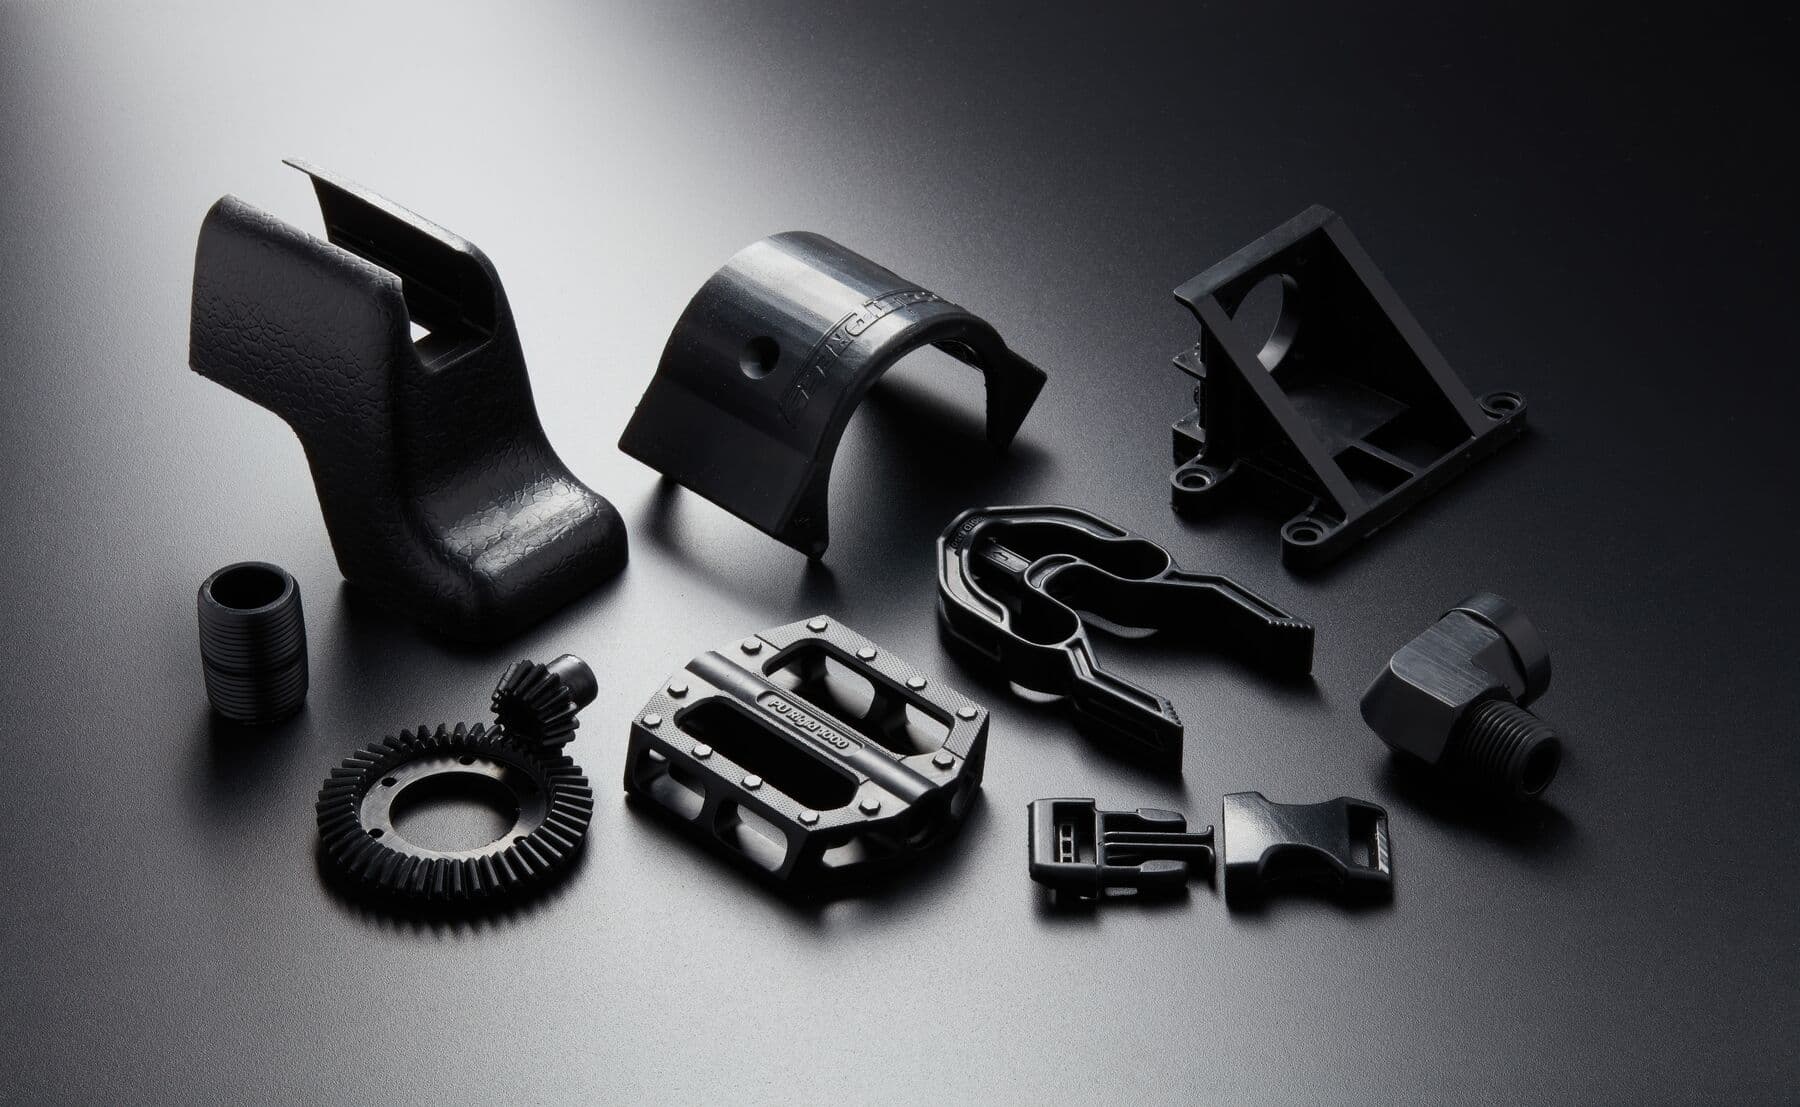
Parts printed with PU Rigid 650 Resin have extremely high impact strength and the physical properties of polyurethane, making them ideal for end-use applications that are intended to be exposed to harsh conditions.
PU Rigid 650 and PU Rigid 1000 Resin have been evaluated as a skin contacting device in accordance with ISO 10993-1.
Note:
To learn more about the performance or specific material properties of PU Rigid 650 Resin, refer to the Safety Data Sheet (SDS) and Technical Data Sheet (TDS). Always consult the SDS as the primary source of information to understand safety and handling of Formlabs materials.
Recommended for:
Not recommended for:
PU Rigid 650 Resin prints at 50 microns and 100 microns.
Comparison with other materials
See the table below for a comparison of relevant material properties:
| PU Rigid 650 Resin | PU Rigid 1000 Resin | |
|---|---|---|
| Ultimate tensile strength (MPa) | 34 ± 3.4 | 35 ± 3.5 |
| Tensile modulus (GPa) | 0.67 ± 0.06 | 0.92 ± 0.09 |
| Elongation at break (%) | 170 ± 17 | 80 ± 8 |
| Flexural strength (MPa) | 22 ± 1.1 | 32 ± 1.6 |
| Flexural modulus (GPa) | 0.57 ± 0.03 | 0.75 ± 0.03 |
| IZOD Impact strength (J/m) | 375 | 170 |
| Heat deflection temperature (HDT) @ 1.8 MPa | 59 | 64 |
| Heat deflection temperature (HDT) HDT @ 0.45 MPa (°C) | 82 | 79 |
To learn more about the performance properties of Formlabs resins, refer to the library of material properties data sheets.
Required resources
Made by Formlabs:
Made by third parties:
Workflow overview
Notice:
Read the PU Rigid 650 Resin usage guide and follow Formlabs guidelines to get consistent, high quality results.
The workflow for PU Rigid 650 Resin is more complex than other Formlabs SLA materials. Formlabs recommends the purchase of additional third-party supplies to ensure printing success with polyurethane resins.
Formlabs recommends the use of a dry cabinet for improved climate and moisture control while printing and storing PU Rigid 650 Resin and PU Rigid 1000 Resin.
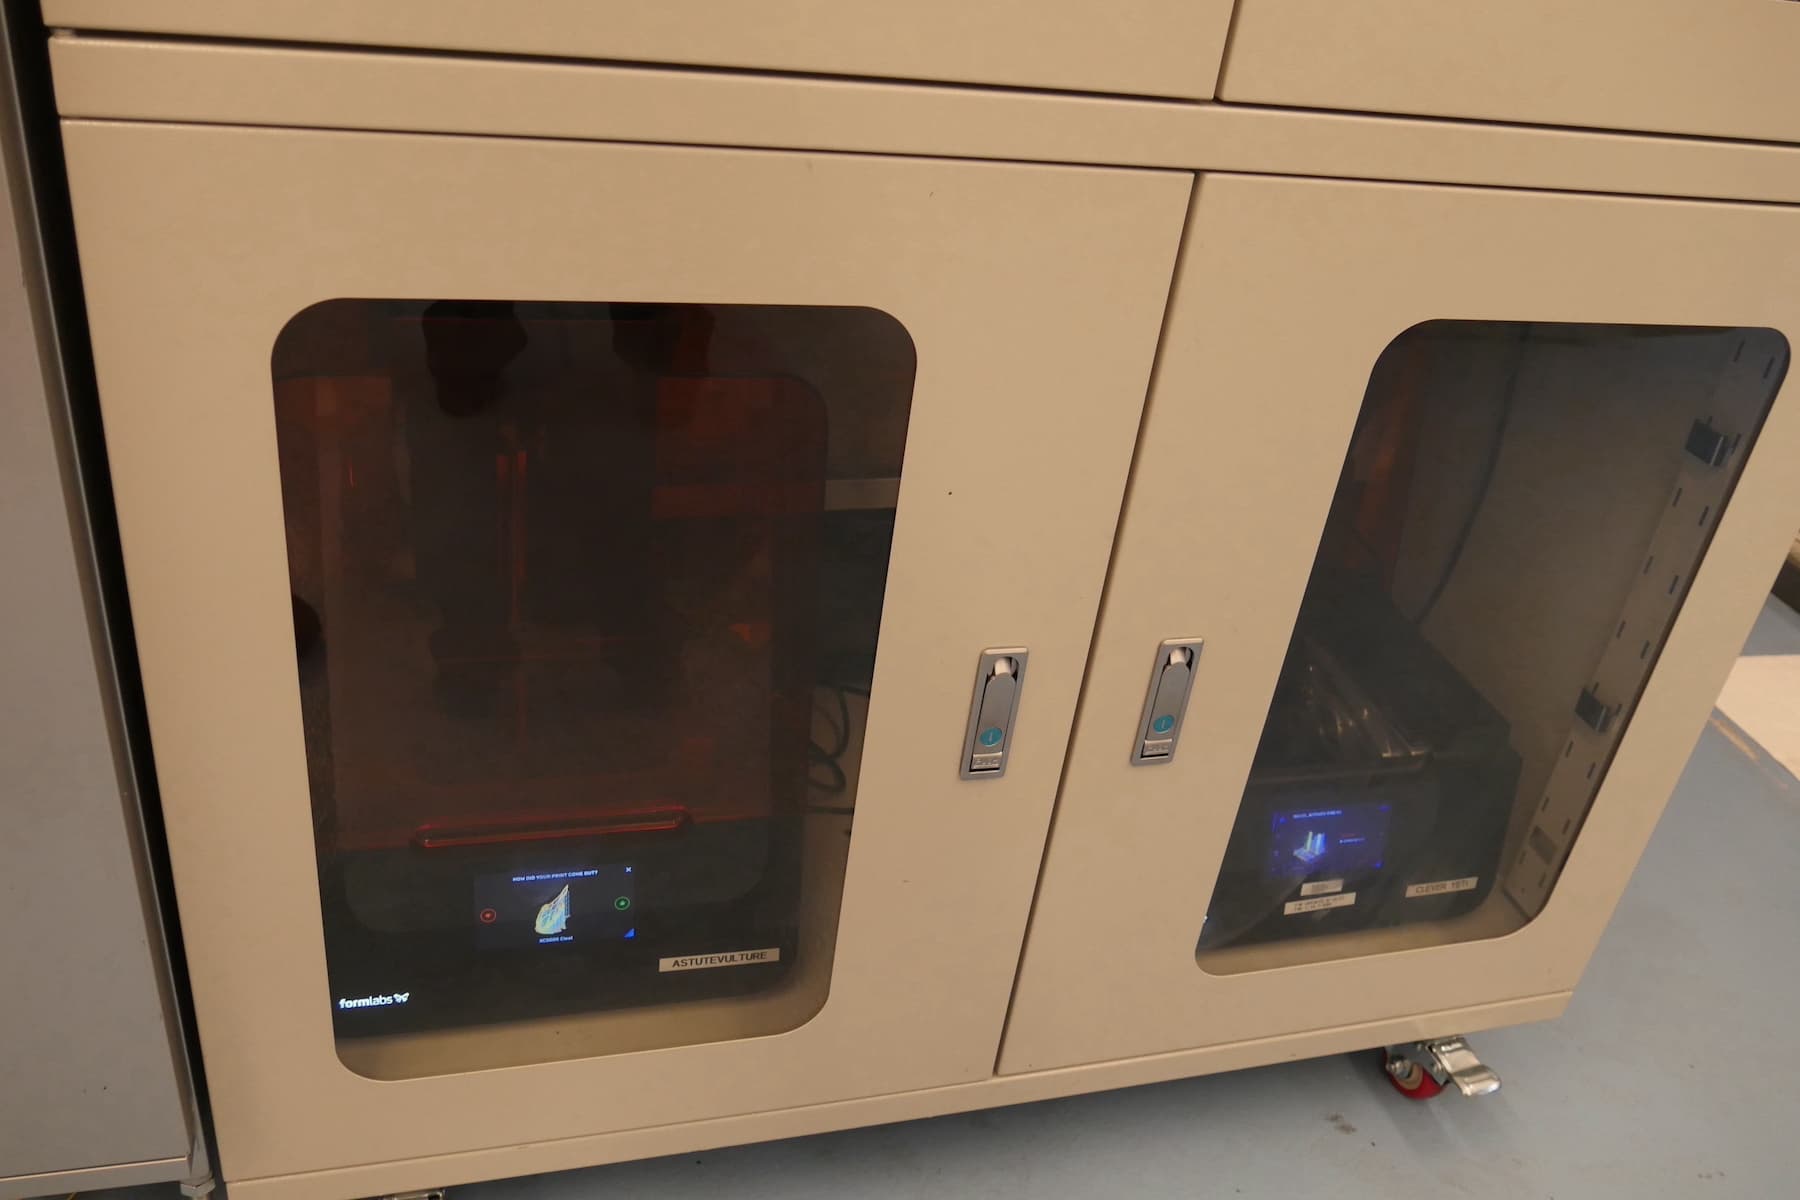
There are multiple possible workflows when printing with a Formlabs PU Rigid 650 Resin, depending on your needs and available resources. You can print with a dry cabinet or in ambient conditions, and you can print using automatic resin dispensing (as with other Formlabs resins) or by manually filling your resin tank (not available on the Form 2).
| Workflow | Method | Advantages | Considerations | When to use |
|---|---|---|---|---|
| Recommended | Automatic filling in dry cabinet | Best results and easy workflow | Requires dry cabinet | Frequent printing with PU Rigid 650 Resin |
| Low cost | Automatic filling in ambient conditions | Low cost and simple | Short pot life | Printing in ambient conditions |
| Modified | Manual dispensing in dry cabinet | Extends resin pot life | Requires dry cabinet and fine tuning may be necessary | Printing intermittently or printing the same part repeatedly |
Note:
If you elect to use the Recommended or Modified workflow, you can leave your printer in the dry cabinet when printing with other resins. All Formlabs resins can print successfully in low humidity conditions.
Pot life
PU Rigid 650 Resin is sensitive to heat and moisture. It is shipped in an aluminum bottle with an empty resin cartridge. Once the aluminum bottle is opened, the shelf life of the resin is approximately one month.
Once the resin is poured into a cartridge or tank, sustained exposure to moisture in the air starts to cure it, and its viscosity increases until printing is no longer possible. The period when the resin viscosity is within a viable printing range in the resin tank or cartridge is called pot life.
| Relative humidity | Resin pot life |
|---|---|
| 45% | 24 hours |
| 30% | 2 days |
| 15% | 3 days |
| 5% | 7 days |
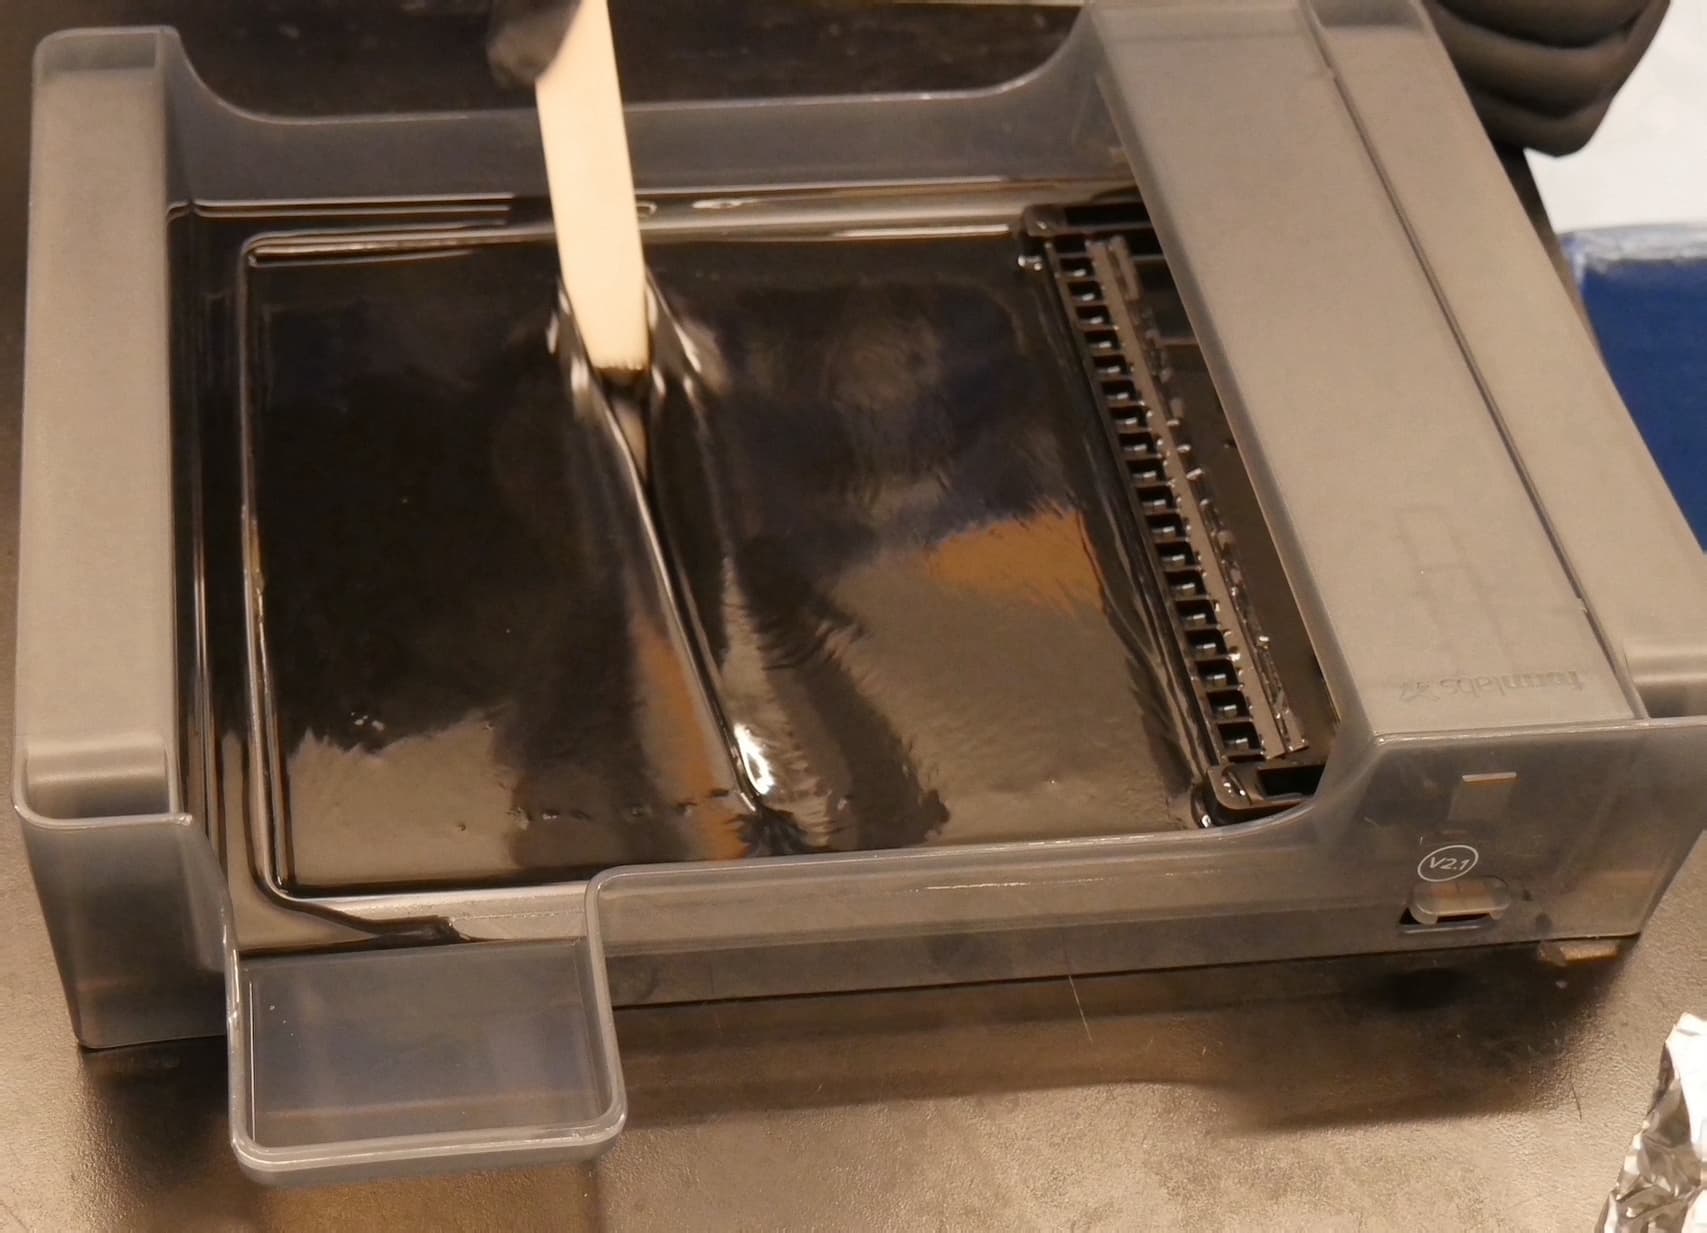
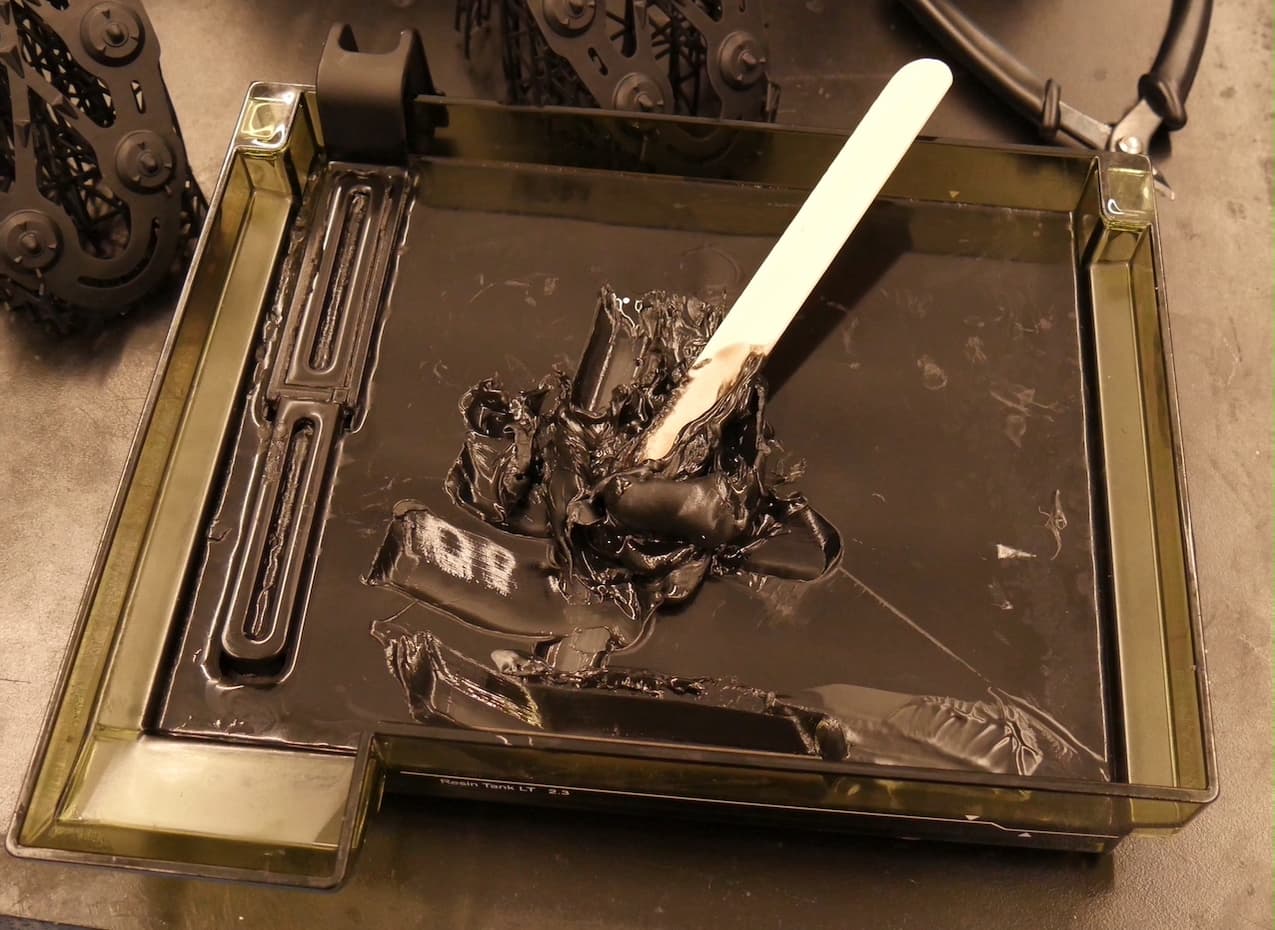
Left: PU Rigid 650 Resin that is still viable. Right: PU Rigid 650 Resin that is no longer viable.
To determine whether the PU Rigid 650 Resin in a resin tank is usable, drag a spatula or other flat, blunt tool along the bottom of the tank. If the resin pours into the gap left by the tool, it is still usable. Alternatively, use a Zahn cup #5 viscometer to determine if the resin viscosity exceeds 2000 cPs. Change the resin in the resin tank or add fresh resin from the resin cartridge if the viscosity exceeds 2000 cPs.
Preparing to print with PU 650 Rigid Resin
Before starting a print, prepare your resin and printer.
If you are planning to print using Automatic filling, fill the resin cartridge:
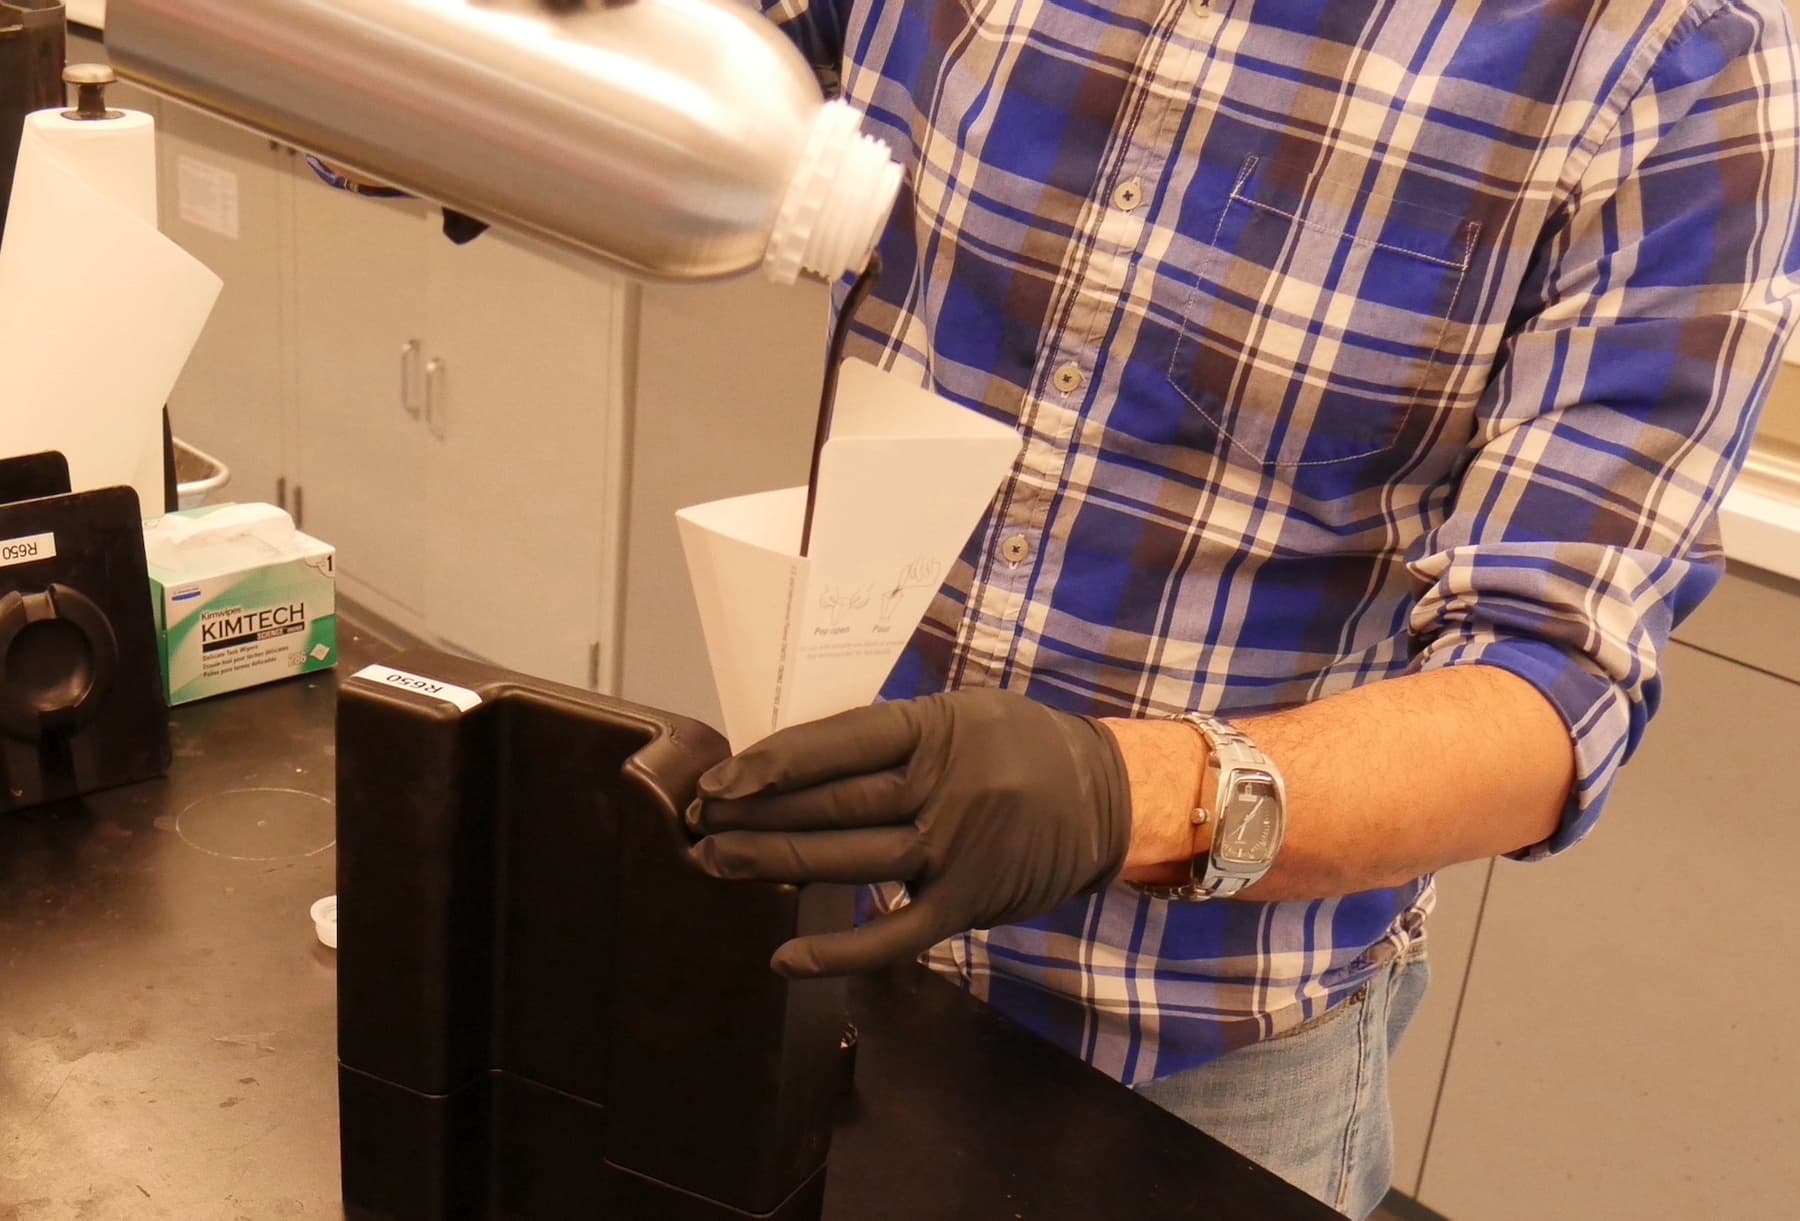
If you are using the Recommended or Modified workflow, install your printer in your dry cabinet:
Printing with PU Rigid 650 Resin
Notice:
To avoid damage to equipment, check the resin tank compatibility table in Choosing the right material to confirm you are using a resin tank that is compatible with this material.
Install or update PreForm, then set up the next print job.
To prepare a model for printing in PreForm:
Notice:
Parts printed in both PU resins strongly adhere to the build platform. Formlabs recommends printing all parts on supports to make removal from the build platform easier and to reduce accidental damage to the part during removal.
Washing
Notice:
Read the PU Rigid 650 Resin usage guide and follow Formlabs guidelines to get consistent, high quality results.
The Form Wash and Form Wash L agitate the solvent bath and remove parts from the bath after a set time. Wash printed parts on the build platform to prevent damage. Wash parts in PGDA for two minutes and use compressed air to blow the solvent off parts. Repeat if necessary.
Remove parts from the build platform after washing in PGDA. Carefully slide a removal tool or a scraper knife under the beveled edge of the raft. Slowly peel to separate the parts from the build platform. Clean excess liquid resin from the build platform with a spray bottle of PGDA or isopropyl alcohol.
Tip:
Print with a Build Platform 2, whose print surface allows for easy part removal. Alternatively, heat the build platform gently with a hair dryer or similar device to ease part removal.
Parts can be dipped in an n-Butyl acetate bath for no more than 15 seconds to speed up the evaporation of PGDA. Use compressed air to blow excess n-Butyl acetate off the parts. Do not use a Form Wash bucket for the n-Butyl acetate bath, as it has not been tested with high concentrations of the solvent.
Place parts on parchment paper or a similar non-stick surface in ambient conditions for at least 24 hours to allow all remaining PGDA to evaporate. Ensure that all solvent dries before post-curing, as this may affect surface finish.
Notice:
Polyurethane resins should not be washed with isopropyl alcohol (IPA), which can react with the printed parts and cause degradation in material properties.
Post-curing requirements
PU Rigid 650 Resin must be post-cured in a humidity cure chamber. For more information about recommended third-party supplies, see the support article Recommended tools and supplies (PU Resins).
The post-curing cycle for PU Rigid 650 Resin is longer than other Formlabs SLA resins. Post-curing time depends on part thickness.
Formlabs recommends post-curing most parts without supports. Supports are more difficult to remove after they are post-cured. However, due to the low green strength of the material and the elevated temperatures at post-cure, some geometries are prone to sagging or warping slightly before the material is fully cured. Parts with such geometries should be post-cured on supports.
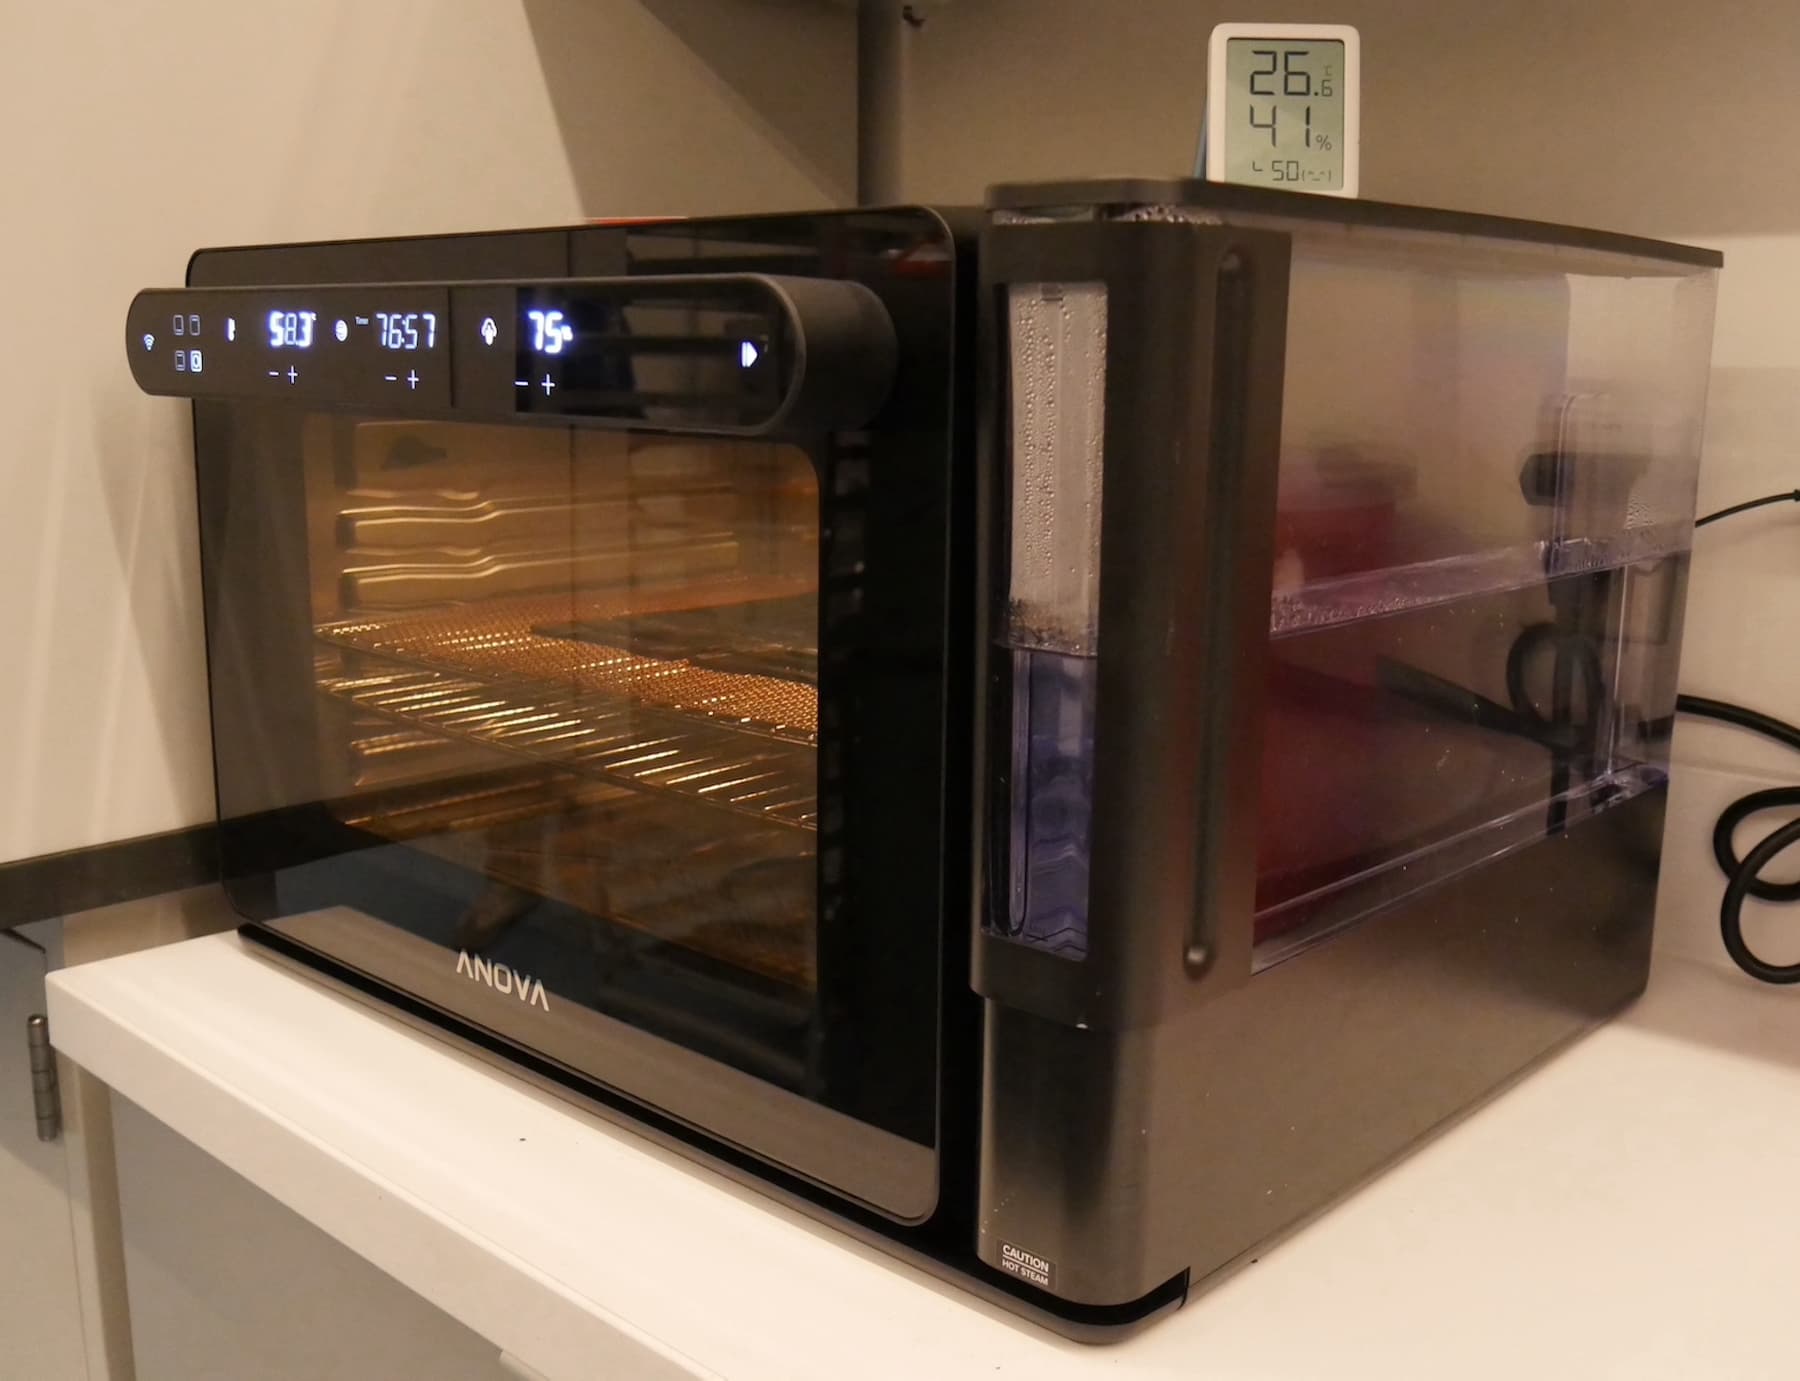
To post-cure parts printed in a Formlabs PU Rigid 650 Resin:
Note:
Some Anova Precision humidity ovens may need to be calibrated to achieve the target temperature and humidity. Monitor the temperature and humidity inside the oven using a thermometer and a humidity sensor. Adjust the controls on the oven as necessary to achieve a reading of 46 ºC & 70% relative humidity (RH) inside the oven.
| Post-cure times at 46 ºC & 70% Relative Humidity (RH) | ||
|---|---|---|
| Part Thickness | PU Rigid 650 | PU Rigid 1000 |
| 2 mm | 3 days | 3 days |
| 3 mm | 3 days | 4 days |
| 6 mm | 4 days | 5 days |
| 9 mm | 12 days | 9 days |
| 12 mm | ~14 days | ~14 days |
Between prints
Maintain your resin tank and PGDA between prints to ensure a successful and consistent workflow.
Cleaning the resin tank
Before continuing to print, Formlabs recommends checking the resin tank interior for any cured resin or debris that can interfere with subsequent prints. Please refer to the instructions for inspecting the resin tank interior on a Form 3, Form 3+, Form 3B, Form 3B+, and on a Form 2.
Replacing or recycling PGDA
PGDA solvent will eventually become saturated with solidified resin particles due to resin curing and will no longer be effective at washing your parts. Formlabs recommends replacing your PGDA solvent when you start to notice small particles of cured resin on your parts after a wash cycle. In general, this begins to occur after printing and washing parts using 10 liters of resin or after several weeks of solvent usage in a Form Wash.
You can replace your resin-saturated PGDA with fresh PGDA. Alternatively, you can filter the solidified resin particles from the PGDA and reuse the solvent. To filter your PGDA:
Notice:
Do not pour liquid or partially cured resin into drains or dispose of it with household waste. Do not pour propylene glycol diacetate (PGDA) that contains dissolved resin into drains or dispose of it with household waste. Safe and appropriate disposal methods of used PGDA vary by location.
Additional resources