Note:
This feature is only available with the latest firmware and PreForm versions. Ensure your Form 4 or Form 4L generation printer is using firmware version 1.10.0 or later, and that your computer is running the latest version of PreForm.

For applications that require high accuracy, Fit Tuning allows users to further dial in the precise dimensional fit demanded by their use case.
Optimize dimensional fit and refine the accuracy of printed parts on Form 4 and Form 4L generation printers with configurable settings. Increasing or decreasing this value can compensate for horizontal expansion during the printing process to customize the fit of dental restorative dies and other end-use parts.
Every printer requires individual testing. Fit Tuning values for one printer may not work on a different printer.
Required supplies
Estimated time: 15 minutes
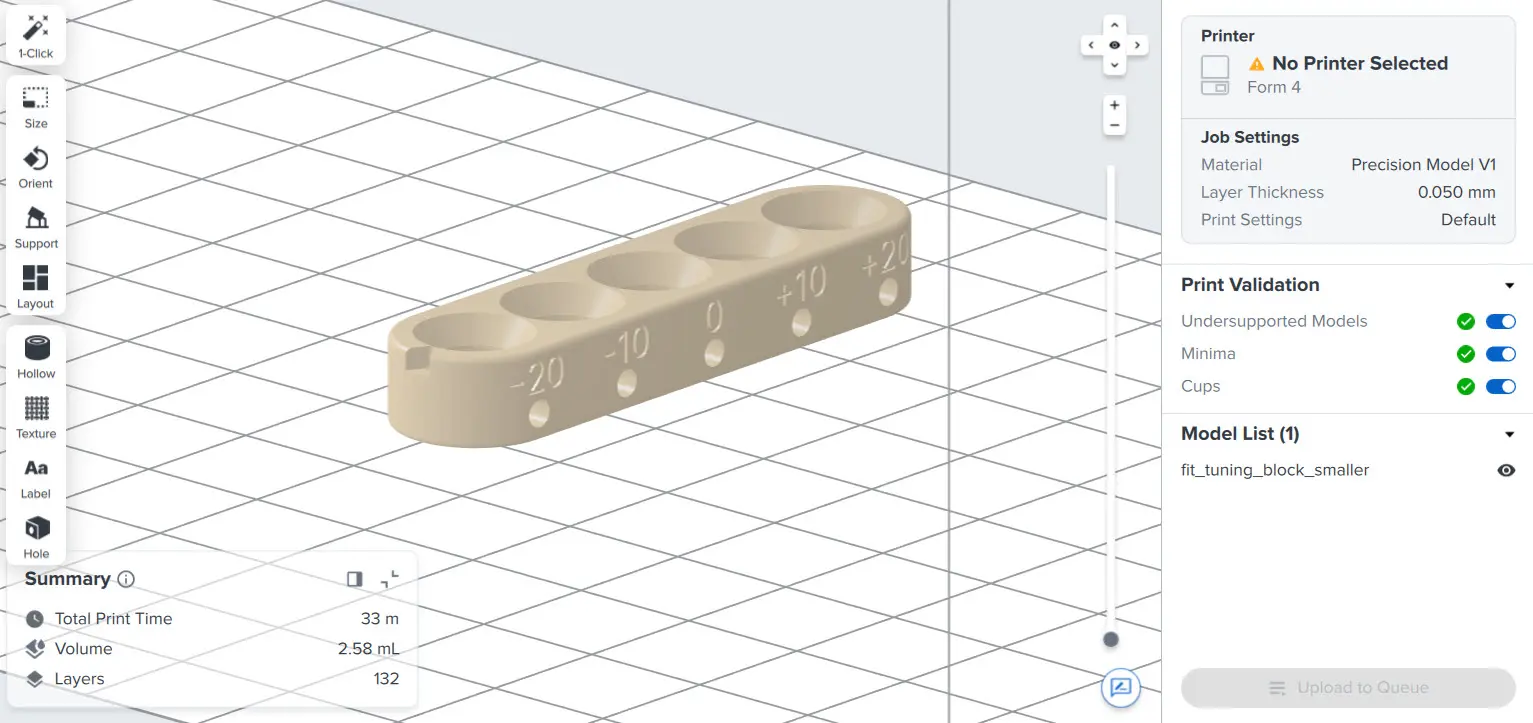
Printing the test file
Note:
This feature is only available with the latest firmware and PreForm versions. Ensure your Form 4 or Form 4L generation printer is using firmware version 1.10.0 or later, and that your computer is running the latest version of PreForm.
Post-processing the printed part
Note:
Use the same washing and curing methods as your usual workflow for consistent results. Unwashed resin residue on the printed test file will affect the outcome of Fit Tuning.
Running the Fit Tuning test
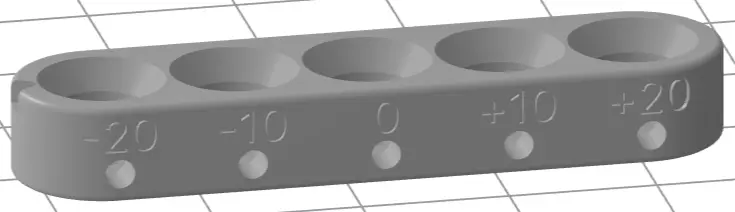
The Fit Tuning test consists of the printed part and a grade 10, 6 mm ball bearing. Insert the ball bearing into increasingly tighter holes in the block until you find the desired fit.
Step 1: Understand the model
Depending on the printer, the test can result in a value of +20, +10, 0, -10, or -20. The starting position, labeled +20, has the loosest fit. Each hole gets tighter as you move from +20 towards -20.
Step 2: Test the fit
Insert the 6 mm ball bearing into the slot labeled +20. Attempt to remove the ball bearing from the block. If the fitment is loose and the ball bearing is easily ejected, insert the ball bearing into the next slot.
Step 3: Judge the fit
Test the ball in each slot, moving from the least tight to the tightest, until the ball fits securely into a slot.
Step 4: Review the results
Once you have inserted the ball bearing into a slot position that meets fitment criteria, the number displayed on the side of the test block is that printer's Fit Tuning value.
Adjusting the test print
It may be necessary to adjust the Fit Tuning test print if the ball bearing fits too easily or if it will not fit in any slots.
Example:
The ball bearing fits into the -10 slot on the -30 test, so the correct fit tuning value is -30 + -10 = -40.
Example:
The ball bearing fits into the +10 slot on the +30 test, so the correct fit tuning value is 30 + 10 = +40.
Applying the new settings
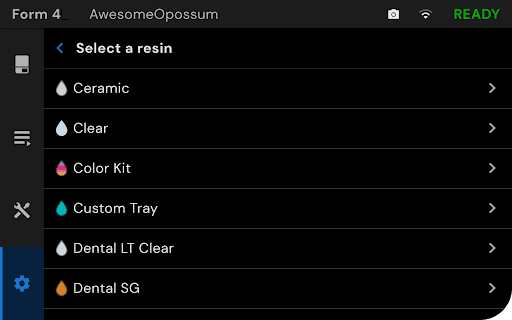
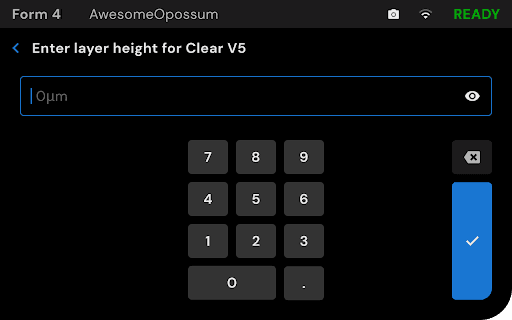
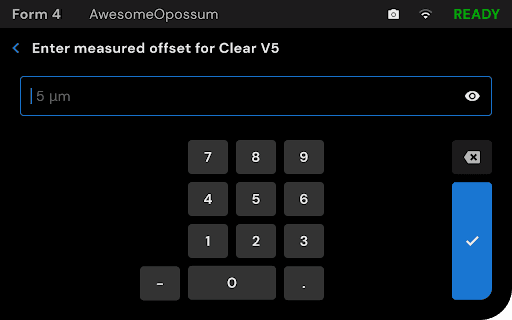
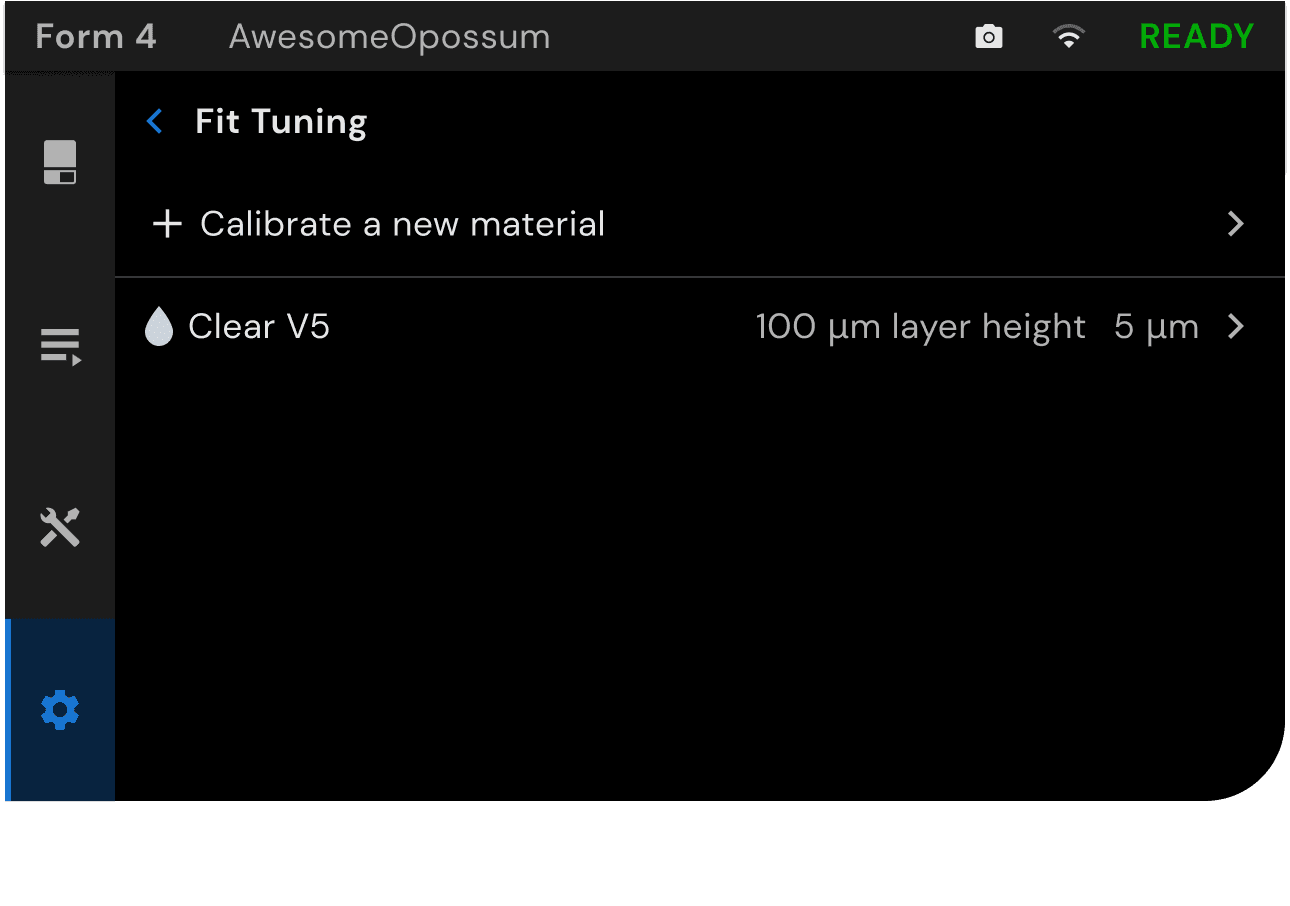
Apply the result from the test to the printer that was used to print the test block. Every printer and material requires individual testing.
Note:
Previous jobs in the same material as the test print are not affected by the new Fit Tuning values. Reupload the print jobs after adjusting the Fit Tuning value for the changes to take effect.
If you experience trouble with the procedure or unexpected test results, contact Formlabs Support or your authorized reseller.
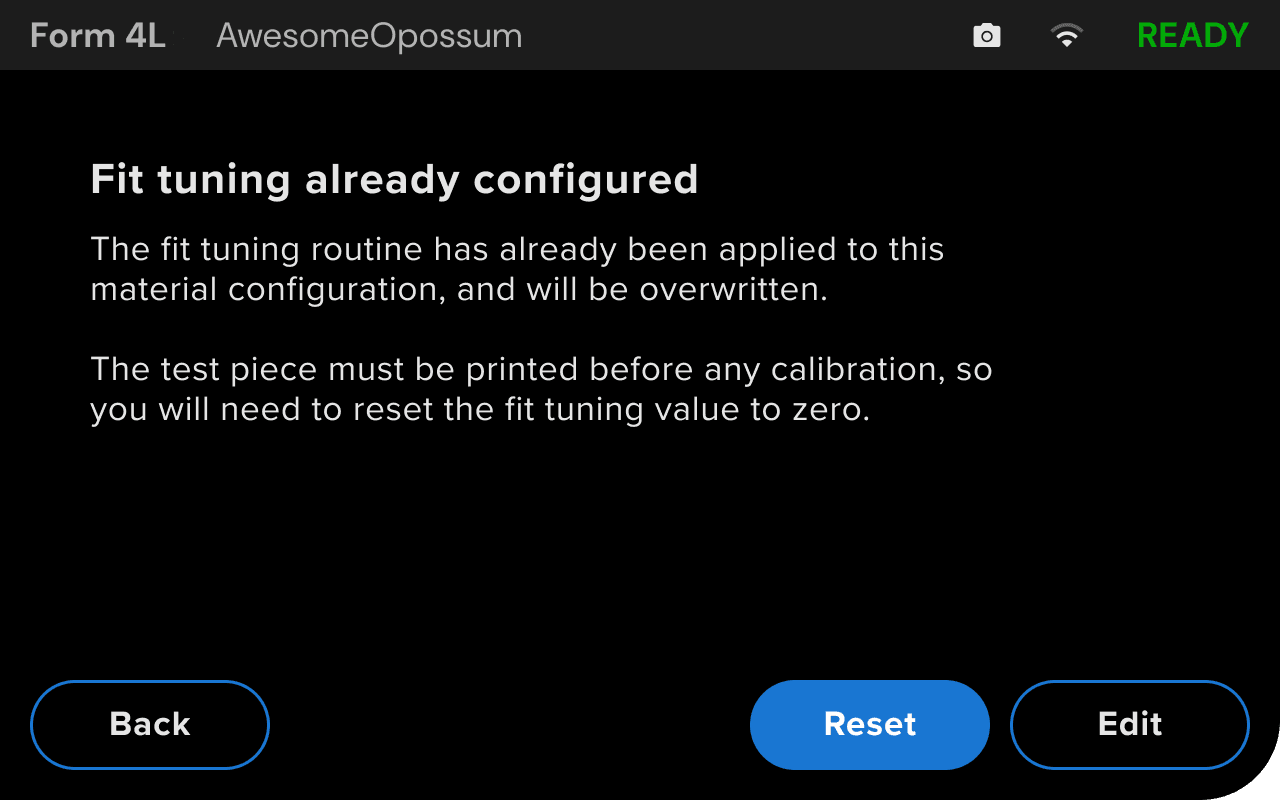
Editing previous Fit Tuning configurations
To edit a previously-applied Fit Tuning measurement: