

Melting (SLS)
Melting (SLS)
During normal operation, the printer fuses powder into a printed part by selectively heating it to a point just below its melting temperature. If the printer heats the powder above that point, it melts.
Symptoms
Powder can melt for several reasons and in several areas. Generally speaking, there are three common ways that powder melting occurs:
- Global melting: the entire print area is melted
- Localized melting: a large section of the print area melts, generally on one side of the build
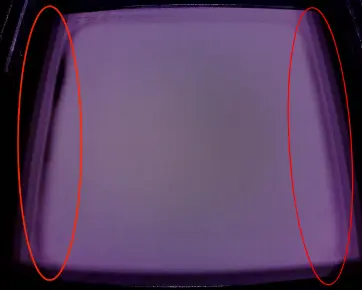
- Perimeter melting: the outer edge of the print area melts but the center of the print area does not
Causes
- Contaminated IR sensor
- Missing IR sensor O-ring (Fuse 1+ 30W only)
- Damaged build chamber plug
- Heater malfunction
Troubleshooting steps
Identify the area of the print that is melting
There are three common areas where powder melting occurs in the print area. Each melting failure stems from a different root cause, so it's important to identify the category of melting failure before attempting any troubleshooting steps.
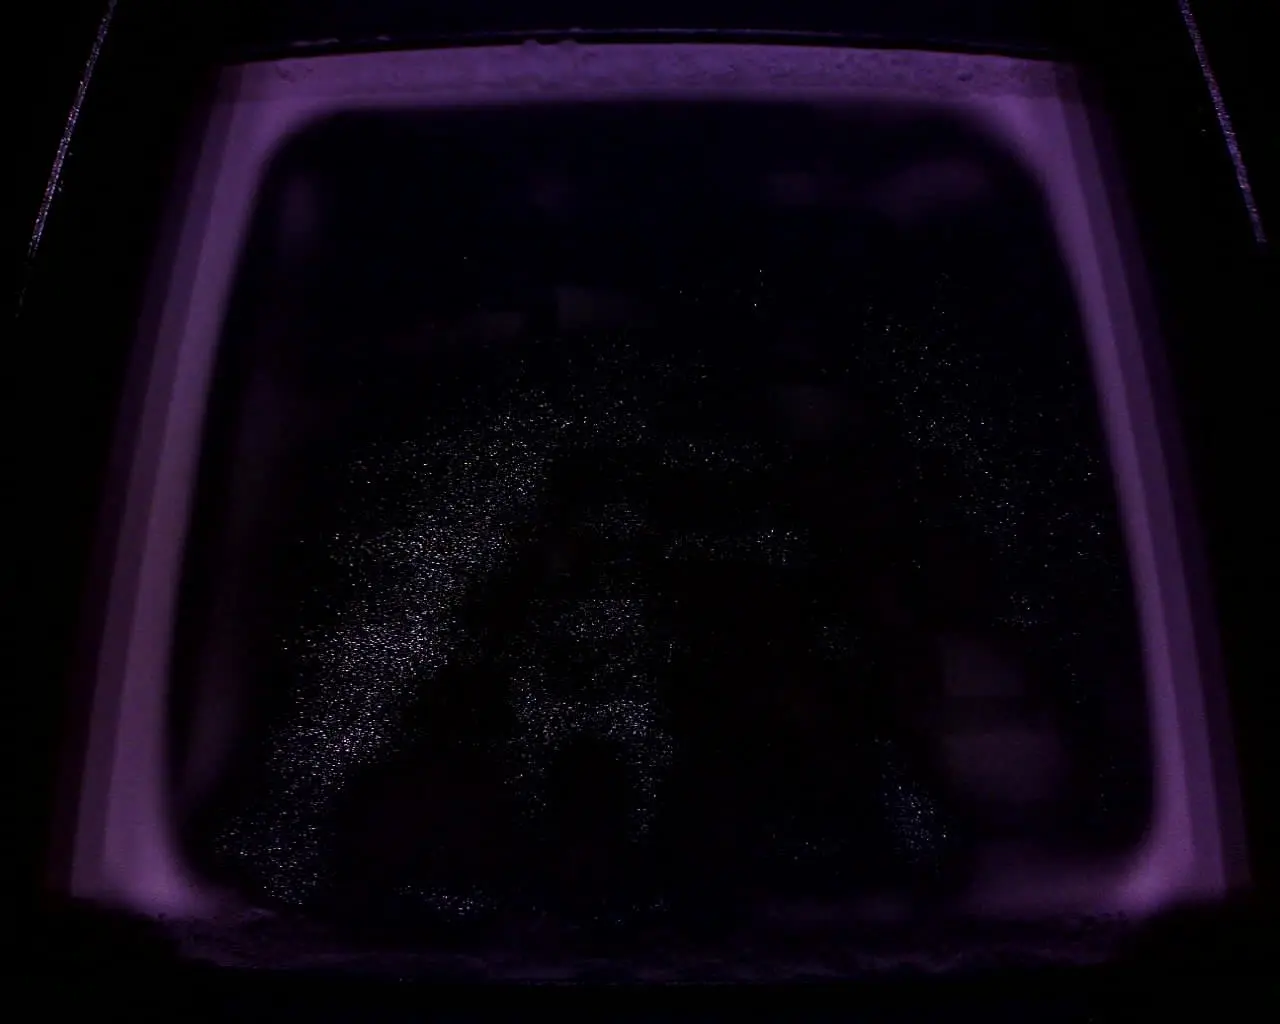
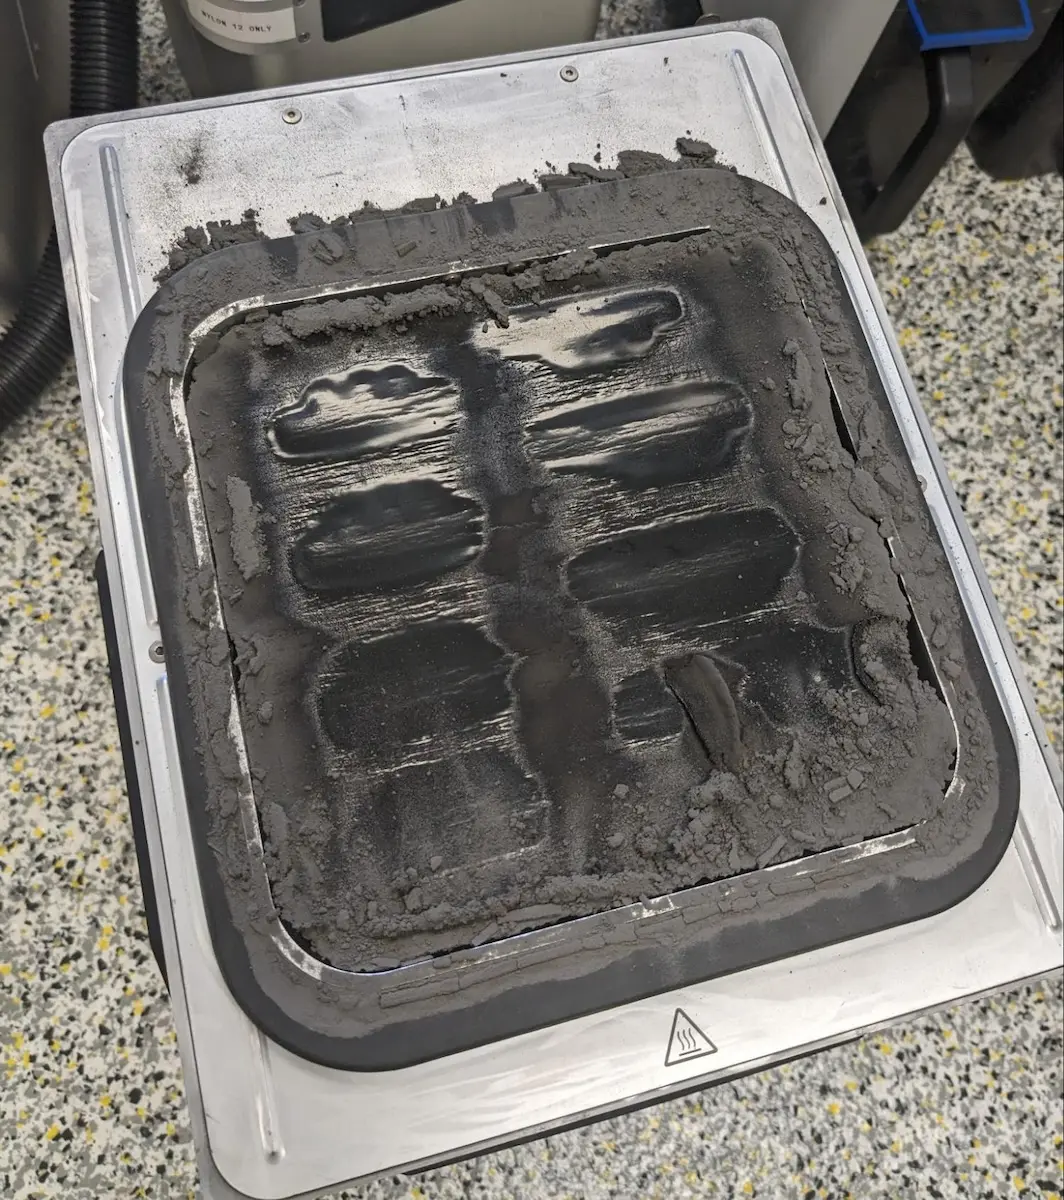
Global melting: The entire print area is melted. This may occur suddenly in preprint, or slowly throughout a long print.
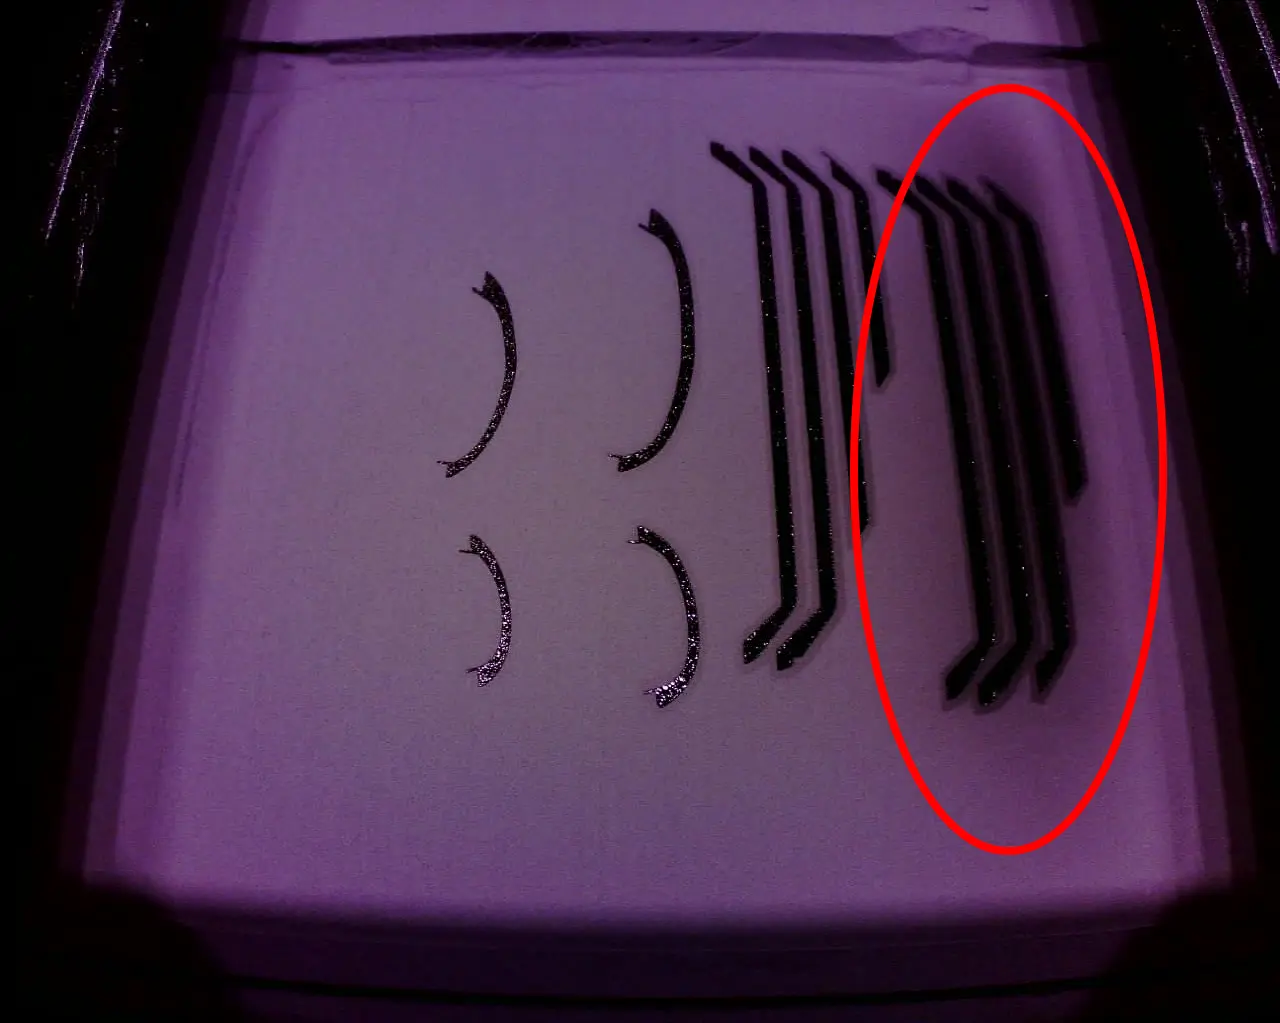
Localized melting: A large section of the print area melts, generally one side of the build.
Perimeter melting: The outer edge of the print area melts but the center of the print area does not.
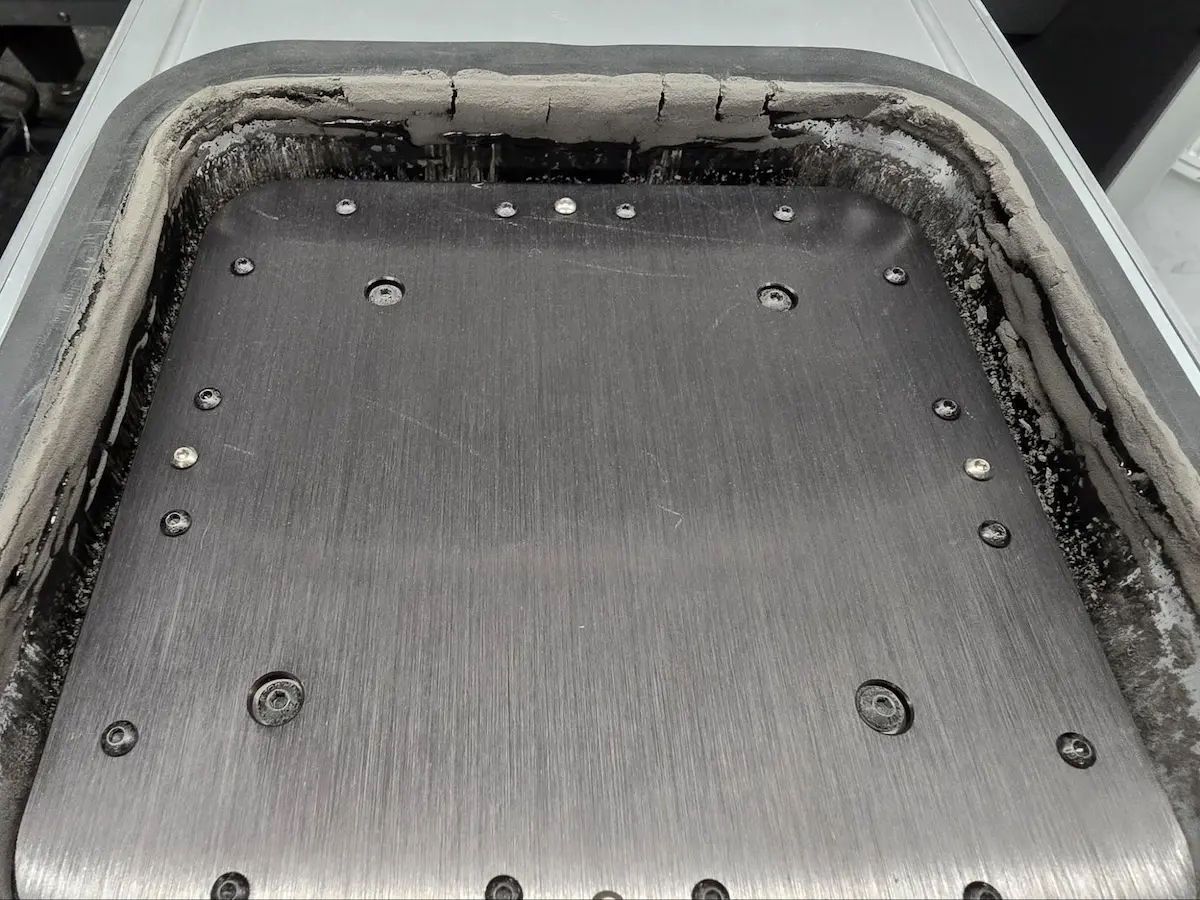
Clean the melted powder
- Remove the print failure from the build chamber. If melted powder is stuck to the build chamber walls, loosen the powder with a heat gun.
- If the melted powder can be removed, repair the build chamber by following the relevant instructions. Replacement parts can be purchased from the Formlabs web store.
- Replacing the build chamber external frame gasket [EN] [DE] [ES] [FR] [IT] [JA] [ZH]
- Replacing the Fuse 1 generation build chamber inner gasket [EN] [DE] [ES] [FR] [IT] [JA] [ZH]
- Replacing the Fuse 1 generation build chamber print bed [EN] [DE] [ES] [FR] [IT] [JA] [ZH]
- Thoroughly vacuum the build sheet and troughs in the printer to remove all debris.
Global melting
Determine what kind of global melting issue occurred to inform the next steps.
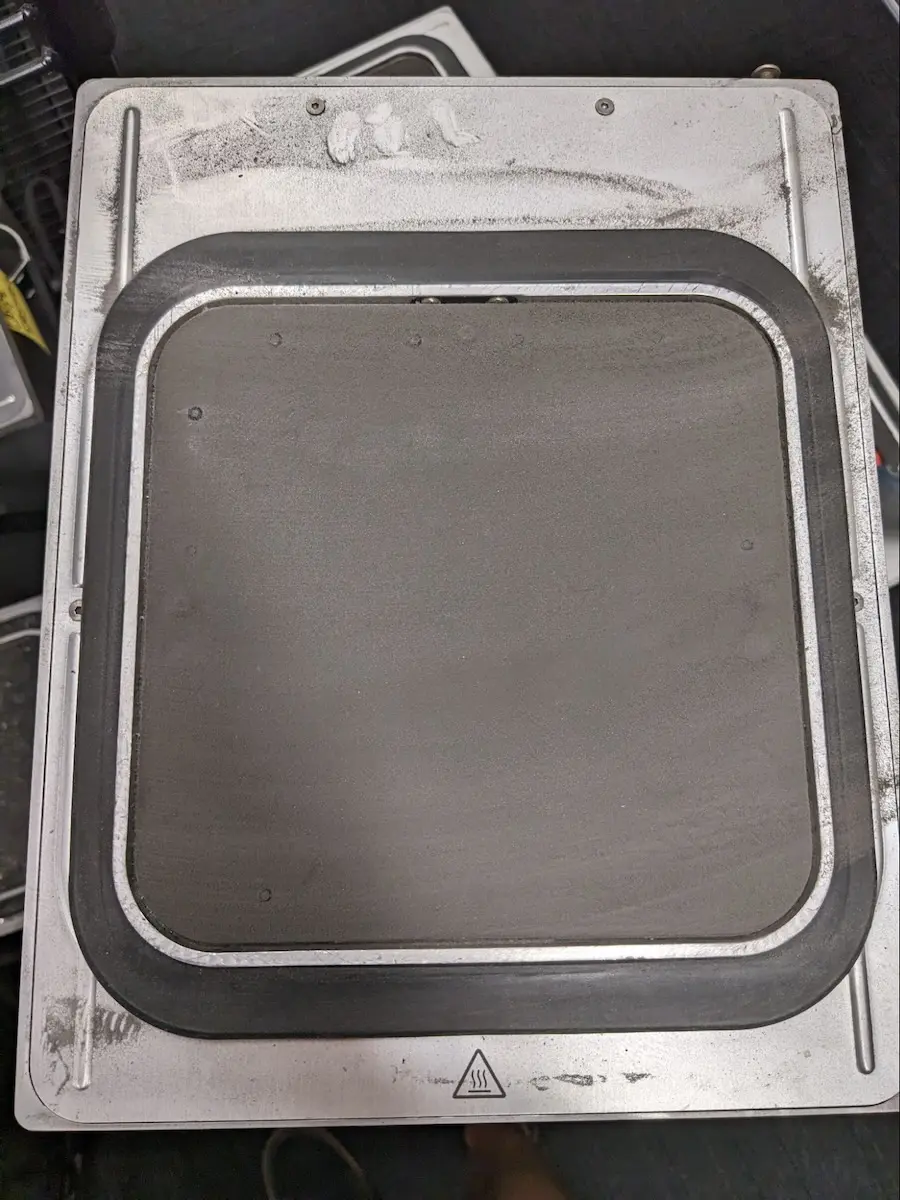
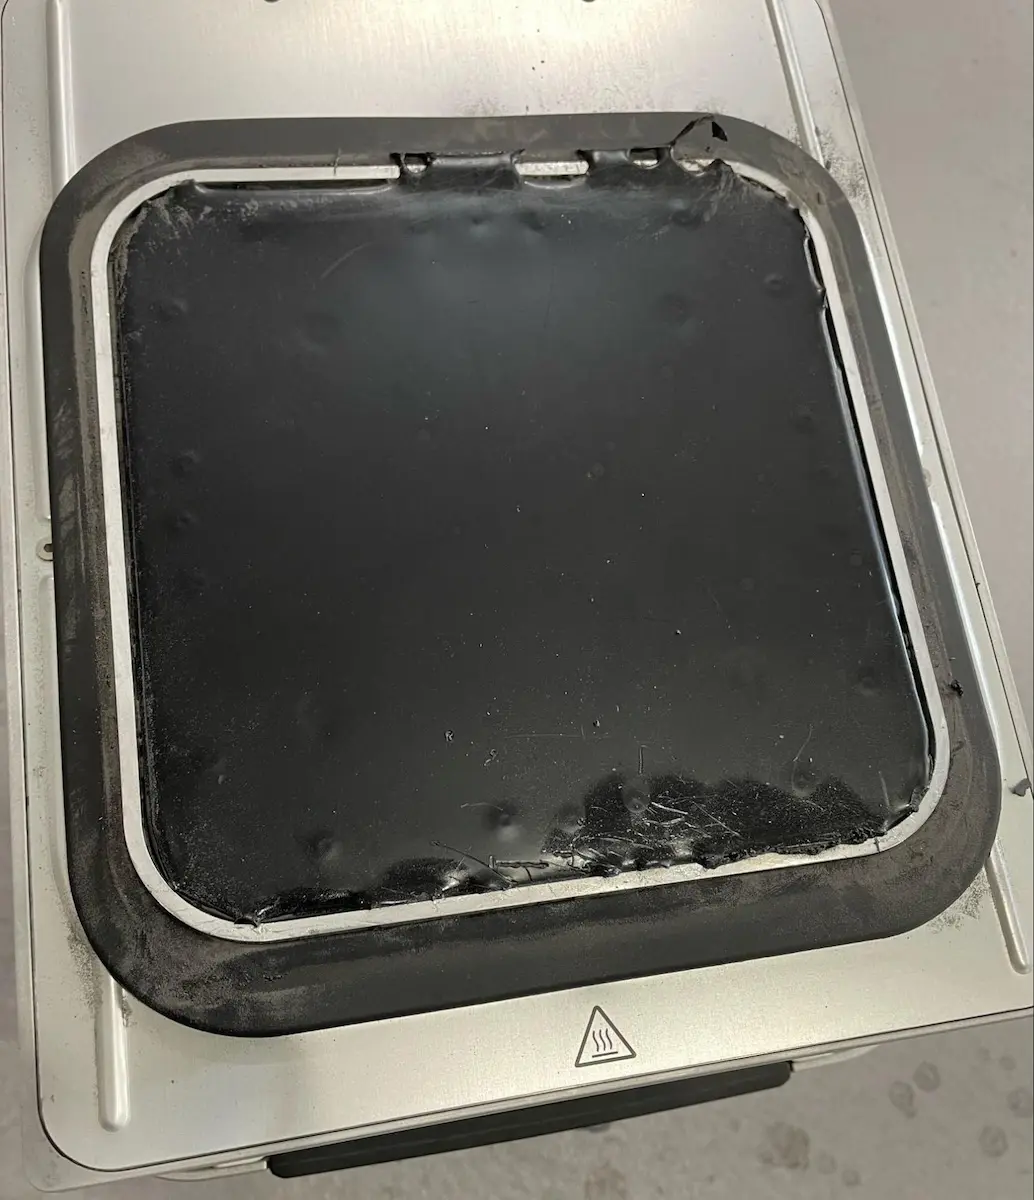
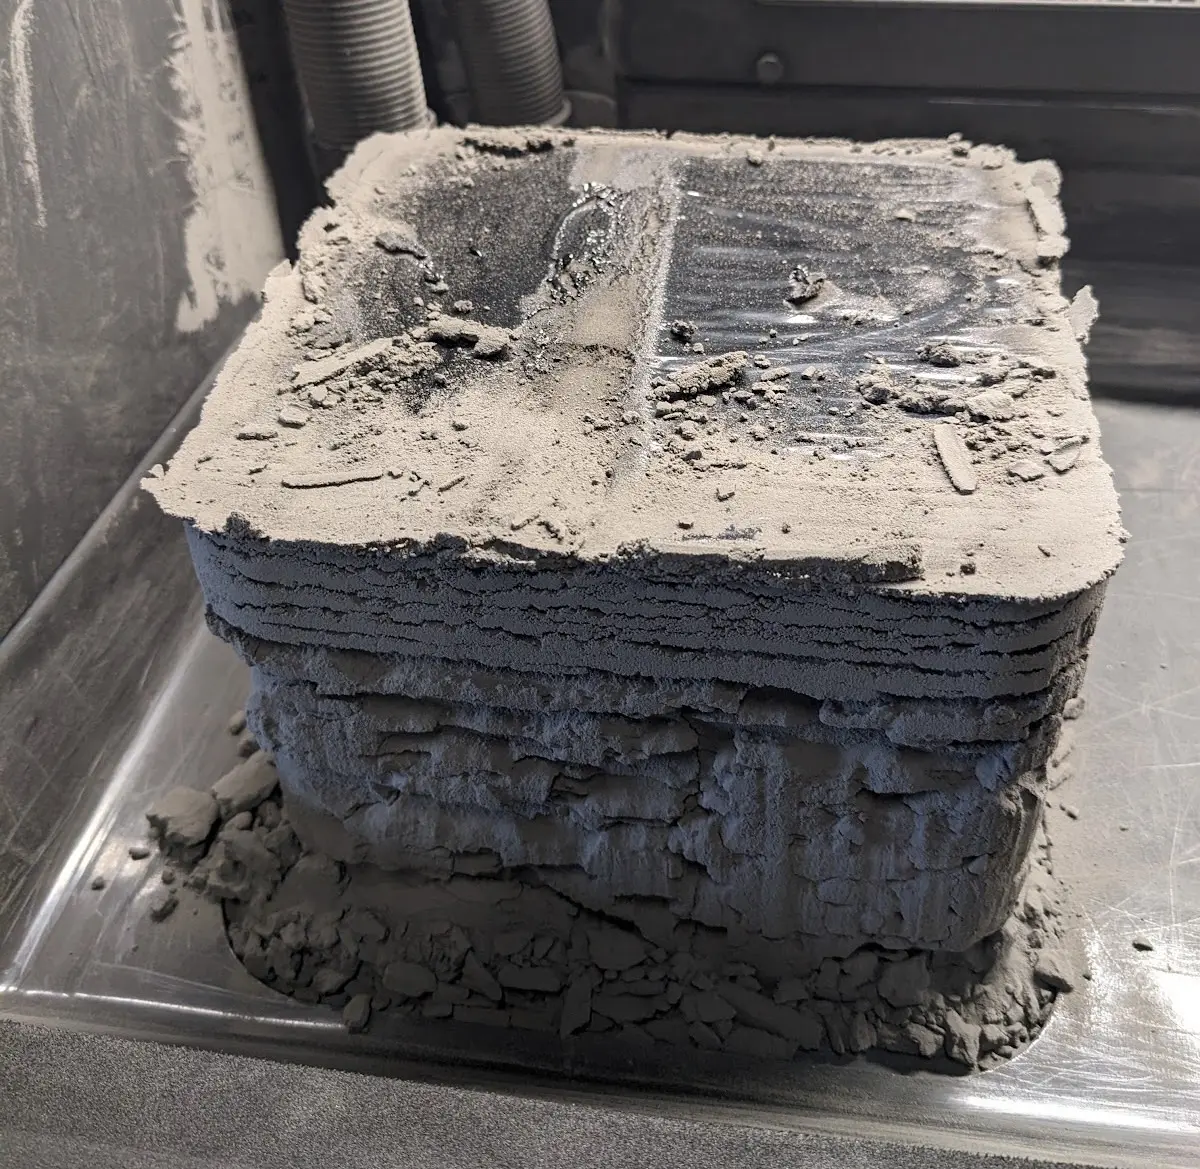
- If global melting occurs during preprint and the resulting material is shiny on top and not stuck to the print bed, the IR sensor is dirty or improperly installed.
- Clean the IR sensor lens and IR sensor housing. Ensure there is no white residue obstructing the IR sensor lens.
- Fuse 1+ 30W only: Ensure that the rubber O-ring around the base of the IR sensor probe is present and undamaged.
- Reseat the IR sensor, ensuring the IR sensor fits securely in its housing.
- Attempt another print. If melting occurs again, contact Formlabs Support or your certified service provider.
- If global melting occurs during preprint and the material is firmly stuck to the print bed with a matte finish on top, that indicates an issue with the build chamber electrical connection.
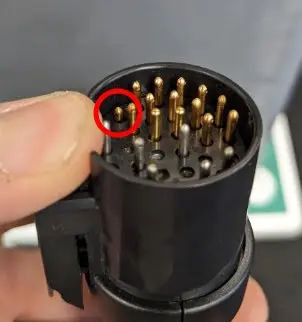
- Check the plug for any bent or sunken pins. If a pin sinks into the plug, gently pull on the pin with a pair of pliers. If the pin does not remain in place, the connector housing may be broken. Contact Formlabs Support or your certified service provider.
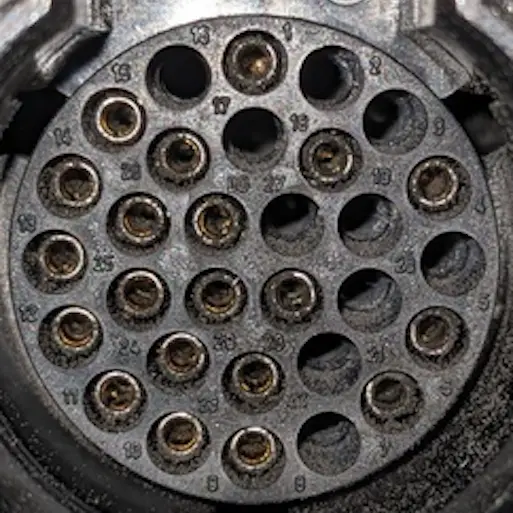
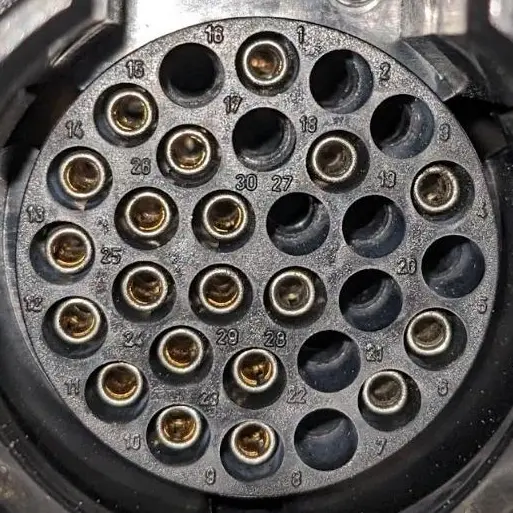
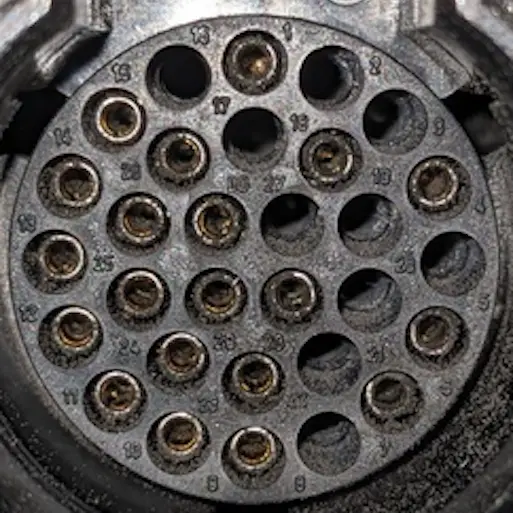
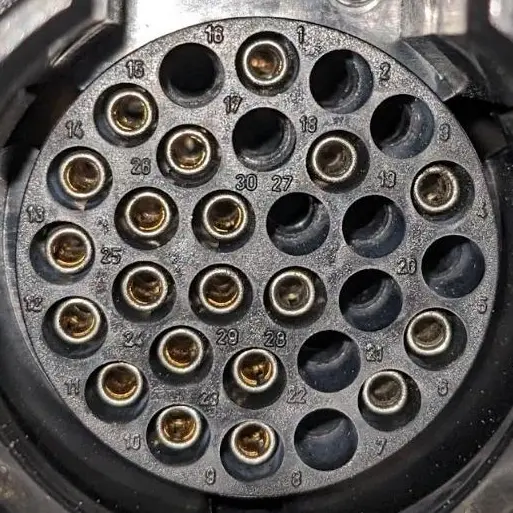
- Inspect the pins on the build chamber socket on the printer. If any are damaged, contact Formlabs Support or your certified service provider.
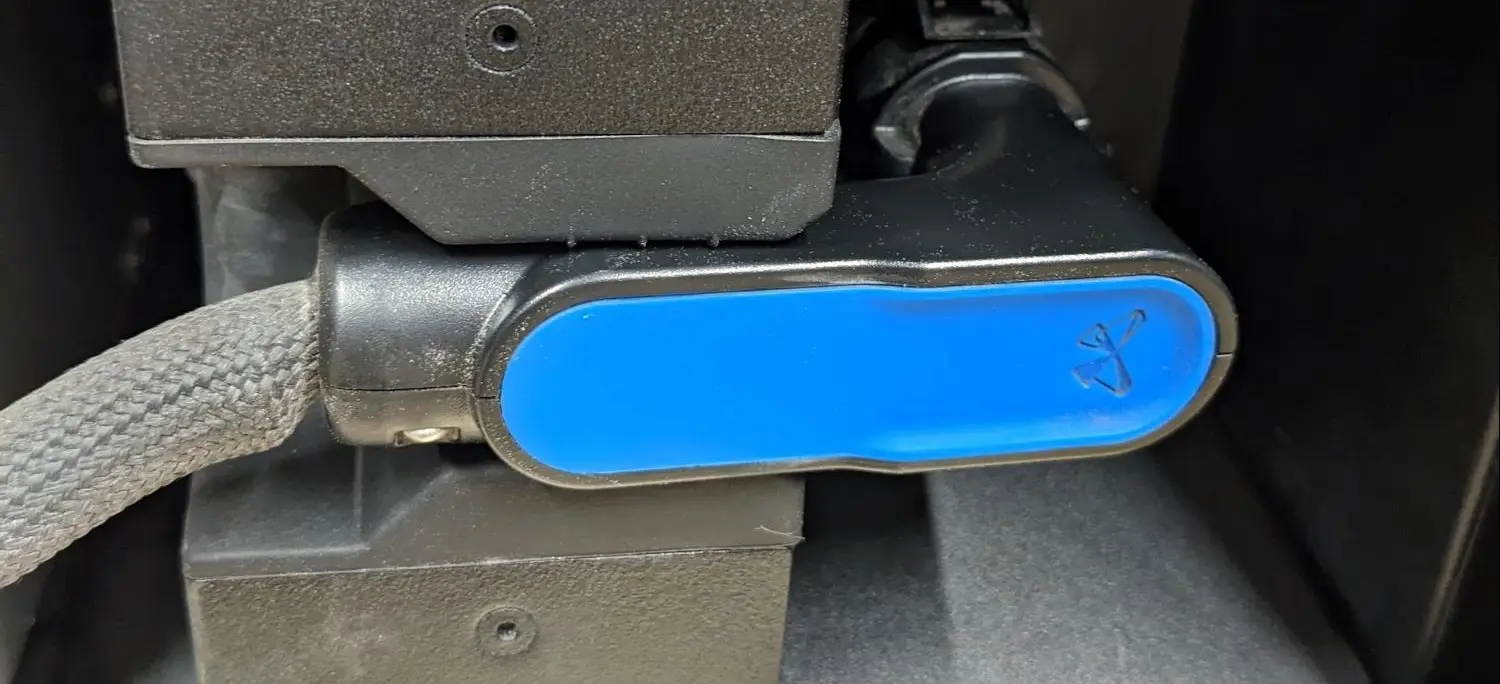
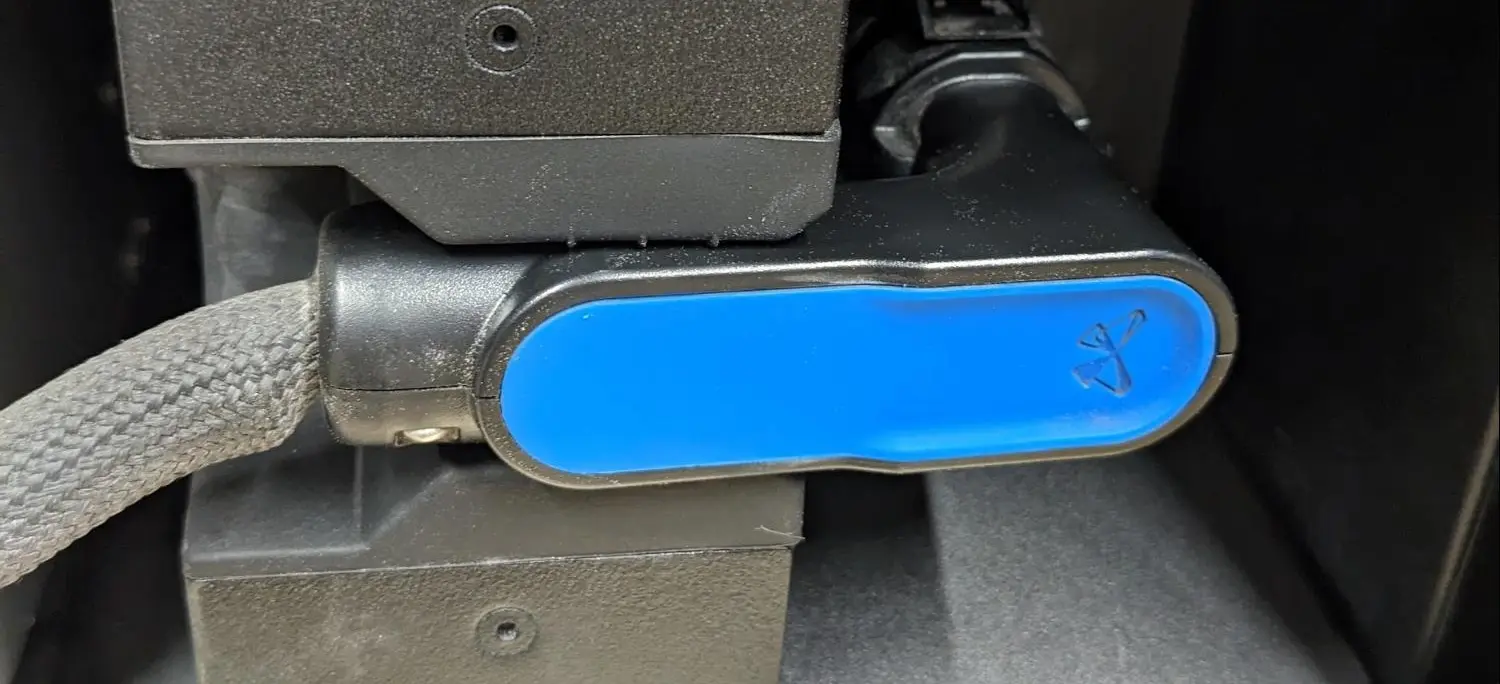
- If the pins are undamaged, clean the pins on both the build chamber and printer using compressed air, ensure the plug is fully inserted and flush with the printer enclosure.
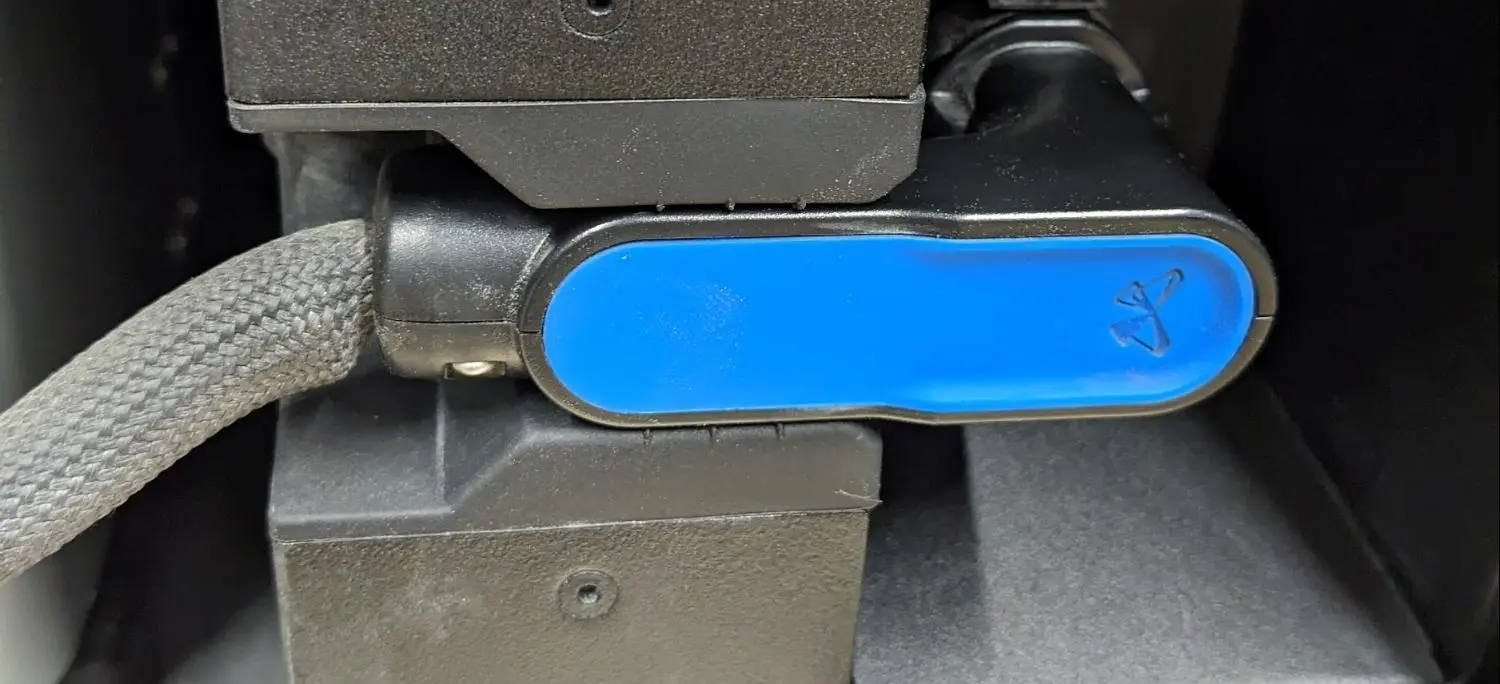
- Attempt another print. If melting occurs again, contact Formlabs Support or your certified service provider.
- If global melting occurs towards the end of a long print, that indicates an issue with the IR sensor getting clouded during the print.
- Clean the IR sensor lens and IR sensor housing. Ensure there is no white residue obstructing the IR sensor lens.
- Fuse 1+ 30W only: Ensure that the rubber O-ring around the base of the IR sensor probe is present and undamaged.
- Reseat the IR sensor, ensuring the IR sensor fits securely in its housing.
- Thoroughly clean the exhaust filter, exhaust fan, and exhaust line.
- Fuse 1+ 30W only: Use a pipe cleaner to clear out the pressure tap hole in the fan plenum below the exhaust fan. Use compressed air if necessary, but take care not to mobilize significant amounts of loose powder.
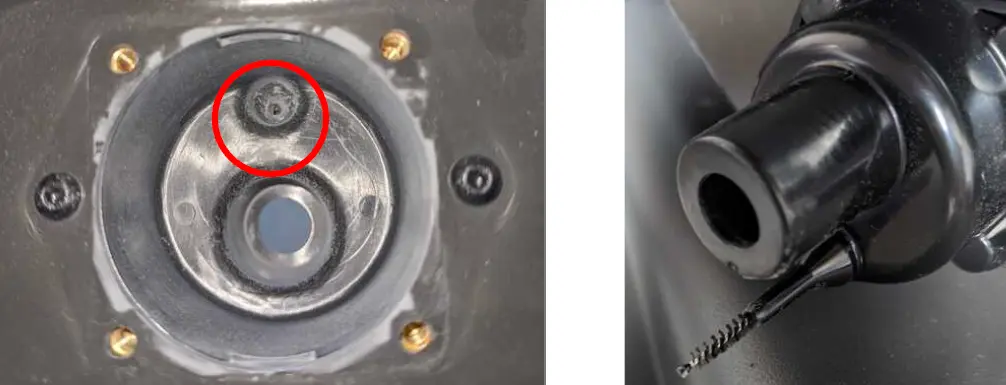
- Attempt another print. If melting occurs again, stop the print and contact Formlabs Support or your certified service provider.
Localized melting
Determine what kind of localized melting issue occurred to inform the next steps.
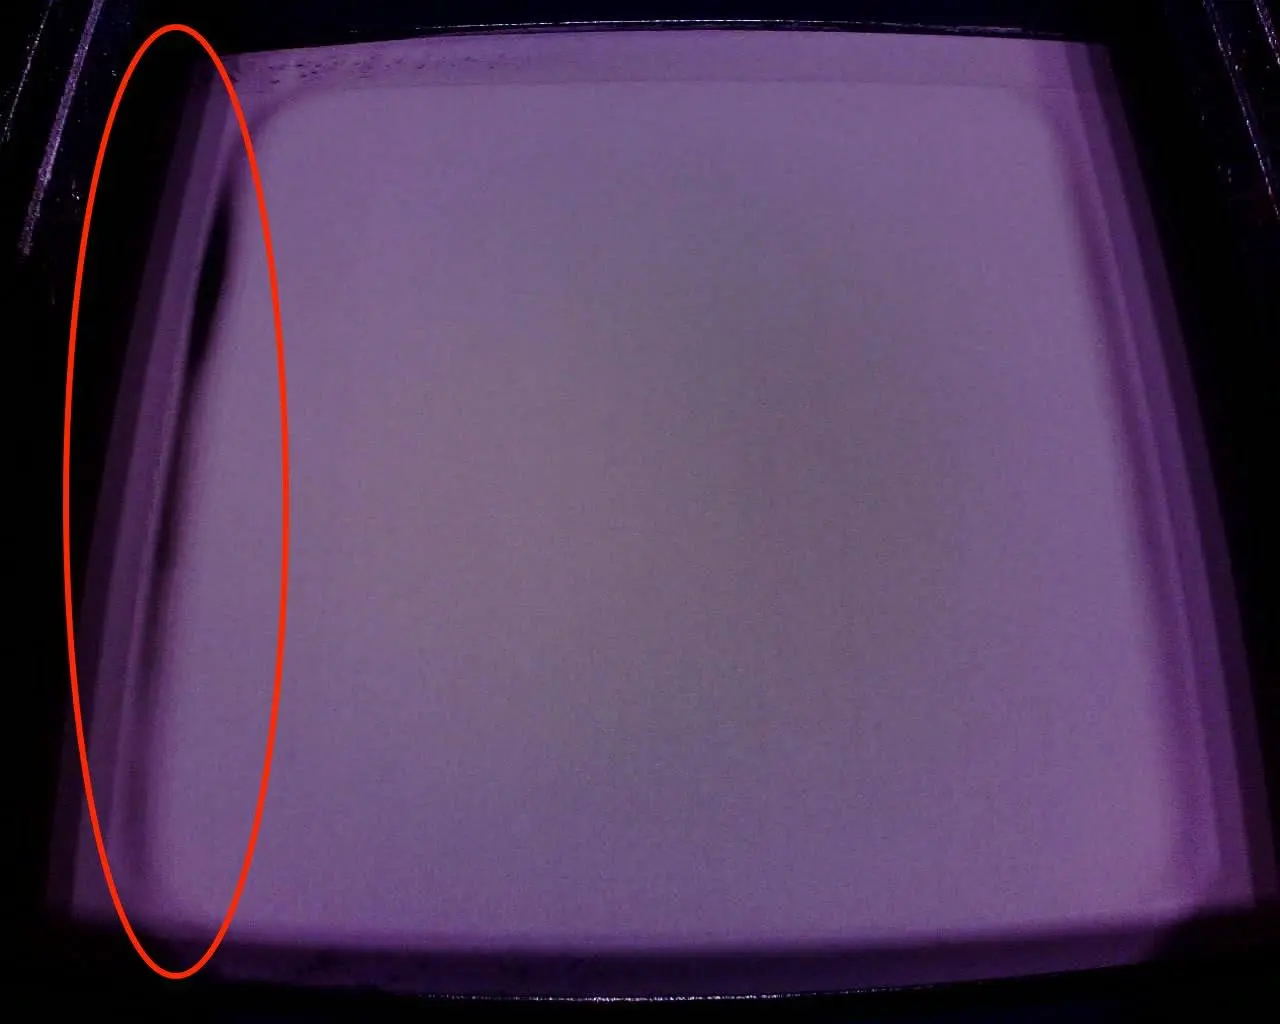
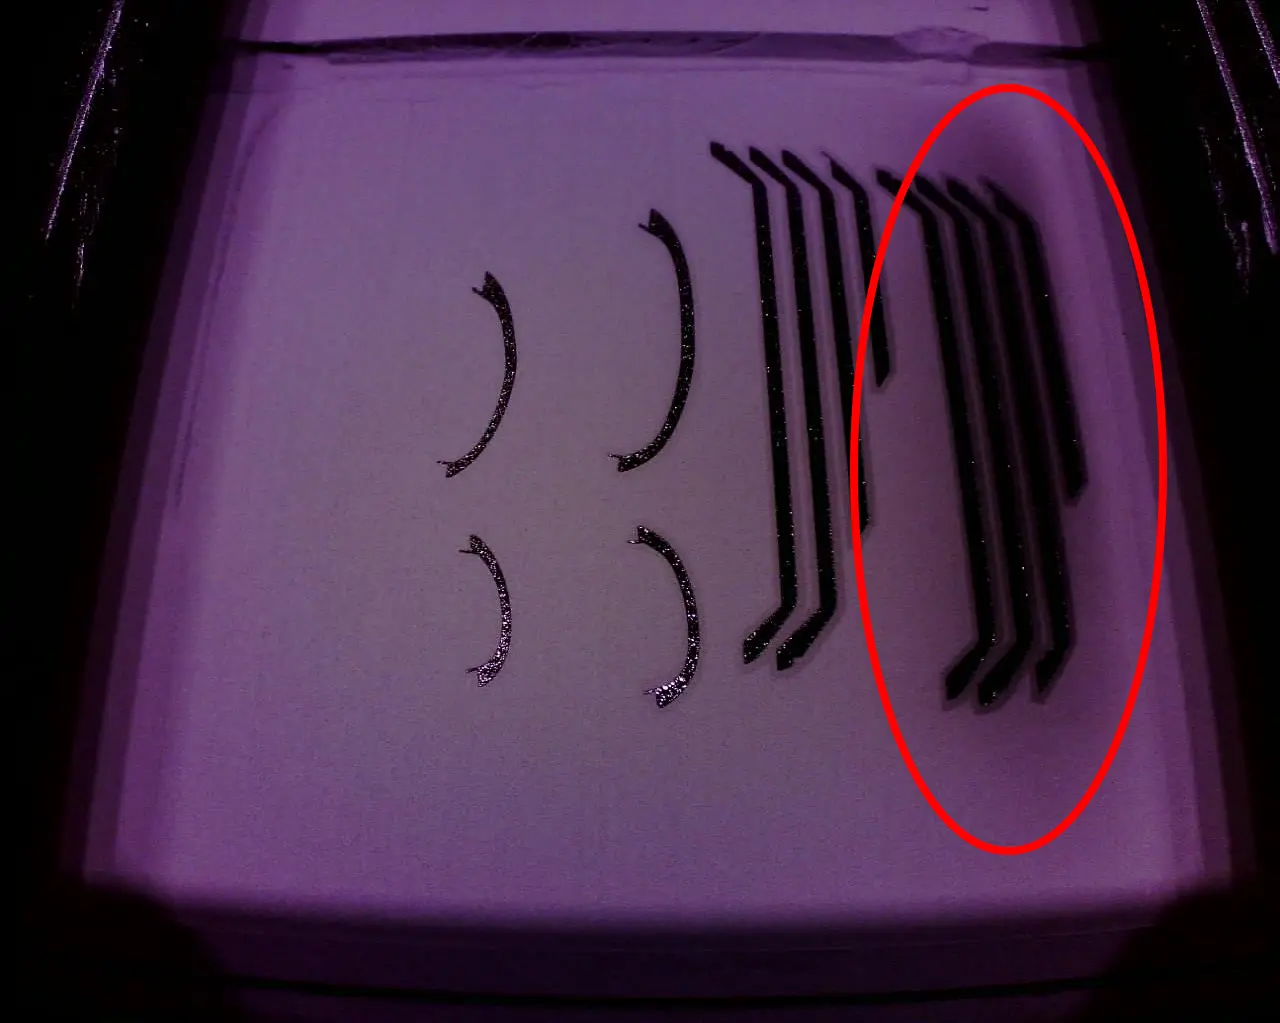
- If localized melting occurs on the buffer side, it indicates an issue with the hopper side quartz tube heater.
- If localized melting occurs on the hopper side, it indicates an issue with the buffer side quartz tube heater.
- If localized melting occurs in any area besides the buffer or hopper side, Contact Formlabs Support or your certified service provider to confirm the root cause. To speed up the resolution of your issue, follow best practices when opening a support case.
Perimeter melting
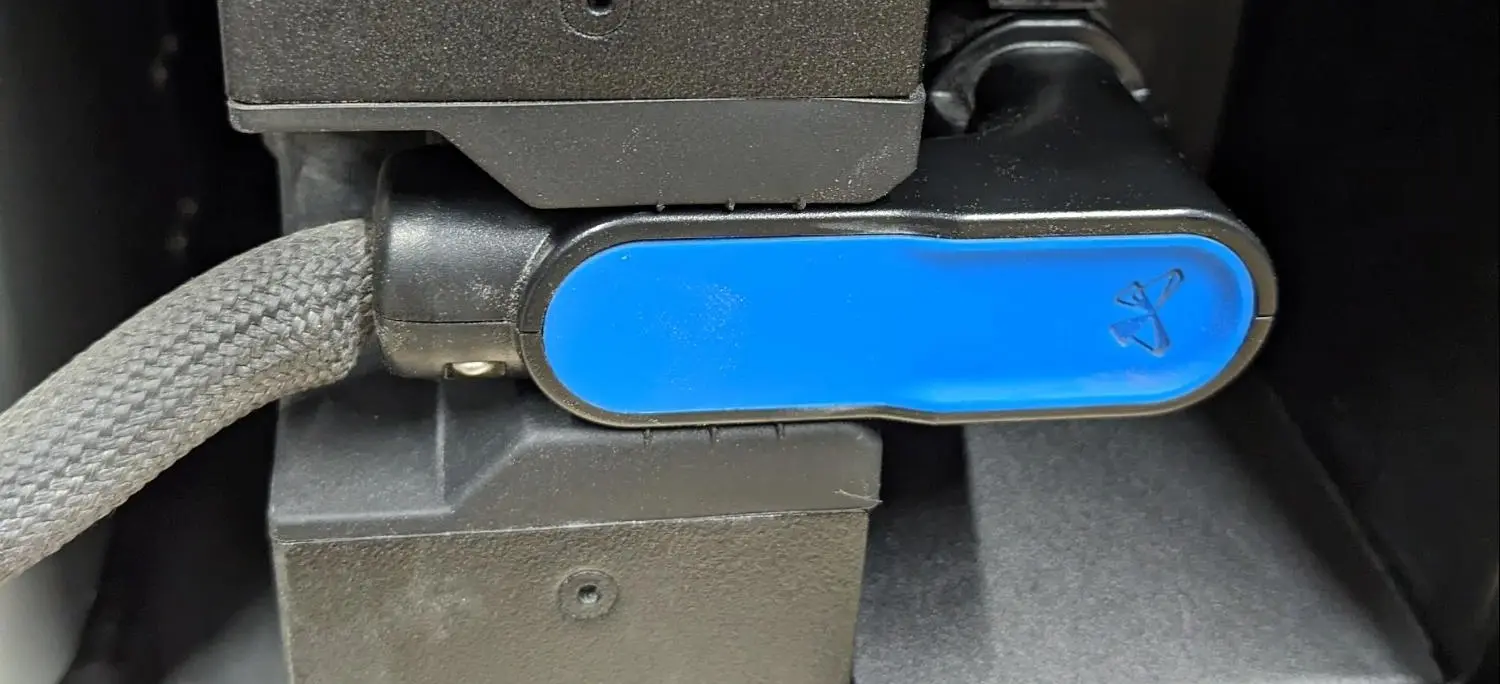
- Check the plug for any bent or sunken pins. If a pin sinks into the plug, gently pull on the pin with a pair of pliers. If the pin does not remain in place, the connector housing may be broken. Contact Formlabs Support or your certified service provider.
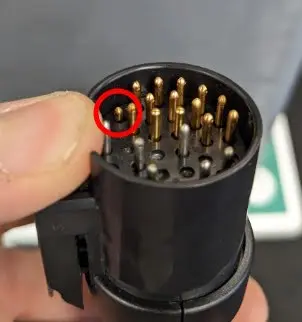
- Inspect the pins on the build chamber socket on the printer. If any are damaged, contact Formlabs Support or your certified service provider.
- If the pins are undamaged, clean the pins on both the build chamber and printer using compressed air, ensure the plug is fully inserted and flush with the printer enclosure.
- Attempt another print. If melting occurs again, stop the print and contact Formlabs Support or your certified service provider.