
Required supplies:
Formlabs:
- Replacement outer lid assembly
Third-party:
- 2 mm hex driver
- Nitrile gloves

The Form Wash (2nd Generation) outer lid assembly insulates the wash bucket during wash cycles to prevent solvent from spilling or evaporating. A damaged or malfunctioning outer lid assembly can allow solvent to spill outside of the machine and prevent the Form Wash from operating as intended.
Use this guide to replace the Form Wash outer lid assembly.
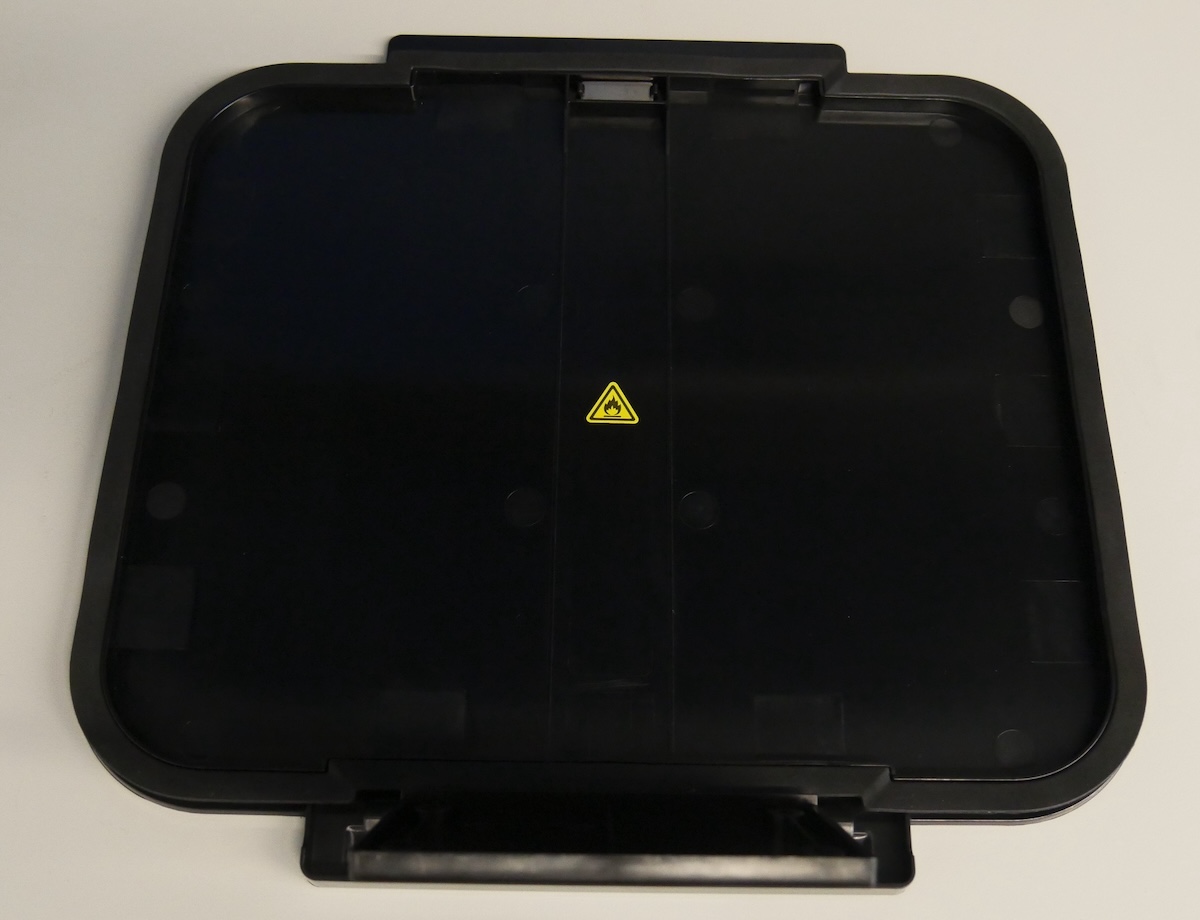
Required supplies:
Formlabs:
Third-party:
Estimated time: 10 minutes
Preparing the workspace
Overview: Prepare the Form Wash and a level workspace for replacing the outer lid assembly.
WARNING:
Resin may cause skin irritation or an allergic skin reaction. Wear gloves when handling liquid resin or resin-coated surfaces. Wash skin with plenty of soap and water.
Step 1: Turn off the Form Wash
Disconnect the Form Wash from its power source.
Step 2: Rotate the unit
Rotate the Form Wash so that you can access the back of the machine. If necessary, lift the Form Wash by gripping its base, not the wash bucket.
Removing the outer lid assembly
Overview: Remove the old outer lid assembly from the Form Wash.
Step 1: Remove outer lid retention screws
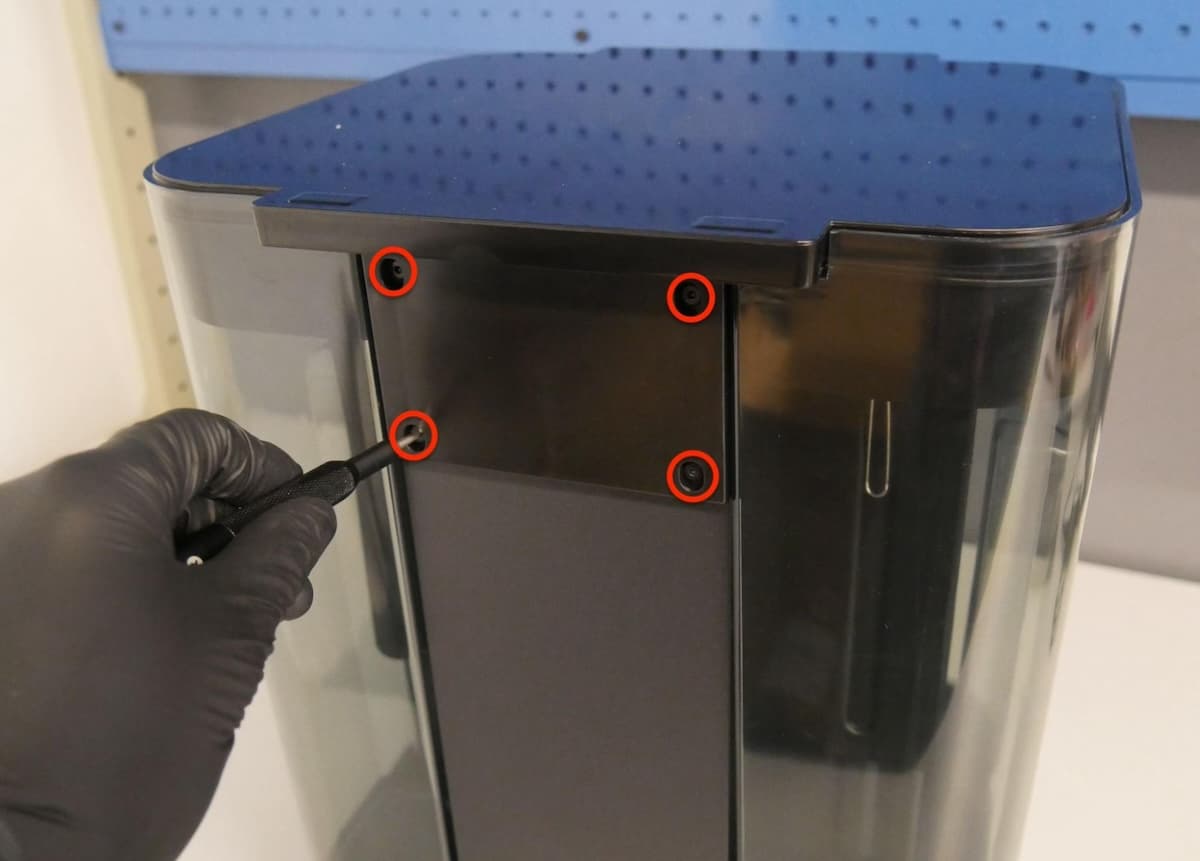
The outer lid assembly is secured to the Form Wash with four screws. Using a 2 mm hex driver, remove the screws and set them aside.
Step 2: Remove the outer lid assembly
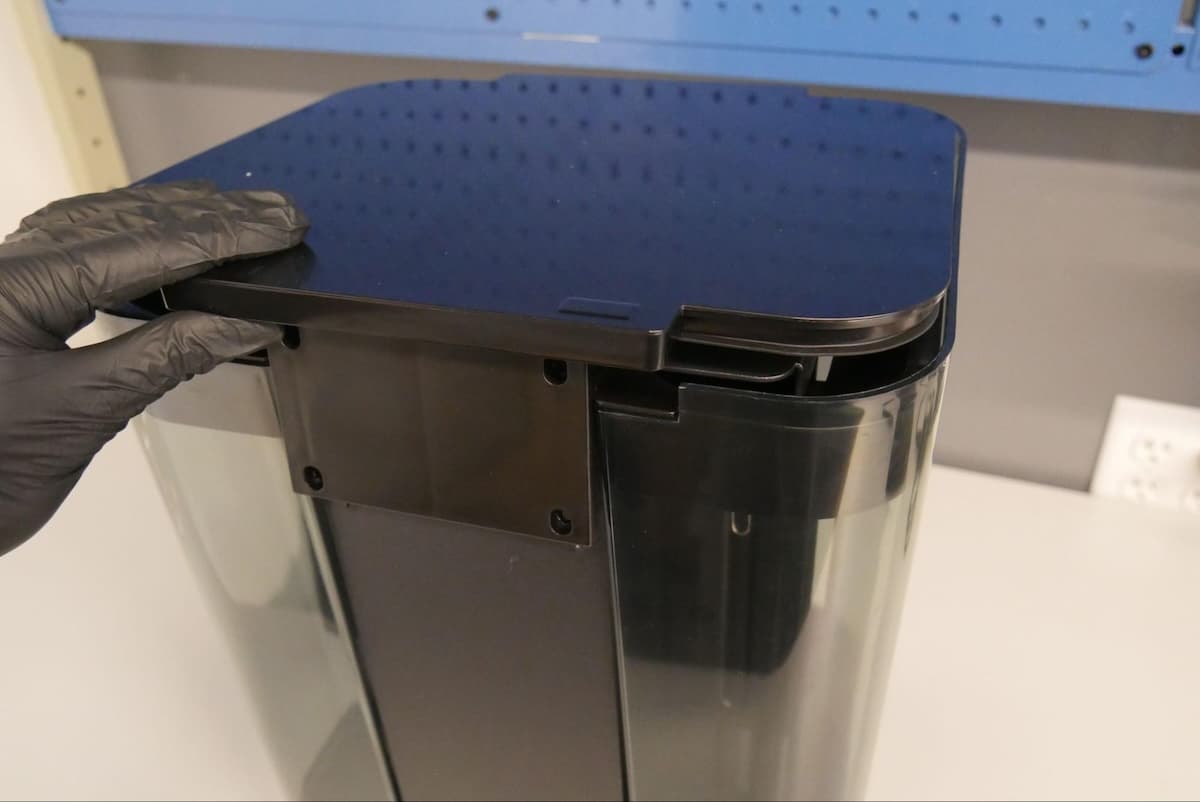
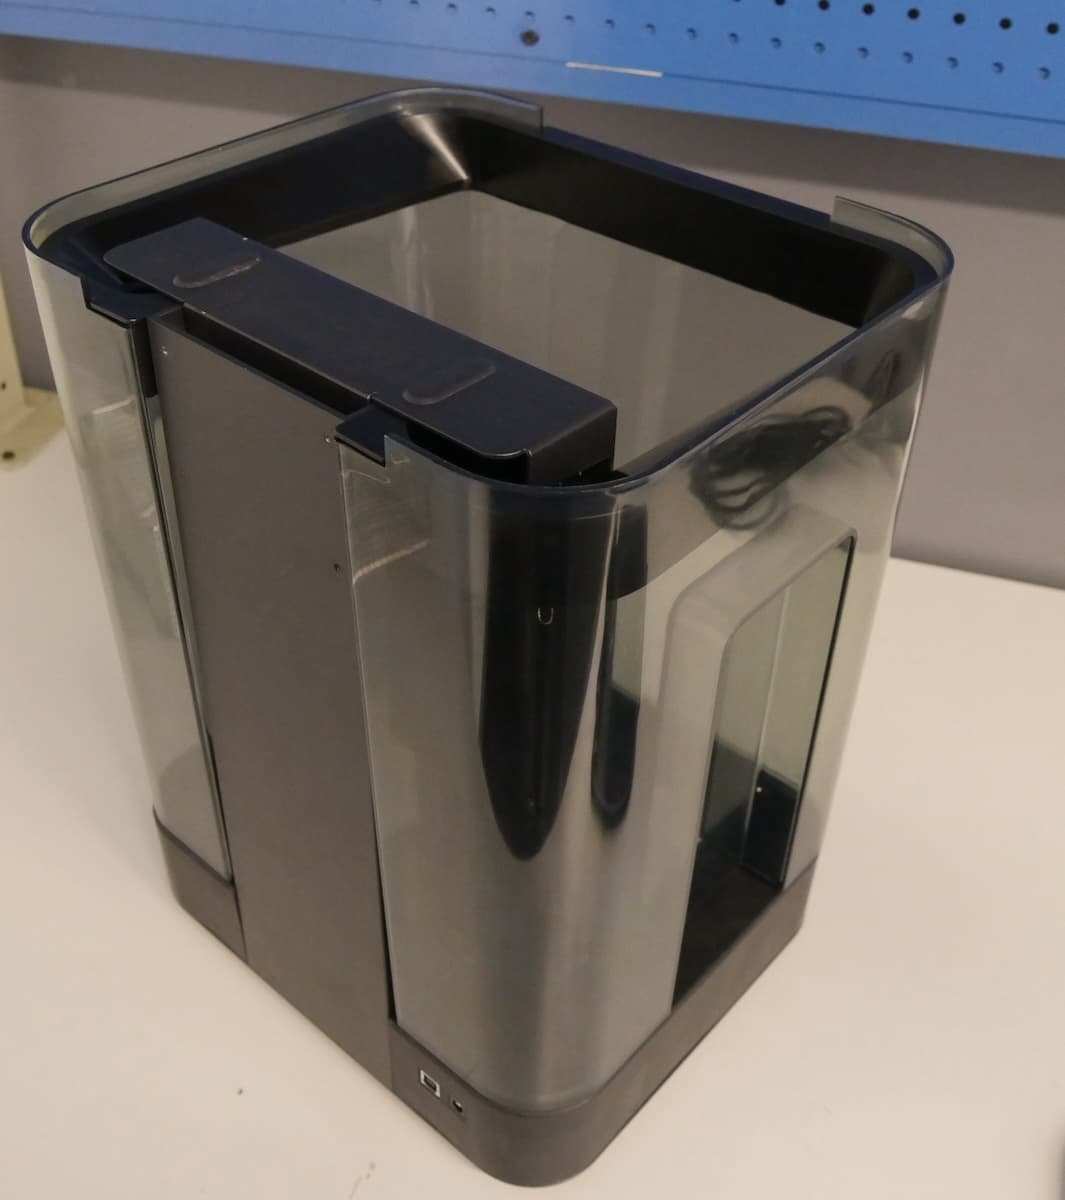
Grip the outer lid assembly and lift it. The outer lid assembly should detach from the Form Wash without any resistance. Set the outer lid assembly aside for disposal.
Replacing the outer lid assembly
Overview: Install the new outer lid assembly on the wash bucket.
Step 1: Install the outer lid assembly
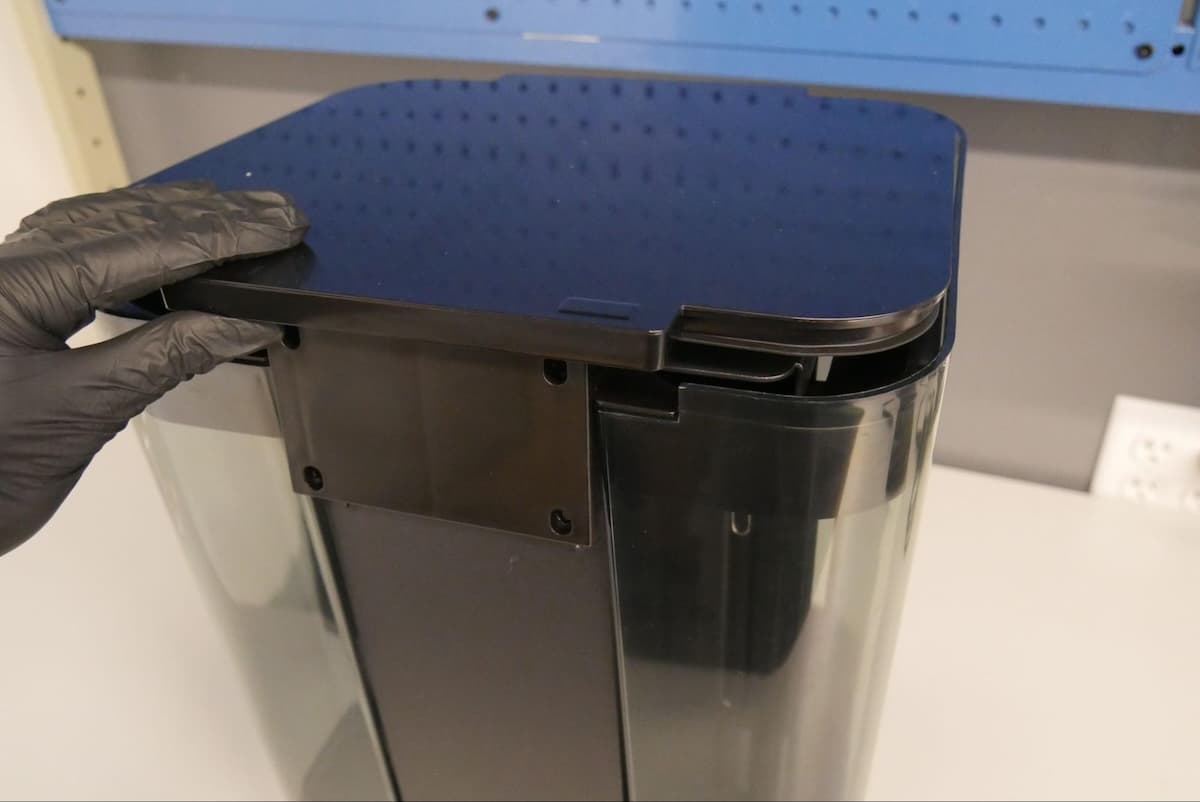
Place the replacement display assembly on top of the wash bucket. The outer lid assembly is installed correctly when the four screw holes on the back of the unit align with the screw holes on the back of the machine. The assembly should fit on top of the wash bucket without any gaps or resistance.
Step 2: Secure the outer lid assembly
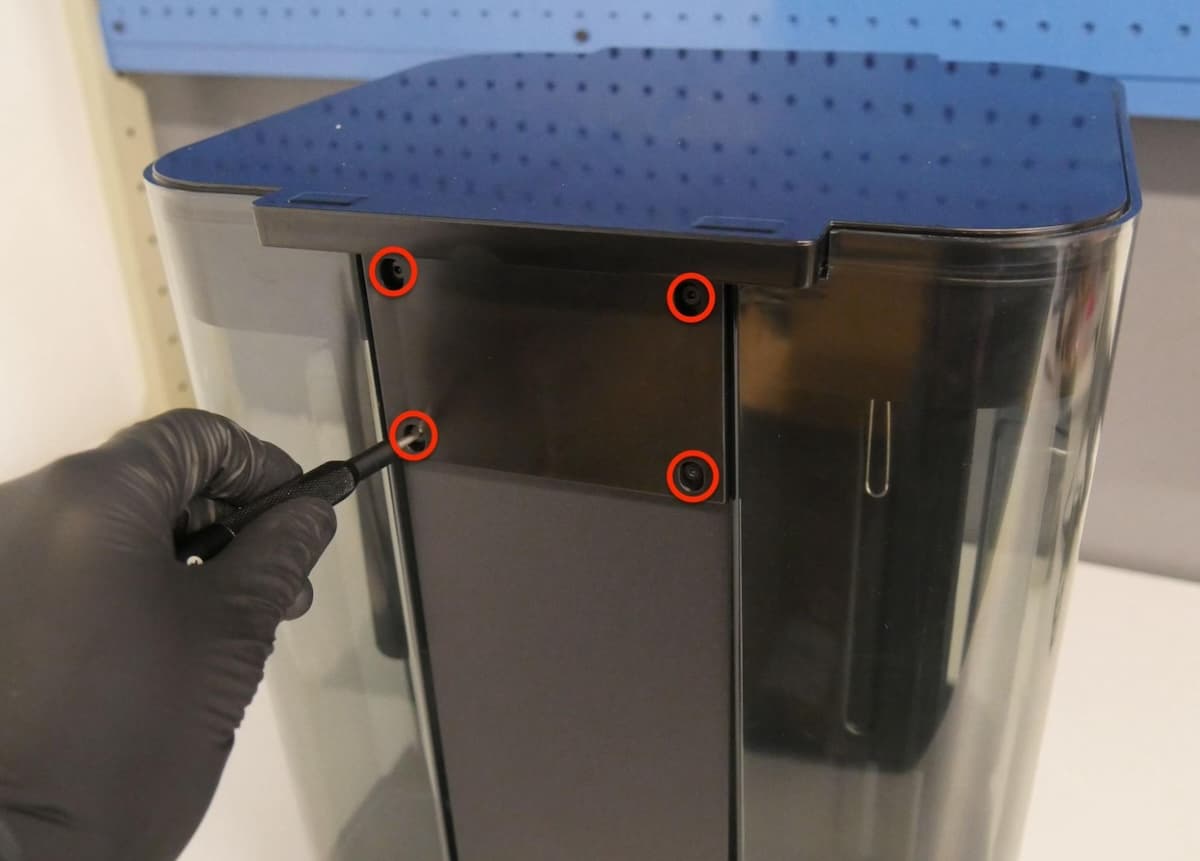
Thread the outer lid assembly screws into their screw holes. Using a 2 mm hex driver, tighten the four screws until snug.
Finalizing the repair
Overview: After installing the new outer lid assembly, power on the machine and perform final checks.
Step 1: Rotate the Form Wash
Return the unit to its original position so that you can access the display assembly and control knob.
Step 2: Power on the machine
Connect the Form Wash to power. The machine turns on and initializes.
Step 3: Test the repair
Run a wash cycle. Check that the wash cycle starts normally, the outer lid assembly stays in place and prevents solvent from spilling outside of the machine, and the elevator raises normally at the end of the cycle. Contact Formlabs Support or your authorized reseller to share the results of the procedure.