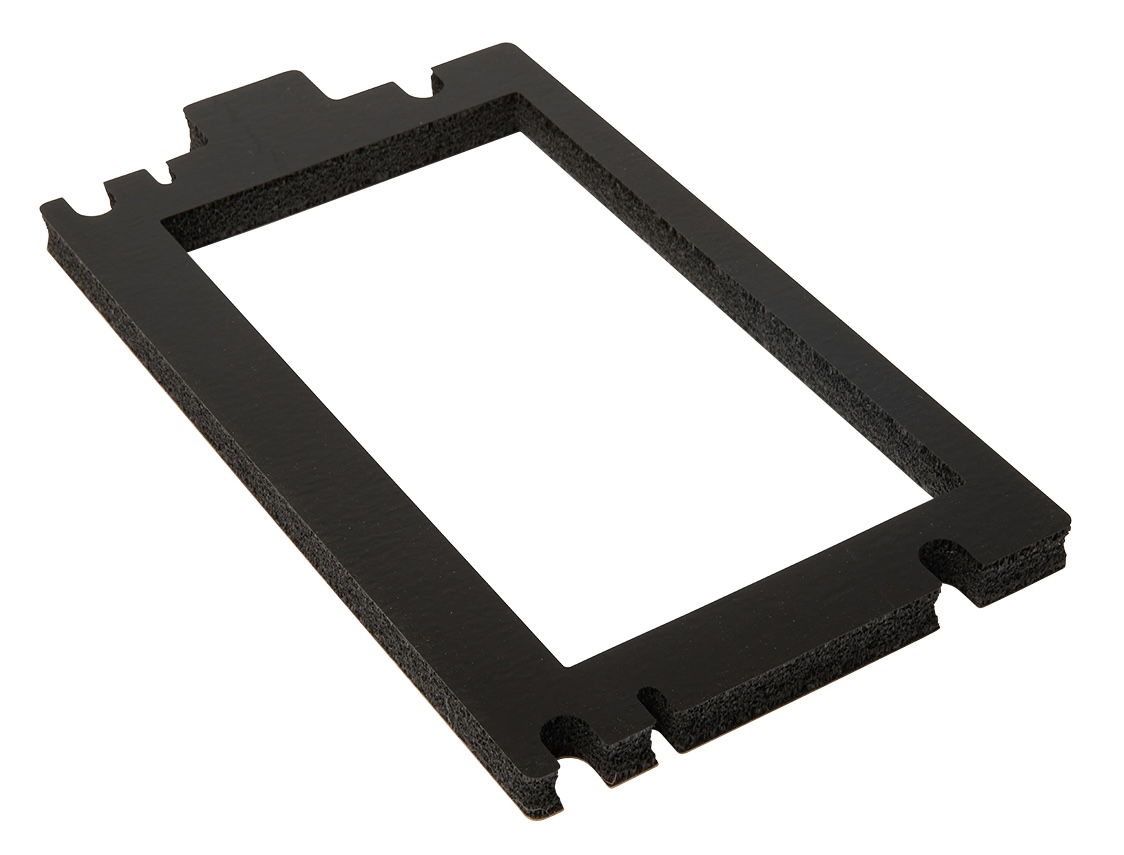
Step 1: Print the hopper vacuum attachment
If you have access to another 3D printer or your Fuse 1 generation printer can complete a print before servicing, print and post-process the hopper vacuum attachment. The STL file is available
here.
Step 2: Prepare the workspace
Clear a workspace around your printer. Ensure that the workspace is well-ventilated and free of dust.
Step 3: Empty the hopper
Insert an empty build chamber. Tap
Settings > Calibration > Empty Hopper
on the printer’s touchscreen. Follow the on-screen prompt on the
Empty Hopper
screen to transfer the powder from the hopper to the build chamber. This process may take up to an hour.
Step 4: Clean the hopper and powder troughs
Follow the instructions for
cleaning the hopper
and
cleaning the powder troughs
from the support article
Cleaning all powder out of a Fuse 1 generation printer. You do not need to clean the other components of the printer to replace the doser assembly.
Step 5: Unplug the printer
Disconnect the power cable before continuing with maintenance. Do not perform maintenance on the printer while it is connected to power. Wait five minutes after disconnecting the printer from power before proceeding.