Step 9: Check the exhaust duct seal
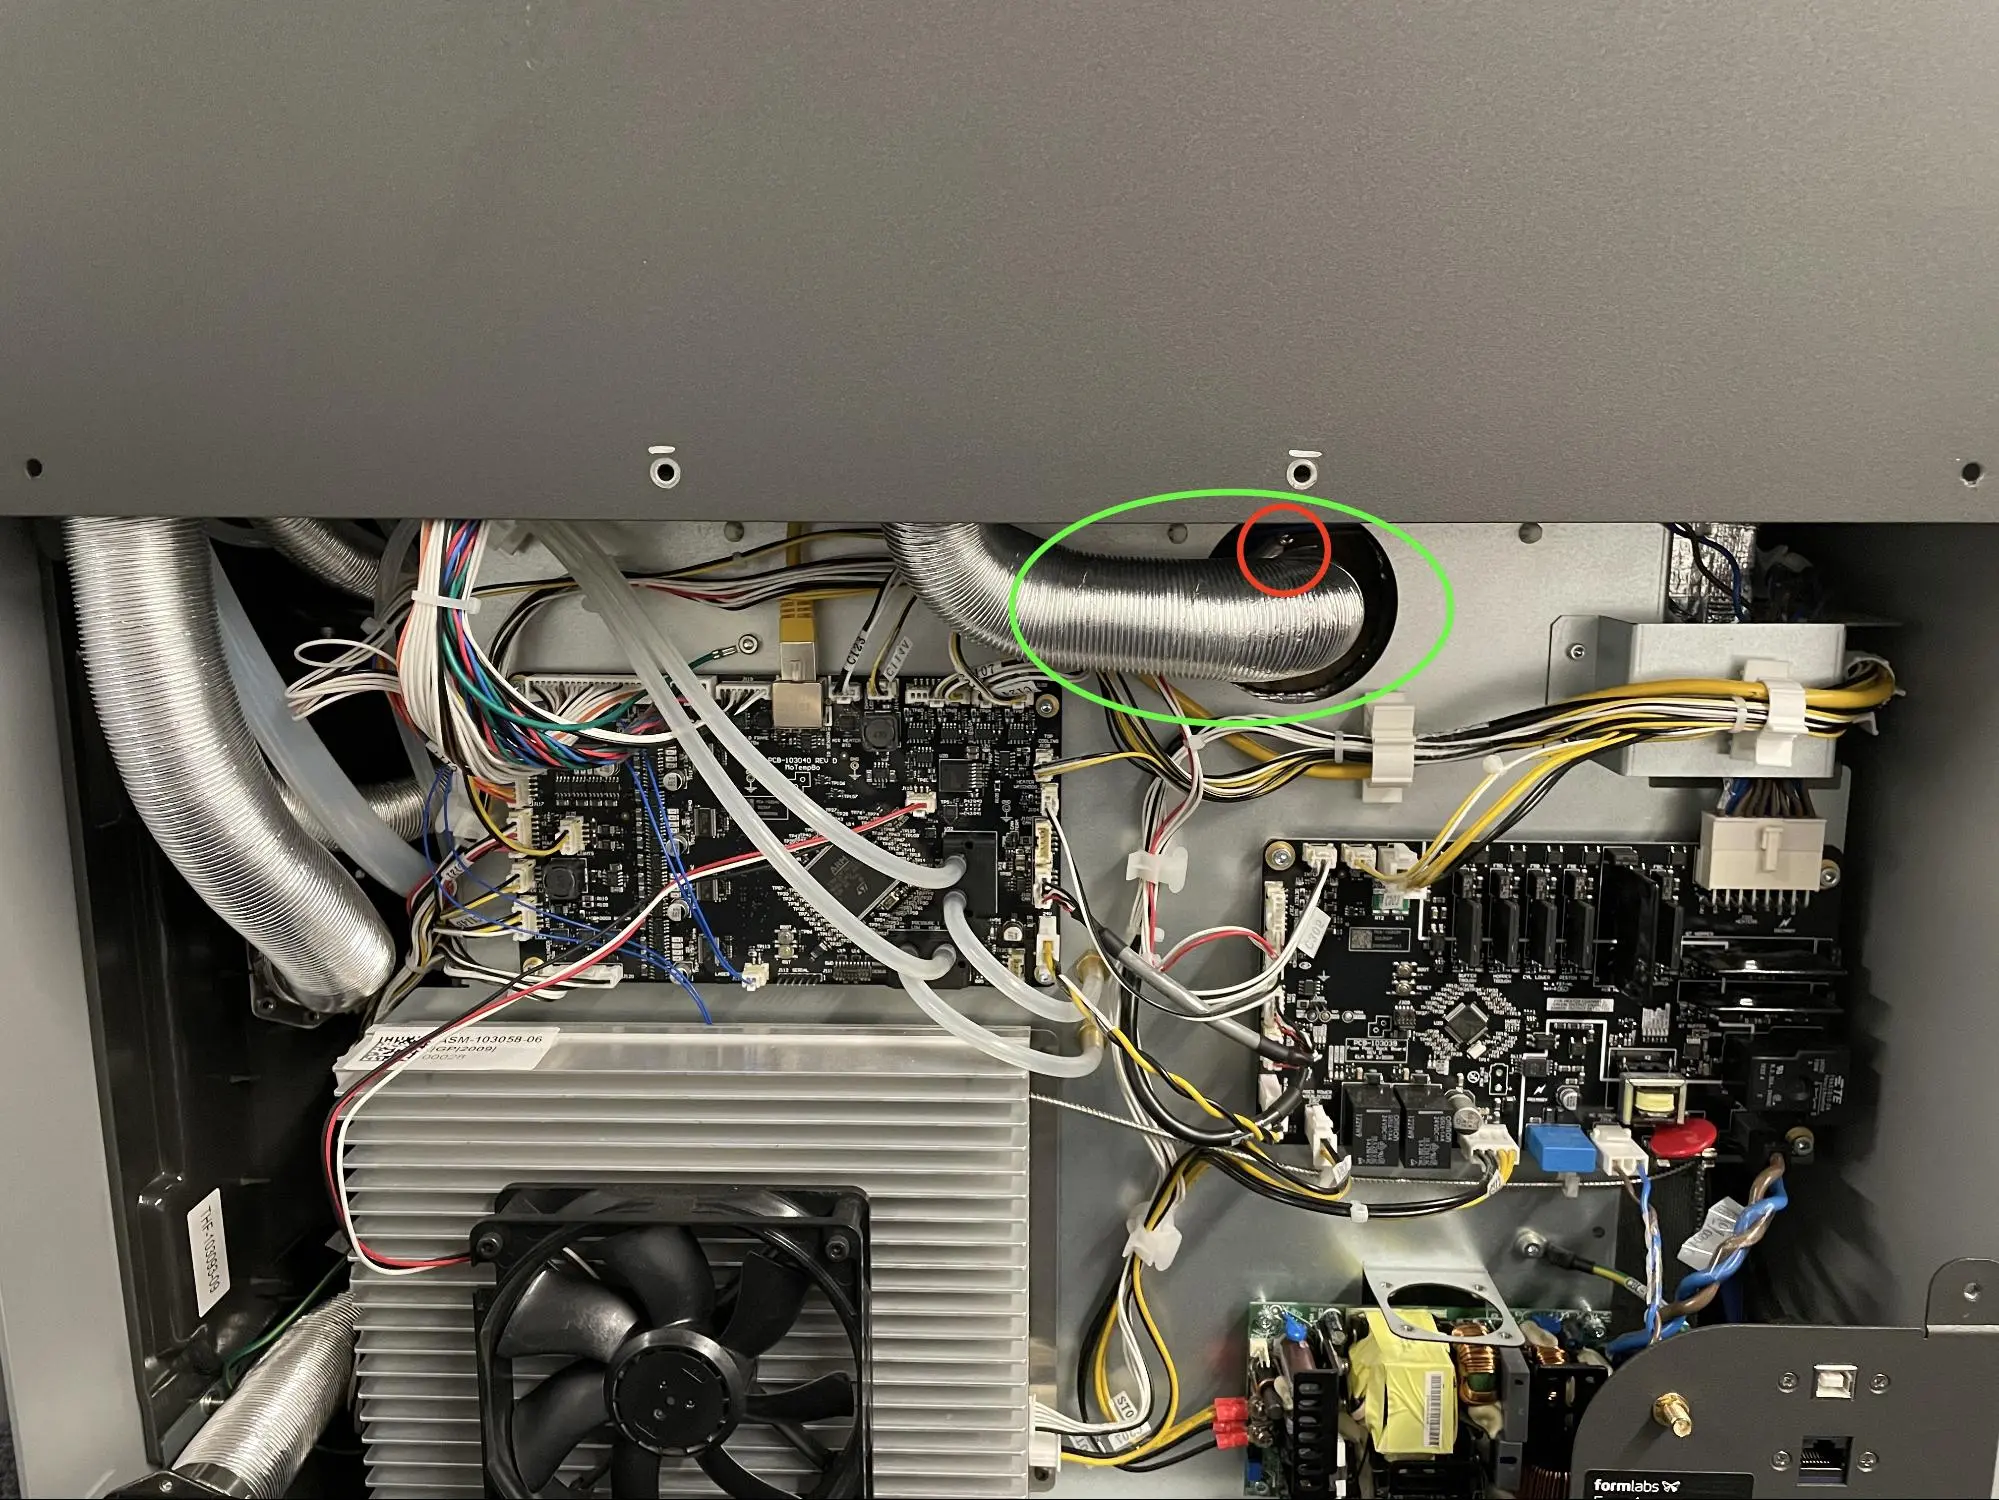
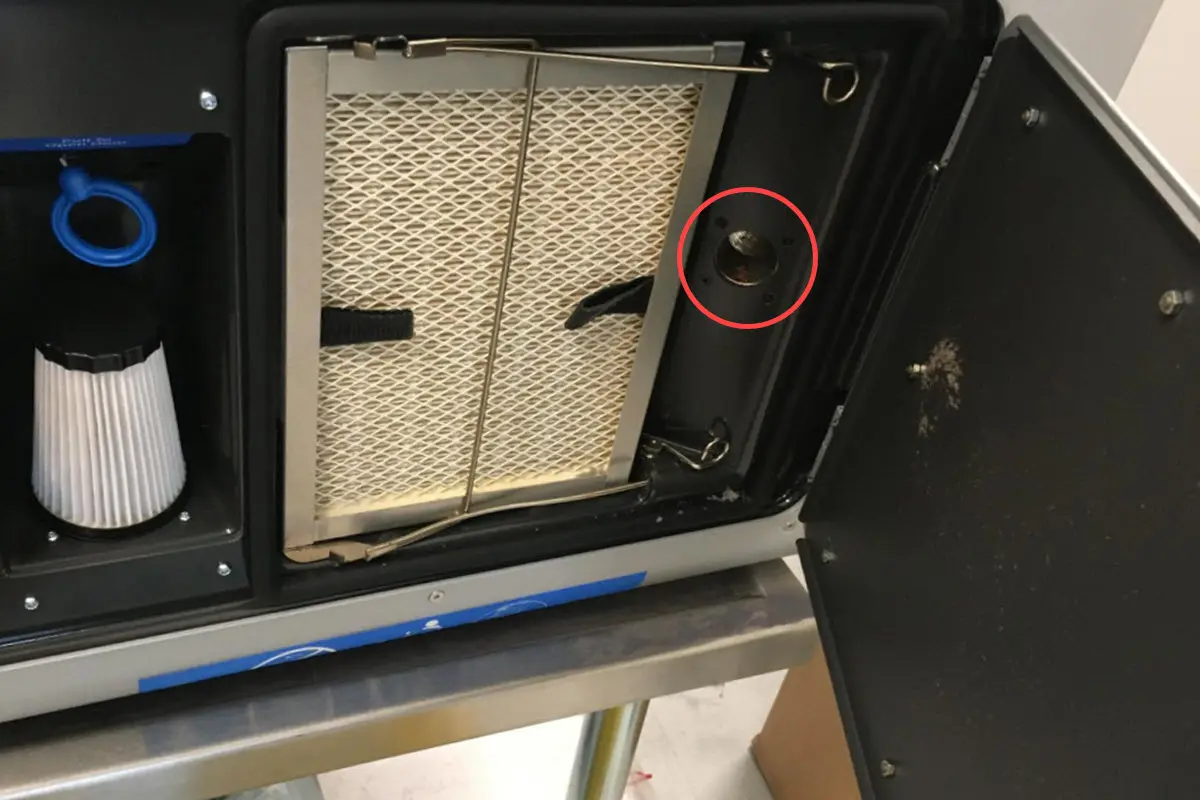
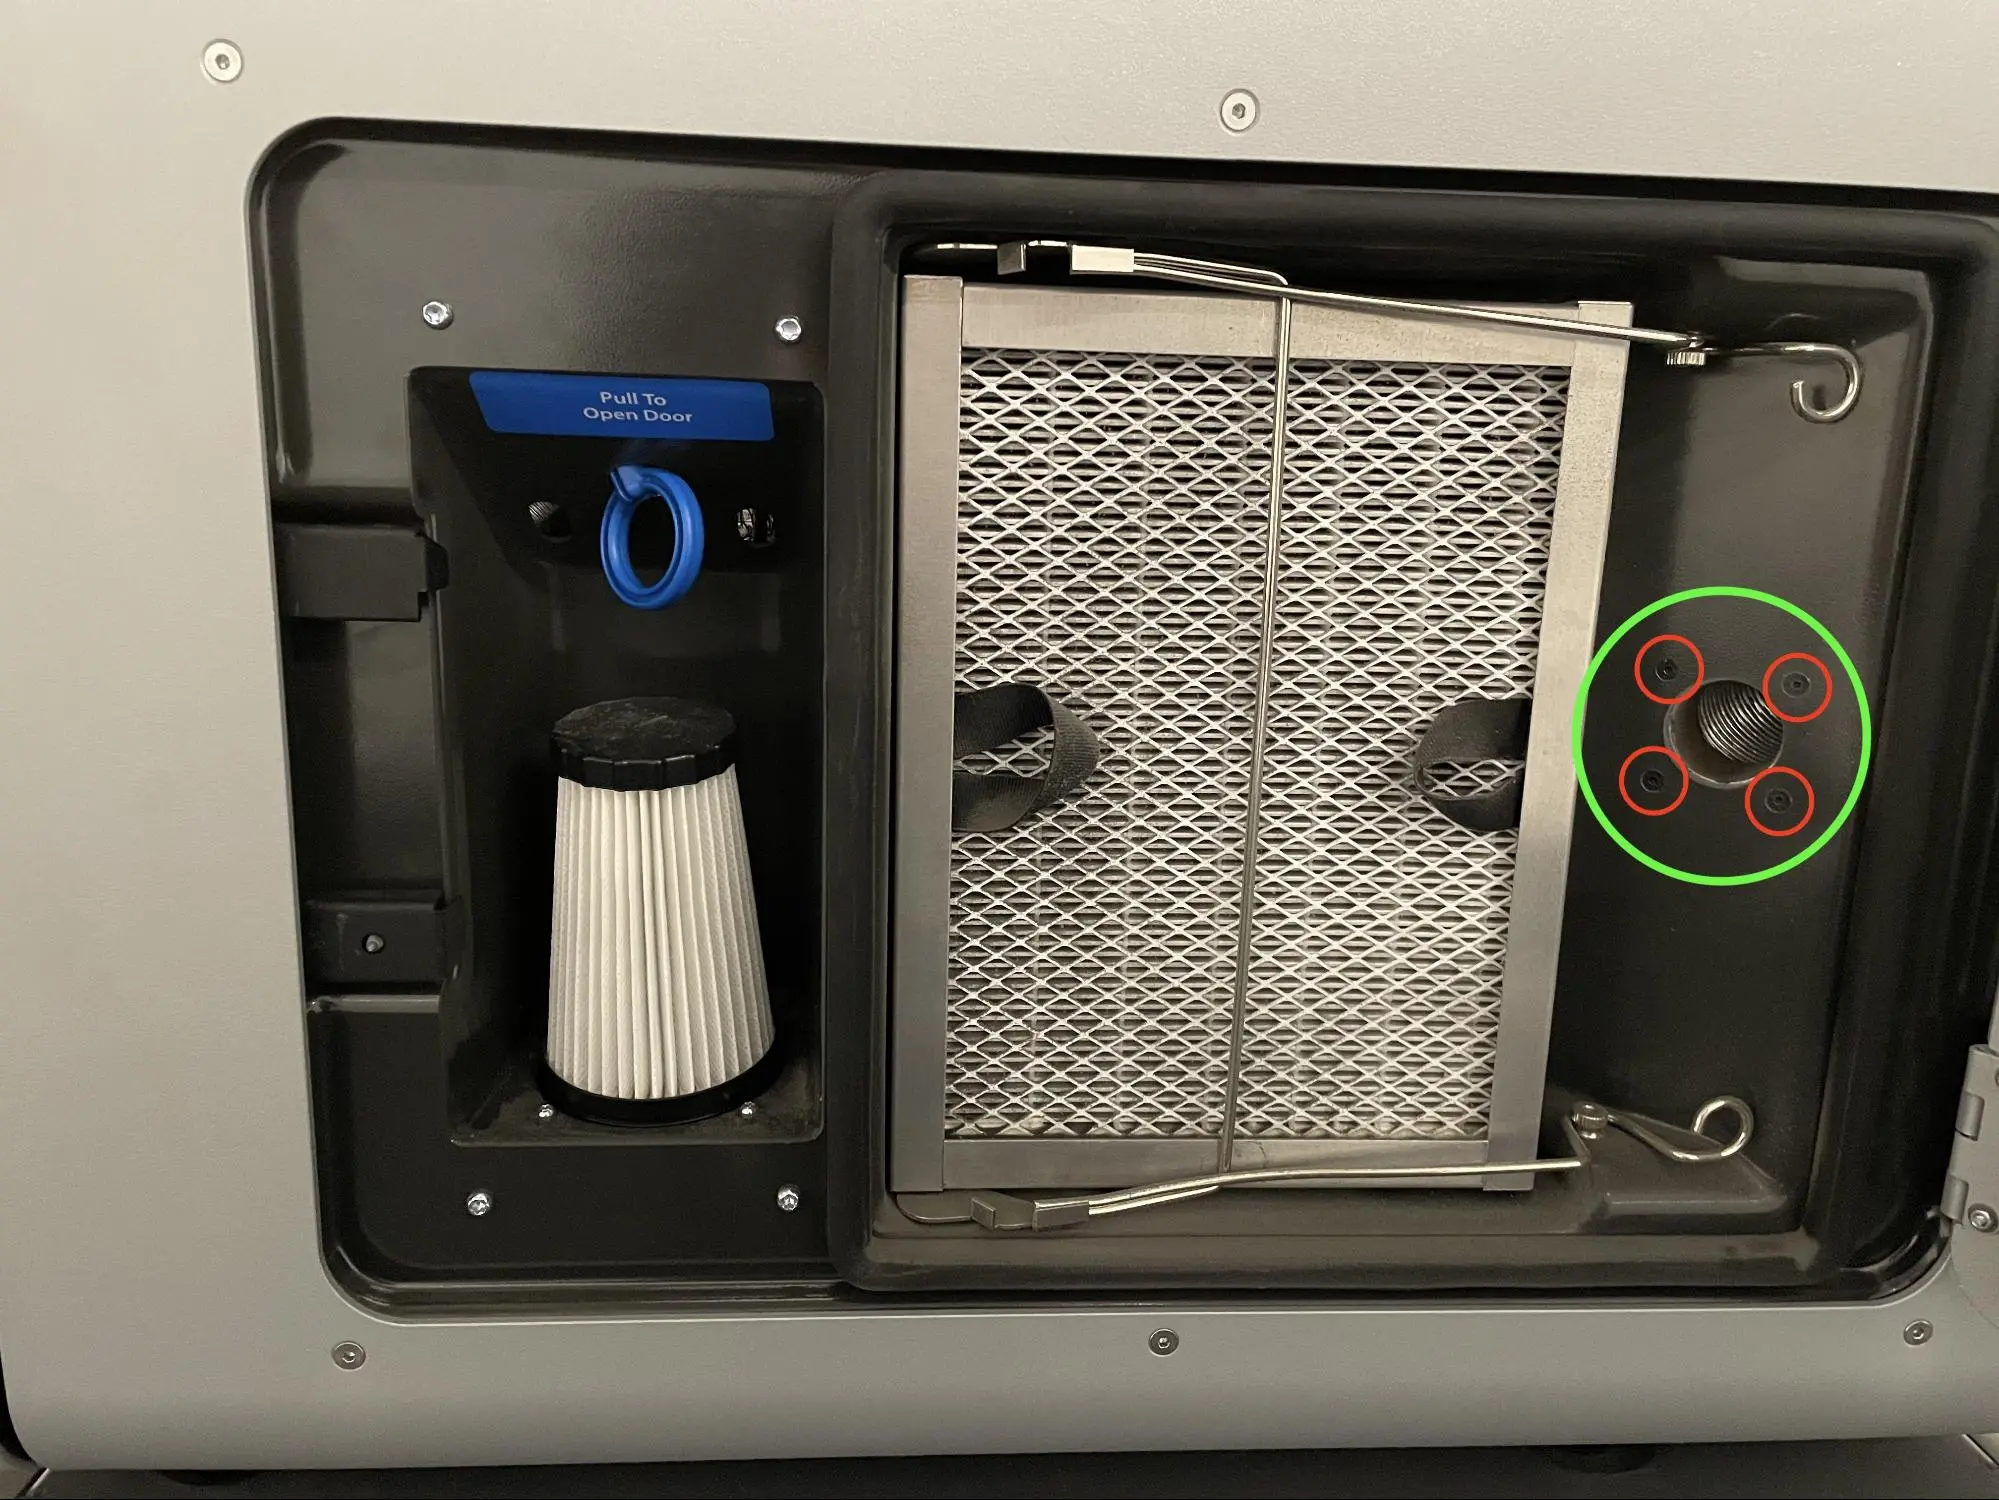
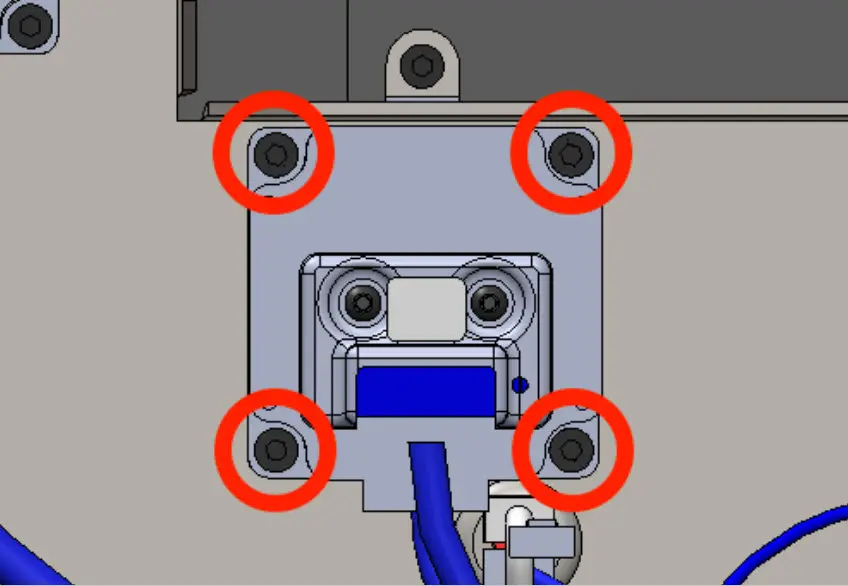
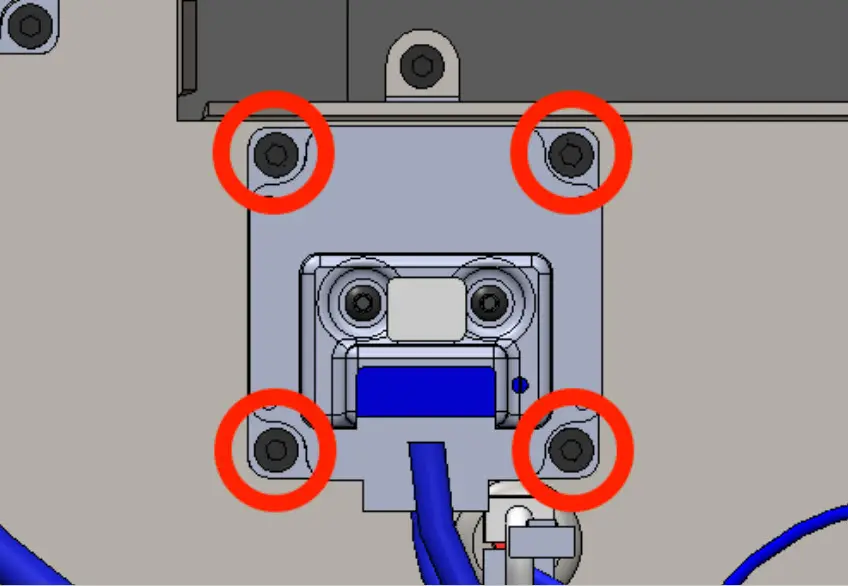
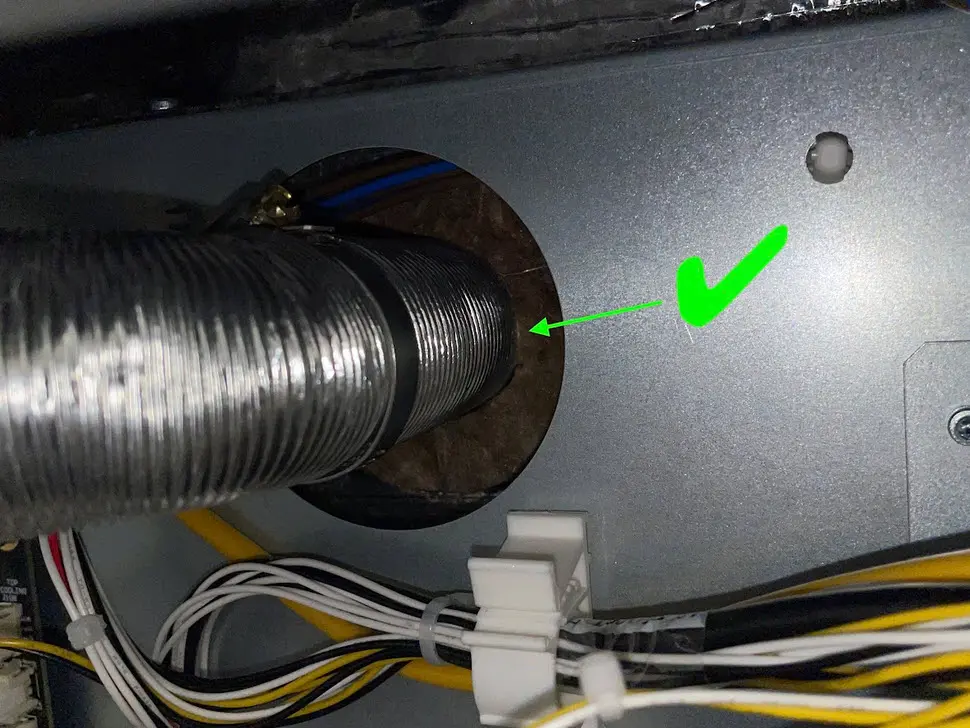
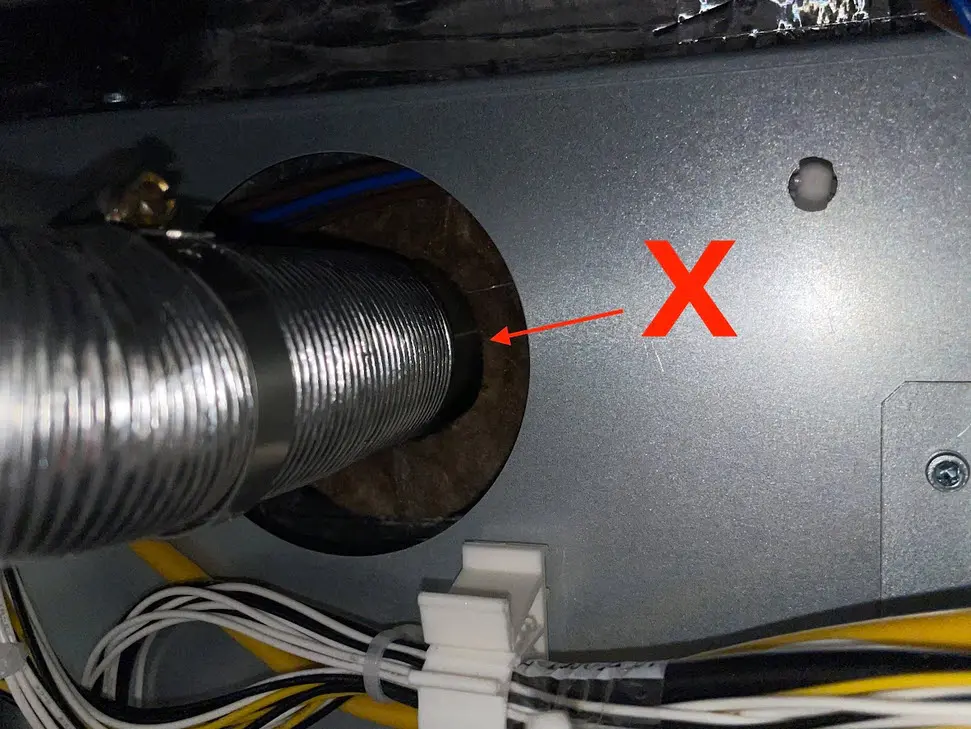
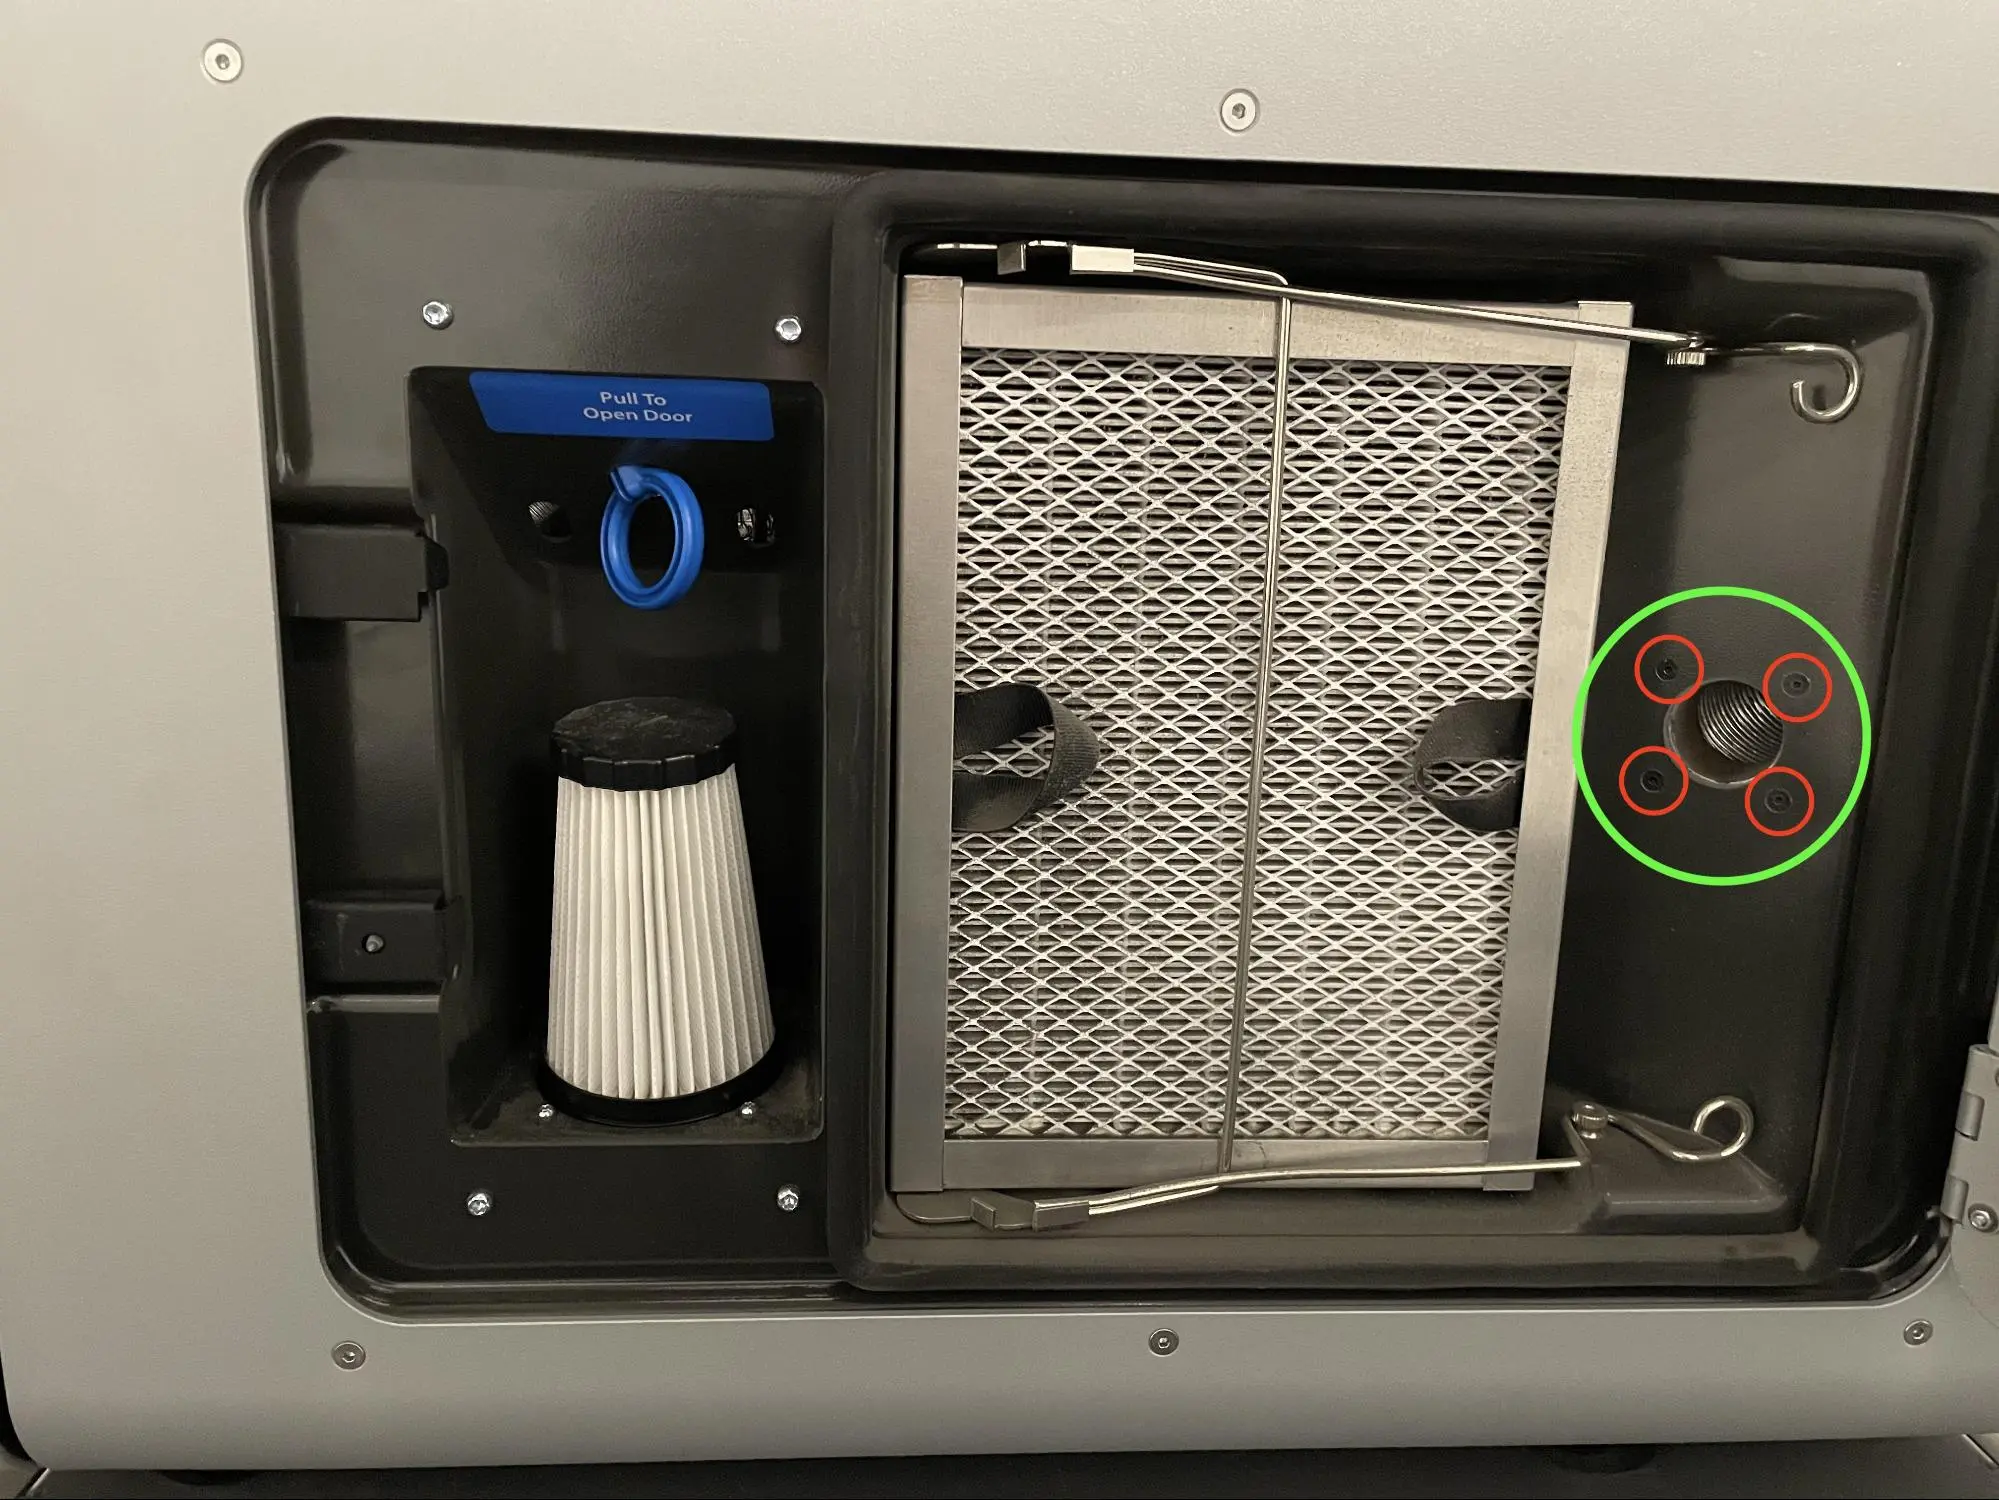
To ensure there is no gap between the exhaust duct’s mounting plate and the filter cabinet housing, shine a flashlight or other light source around the exhaust inlet inside the filter cabinet. If any light is visible behind the filter cabinet, the duct is not properly sealed. If necessary, use a 2.0 mm hex driver to tighten the exhaust duct screws. Close the filter cabinet door when finished.
Step 10: Secure the lower rear panel grounding screws
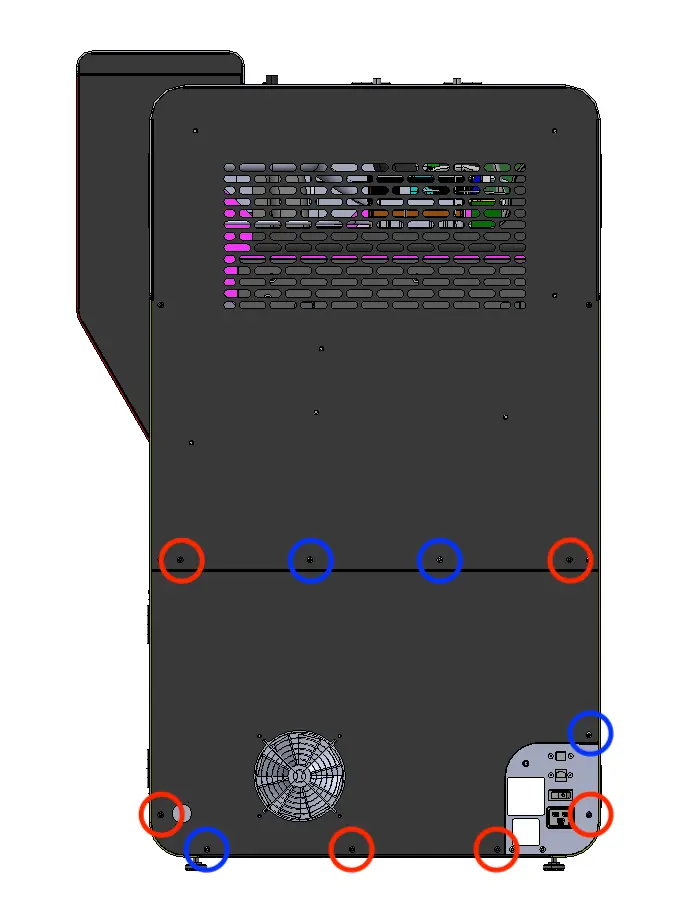
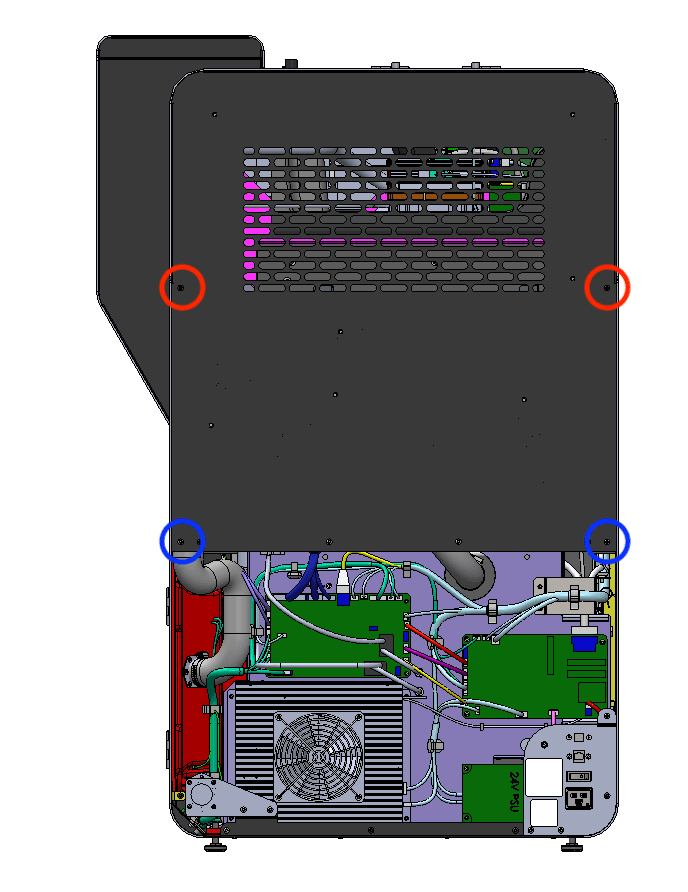
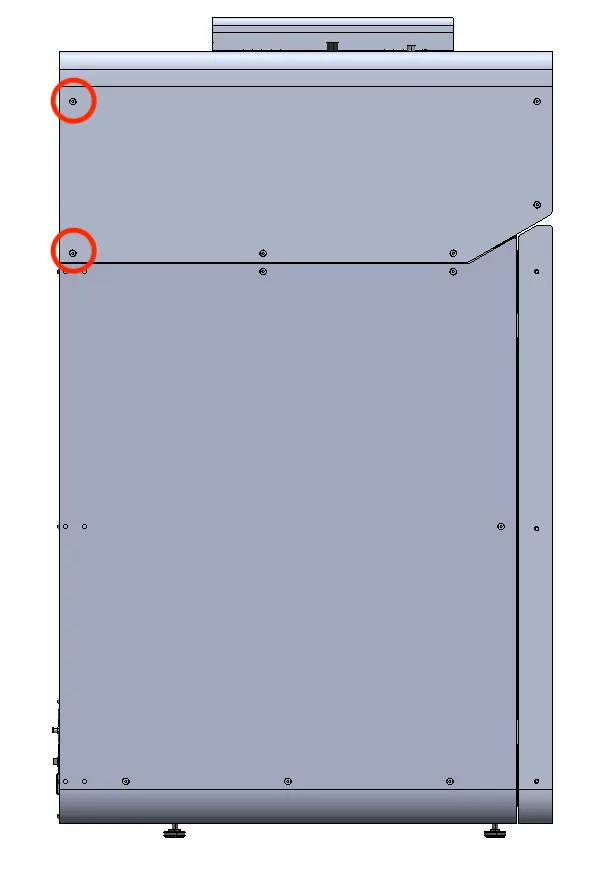
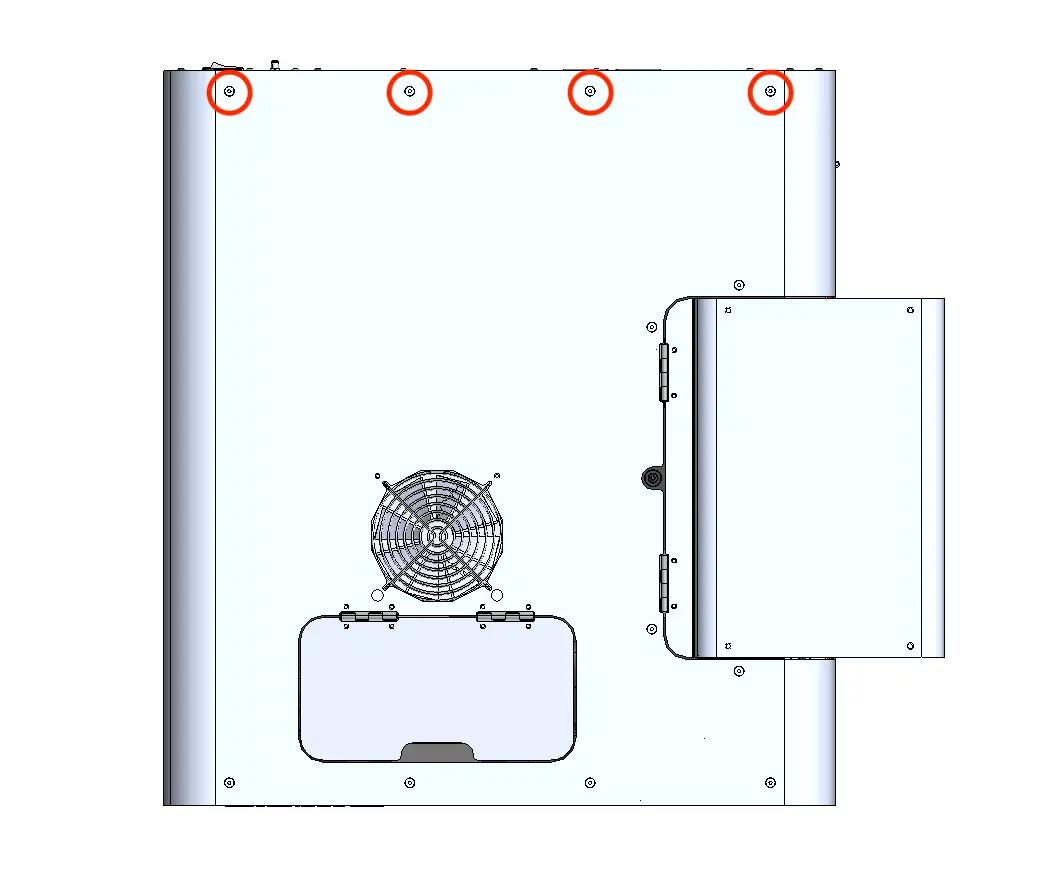
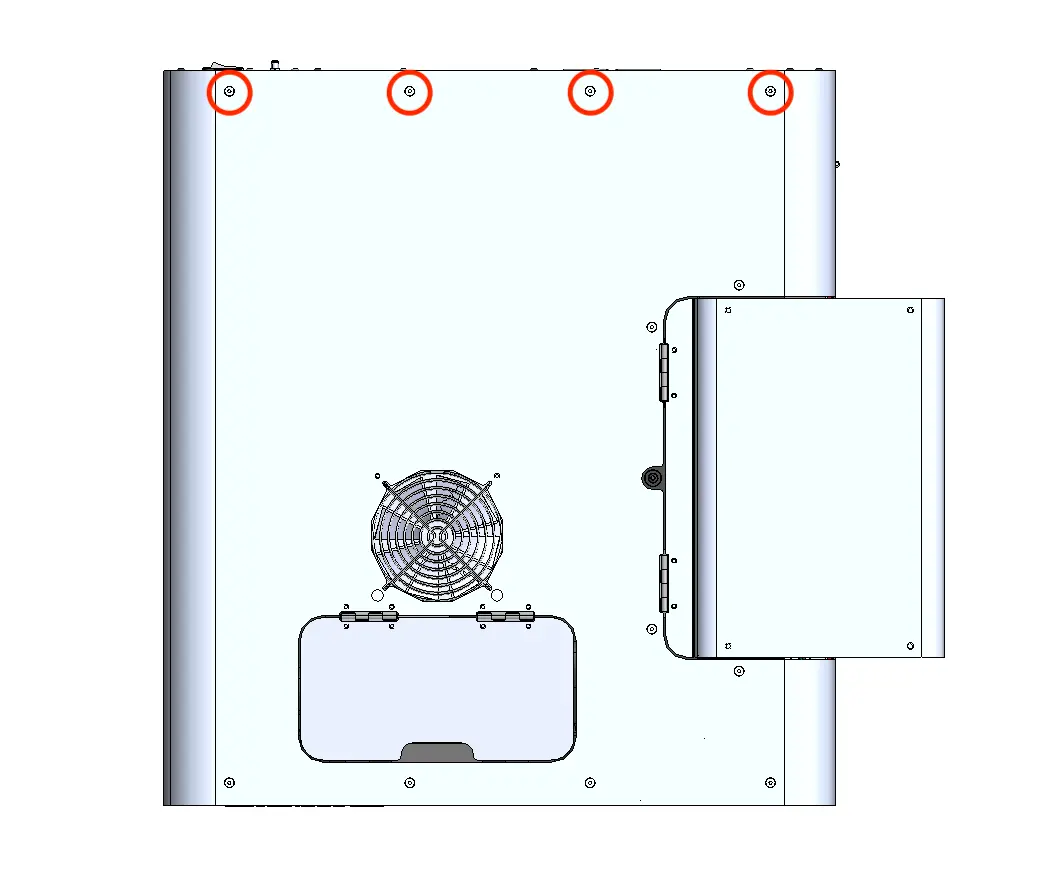
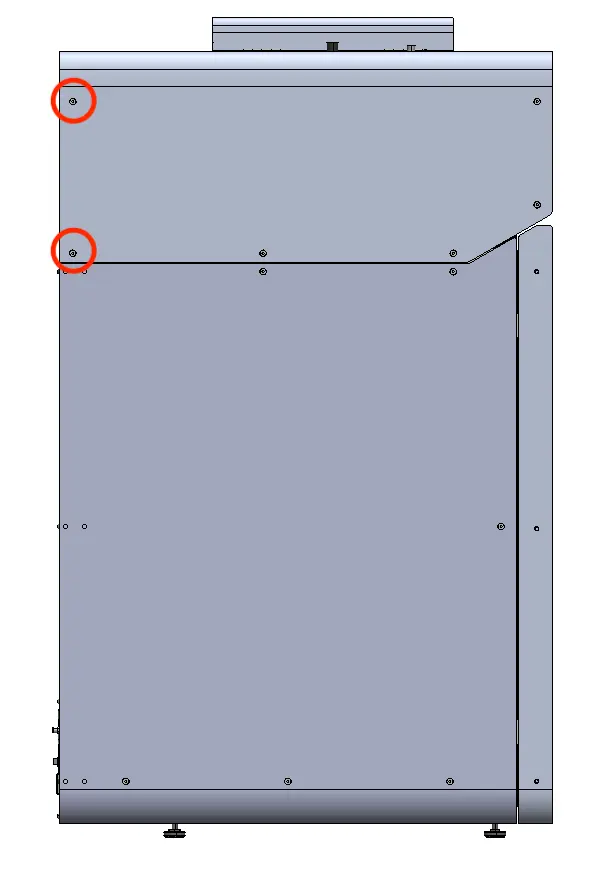
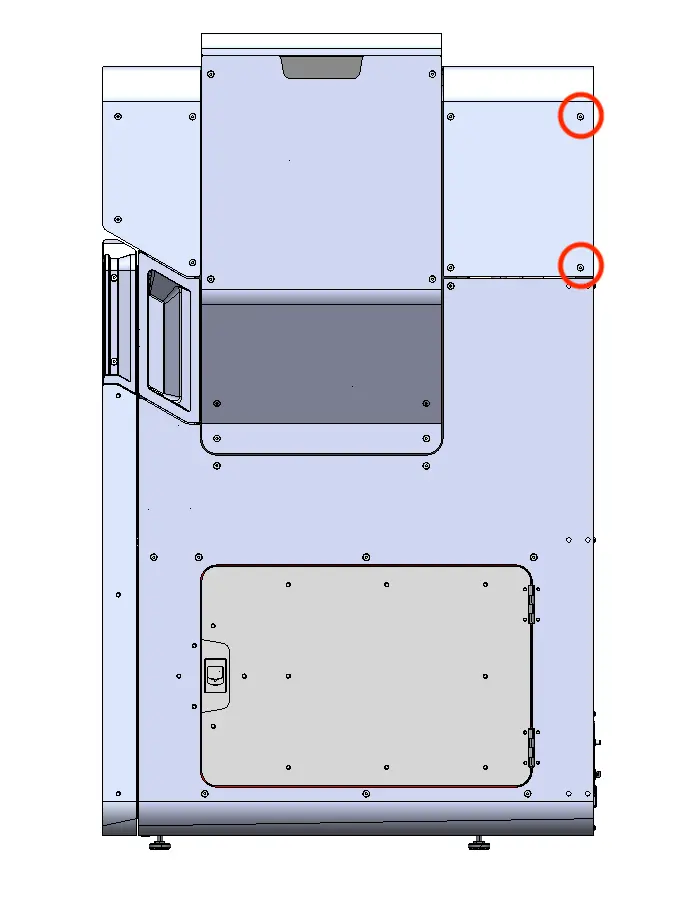
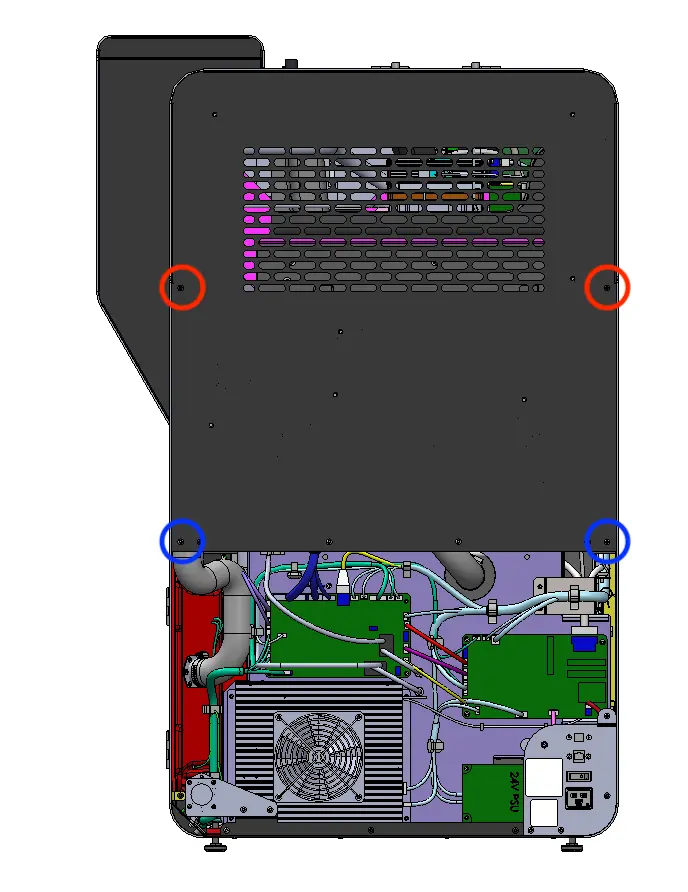
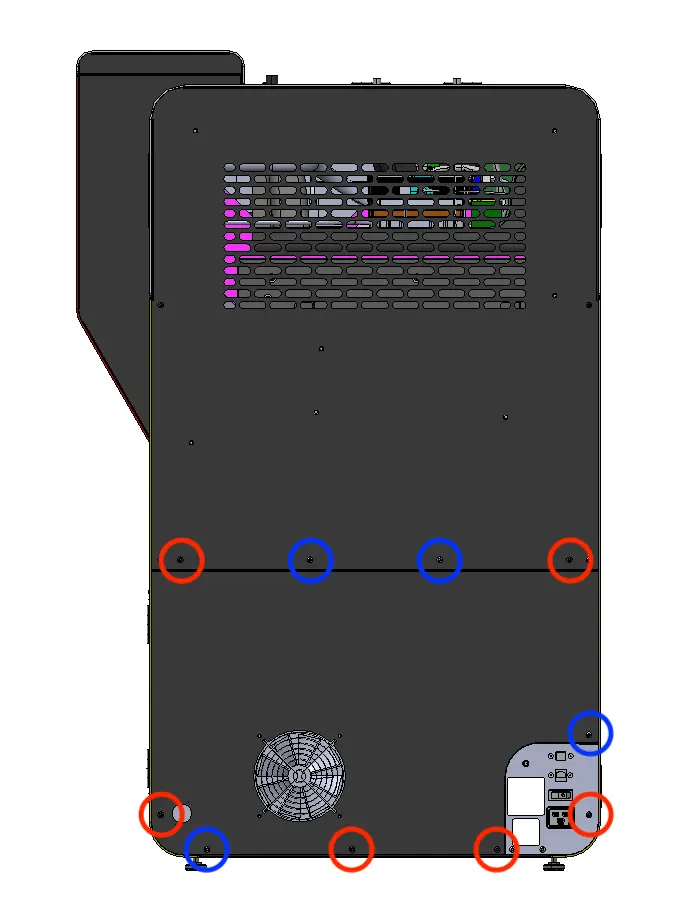
The six black lower rear panel screws are circled in red. The four chrome lower rear panel grounding screws are circled in blue.
Thread the panel screws into the indicated screw holes on the lower rear panel. Refer to the image for the correct locations of the black and chrome screws. Using a 2.5 mm hex driver, screw in the six black panel screws and four chrome panel grounding screws securing the lower rear panel to the printer.