Replacing the Fuse Sift's vent filter
Replacing the Fuse Sift's vent filter
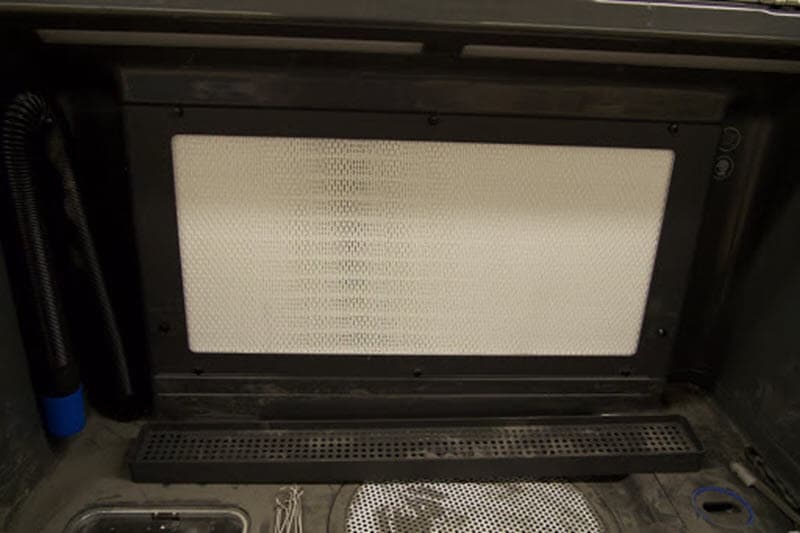
The vent is located at the back of the Fuse Sift's workspace and takes up the entire rear panel. Its purpose is to contain powder within the workspace and prevent these small particles from rising in a plume.
After extended use, the filter behind the vent becomes clogged with powder and cannot be adequately cleaned. Formlabs recommends replacing the vent filter after every 50 hours of use. For reference, the sifter automatically turns off after 30 minutes by default, so 50 hours of use represents at least 100 full sifting cycles.
Removing and reinstalling the vent filter
Unscrew the thumb screws to remove the grate before replacing the filter.
Step 1: Unscrew the grate thumb screws
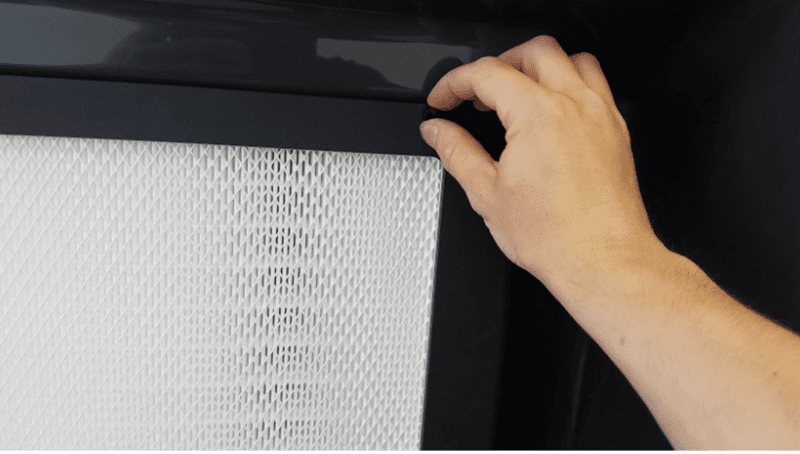
Unscrew and remove the six thumb screws that hold the filter grate in place.
Step 2: Remove the filter grate
Pull out the filter grate that sits above and around the filter.
Step 3: Remove the filter
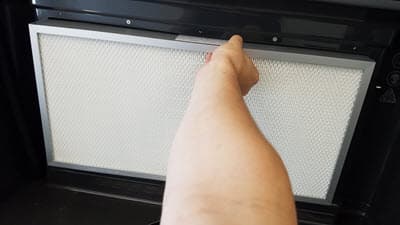
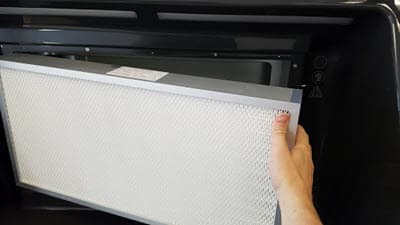
Pull out the filter that sits behind the grate.
Step 4: Dispose of the filter
Dispose of the filter according to your local environmental regulations.
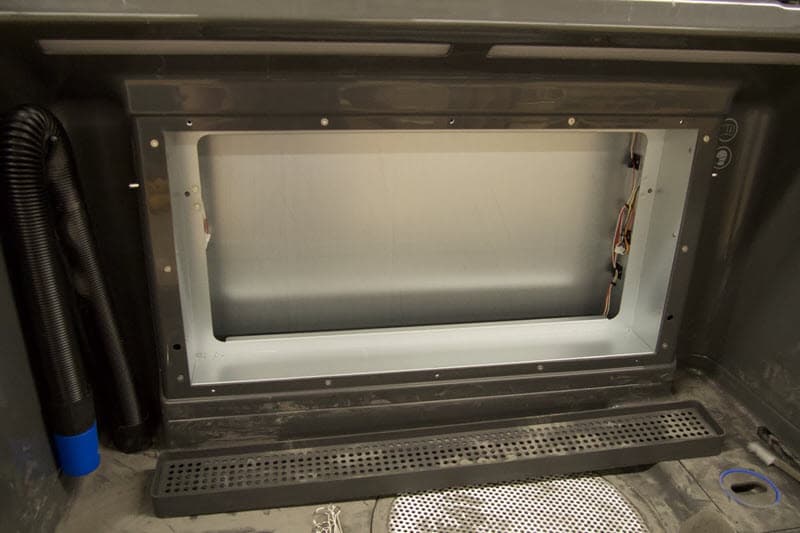
Step 5: Insert the new filter
Insert a new filter with the gasket pressed against the sheet metal receiver.
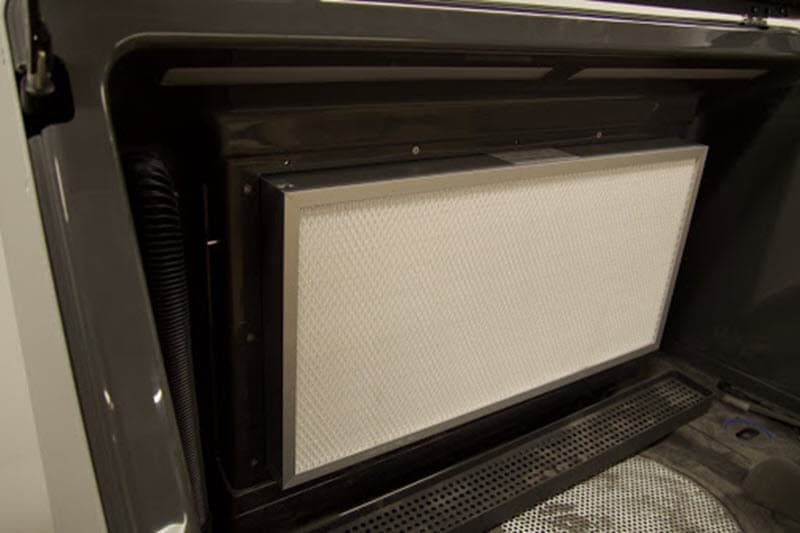
Step 6: Reinstall the filter grate
Place the filter grate back in place above and around the filter, then tighten the six thumb screws until hand tight.