
Oliver ‘Oli’ Braun spends his days behind a camera or in front of the computer screen, digitally modeling visual effects for movies. Outside of work, he’s running a small rocket lab in his studio.
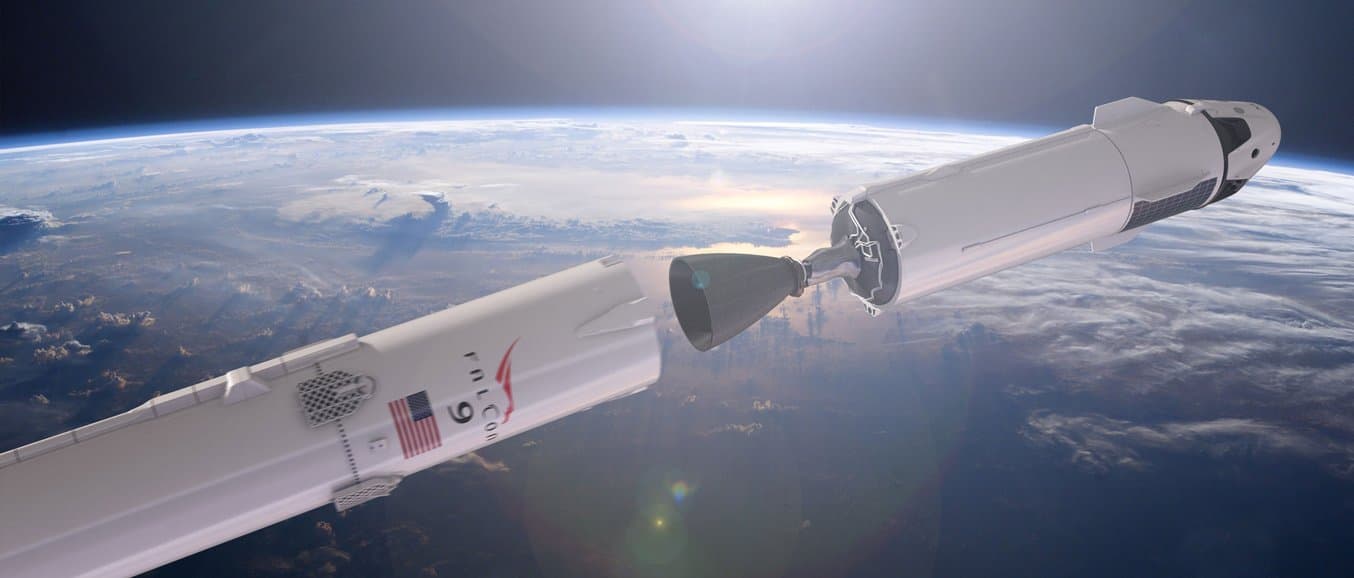
As a devoted space enthusiast, Oli desperately wanted a model of SpaceX’s Falcon 9, which made history when it became the world's first reusable rocket. His search for a detailed, accurate model was fruitless, so nine months ago he decided to create a replica himself.
Oli had no previous experience with 3D printing, or creating physical models. Now he’s 3D printing and manufacturing models 24/7, churning out 1 meter tall replicas of SpaceX’s Falcon 9 and Falcon Heavy rockets. The models’ accuracy and level of detail have earned unanimous praise from fellow enthusiasts, and even caught the attention of SpaceX.
We sat down with Oli to learn about his workflow, and how any CAD user can master the art of creating professional scale models.
Watch the video to learn more about Oli’s inspiration and how he creates his highly detailed scale models.
How did you get started on this project?
I run a film production company and 3D animation studio in Bad Saulgau, Germany, so I come from a strong modeling background. Normally I just do models for the screen, VR, or pre-rendered sequences of animation. This is the first time that I was working on a real-life physical model.
I'm a huge space fan, and I really wanted to have a SpaceX rocket model, but they are not available for purchase anywhere. There’s only one company in the United States that does aerospace models and creates models of SpaceX rockets, but they are extremely expensive and outdated. I thought, why not just try it myself?
What was your process like? Did you face any challenges moving from designing for digital vs. physical models?
The basis for all the models are pictures, that’s how I’ve been doing my 3D models for a long time. They’re actually modeled in 3D Max as polygonal models, like the models you would use in a game or an animation.
This approach works fine for visual applications, where you can cheat a lot because there are some things that you can see, while others remain hidden from view. But a physical model has to have structural integrity, and it has to be designed keeping assembly in mind. For example, you cannot have parts intersecting. This was new to me, and I didn't expect it to work this well. I’ve had maybe five or six parts that I had to re-engineer and reconstruct, but other than that, it worked out fine.

Also, when you model things in scale and proportion, there are some details that you have to make sturdier or bigger to make them work on a physical model. For example, it's not easy to make small struts sturdy enough because they're thinner than a toothpick on a small scale 1:144 model. One trick is to make the part hollow and have a 0.3 mm or 0.5 mm canal in it, where you can place a carbon fiber or metal rod. The reinforcement on the inside provides the structural strength, and it’s not visible from the outside. With the Form 2, you can 3D print all these intricate parts–which is awesome.
I always aimed to be accurate to the real rockets, down to the smallest details. The two stages and the payload are attached to each other with magnets, and they can be separated to show the stage separation mechanism inside. The first stage carries a Dragon spacecraft, but I’ve created other versions to switch the stages and payloads around.
I’ve also modeled the Falcon Heavy, the variant of the Falcon 9 that has two additional first stages as strap-on boosters. There wasn't any real photo reference since it’s not flying yet, and SpaceX has released very limited information on it, which made that one quite a challenge.
Why did you choose stereolithography over other 3D printing technologies to create the rocket models?
I was doing a lot of research on various 3D printing methods because I haven’t been involved in this field before. I looked into all kinds of fused deposition modeling (FDM) printers out there, but everything was just like, “Eh, it's all right, but not really what I’m looking for.” I wanted to show the small details and create models that look professional myself.

After I got the Form 2, I was genuinely surprised how easy it was. I didn't expect it to work like “Printing for Dummies.” I thought maybe I would need to go through three or four liters of resin and messed up prints until the printer was finally in a useful state, but most parts turned out extremely well right from the start. I’ve had maybe three failed prints, and it’s literally printing 24/7.
The best part is that nobody I showed these rockets here in person believed that they are actually 3D printed. They’d say, “No, they’re plastic, injection-molded. It can’t be that you 3D printed them yourself.”
I can’t think of many people who’d say “my first 3D print was a 1 meter tall rocket.” What does the manufacturing process look like?
It starts with 3D printing all the parts. The smaller 1:144 scale Falcon 9 consists of fifteen pieces and can be printed in one go, but the larger ones require multiple builds. I mostly use Formlabs Standard Grey Resin, which has a nice matte surface finish and great detail resolution. After printing, I clean and cure the parts, and sand down the support marks.

Unfortunately, it’s not like you go to the printer, press the “make cool rocket” button, and it spits out a cool rocket. In reality, I'd say 90 percent of all the work is the finishing and painting process. So next, I assemble all the parts and prime the model. The primer uncovers all the irregularities and blemishes, which I correct with some more sanding. Then it’s time for painting.
Check out our guides to learn more about priming and painting 3D prints, and how to create models larger than your 3D printer’s build volume.
It took a very long time to figure out what kind of paint to use because even though rockets look white, they're not actually white. They are also somehow not too glossy, and not completely matte either, but somewhere in between. They have a unique surface finish, which we were trying to replicate as much as possible.
My friend and coworker had some experience working with plastic models when he was younger, so he helped me out and researched the painting and finishing process.

Manufacturing the Falcon 9 and Falcon Heavy Models
| Falcon 9 | Falcon Heavy | |||
|---|---|---|---|---|
| Scale | 1:72 | 1:144 | 1:72 | 1:144 |
| Model Height | 100 cm | 48-50 cm | 100 cm | 48-50 cm |
| Number of Parts | 44 | 15 | 106 | 36 |
| Time to Manufacture | 30 hours of printing 20 hours of post processing | 9 hours of printing 5 hours of post processing | 55 hours of printing 50 hours of post processing | 20 hours of printing 12 hours of post processing |
Eventually, we found a company called Revell that produces plastic model kits. We mixed their small cans of paint with paint thinner and used it in the airbrush. We had to experiment with different needle sizes as well, but we finally found one that worked. After painting, we add the water slide decals that I print myself and apply a layer of clear coating to seal it all up.
It all sounds simple, but it's actually a very time-consuming process. Even the smallest 1:144 scale Falcon 9 takes about one day of work, including five hours of post-processing, and the Falcon Heavy takes about 50 hours of labor to manufacture.
How did SpaceX hear about your project?
After I had completed my first models, I posted pictures of them on Reddit and in the SpaceX Facebook group. The latter has around 25,000 members–I would say 90 percent of them are space enthusiasts like me, and the rest are SpaceX employees. The feedback from the community was extremely good, I didn’t expect it to become so popular. It even got featured on Reddit’s home page as one of the top trending posts.
Several SpaceX employees got in touch with me when they found out about the project. They were amazed by the level of detail and the accuracy of the models because even the ones from their professional supplier don't have that.

Sometimes I feel like I’m running a small rocket lab. I’ve rearranged part of my studio into a model workshop, and I’m creating a production schedules, part lists, and assembly plans to show how to construct the models.
Overall, I'm very thankful. At first, I started this as a personal project for my home. I just wanted to give it a try and I didn’t mind if I messed up. I’m super happy, this project has exceeded all my expectations.
See more images of Oli’s Falcon 9 and Falcon Heavy rockets, as well as the manufacturing process.
See what you can create with a Form 2
Explore the materials to discover the one that fits your needs.
Request a Free Sample

Learn More About Stereolithography 3D Printing

Would you like to turn your digital models into real-life professional models? Learn about stereolithography (SLA) 3D printing, the technology Oli used to 3D print the SpaceX models, and find out more about Formlabs’ Form 2 3D printer.